V6 into a RHD Chrysler Neon mk1

Post pictures and stories about your cars both present and past. Also post up "blogs" on your restoration projects - the more pictures the better! Note: blog-type threads often get few replies, but are often read by many members, and provide interest and motivation to other enthusiasts so don't be disappointed if you don't get many replies.
Message
Author
User avatar
Mitsuru
Posts: 2300
Joined: Thu Jan 06, 2011 1:42 am
Location: County Durham

Re: V6 into a RHD Chrysler Neon mk1

#281 Post by Mitsuru »

The metal vise was bolted to the anvil nect to the
garage, one of the parts for the radiator brackets needs
to be twisted so it had to be heated first.

Image

I got the blow tourch out, it is one of those you put a
canister like thing into it and screw tight. there is a
thing that both punctures the canistr and is supposed to
seal the connection.

Only it didn't seal properly with me at first, as I
found out with a lit match!! I singed my fringe!!!
As the blow torch surrounded it's self with yellow flame
I tossed it onto the grass and promptly poured the contents
of the watering can over it putting out the flames!!

I left it for a good 20 min to make sure it had gone out
and cooled down before going anywhere near it.
I then lit a match and made sure it wasn't leaking,
before turning it on.

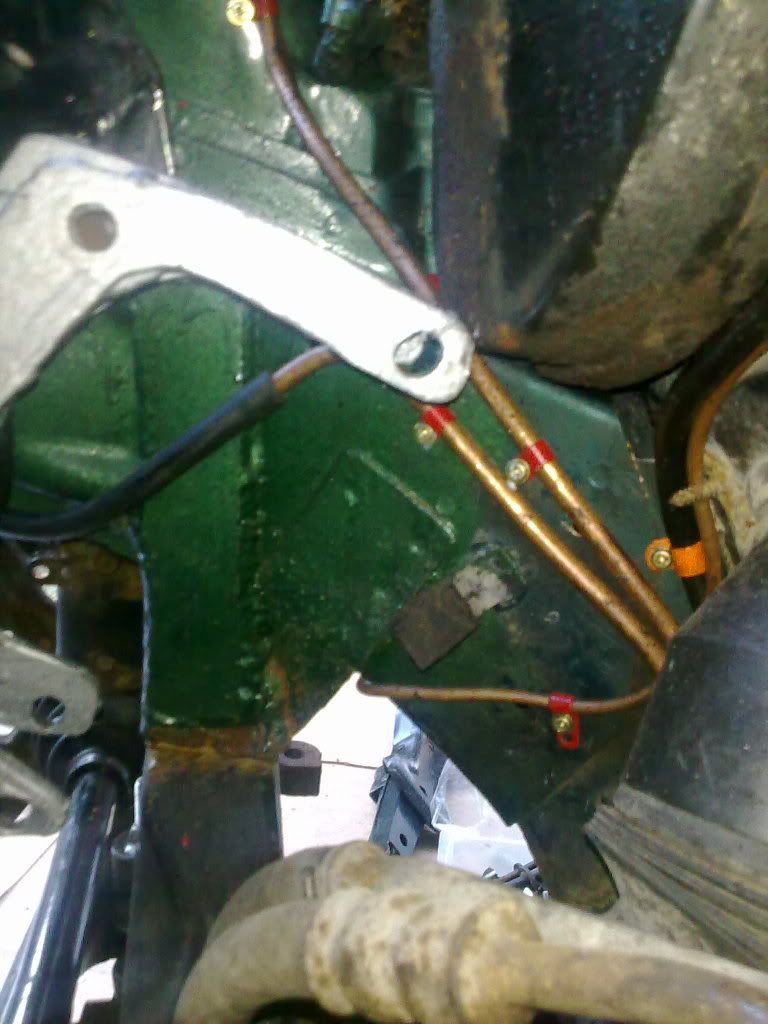
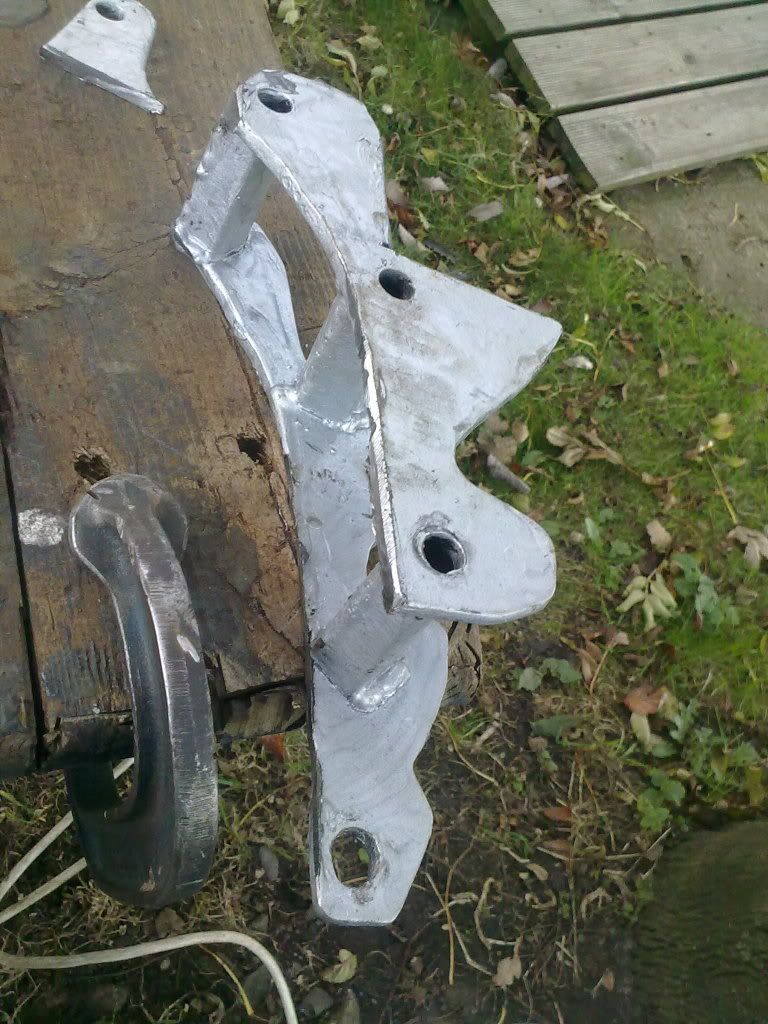
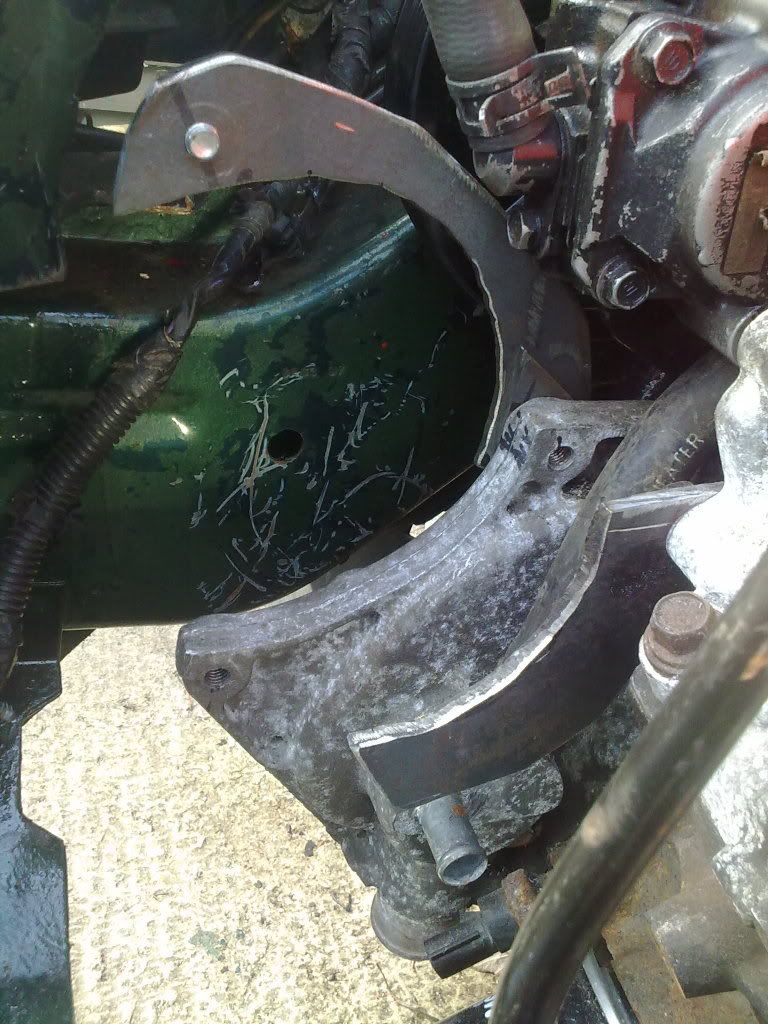
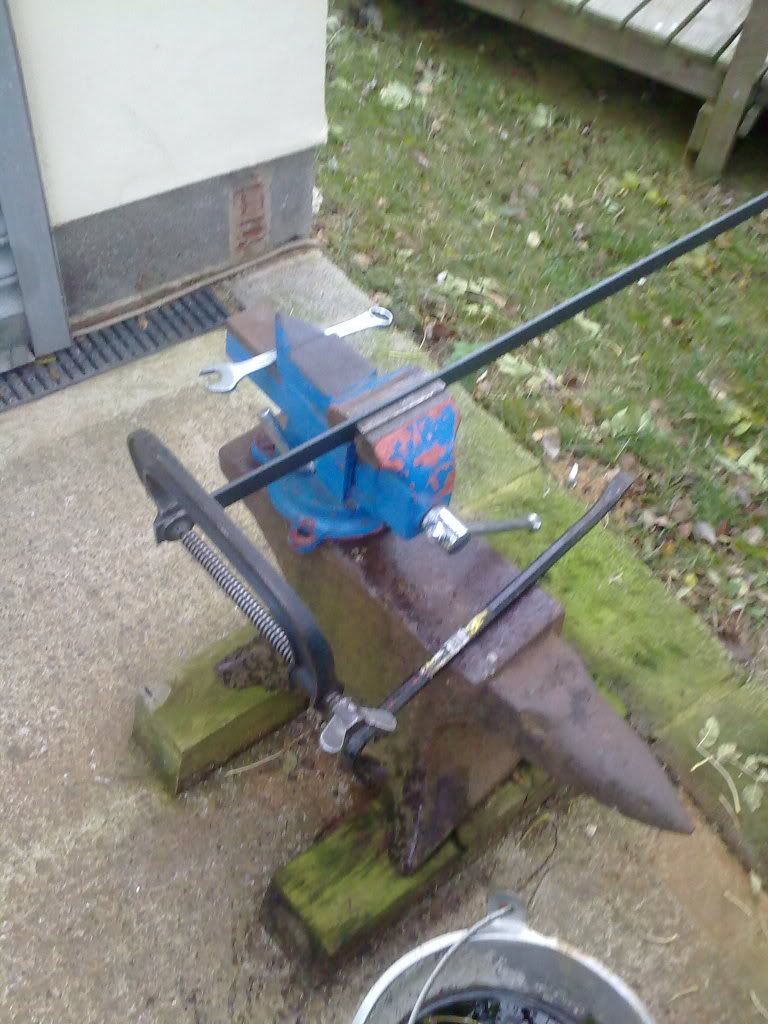
I heated the bar for a good 10+ minutes before using the
large G clamp to twist the bar 90 bdegrees to the correct
turn.

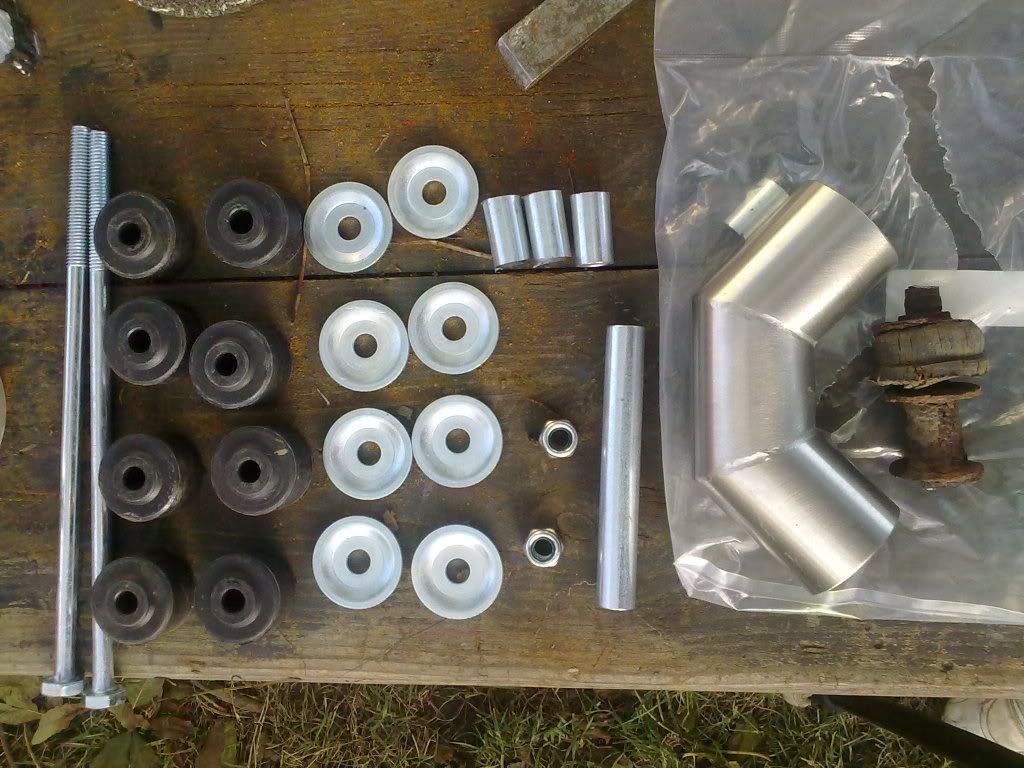
I managed to get the grinder out for about an hour this
afternoon before it started raining.

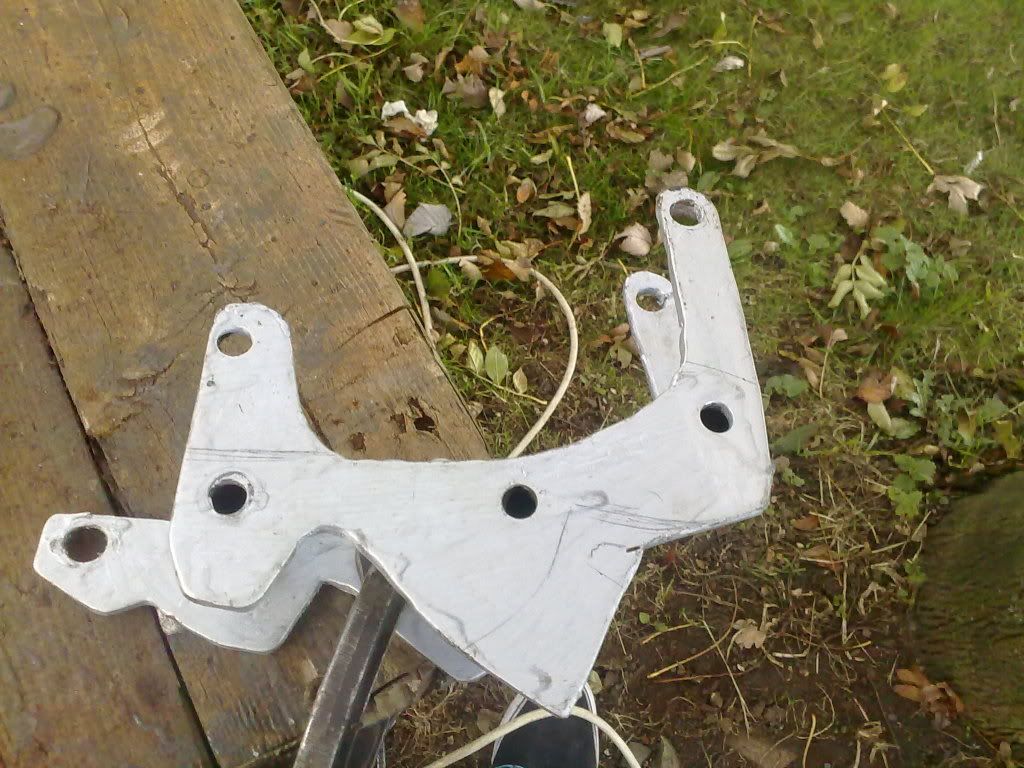
one bit of box section.

Image

Two mirrored parts.

Image

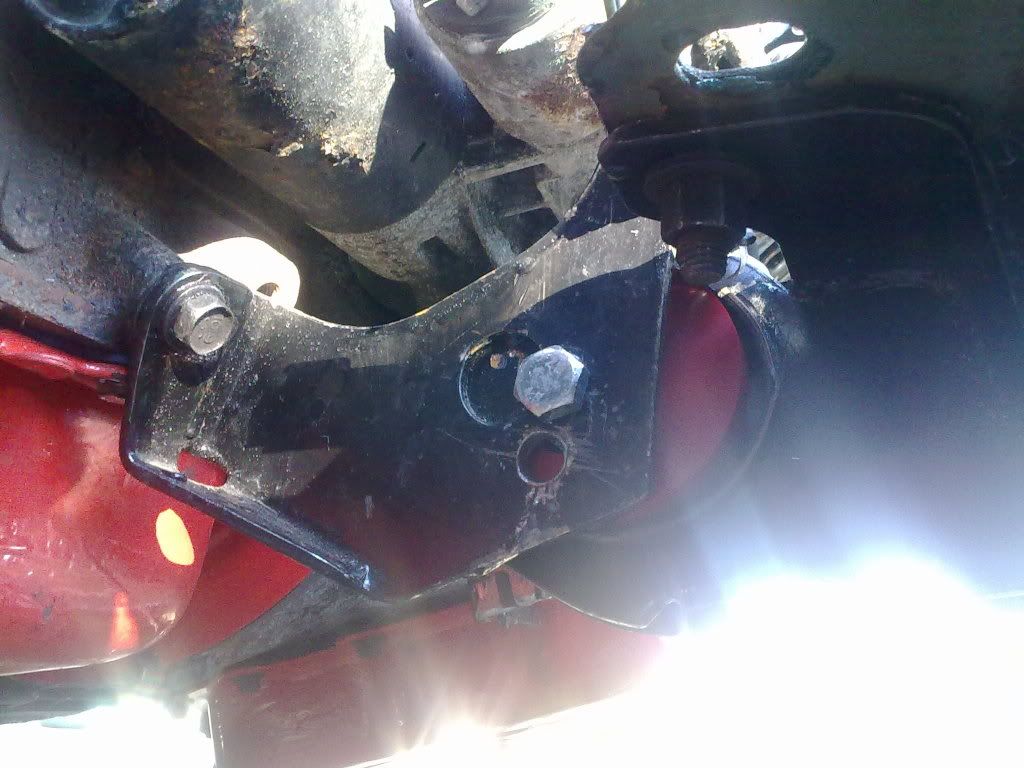
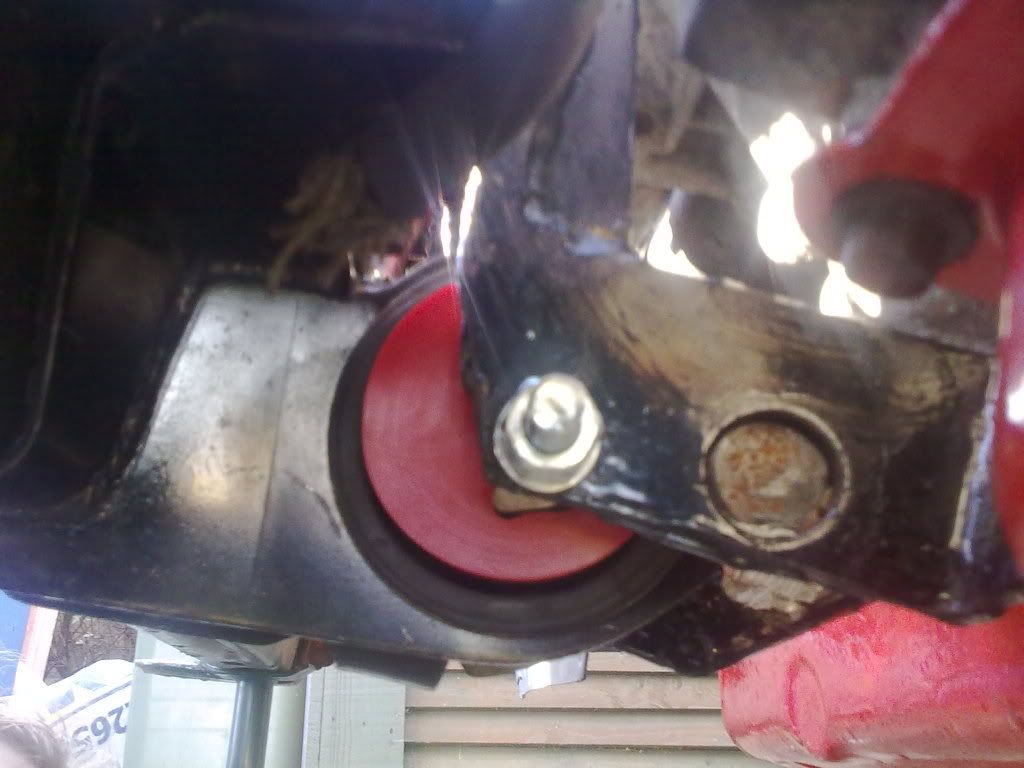
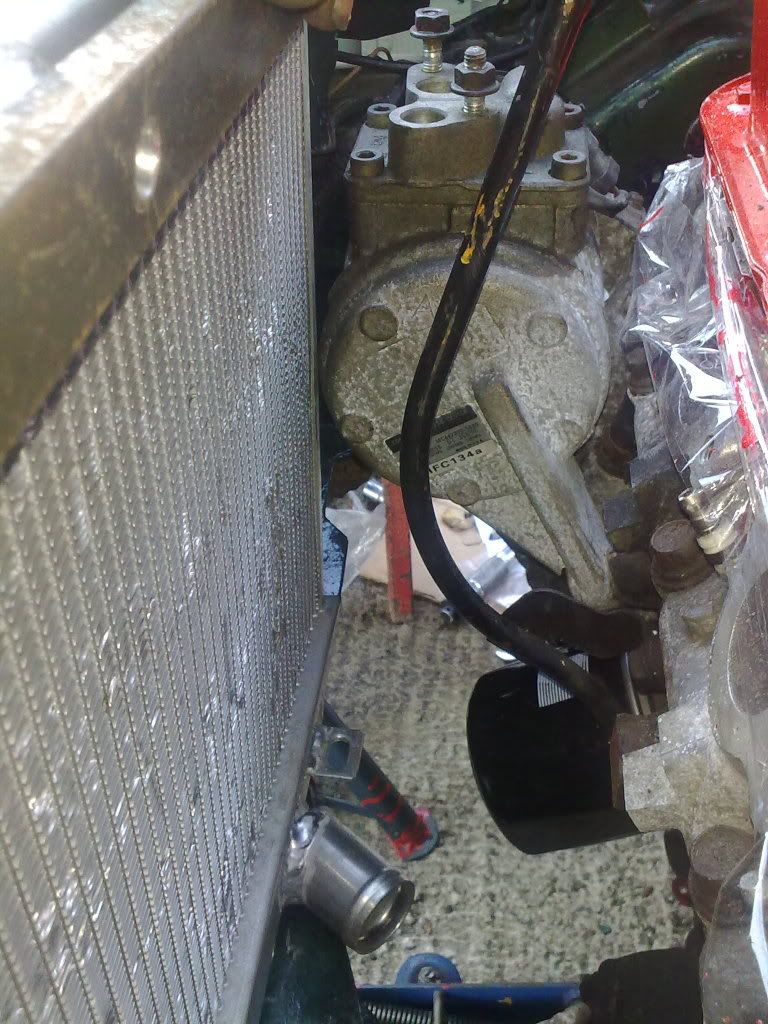
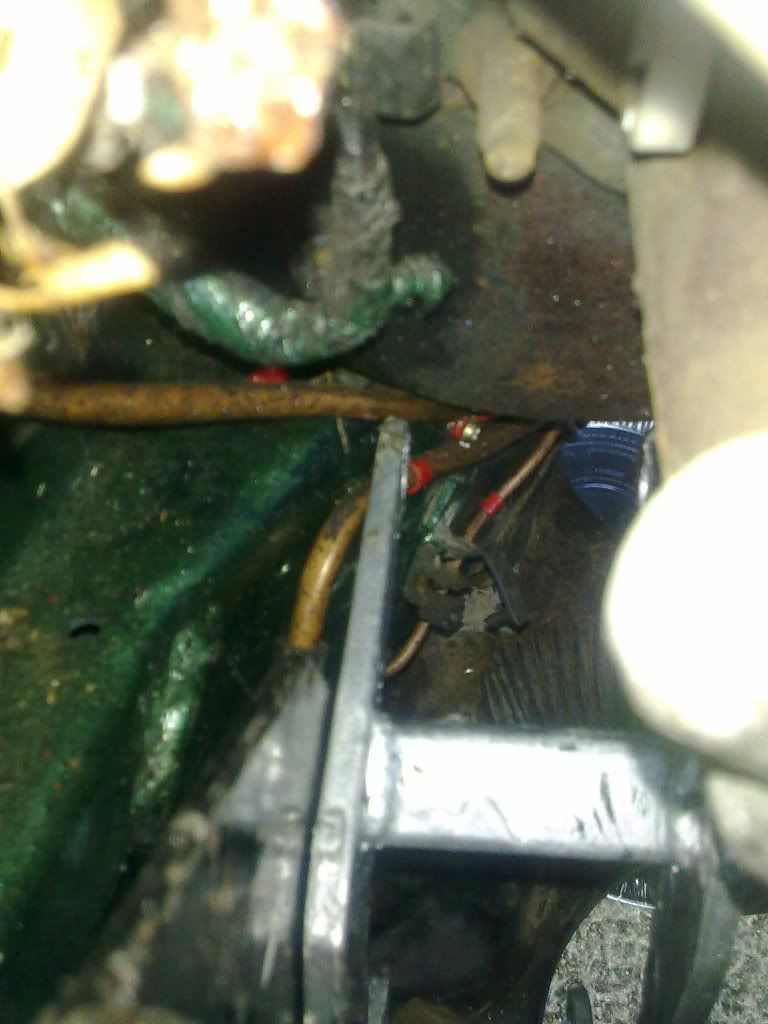
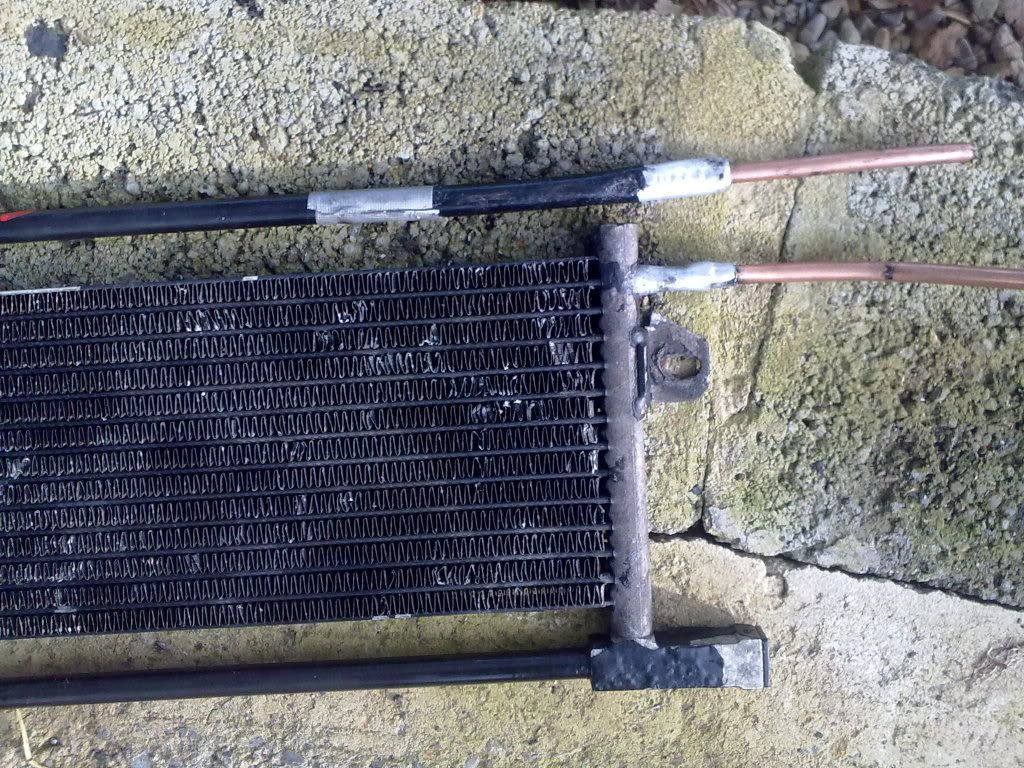
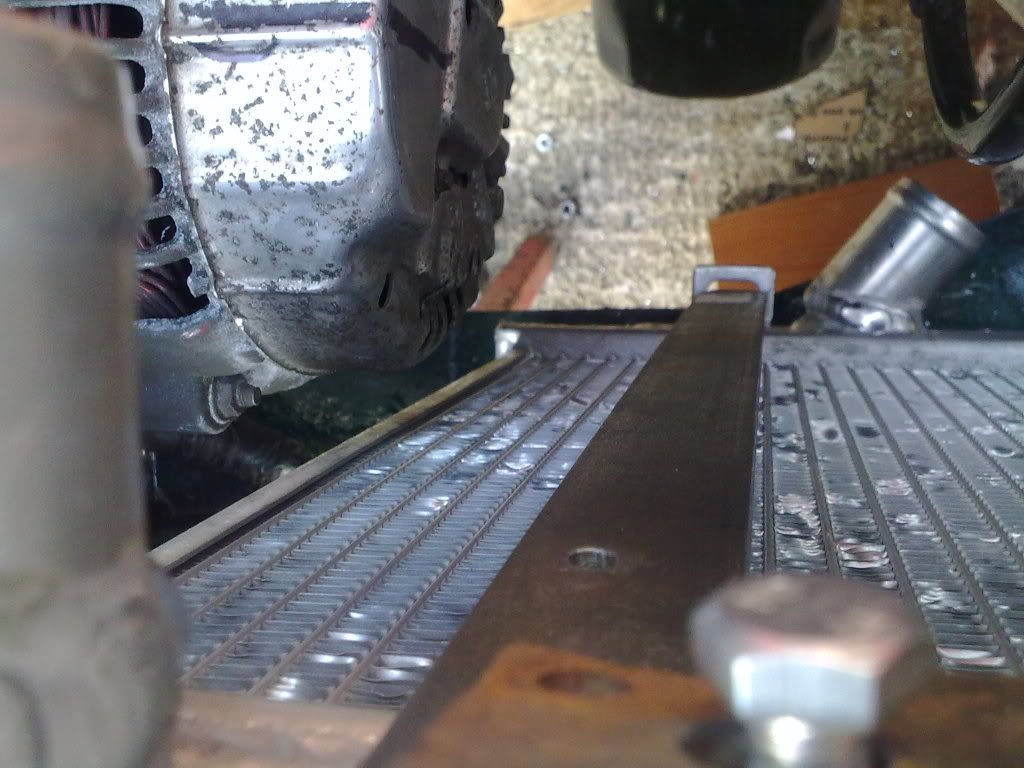
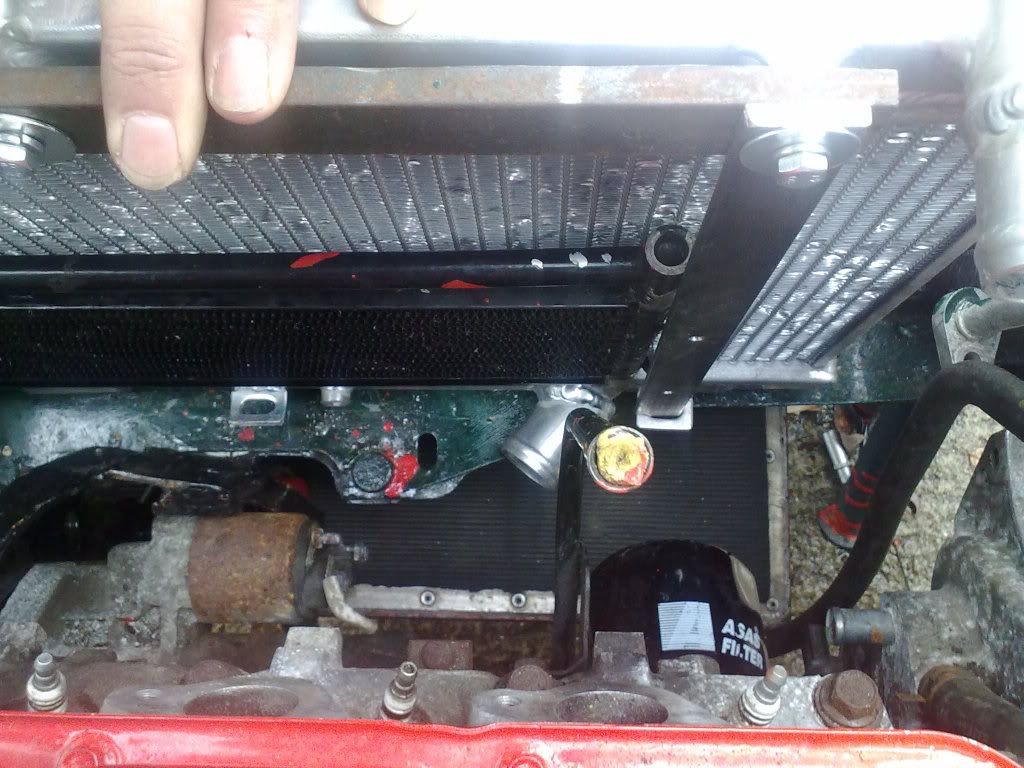
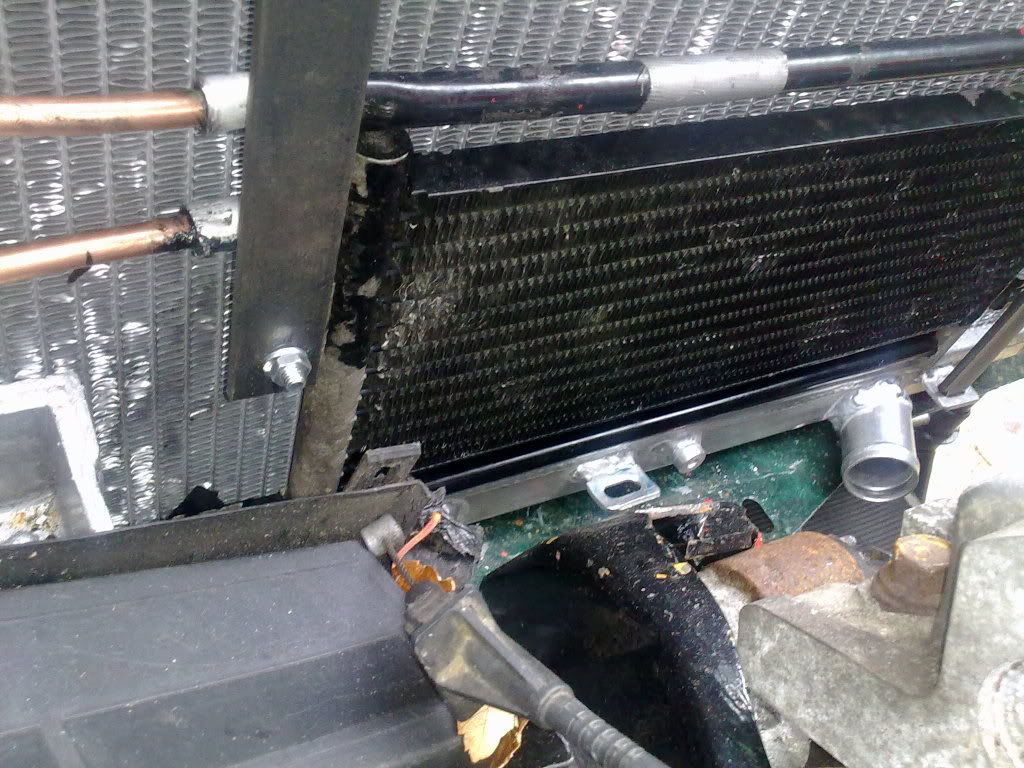
A little grinding and then the rain came down. The brackets
still need a little fine tuning with the grinder to fit properly,
and it needs the rubber padding.
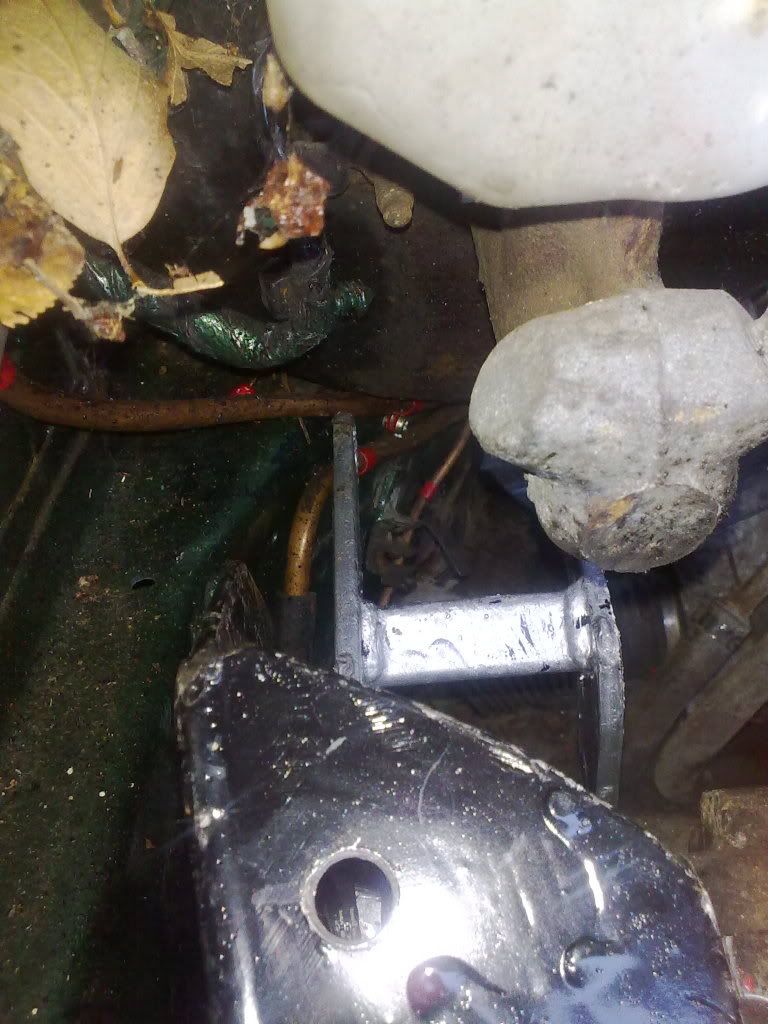
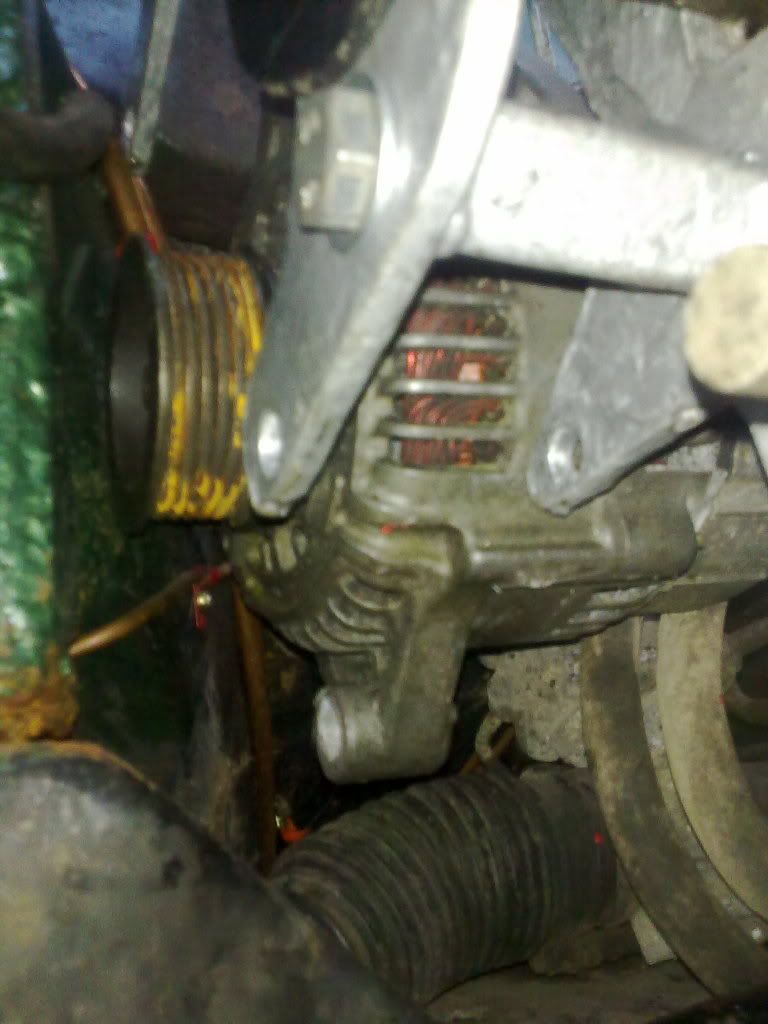
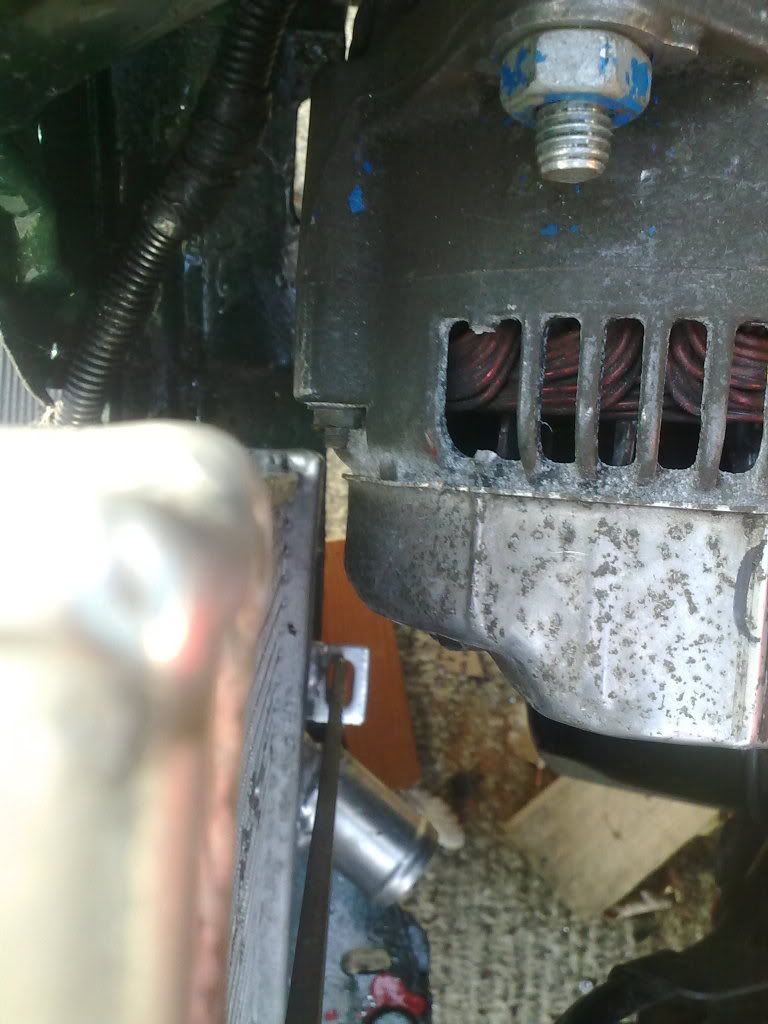
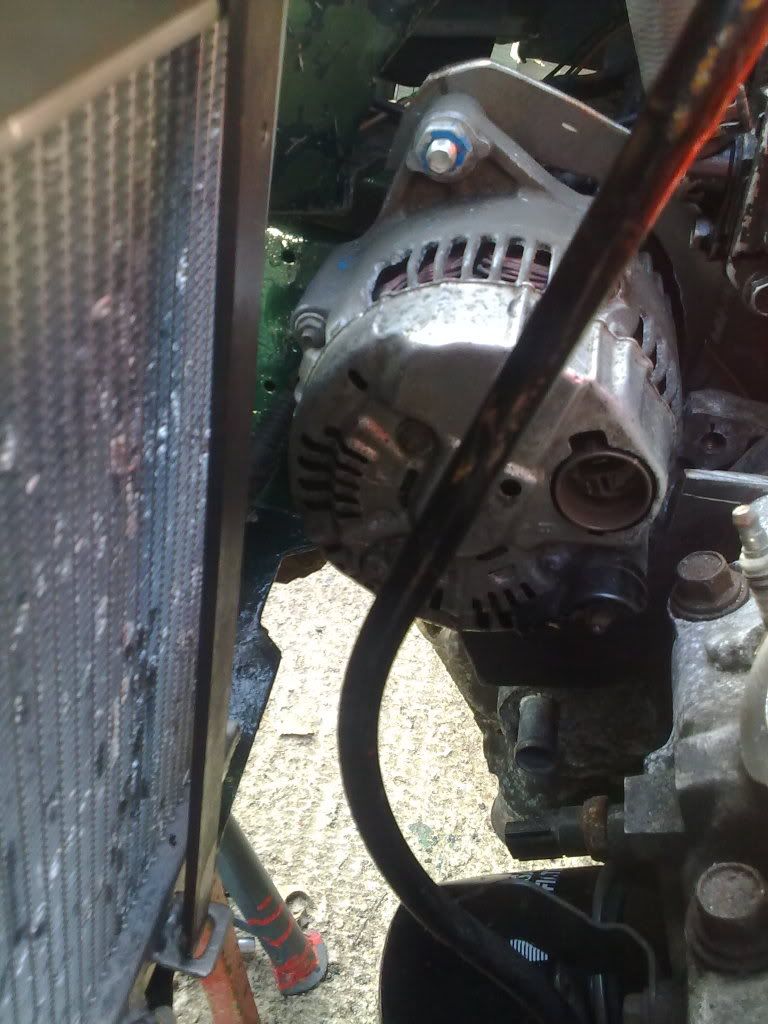
But here is what it looks like at the moment.

Image

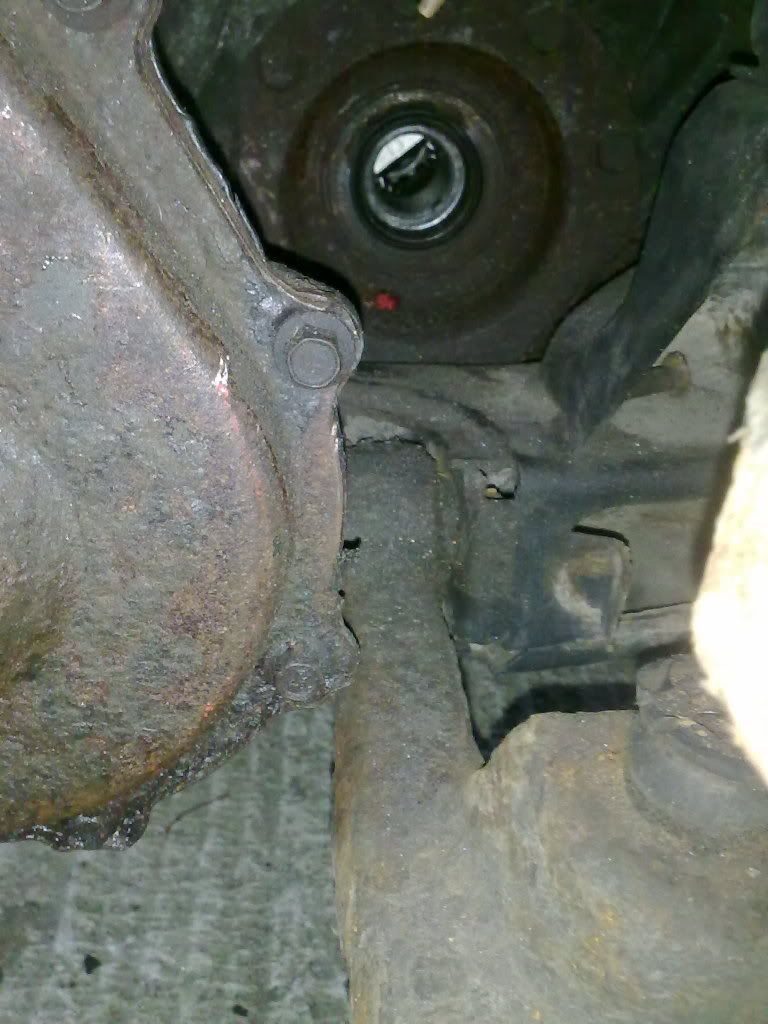
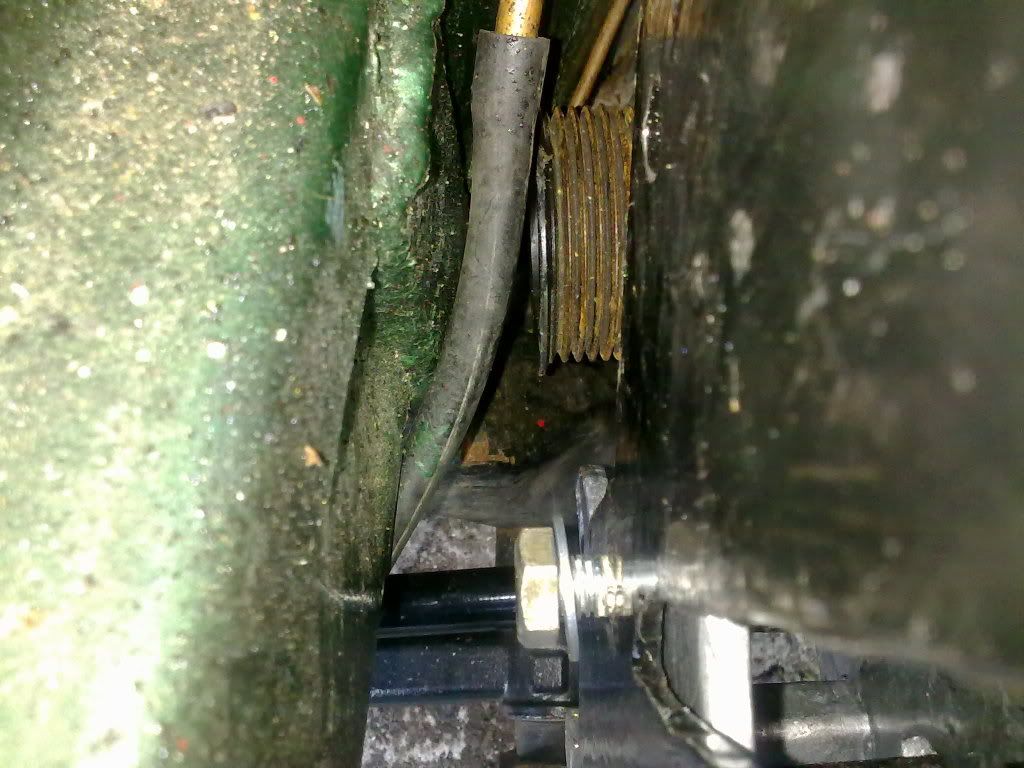
The top mounting bracket is started but there are still
parts for the upper fixing bracket to to make.

Image

Depending on the weather depends on what can be done!
I'm Diabetic,& disabled BUT!! NOT DEAD YET!!
User avatar
Mitsuru
Posts: 2300
Joined: Thu Jan 06, 2011 1:42 am
Location: County Durham

Re: V6 into a RHD Chrysler Neon mk1

#282 Post by Mitsuru »

After I removed the back part of the front engine mount,
I jacked up the engine and transmission, then used a
large G clamp to pull the engine and transmission
forward to bolt up the mount.

Image

Image

As the rear mount still needs to adjusted the picture does
show this. I can't adjust it till it is back on the pit.
I will put the car back on the pit once the ancillaries
have been bolted up and suspension done.

Image

A stainless steel 90 degree coolant pipe connector arrived
in the post this morning, I only paid a couple of quid
including postage off ebay. ready for the lower coolant
pipe.

Also in the below picture for the total price of £7.70 inc
postage, new drop links for a 1984 Opel Kadett. A quick chop
with the cutting disc and one of the sleeves becomes 3 of
the same size as the neons old one which is to the right of
the pipe connector. I have 2 proper shorter bolts to use.

Image

Image

The old drop links had to be cut off with the grinder, the neon's
Strut assembly was removed. Once I had unbolted the steering
rack from the hub. The bolt holding the hub onto the wishbone/
control arm was rusted solid, so as the grinder was out, a careful
cut and the hub was removed undamaged.

All but the steering track rod was then bolted back up with the
new wishbone/control arm and drop link.

Image

Image

Did I forget something?
Oh yes I also fitted the right long customised drive shaft.

If I can't get the track rod reconnected I will ask Dean if he
could do it when he does the brake pipe connections.
Tomorrow the other side I hope!
I'm Diabetic,& disabled BUT!! NOT DEAD YET!!
User avatar
Mitsuru
Posts: 2300
Joined: Thu Jan 06, 2011 1:42 am
Location: County Durham

Re: V6 into a RHD Chrysler Neon mk1

#283 Post by Mitsuru »

I did takele the left suspension.
Because the engine & transmission was lowered by 2",
this made it harder to access the nuts and bolts of
the control arm.

To remove the bolt that slides forward through the
control arm, I spent well over 2 hours without any
success. I got frustrated and got the grinder out!

The remains of the old control arm is in the top of
picture below. Also in the picture are the
customised short left drive shaft, the new brake
hose, and the hub still with the calliper and brae
disc still attached.

Image

New control arm fitted, and the strut is hanging in
the top of the picture.

Image

Although I fitted the new brake I think I have fitted
it the wrong way around!!!!!!

Image

I will sort it out tomorrow.
The drive shaft was a pain to put in, made worse by the
lack of space. The bolt used for the drop link is only
temporary as it is far too long and I can't find the right
one. There was just enough space to get the drive shaft
in, and would benifit when the engine/transmission
mounts are adjusted.

Image
I'm Diabetic,& disabled BUT!! NOT DEAD YET!!
User avatar
Mitsuru
Posts: 2300
Joined: Thu Jan 06, 2011 1:42 am
Location: County Durham

Re: V6 into a RHD Chrysler Neon mk1

#284 Post by Mitsuru »

The pin bolts on the adapter brackets are too long so shorter ones will need to
be fitted. The A/C Compressor has also bolted onto the engine.

Image

If anybody had looked at Jimbo's V6 Neon they would realise how finite the
space is in the Neon's engine bay with that V6 in there!!

I bolted up the alternator bracket and found that it was hitting the Fuel lines,
which were bolted to the furthest corner of the engine bay!!

From above looking down

Image

Image

From the other side looking along the back of the engine.

Image

This is not looking good at all, to see if rotating the alternator would help, I
popped the alternator in!! Not good at all, as these pictures show the pulley is
up against the wall of the engine bay.

Image

Image

Thats it!!!!!
The A/c Compressor is being dropped from the build, and the alternator is going
to take it's place up front. The bracket on the back will still be needed for
the tensioner pulley and a roller pulley.

So out came my grinder.
Only for it to go pop pop and stop working, Dad grumbled and gave me his spare!

The bracket before

Image

After cutting

Image

A quick look at water pump. That face needs the alloy rut filed/wire brushed
off before a new gasket, and whats left of the bolt needs removing still.

Image

A new bracket/adapter will be made so the alternator can use the A/C
Compressor's old bolt holes to hold it in place. I will need a new
serpentine belt again!!!

I will look into the A/C again next year after I find a tiny A/C
Compressor that might be able to fit somewhere!!
I'm Diabetic,& disabled BUT!! NOT DEAD YET!!
User avatar
Mitsuru
Posts: 2300
Joined: Thu Jan 06, 2011 1:42 am
Location: County Durham

Re: V6 into a RHD Chrysler Neon mk1

#285 Post by Mitsuru »

I had a few things to do today before even looking at the car.
Mother took me into Hartlepool to the bank to get money out for
the initial car insurance payment of £145.

So when she is ready the insurance will be inplace, so getting
the cars road tax will be easier.

I have been to a few different places with no luck in getting
the correct size compression fitting for the oil radiator.

The last place I went to was the scrapyard where I bought the
Engine, Transmission and drive shafts. They were kind enough to
check their receipt books to get the details.

They then wrote out a copy on company letter headed paper. I do
so hope that the DVLA accept this as proof of purchase when I
hand the log book in to get the engine details changed.

I managed to get a little work done on the car, a tempory
fitting of the alternator in it's new position.

Image

This next picture shows why I said temporary fitting! As it needs
to be moved a little towards the right of the car so the pulleys
line up properly.

Image

Once the pulleys are lined up another bracket needs to be made
for the rear of the alternator to bolt onto the other A/C
mounting hole which is just above the oil filter in the below
photograph. This bracket will stop the alternator being pulled out
of olace and the other brackets being twisted.

Image
I'm Diabetic,& disabled BUT!! NOT DEAD YET!!
User avatar
Mitsuru
Posts: 2300
Joined: Thu Jan 06, 2011 1:42 am
Location: County Durham

Re: V6 into a RHD Chrysler Neon mk1

#286 Post by Mitsuru »

I spent the morning sorting out the right cooling fan brackets and stripping
the tape and plastic wrap that encased the wiring loom around the fuse
board ready for identifying and cutting/splicing later.

As my dad was off ill I thought it best to let him have a lot longer in bed
before getting the grinder out and waking him.
Also I forgot to take pictures today which is not like me!

In the picture of the new location of the alternator which I previously posted,
it didn't show the radiator in it's proper position. I didn't think about it till
much later in the day.

Which was a mistake!!
As I couldn't get the radiator in at all with the alternator in. In order to get
the alternator into a position that would let the radiator be there without
being dented, I took the grinder to one of the two bottom fixing brackets.

Having cut the that bracket off has made it possible to get the alternator into
the correct position. I just need to make a bracket to utilize the other two
brackets that are left. I have already made one part for the bottom rear
remaining bracket out of 6mm gauge metal.

Tomorrow the upper and connecting parts out of the same gauge sheet steel.
and the rear radiator brackets for mounting the oil cooler radiator, and for
fixing the two to the top of the upper radiator support.

I spent last evening wit the wiring loom of the engine bay on my lap with the
laptop and labelling the different plugs, only to find certain plugs missing.

My body is wrecked I have been pushing and pushing to get the car sorted,
so I'm not doing anything car related apart from on the computer.
I'm Diabetic,& disabled BUT!! NOT DEAD YET!!
User avatar
Mitsuru
Posts: 2300
Joined: Thu Jan 06, 2011 1:42 am
Location: County Durham

Re: V6 into a RHD Chrysler Neon mk1

#287 Post by Mitsuru »

While it was early I got some 8mm copper pipe ans a compression fitting.
Using the compression fitting I compressed an olive onto one end of 2 bits
of the pipe. I then compressed the alloy pipe of the oil cooler radiator about
an inch and a half from the end.

This squeezed section will stop the copper pipe from going too far down the
pipe. I smeared the copper pipe either side of the compressed olive with
gasket paste. Then I shoved the copper pipe down the alloy pipe of the
radiator. I then squeezed the end of the allot pipe onto the copper pipe.
I left the radiator to one side to allow the gasket paste to cure.

Hopefully this will do the job correctly!

Image


The Alternator on it's new mounting brackets.

Image

Image

Image

Plenty of clearance.

Image

How is it bolted in place?
The mounting bracket for the rear is bolted into the front cylinder head.

Image

This why the front lower mount of the alternator was removed.

Image

And this is why the alternator and not the lower A/C bracket had
to be trimmed, the water pump housing is the structure of the
A/C compressor bolted onto originally.

Image

Those curves in the 6mm plate were nessasary to go around the
alternator and an absolute bloody pain to get right and to do!

I had to stop at lunch time clear everything away, get washed and
changed and go yo hospital for my podiatry appointment.
So nothing done this afternoon, apart from calling into the hardware
store to get the correct length bolt for the left drop link, more
cutting disks for the grinder, and replacement nuts for the track rod
ends.

It is now very unlikely That I will make the Whitby Custom Car Show
The mistake with the alternator and a/c stuff has put me back to far.
I should have been doing the finishing touches to the wiring loom by
now, or even trying to firing her up!
I'm Diabetic,& disabled BUT!! NOT DEAD YET!!
User avatar
Mitsuru
Posts: 2300
Joined: Thu Jan 06, 2011 1:42 am
Location: County Durham

Re: V6 into a RHD Chrysler Neon mk1

#288 Post by Mitsuru »

Today I made the bracket to hold the transmission oil cooler
radiator. I have yet to re-drill the bolt pins on the bottom
adapter plates. I have only to make the upper radiator fixing
brackets.

Image

Image

Using the grinder I cut a section out of the old intake manifold.
The reason for this? the alloy used is easier to work with than
the6mm steel plate I have when it comes to fiddly cutting or
sculpting. Two flat pieces together will make an adaptor plate.
This will allow mr to use the water filler neck off a PT Cruiser,
rather than the Voyagers old water outlet which is next to the
plates below. You can see there is no way of filling the coolant
system through it, this is why I will be using the PT one.

Image

Dean popped over, and managed to cut flare and connect the
brake lines to the hoses. Unfortunately bothe the weather and the
lack of daylight conspired against us!! All but the rear right
calliper were bled, the rear right bleeding nipple had been rounded
off so it might need replacing.

While a rear wheel was off I put that VW/Audi/Skoda steel rim on
the car. Same bolting pattern as the Neon, so easy replace the rims
if needed. This one is a 16" steelie.

Image
I'm Diabetic,& disabled BUT!! NOT DEAD YET!!
User avatar
Mitsuru
Posts: 2300
Joined: Thu Jan 06, 2011 1:42 am
Location: County Durham

Re: V6 into a RHD Chrysler Neon mk1

#289 Post by Mitsuru »

The Neon mk1 2.0L SOHC engine only produced 131 bhp max,
and 129 lb·ft (175 N·m) of torque.

Apparently
The Chrysler Neon mk1 weighs approximately 1088.64 kg(2400 USA lbs)
The Chrysler Voyager weighs approximately 3,528 lb (1,600 kg) or
3,680 lb (1,669 kg) (Grand Voyager)and this 3.3 v6 engine is in both.
But those figures don't look quite right.

These are the details of the Voyager's engine I'm using.
Displacement 3.3 L (3301 cc/201.5 CID)
Bore 93 mm (3.66 in)
Stroke 81 mm (3.19 in)
Years...................Power.........................Torque
1990–1993.......150 hp (112 kW).........180 ft·lbf (244 N·m)
1994–1995.......162 hp (121 kW).........194 ft·lbf (263 N·m)
1996–2000.......158 hp (118 kW).........203 ft·lbf (275 N·m)
2001–2010.......180 hp (134 kW).........210 ft·lbf (285 N·m)

BUT!! if I change the intake manifold then the torque could go down
and the power up.That is something to think about later

The picture says it!!
It rained most of the day. Here is the adapter plates
for the water thermostat filler neck.

Image

Image

The brass screw is in a counter sunk hole so the PT
filler neck fits over with no problems.

Image

As mother meet the postman on her way out she took the
post with her so I didn't know that the exhaust gaskets
had arrived.

Image

Why is it silver on one side and the other side looks
like cardboard? and for the connecting pipe looks like
cardboard on both sides.

As it was raining most of the day I thought it best to
have a little tidy up of my tool shed as I couldn't see
the floor again.

I did refit the heat sheilds to the exhaust manifold
connecting pipe and give it another quick blast of the
high heat mat black paint.

Image
I'm Diabetic,& disabled BUT!! NOT DEAD YET!!
User avatar
Mitsuru
Posts: 2300
Joined: Thu Jan 06, 2011 1:42 am
Location: County Durham

Re: V6 into a RHD Chrysler Neon mk1

#290 Post by Mitsuru »

Now this information is correct on the weights.

The Chrysler Neon mk1 weighs approximately 1088.64 kg(2400 lbs)
The Chrysler Voyager weighs approximately 2268 - 2721 kg (5001 - 6000 lbs)
I'm Diabetic,& disabled BUT!! NOT DEAD YET!!
Post Reply