Darren,
Thank you for the comments, it does feel like I am getting somewhere now with the front end nearly finished
Working on the FARB, in order to get the FARB in the same fore / aft position as when its below the chassis legs I needed to modify the vertical rad supports.
This the std position
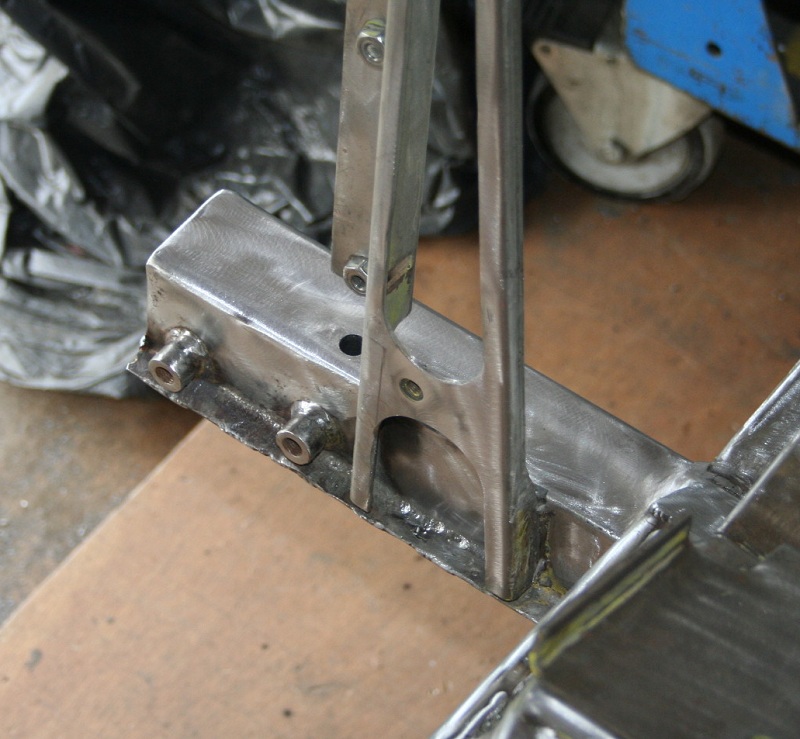
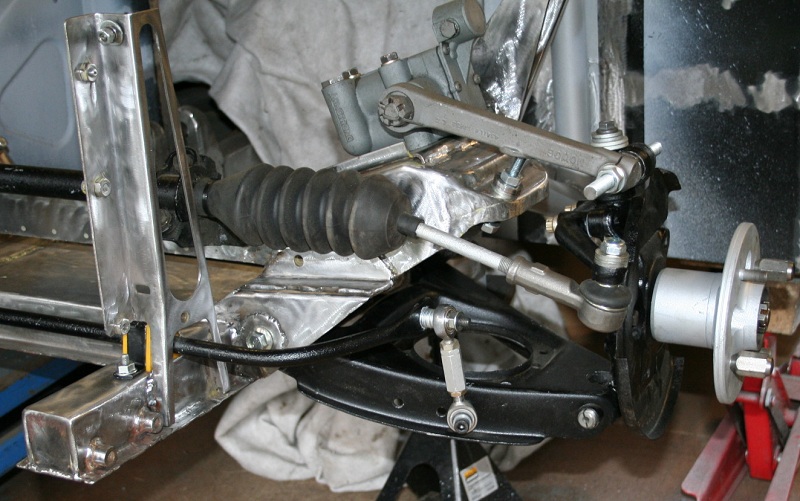
And this is the new, the lower opening has increased in size and the legs have been splayed further apart in order to miss the bar itself, you can see the forward leg is now right next to the bosses in the side of the chassis leg.

This shows how close the bar is to the front leg in order to be in the same fore / aft position as standard

A general view, quite happy with the drop link now and its movement through the full suspension travel
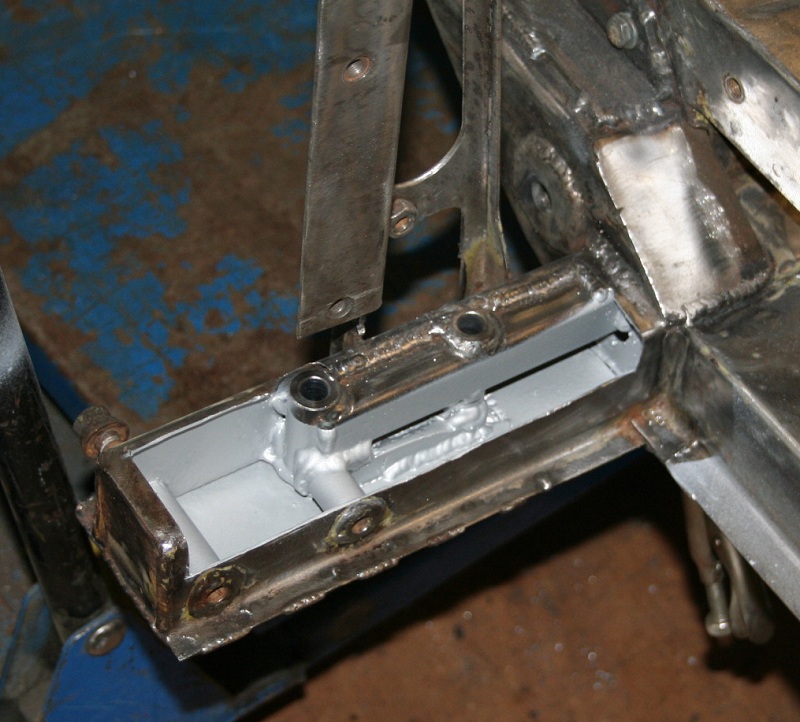
Getting the RH FARB mount stiffening done
Primed and painted inside before the top goes back on
While wainting for the paint to dry I started the on the attachments for the spits
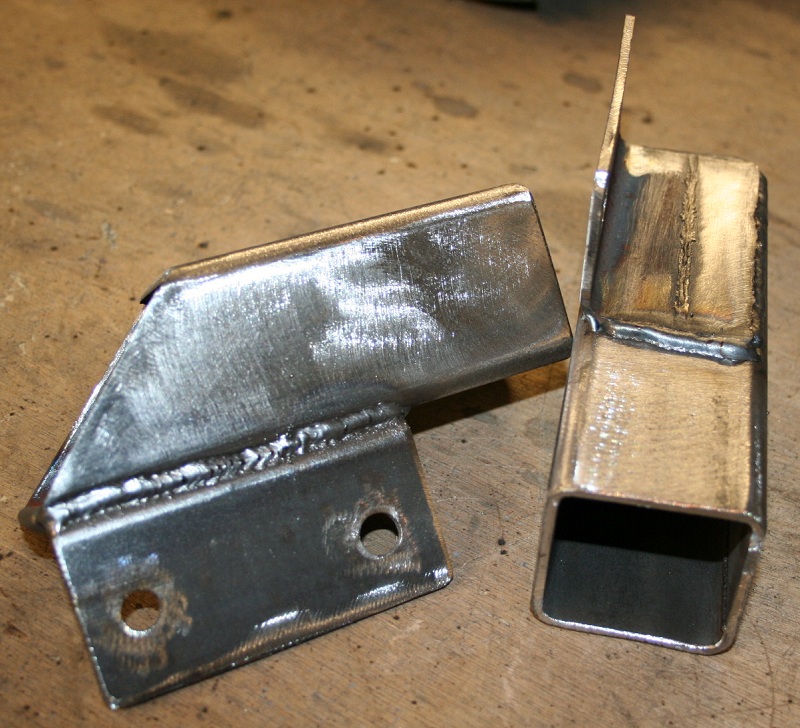
Plan is to attach them from the front bumper mounts (once the internal stiffening is finished)
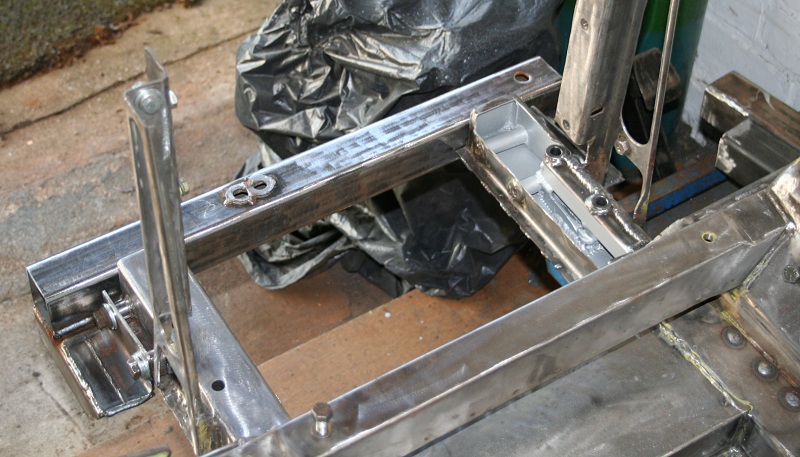
At last the FARB mount stiffening is done...

Well nearly I still need to splay the legs of the RH side to clear the bar itself, but will do that once its on the spit
Also added a little more lightness
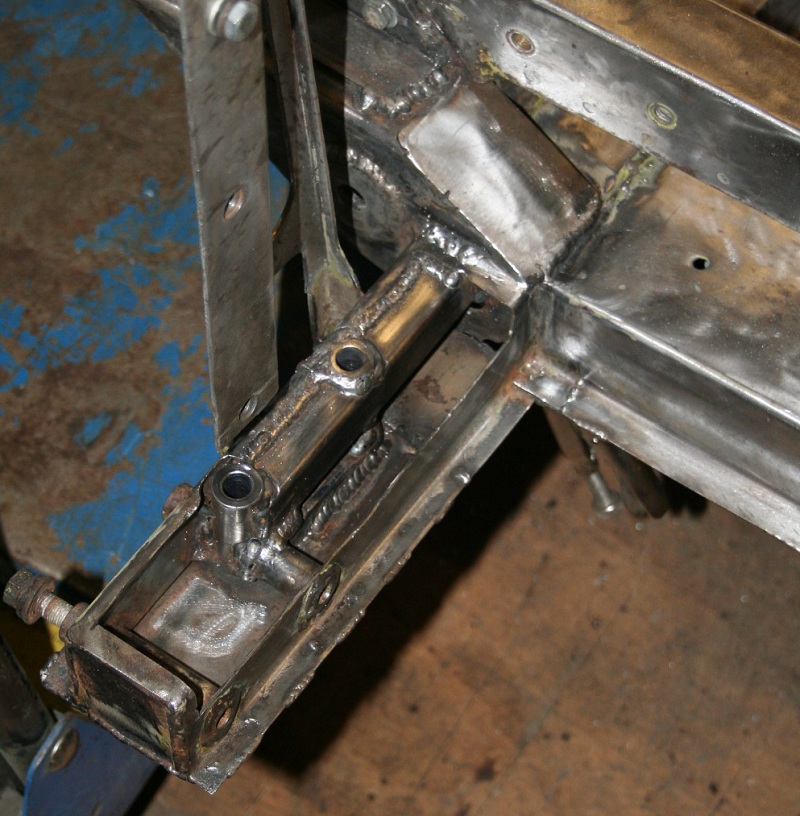
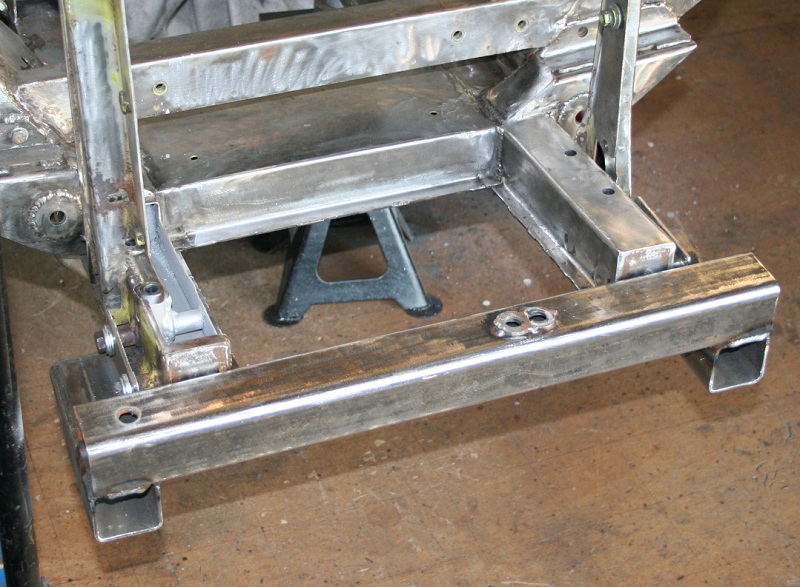
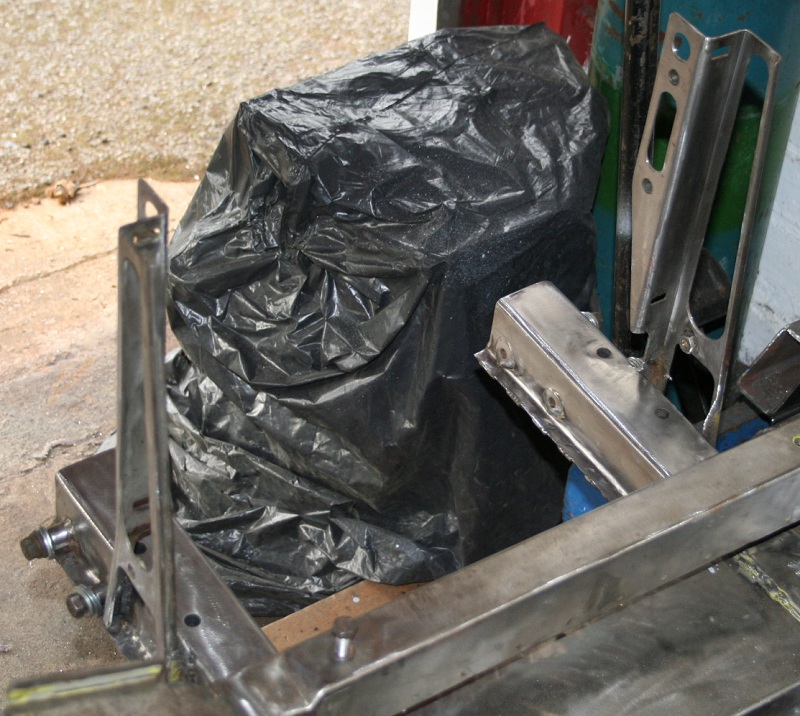
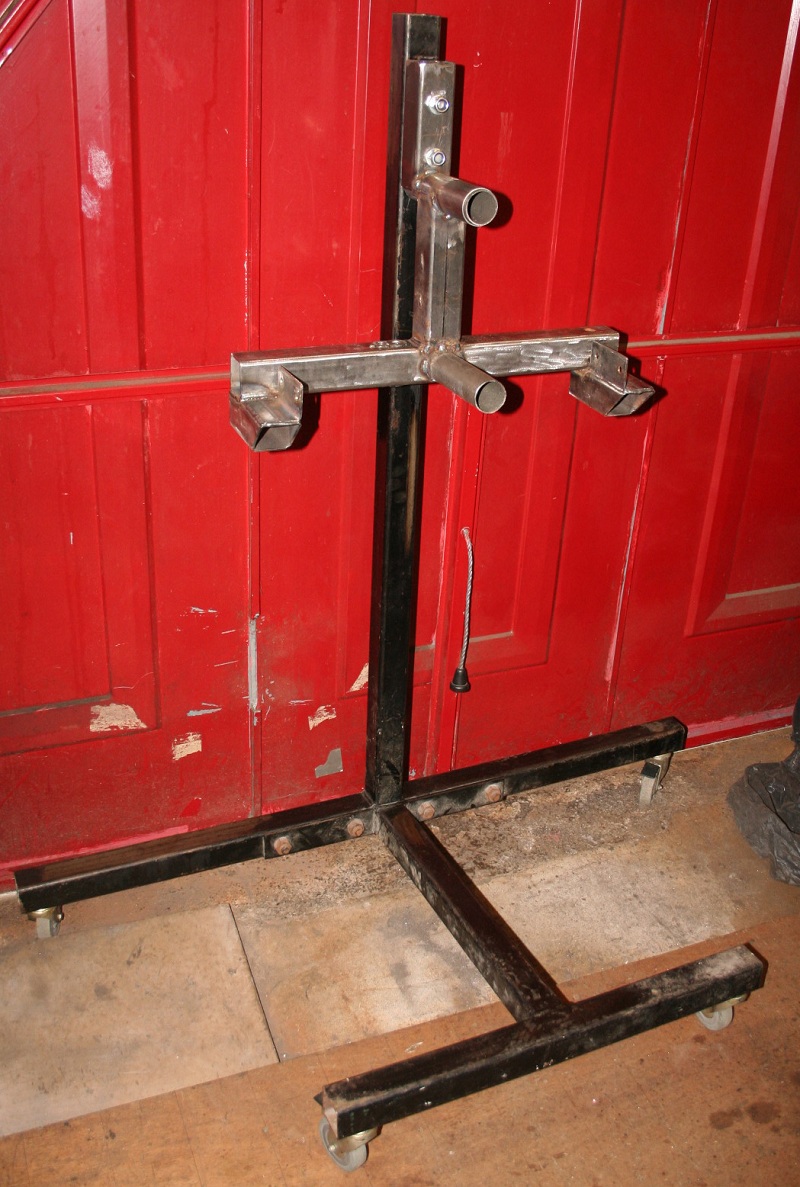
Also whilst it didn't feel productive as I haven't been working directly on the car I finished the front spit mount this morning:
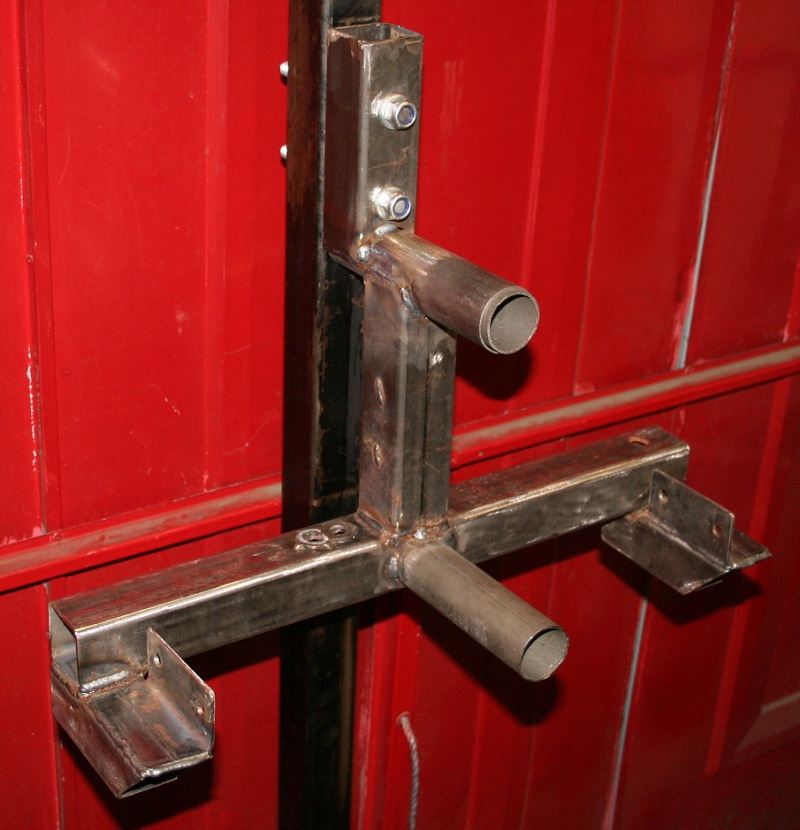
Bolted to the spit itself, just bolted in the existing holes at the moment until I decide how high the shell needs to be clear when rotated
Ordered the bits I will need next once on the spit:
New full floor
New full boot floor
Already got the inner and outer rear bulkheads
Cheers