1971 VW full build (warning lots of pics)
Posted: Tue Oct 08, 2013 11:02 am
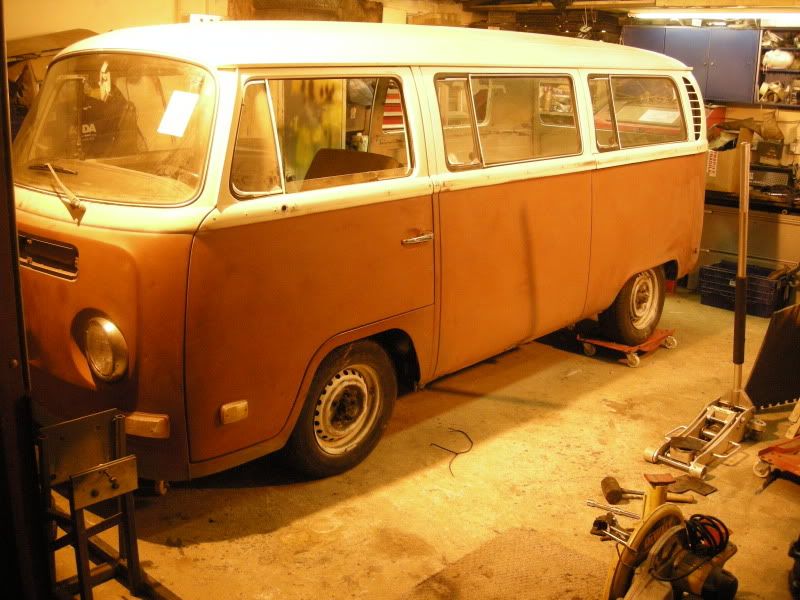
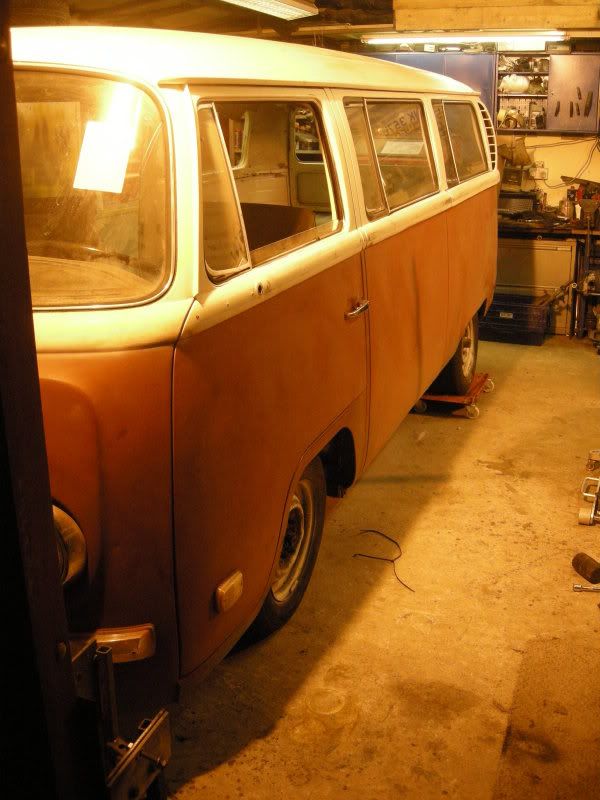
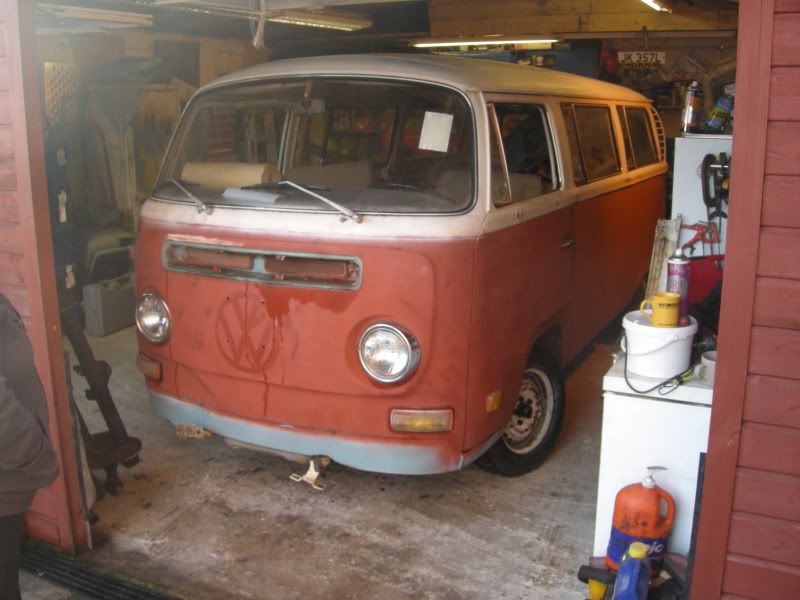
Here my new project, it was suppose to be a quick rolling resto but things have moved on a little already from that...
Apologies as the first 12 months worth of work have been copied and pasted so some of it might not make sense
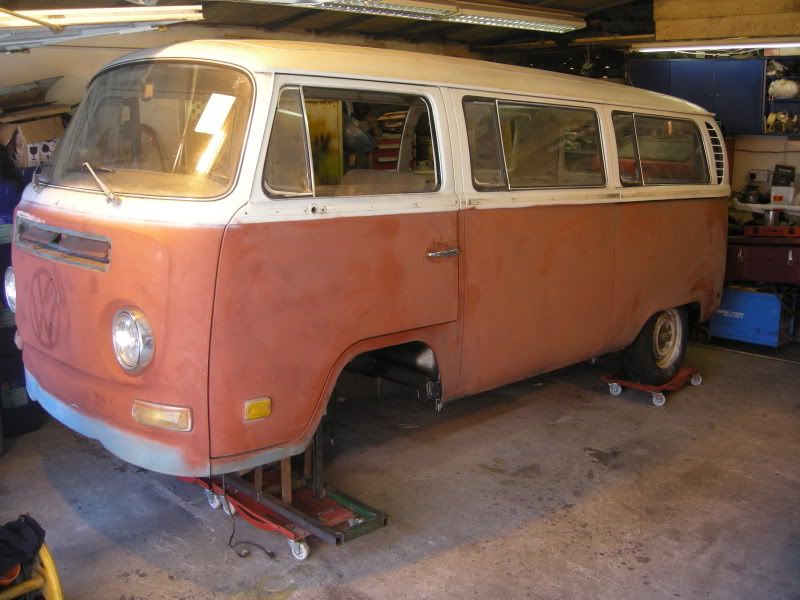
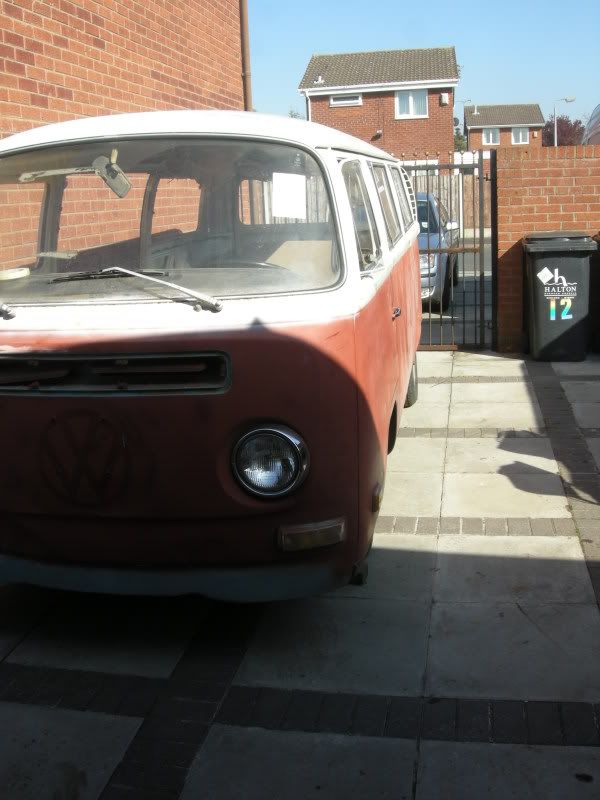
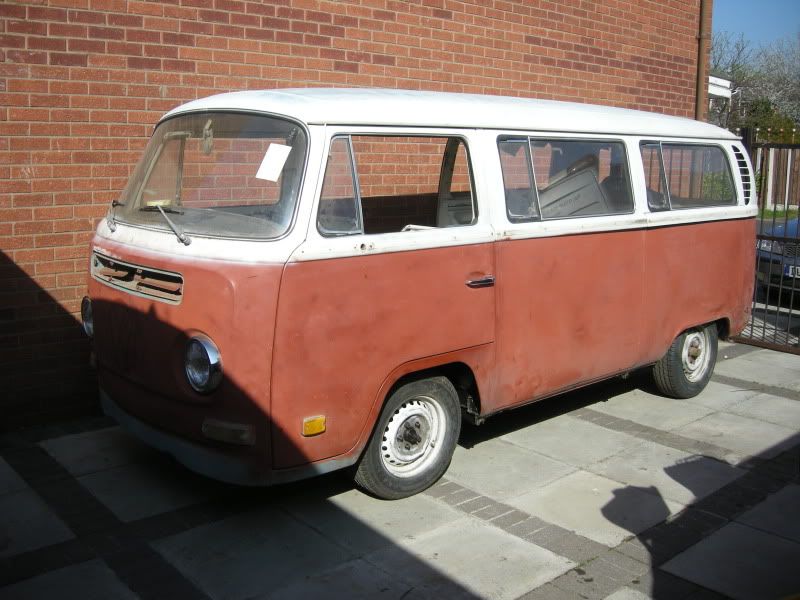
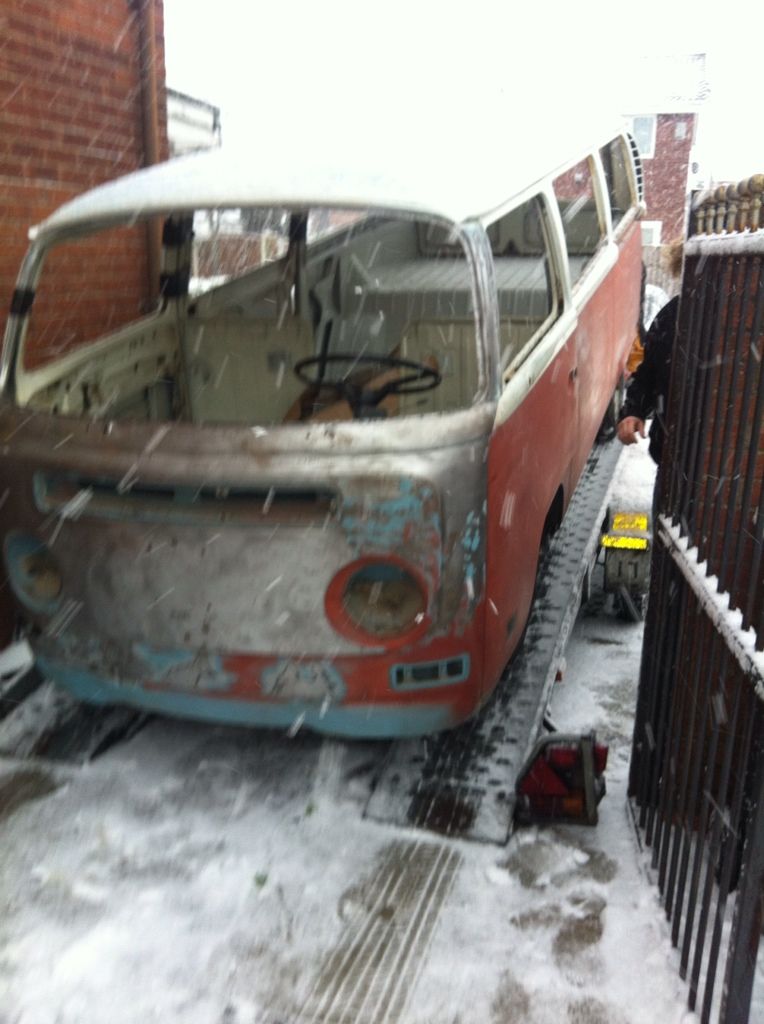
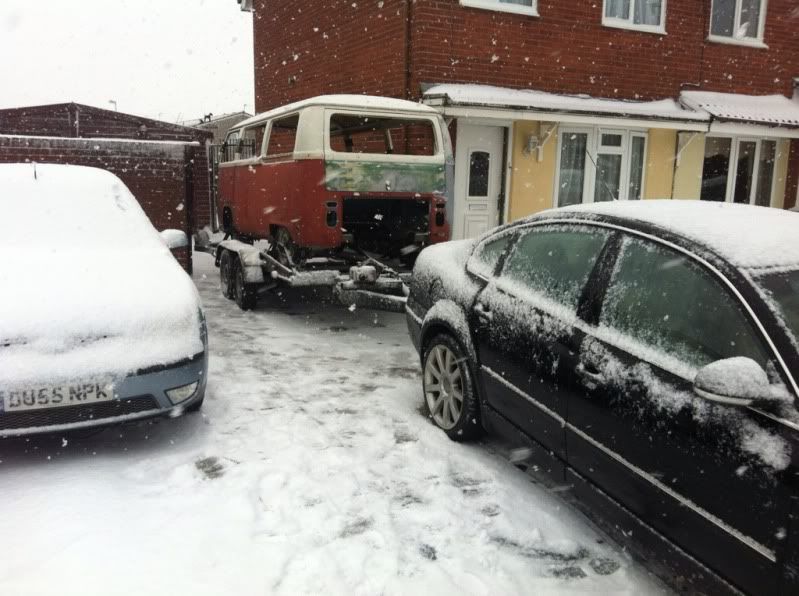
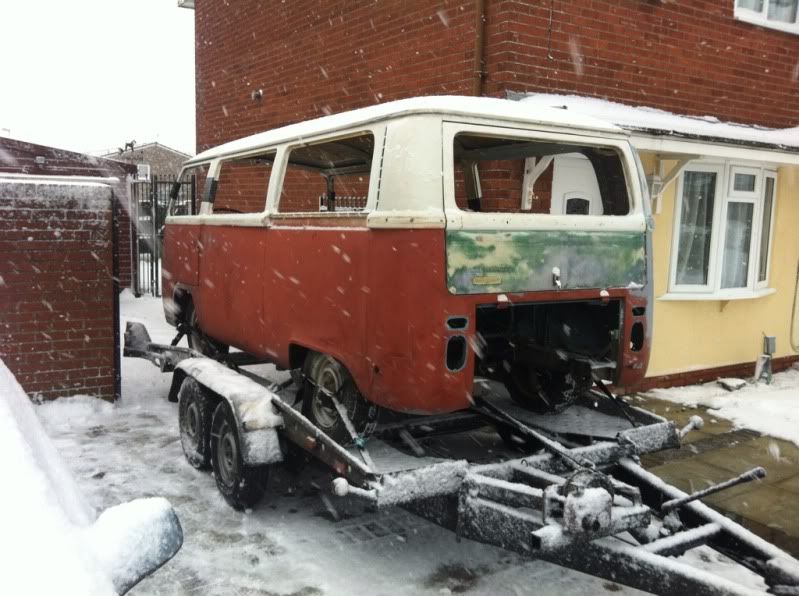
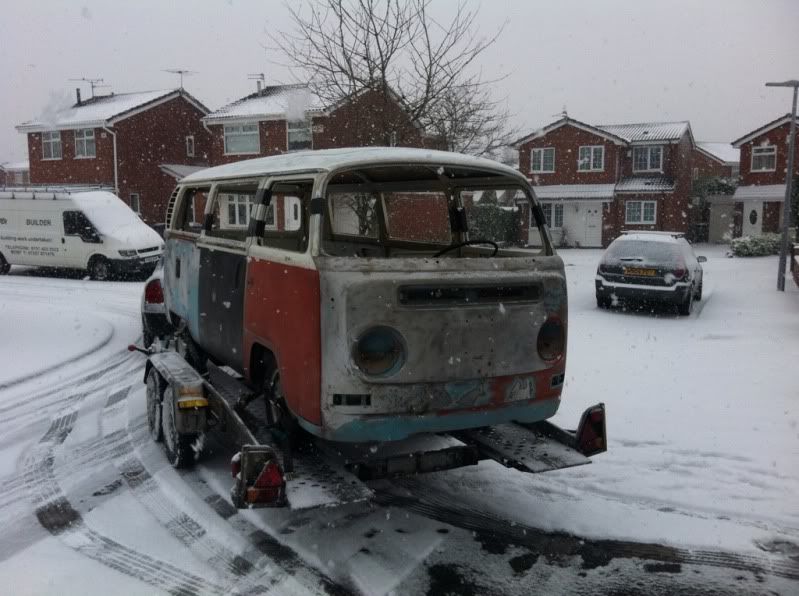
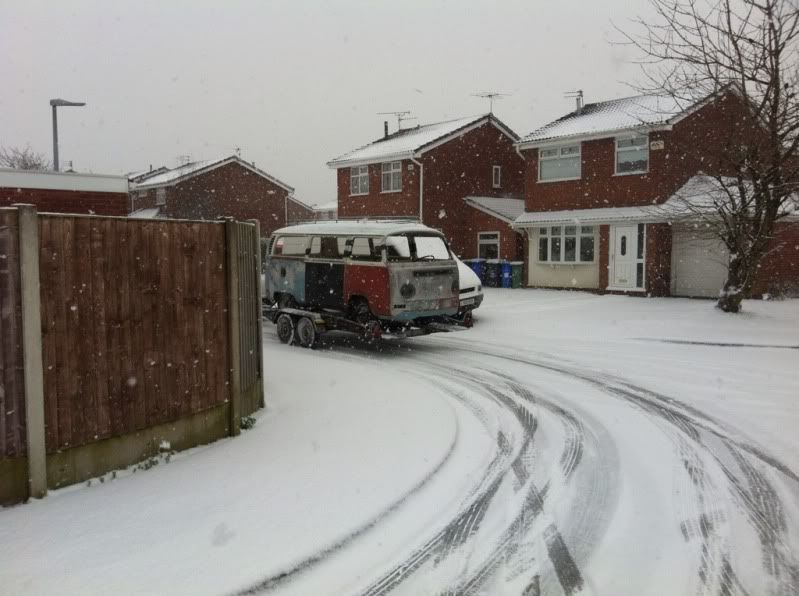
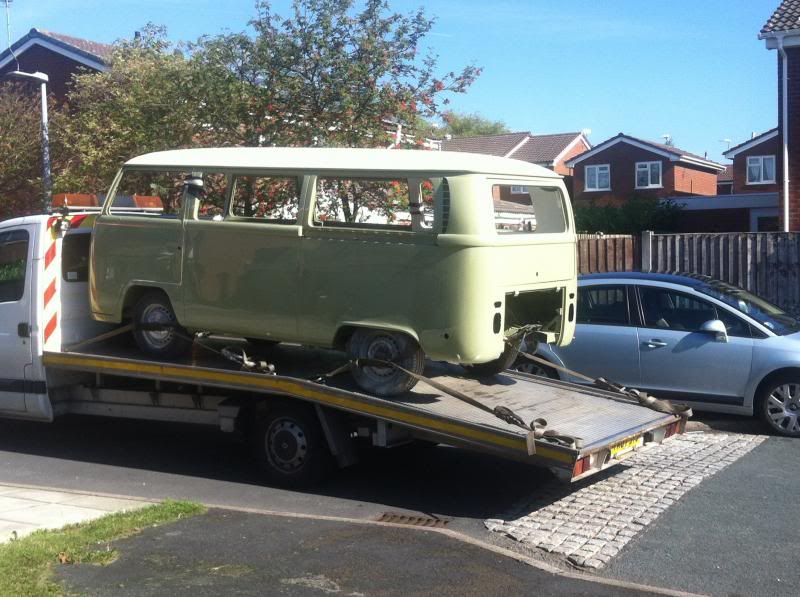
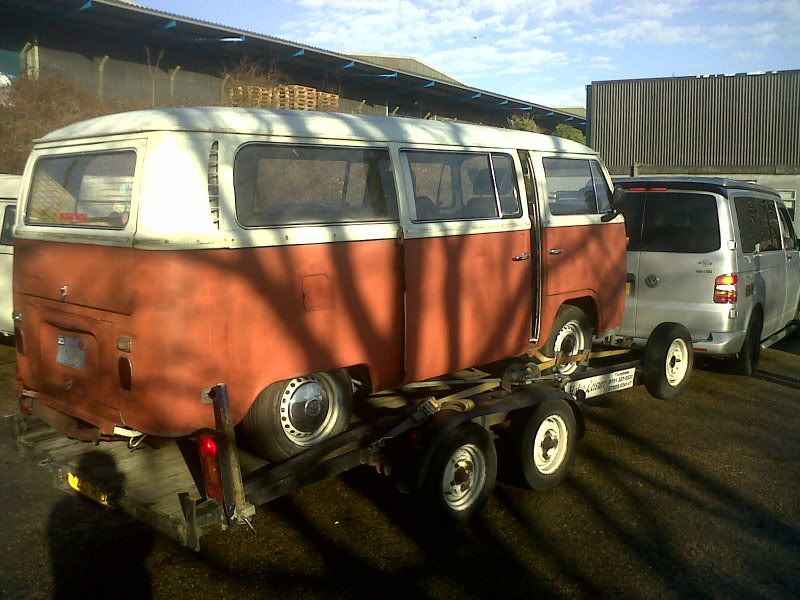
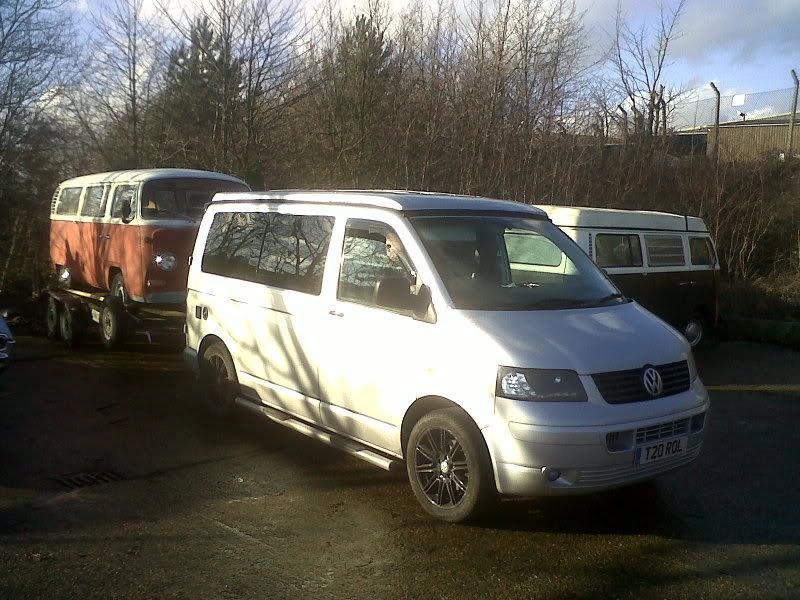
Collected from Felixstowe January 2012,
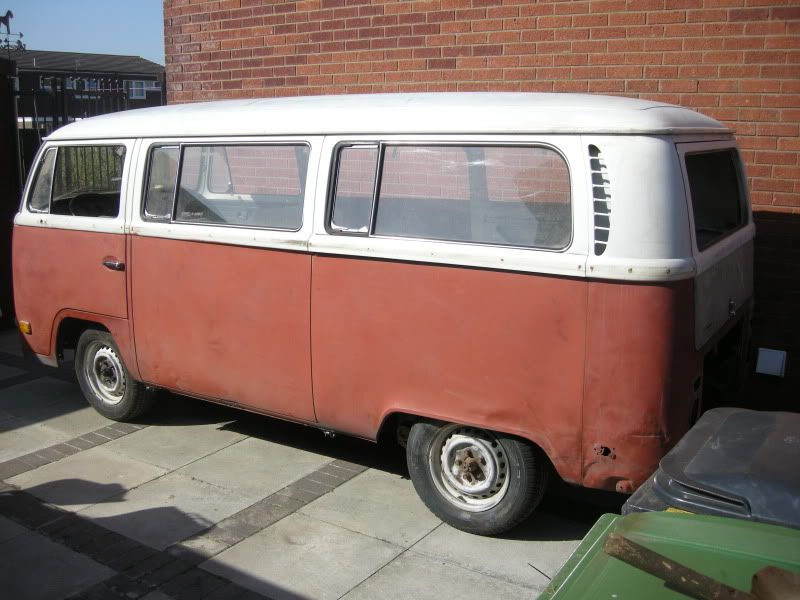
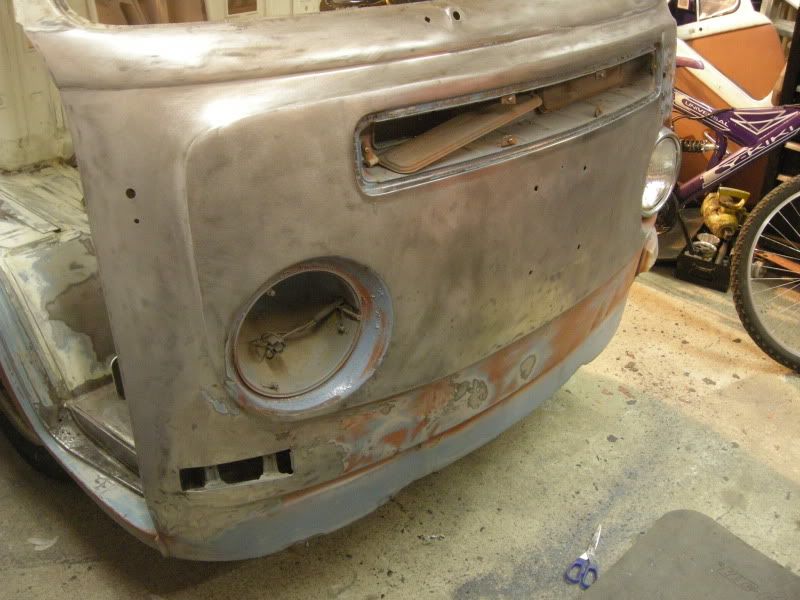
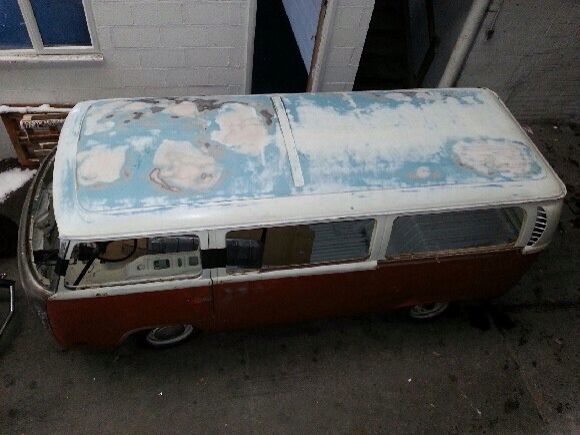
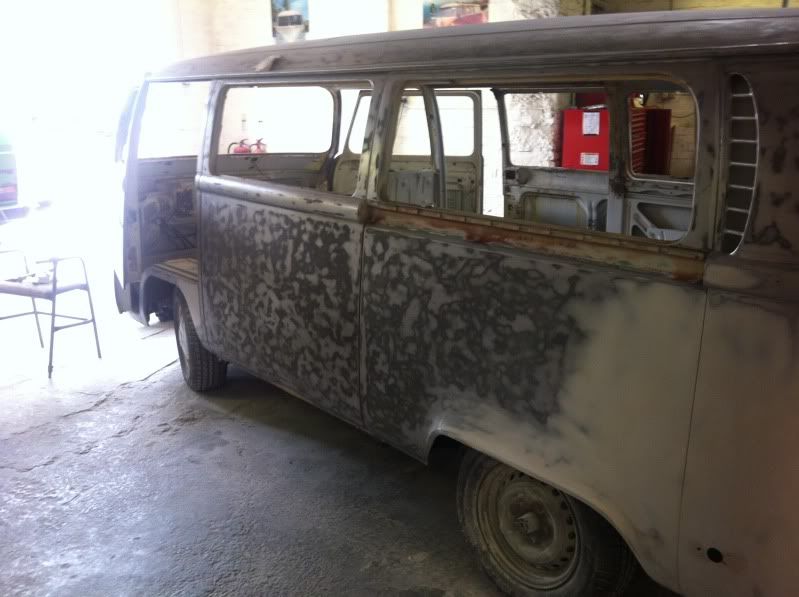
We spent Saturday basically cleaning her. All the door gaps are perfect, one key fits all locks and apart from the damage and a few dents its pretty straight.

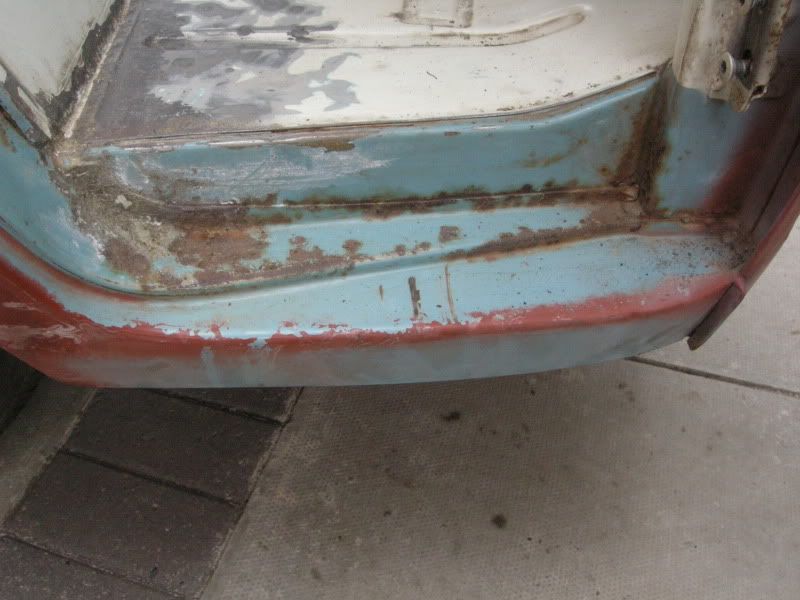
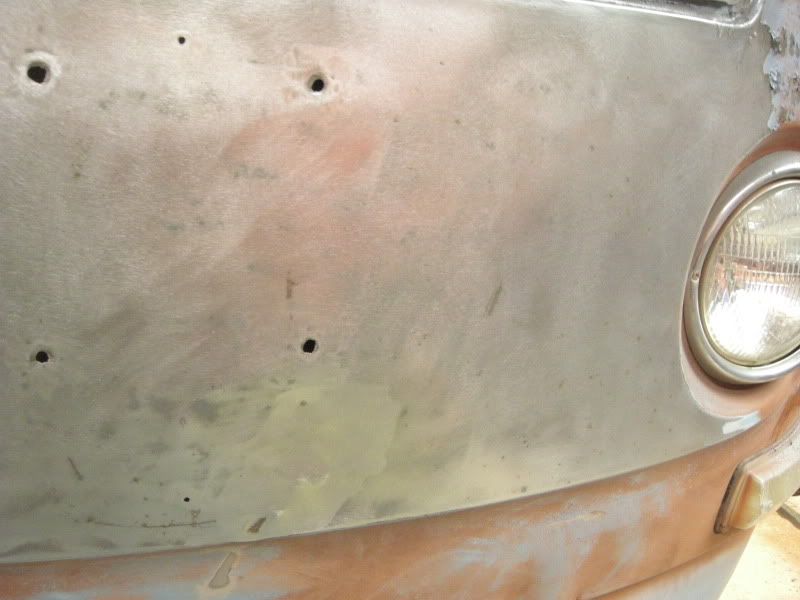
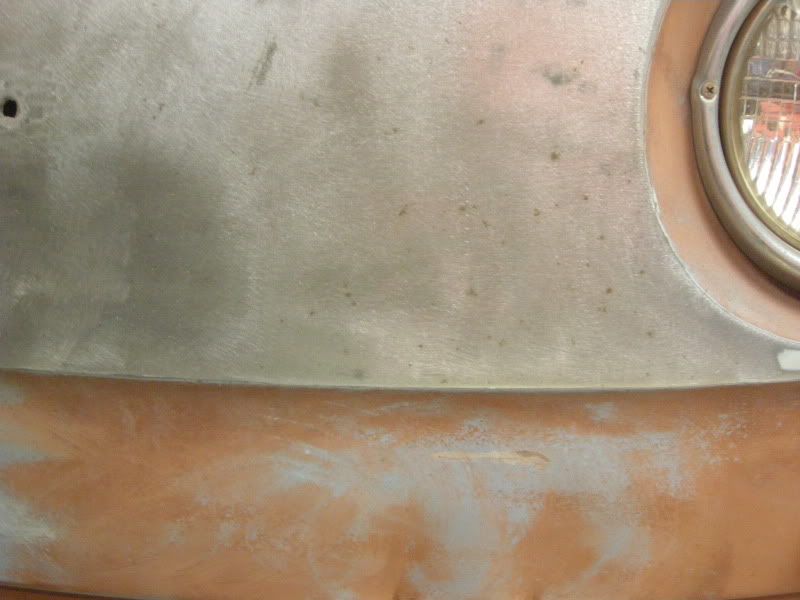
Few bits of damage
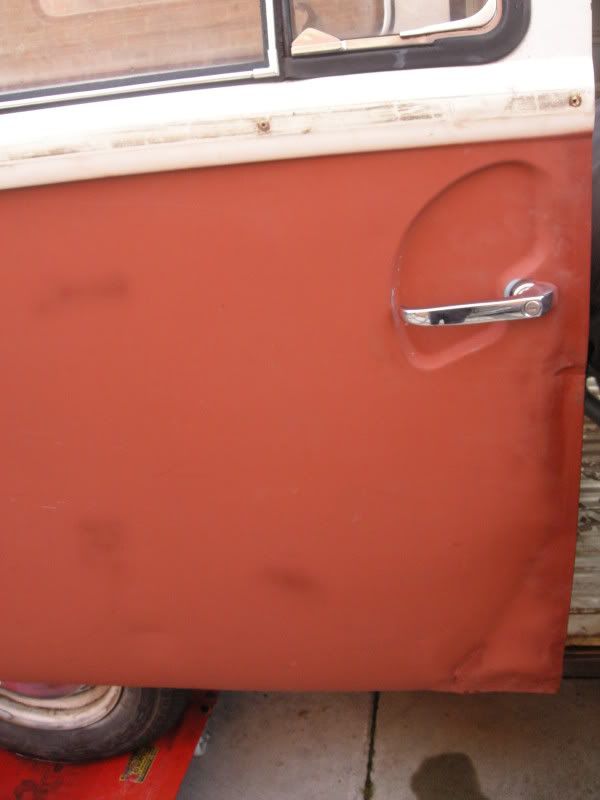
Came up pretty good after a good scrub
Before..
After..
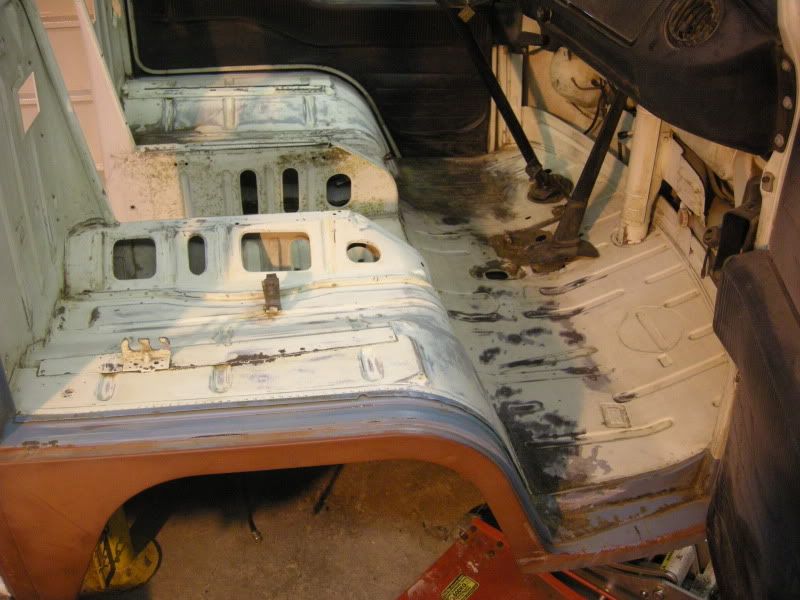
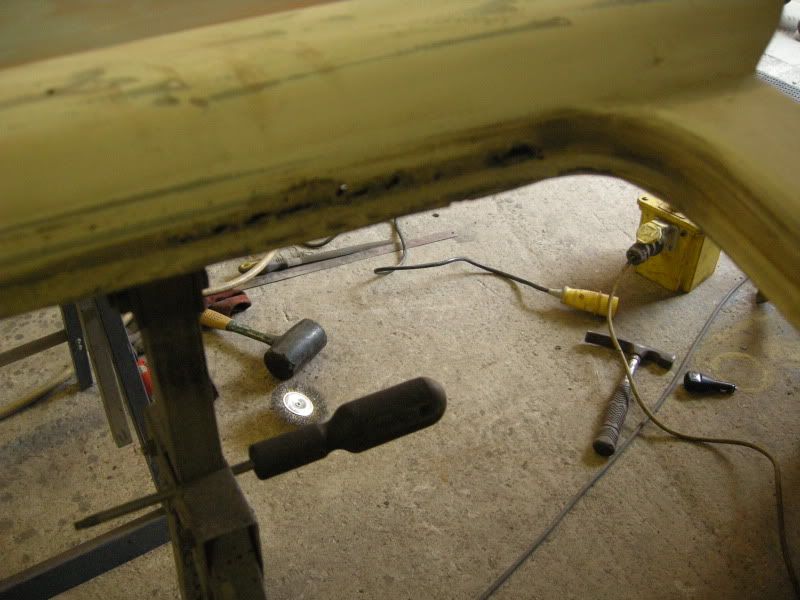
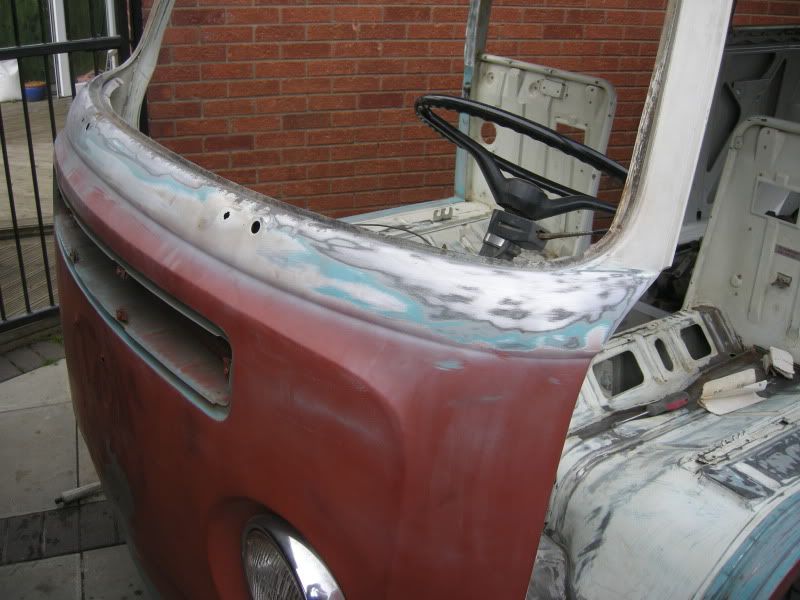
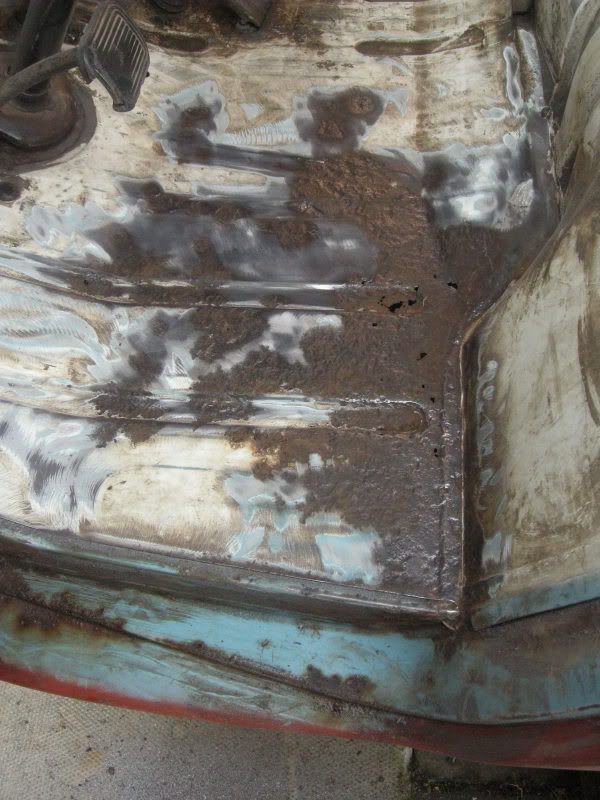
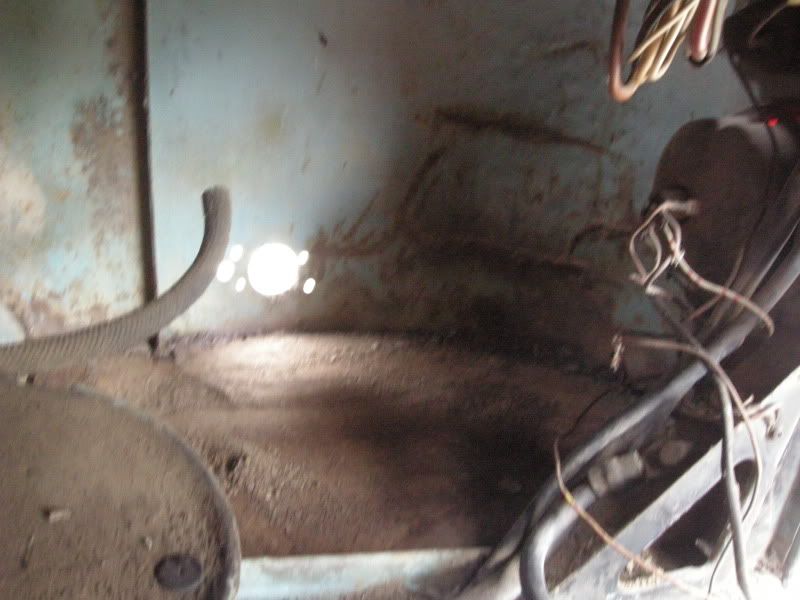
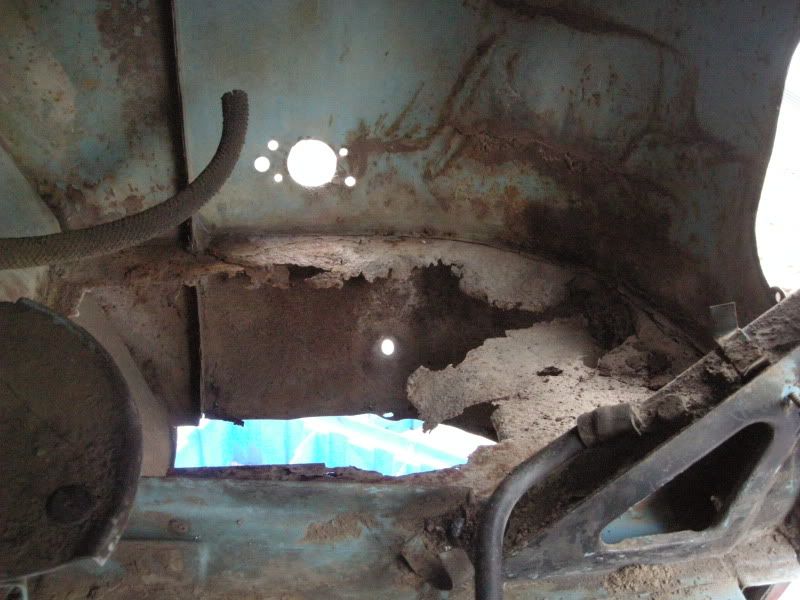
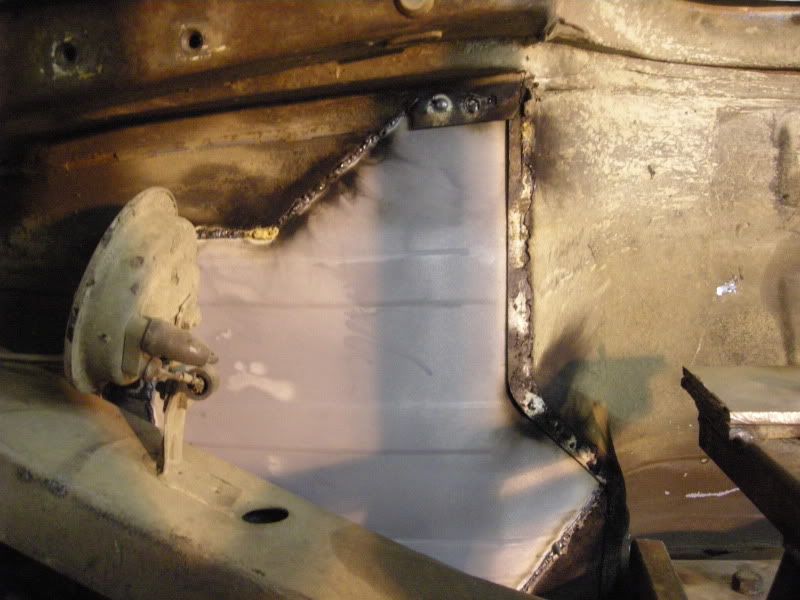
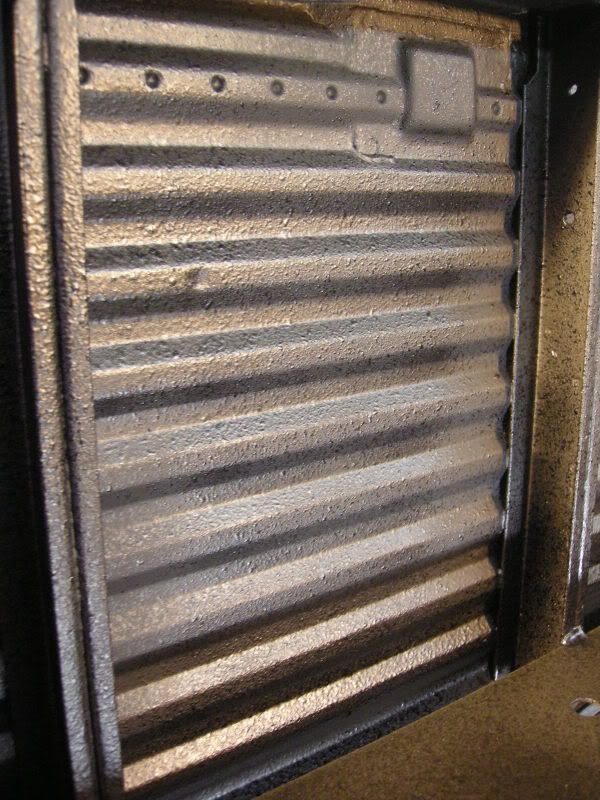
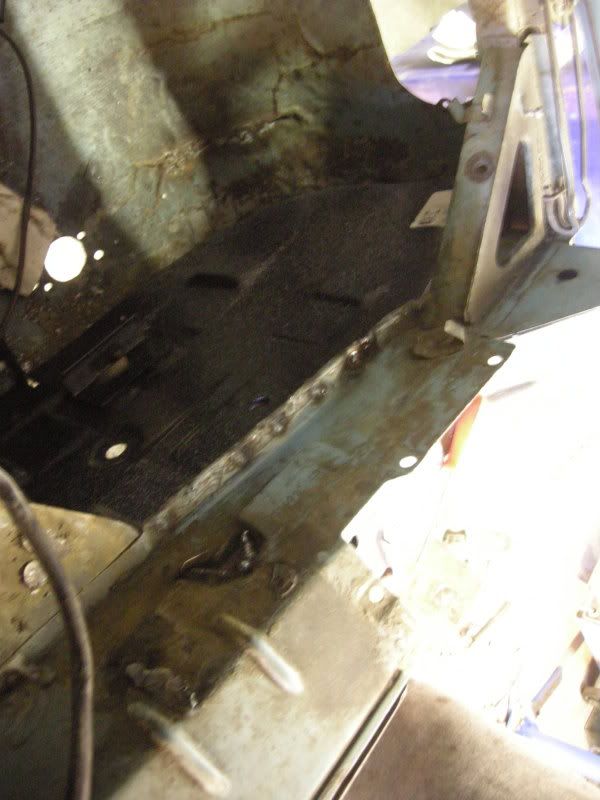
And the only real bit of rust found up to this point was the drivers foot well
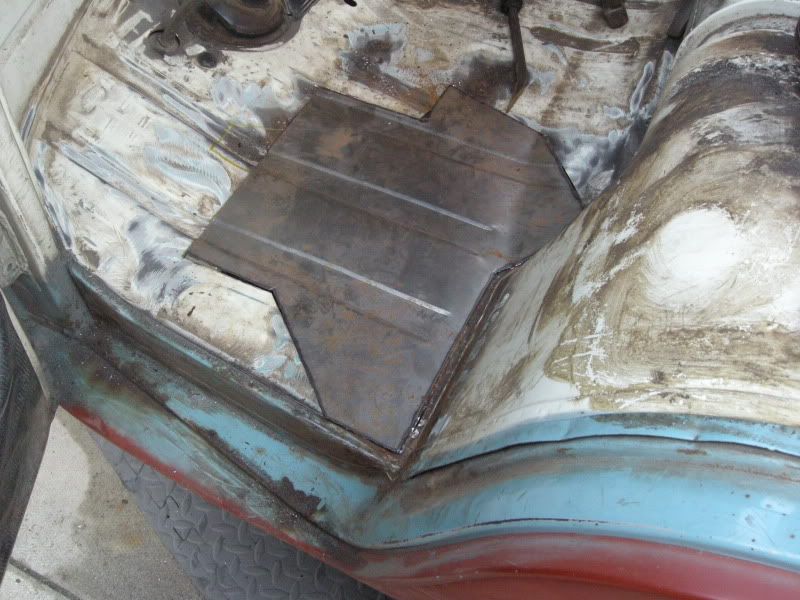
Knock up a quick repair (excuse the wonky swaging its the first time i've used my new tool )
)
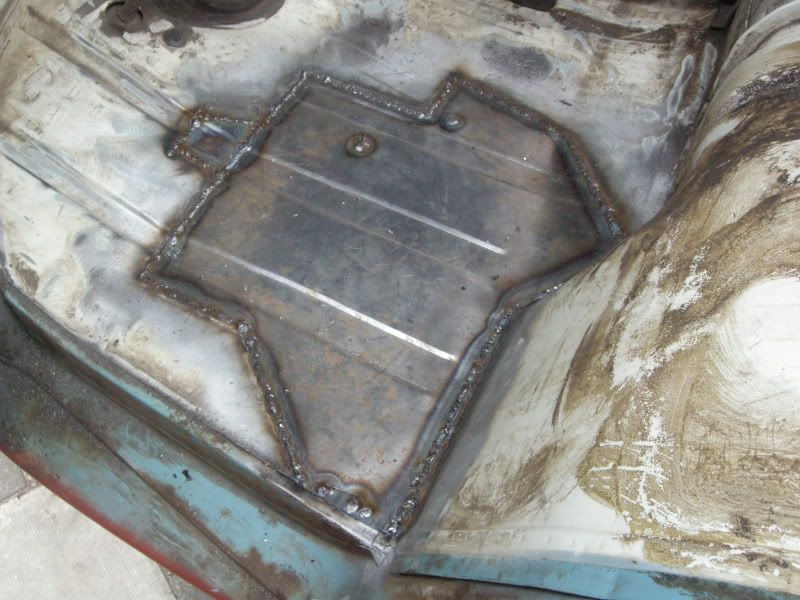
Anyway roll on to Sunday and I managed to get the repair plate welded up today
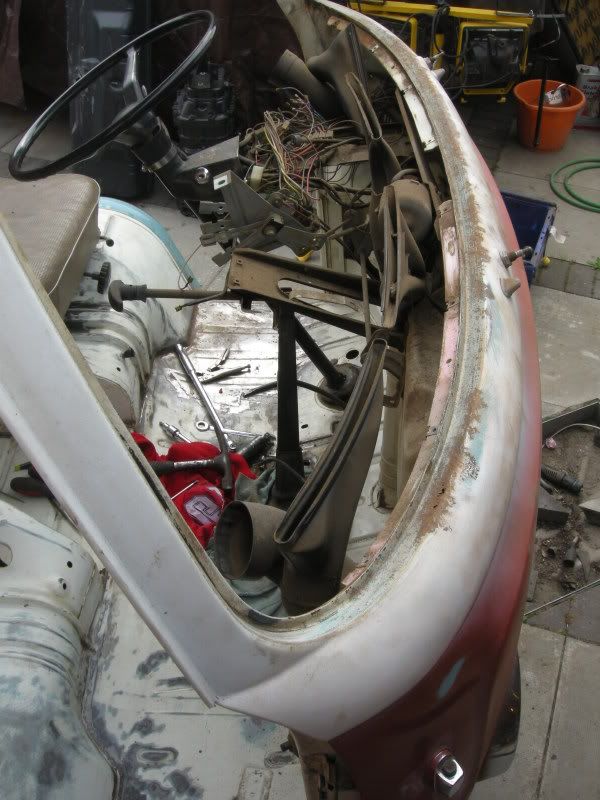
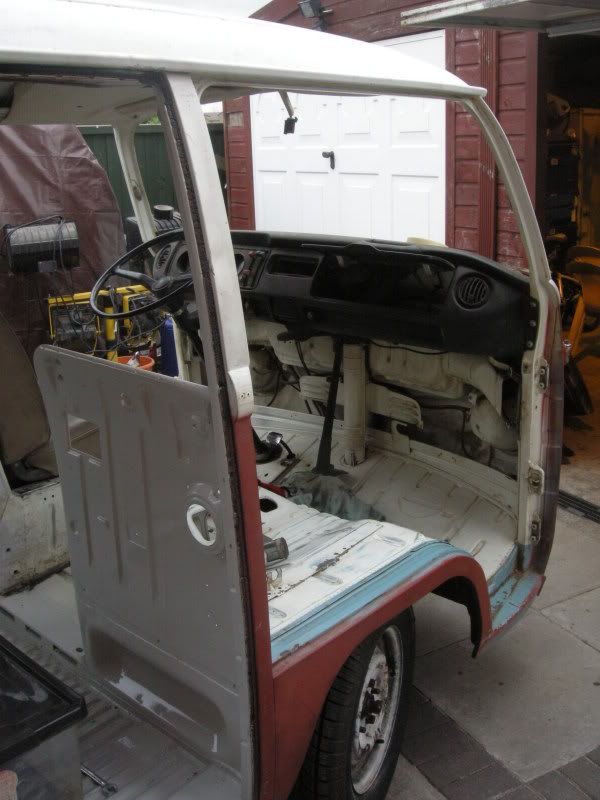
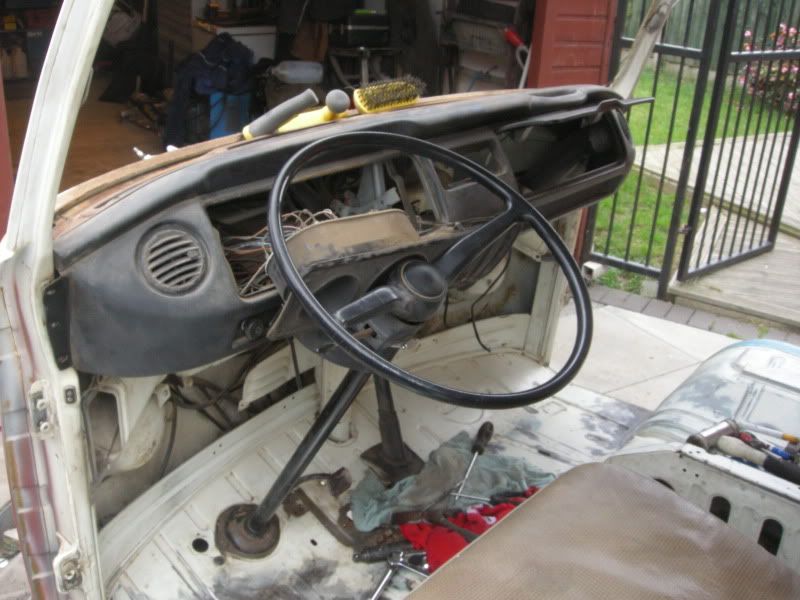
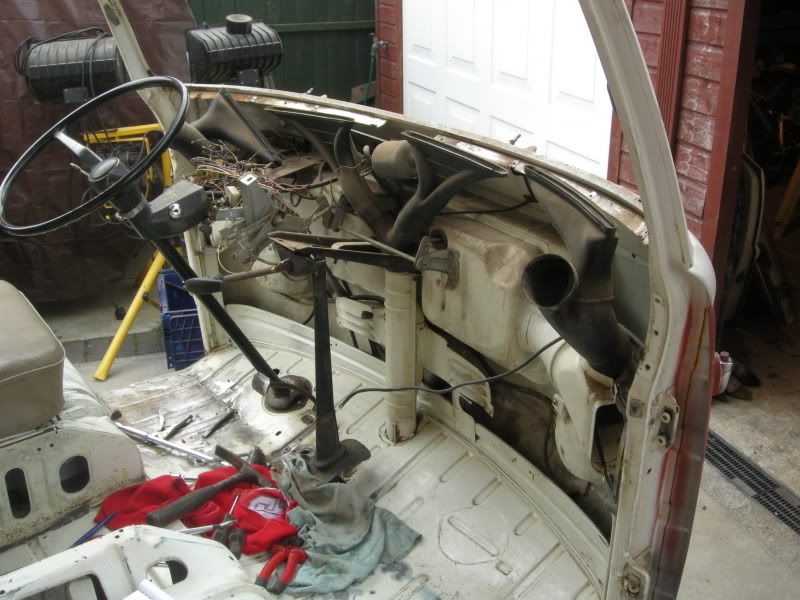
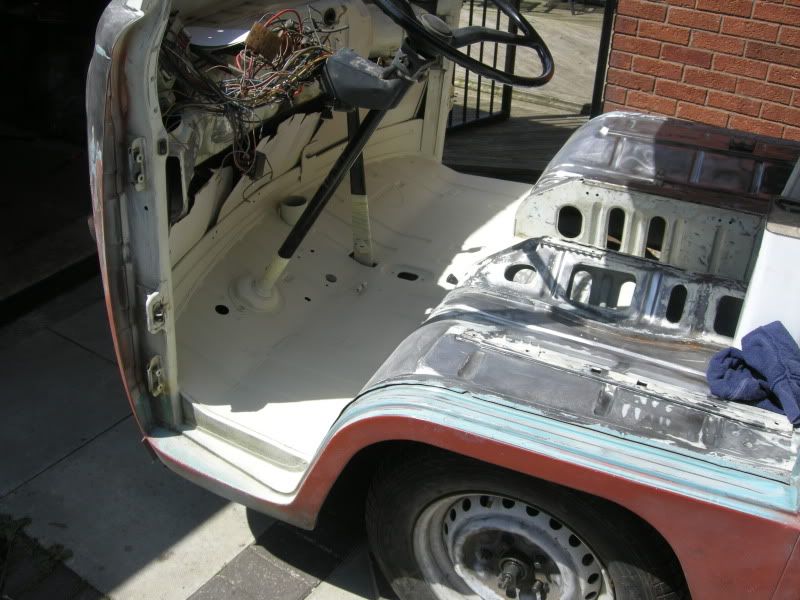
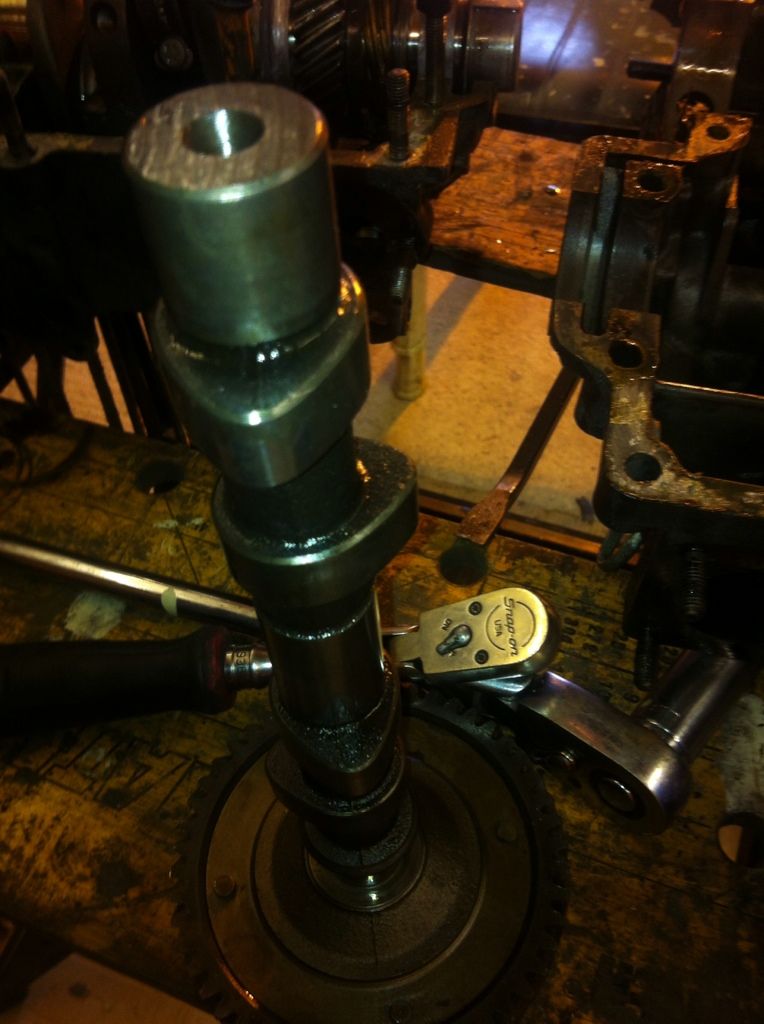
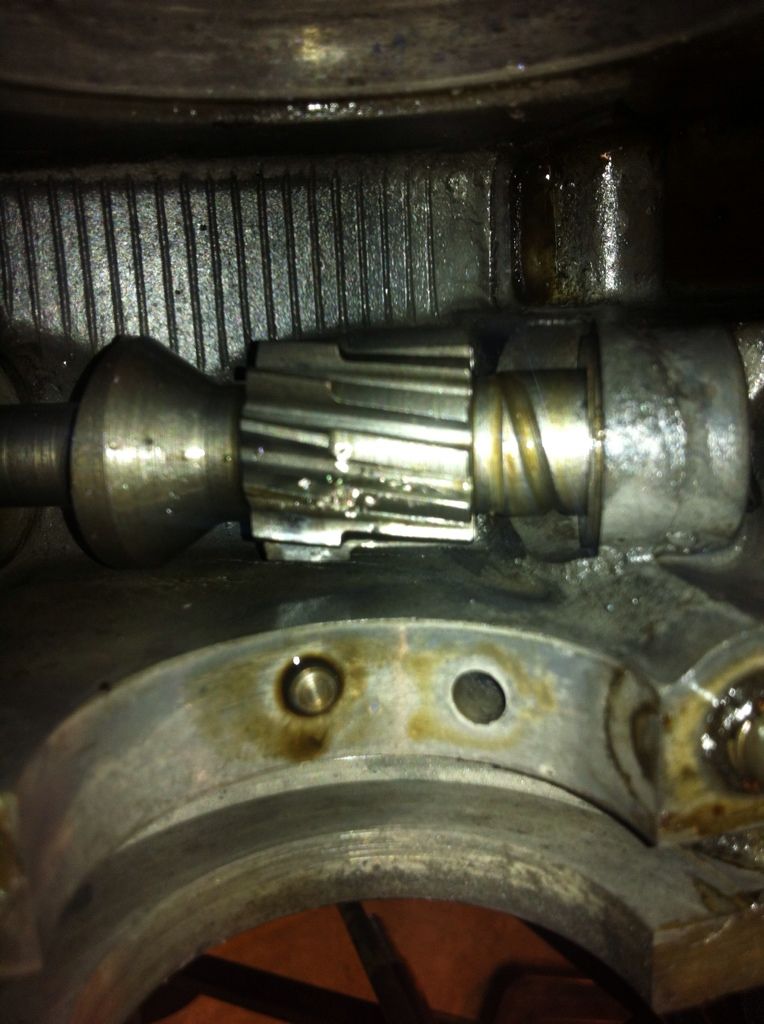
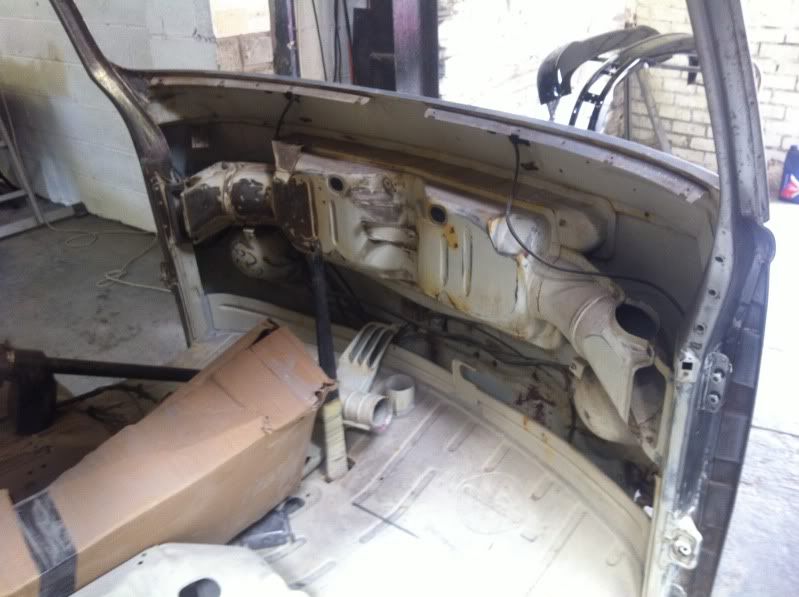
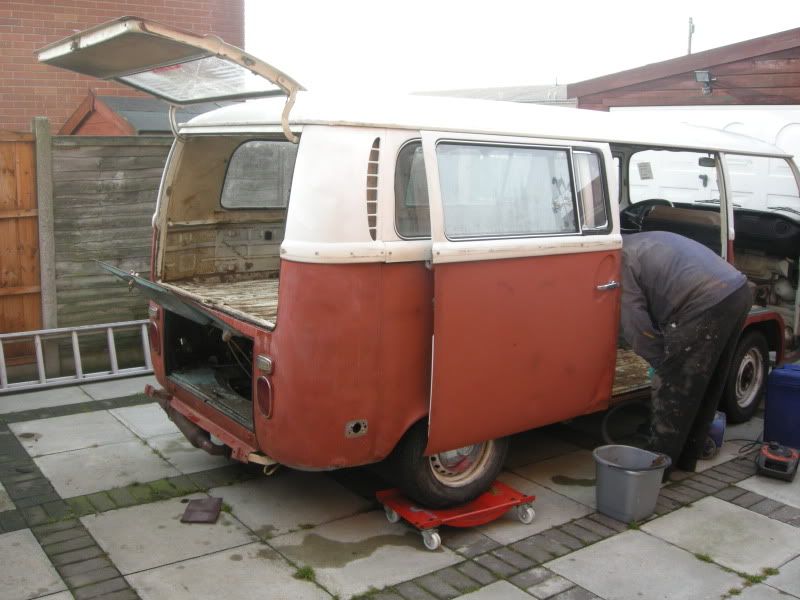
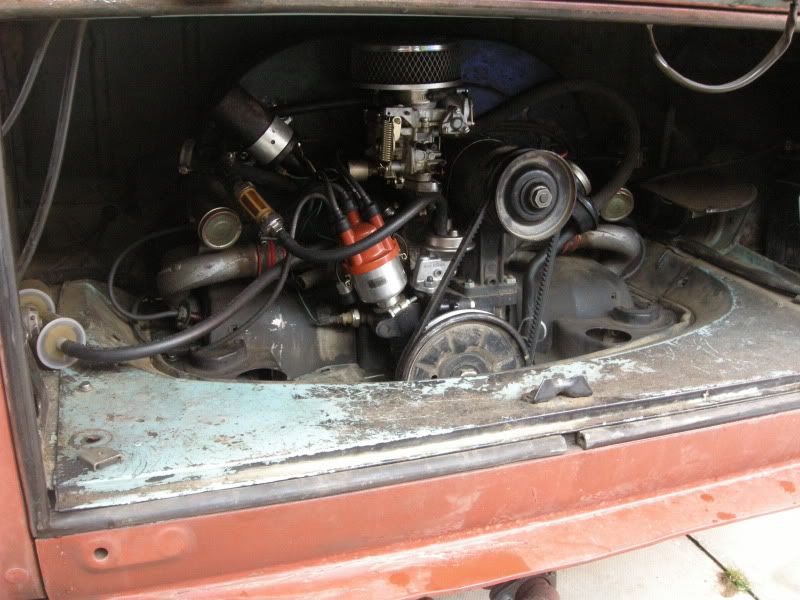
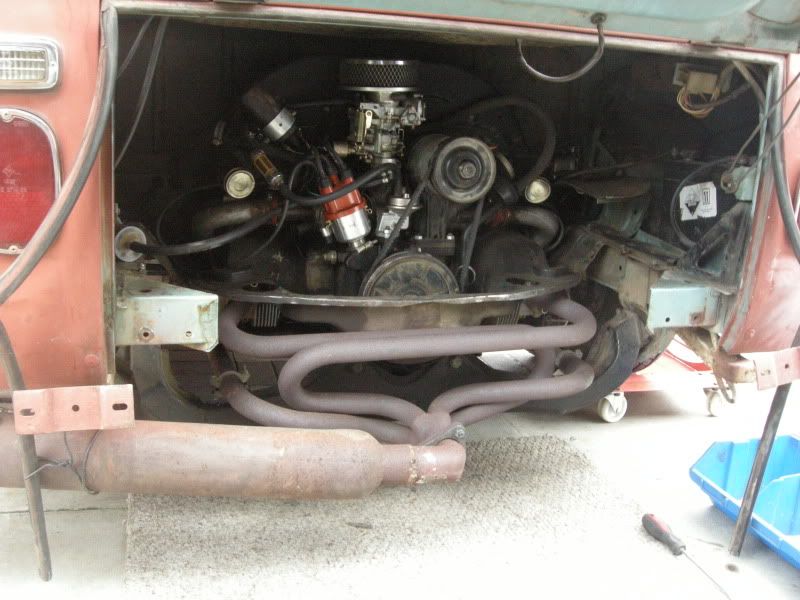
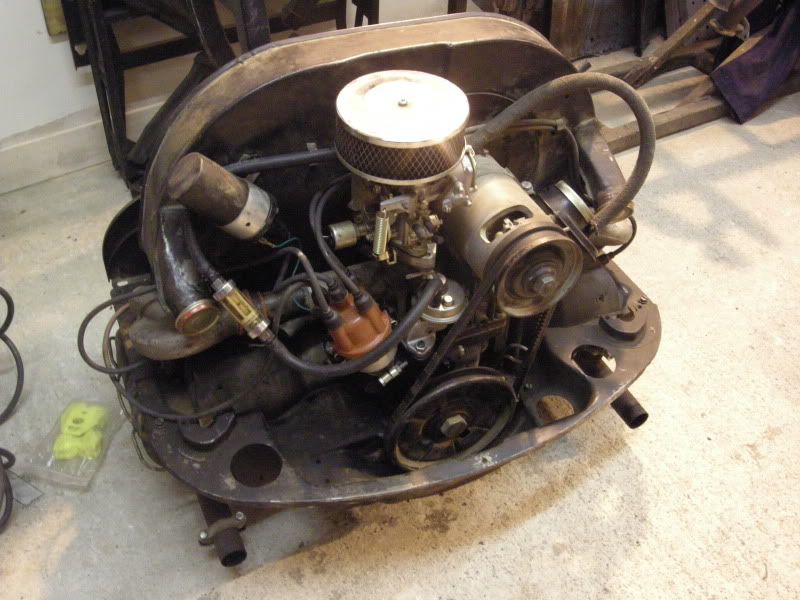
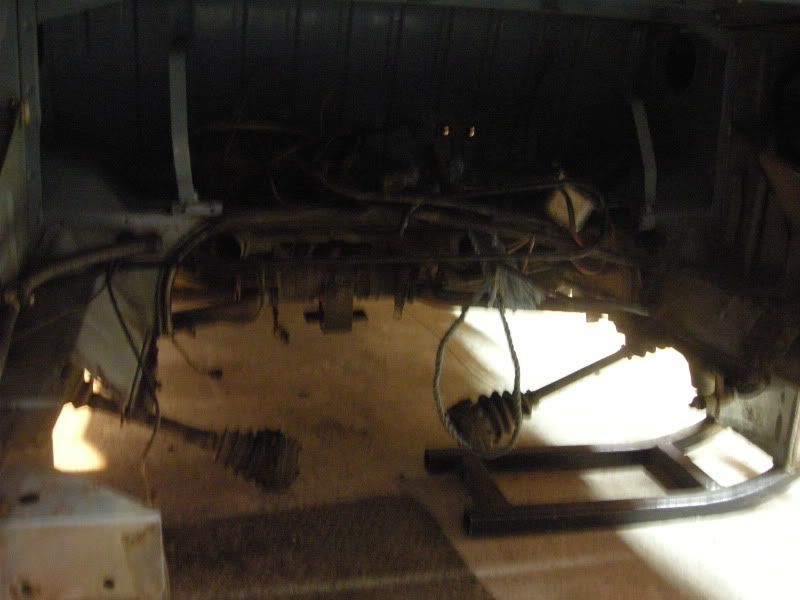
And started tearing the engine out, dogs looking bored as usual
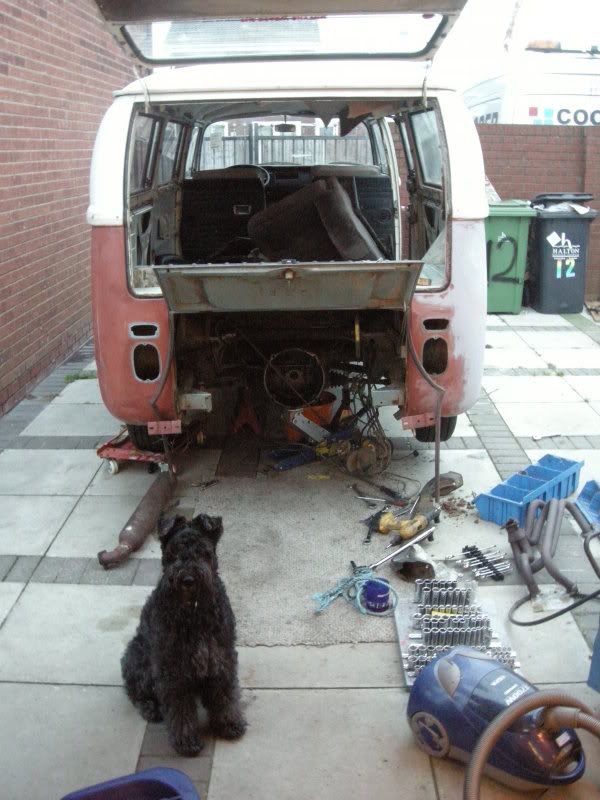
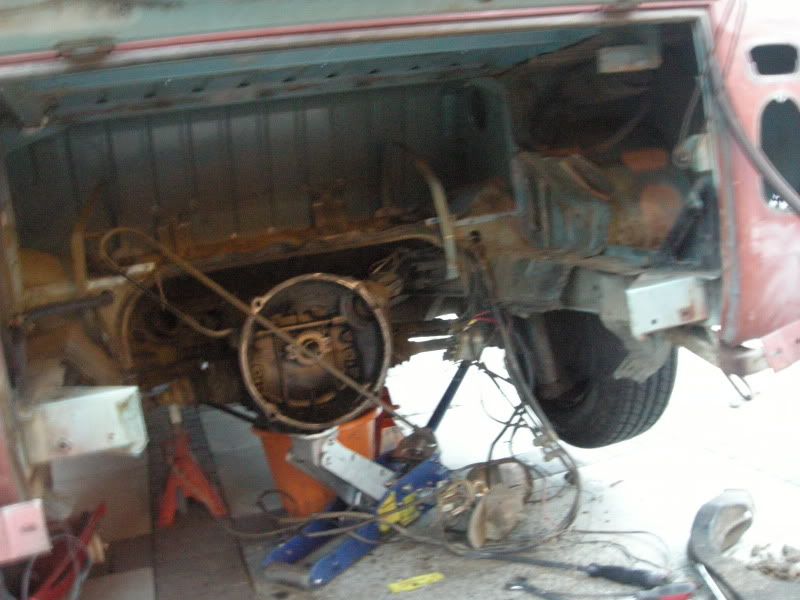
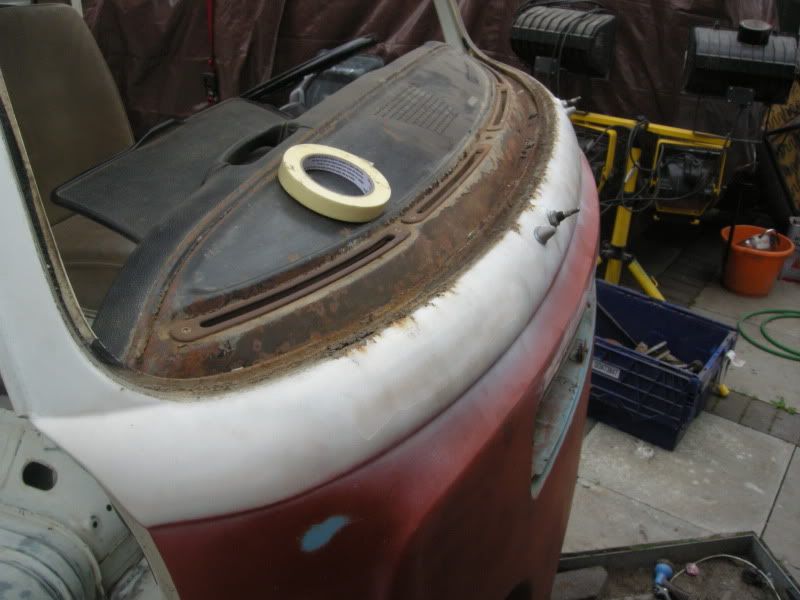
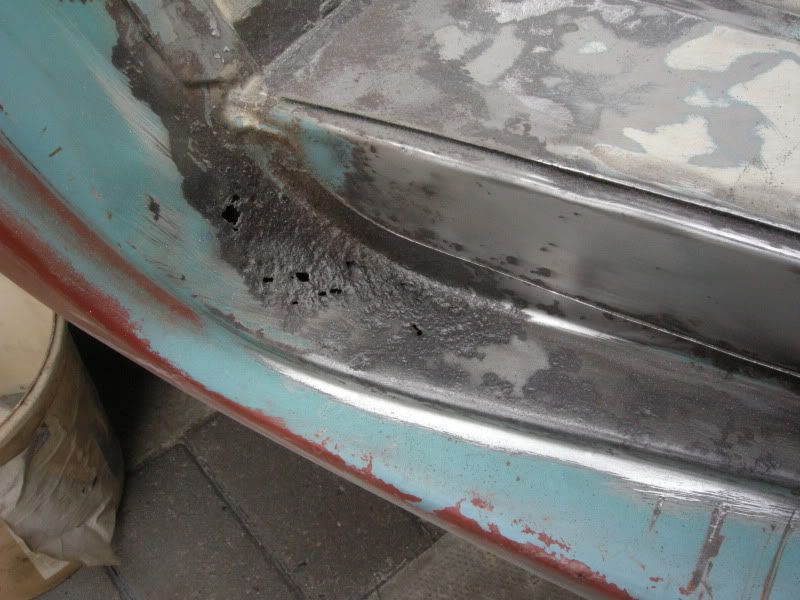
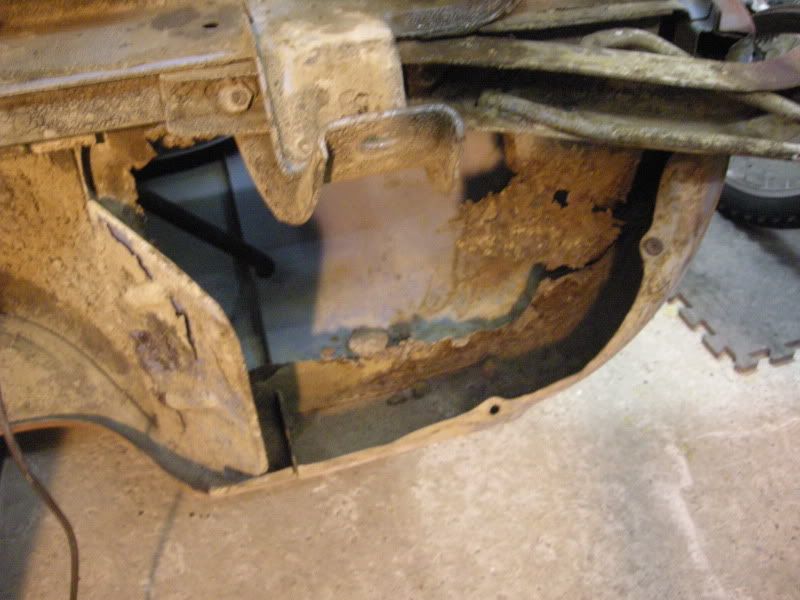
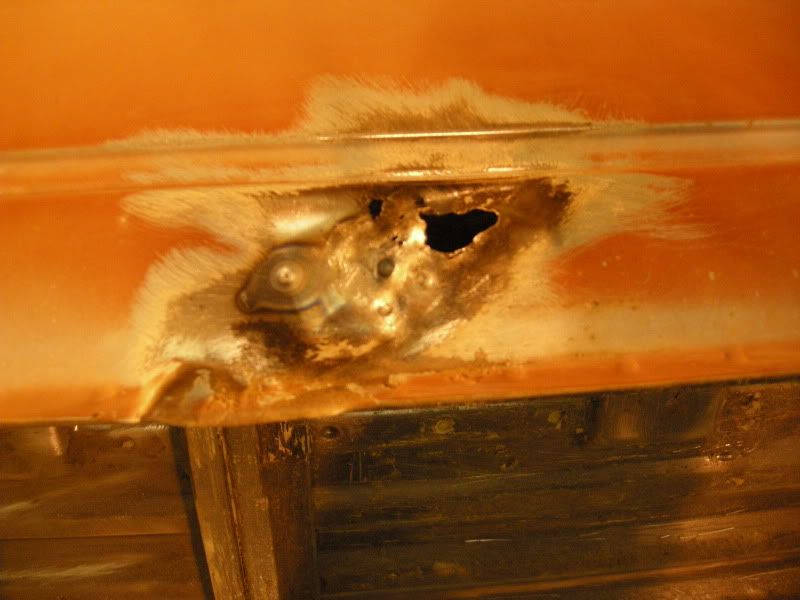
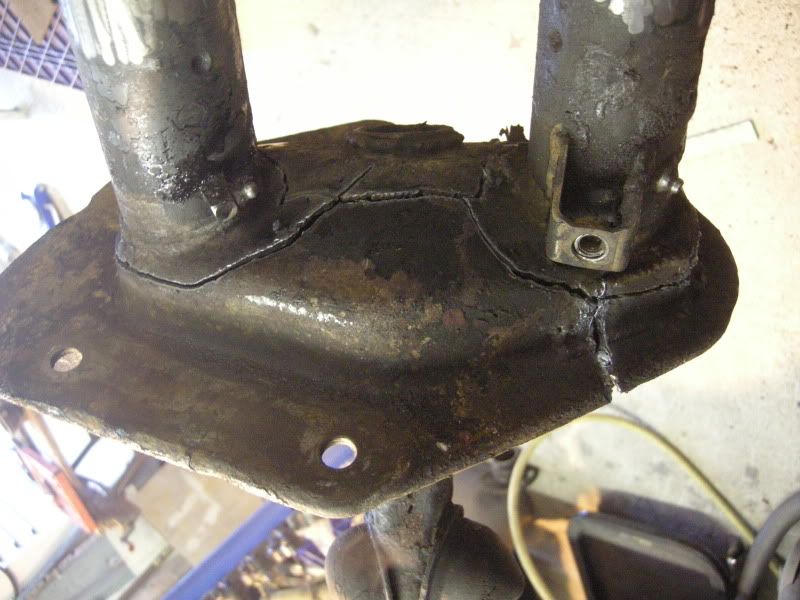
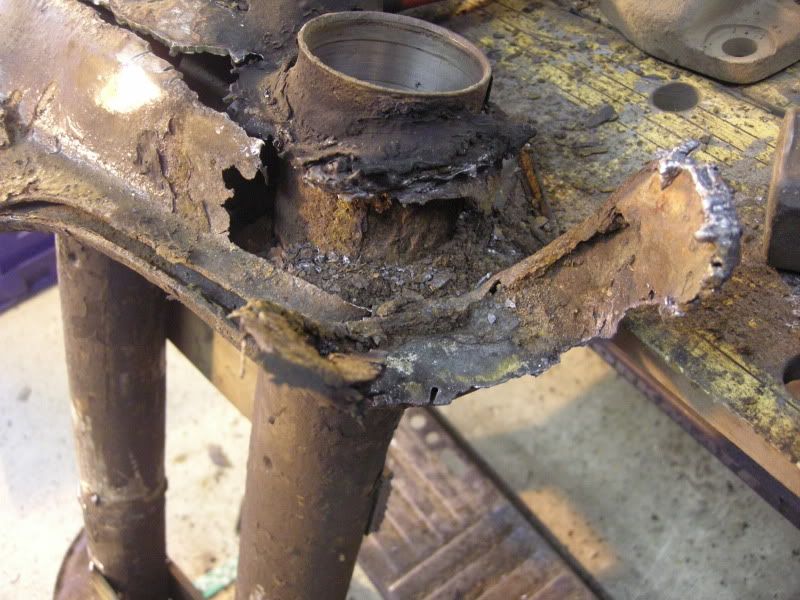
Only to find another horror, not much left of this..
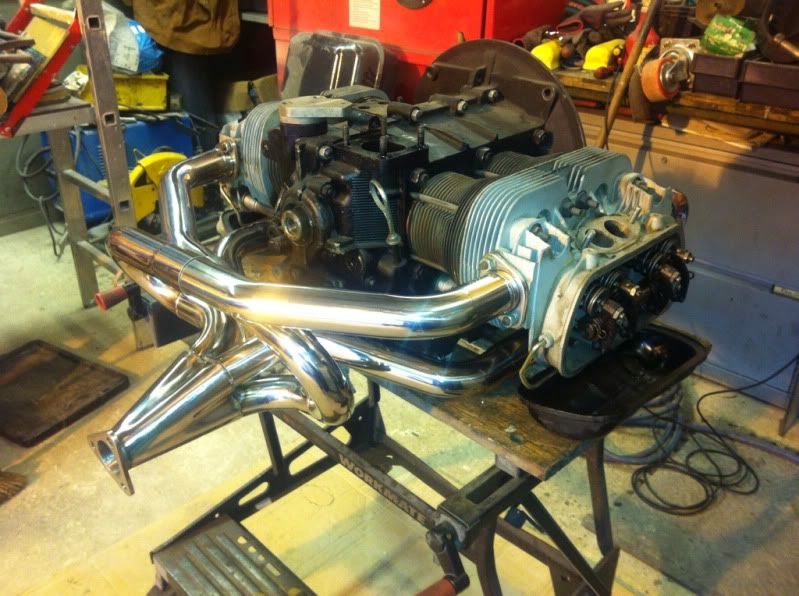
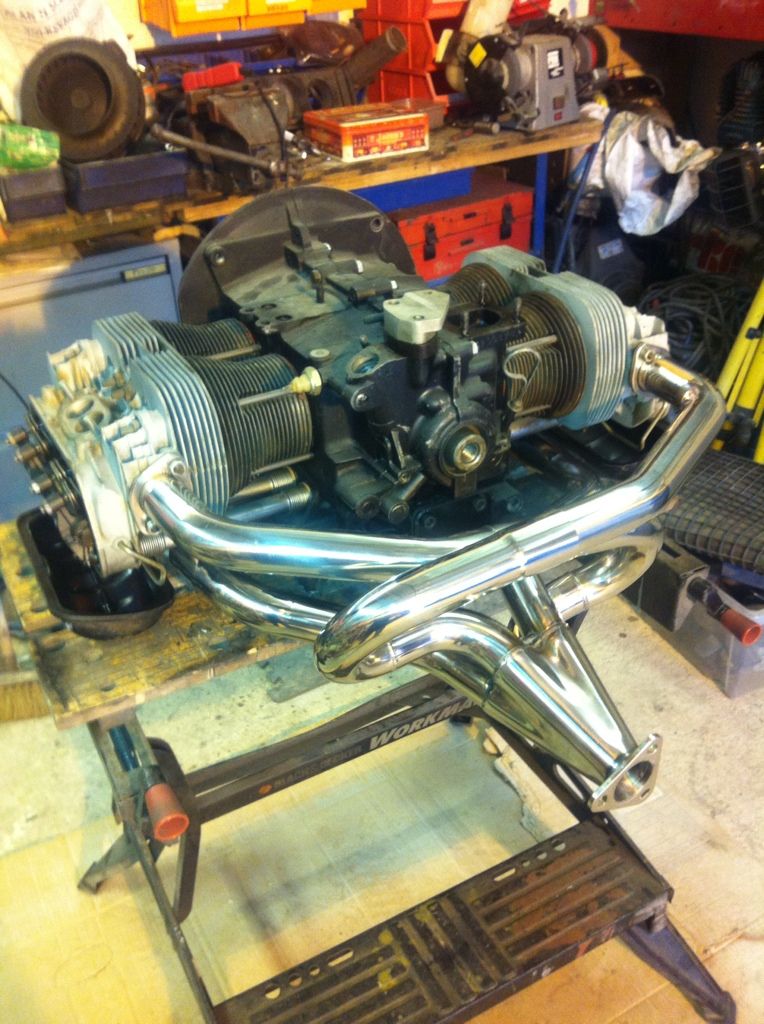
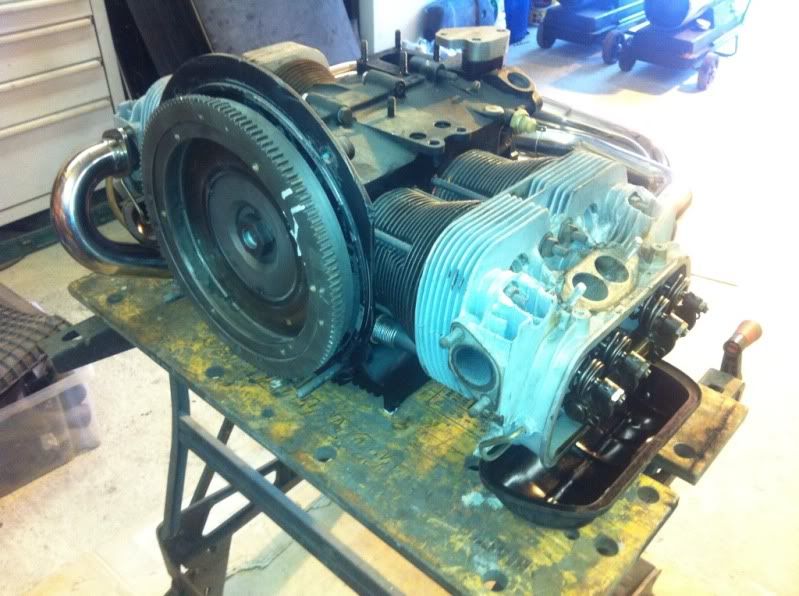
Engines pretty clean but i'm still trying to secure a new 1776 motor
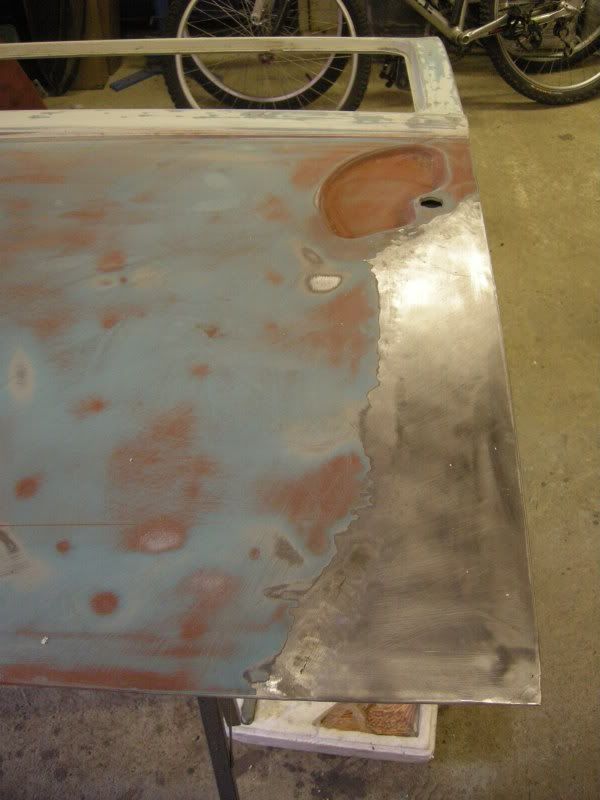
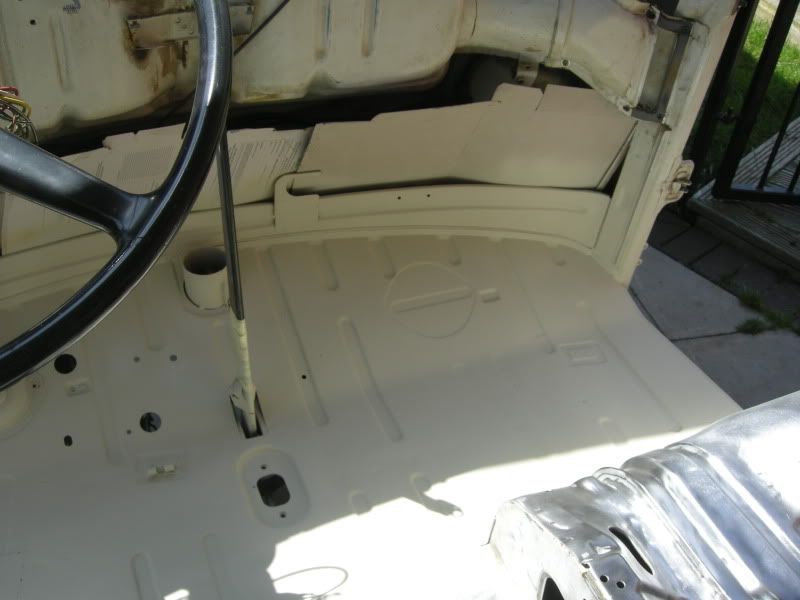
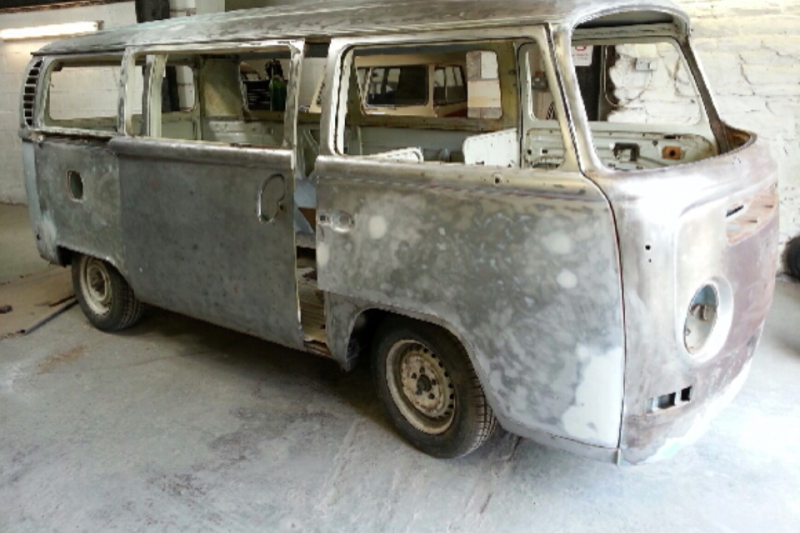
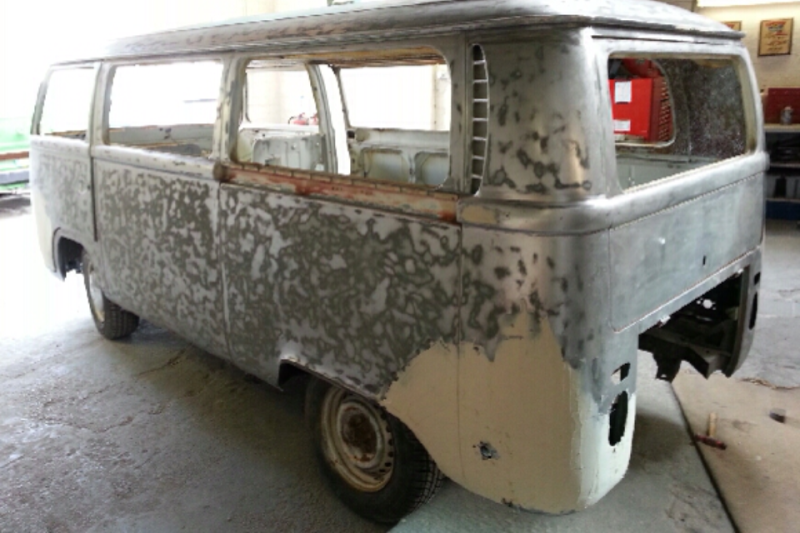
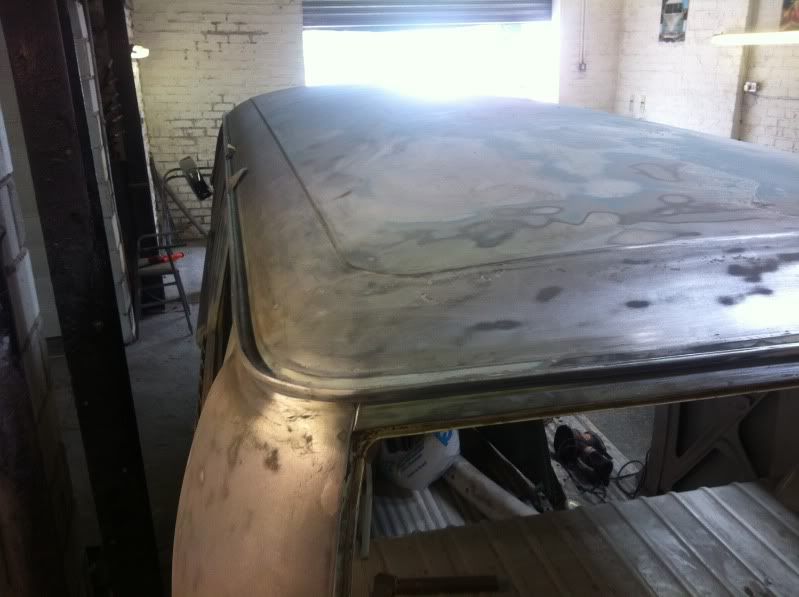
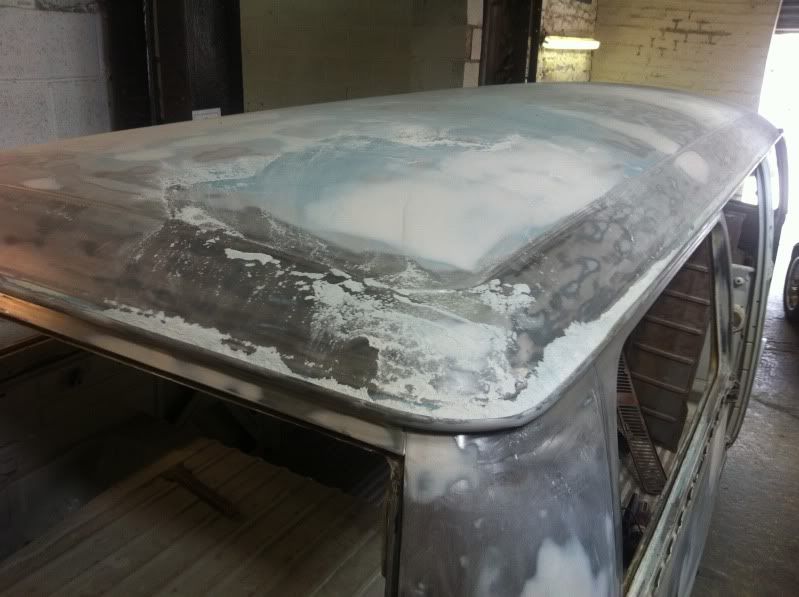
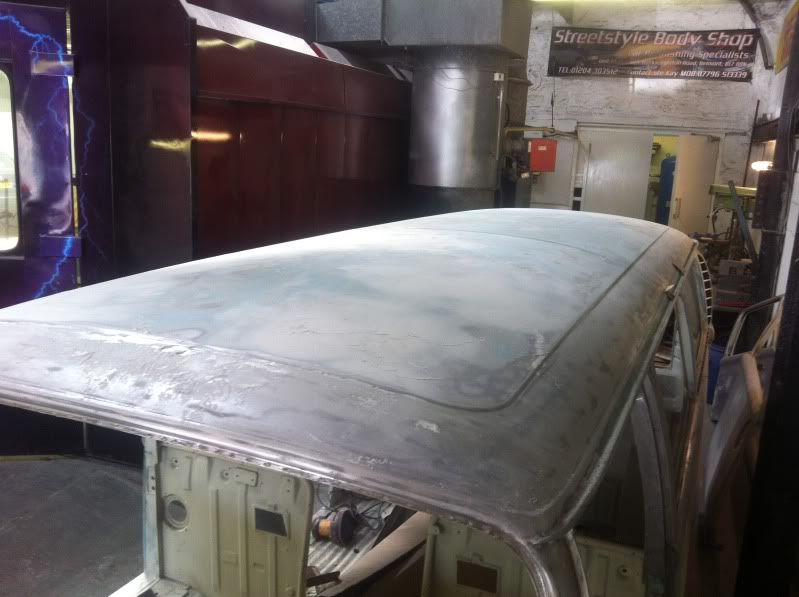
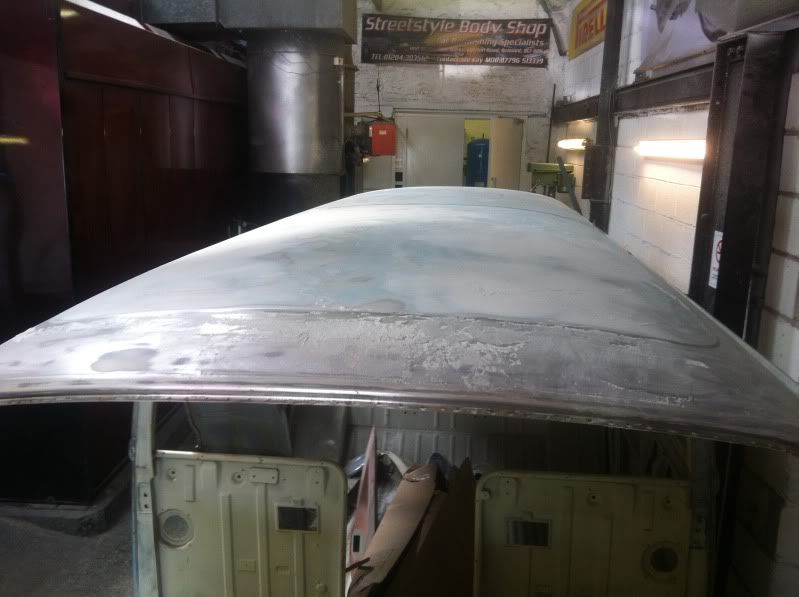
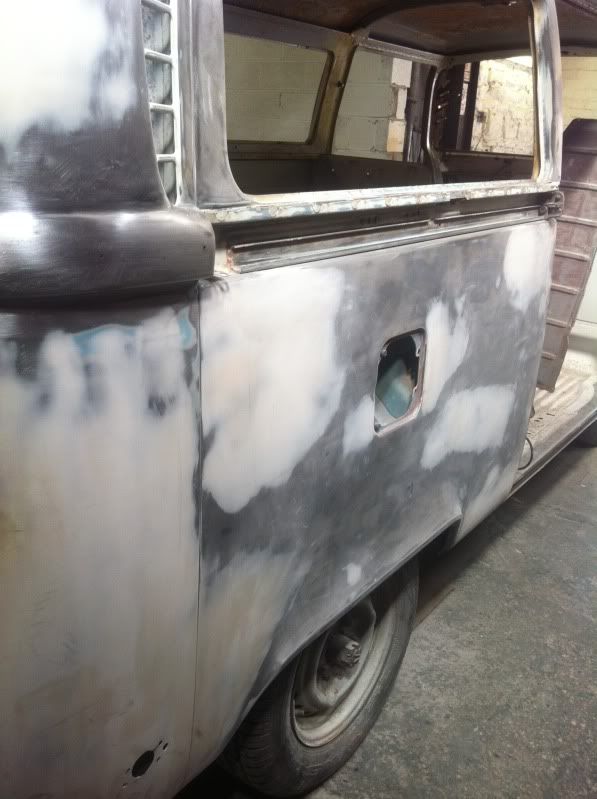
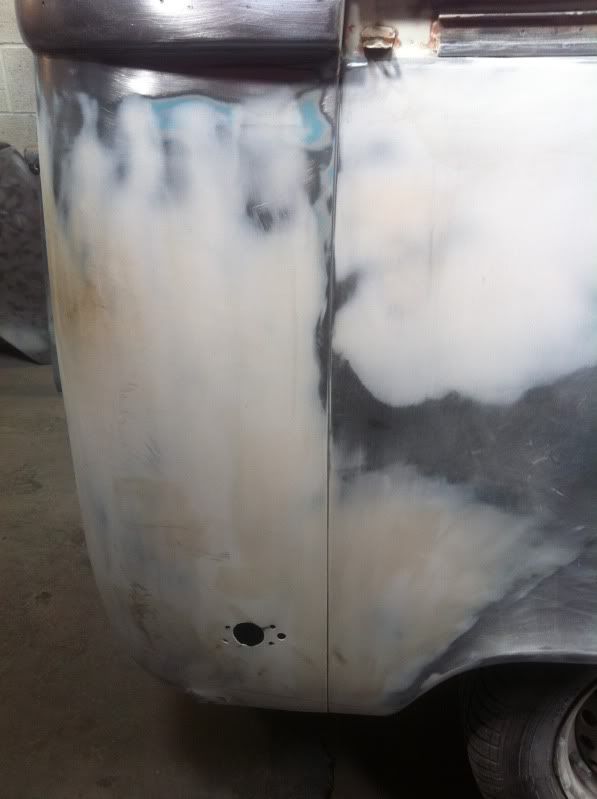
And while I was doing that me dad started to flat down the body because he was bored.

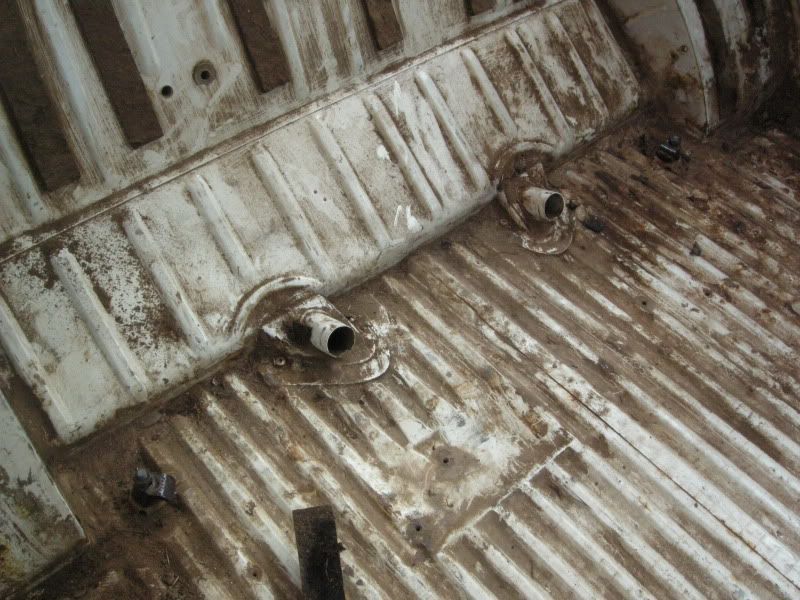
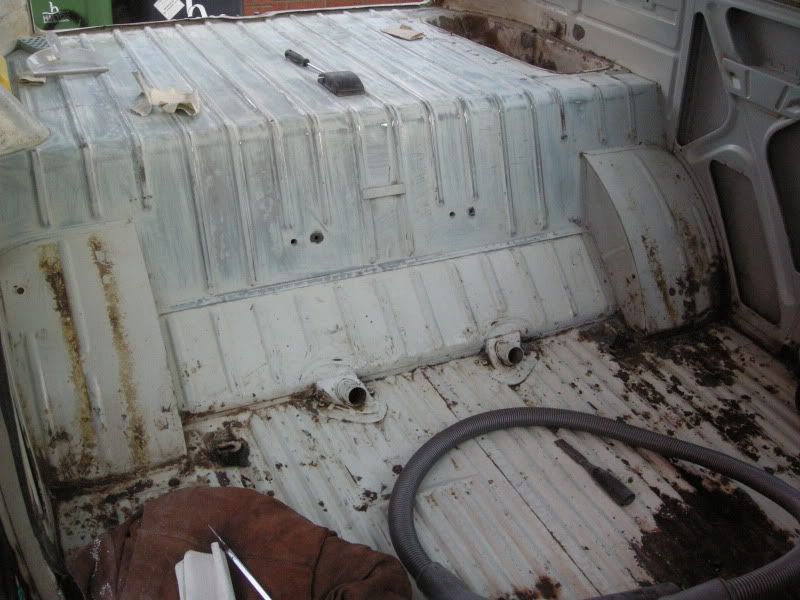
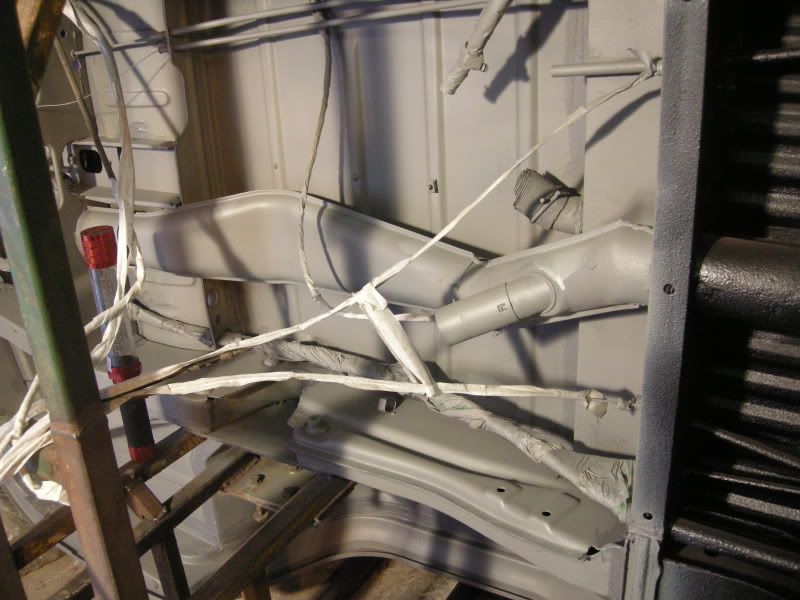
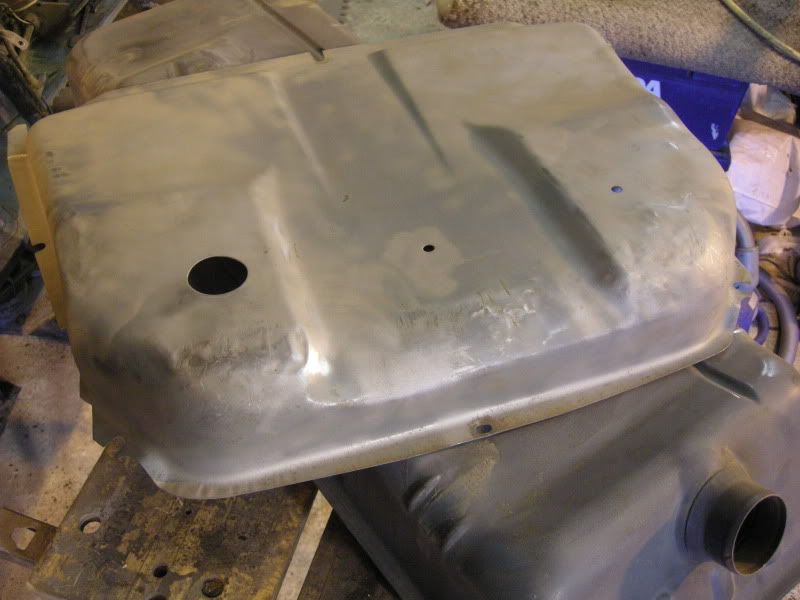
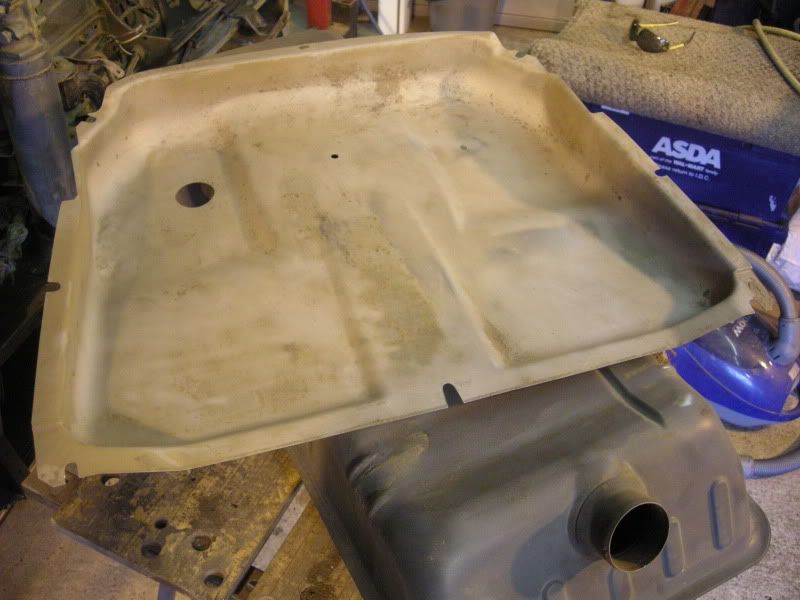
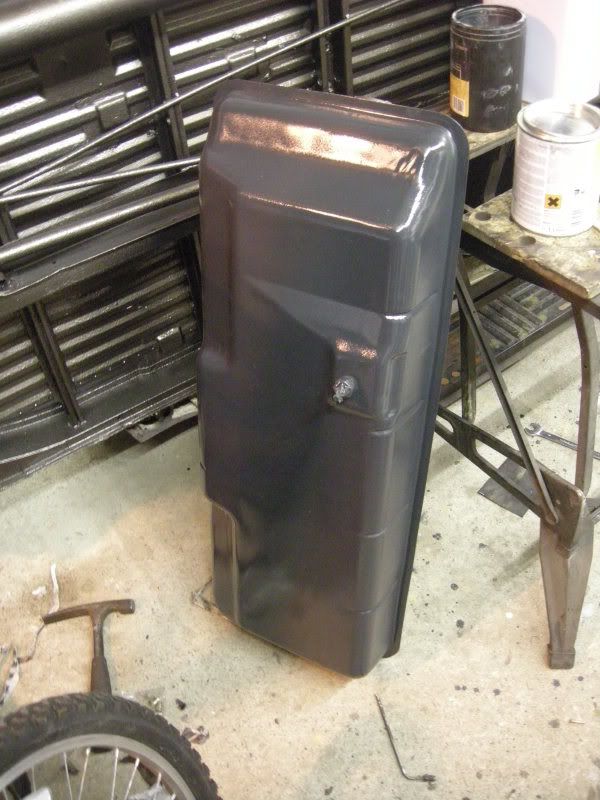
I also got the tank out, since the engine was running THREE! fuel filters so I think it was a pretty good idea. I didnt get any photos but the tank looks mint but inside its corroded and full of sh1t, filler necks also pretty rusty.
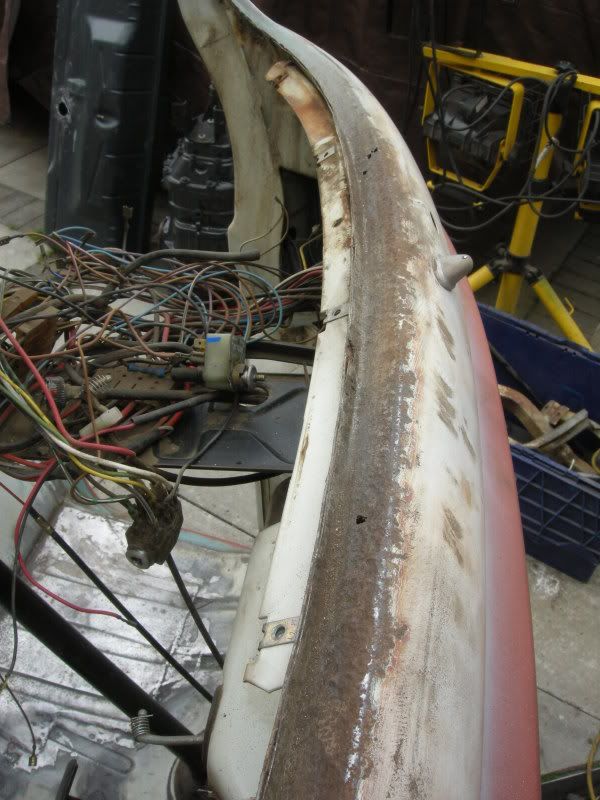
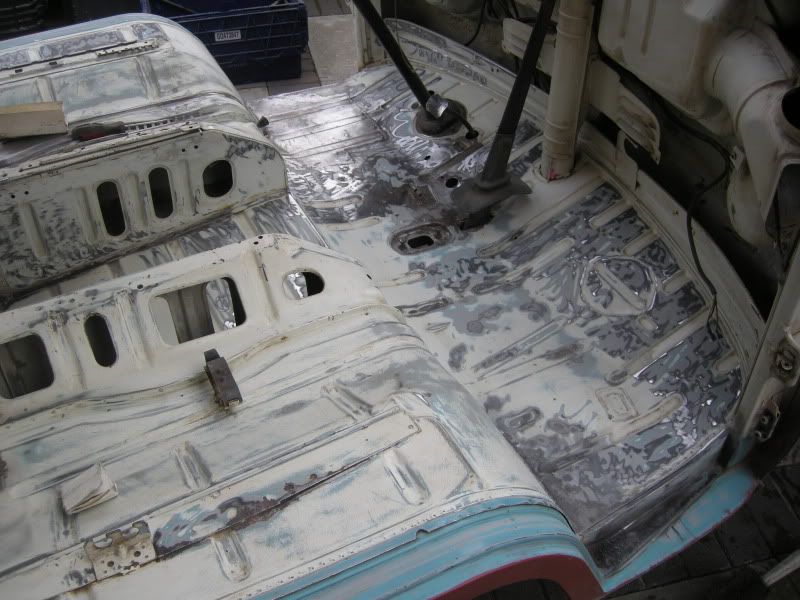
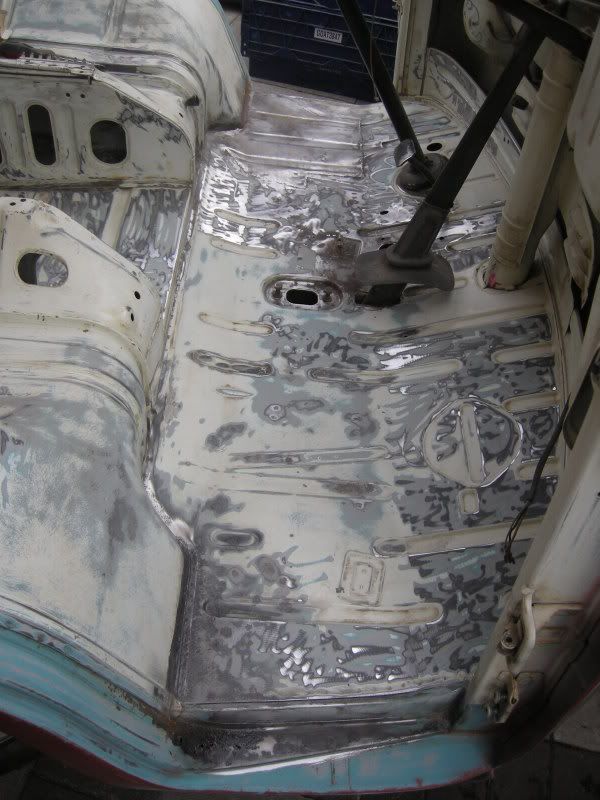
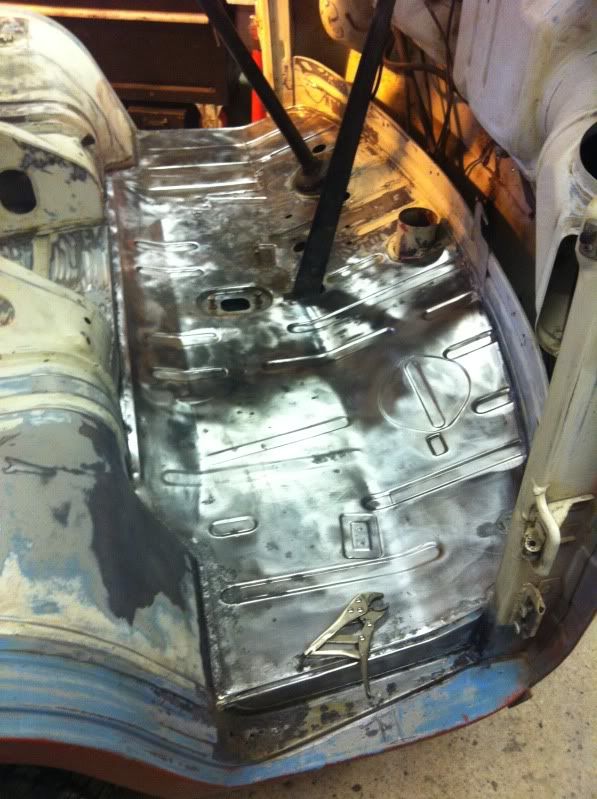
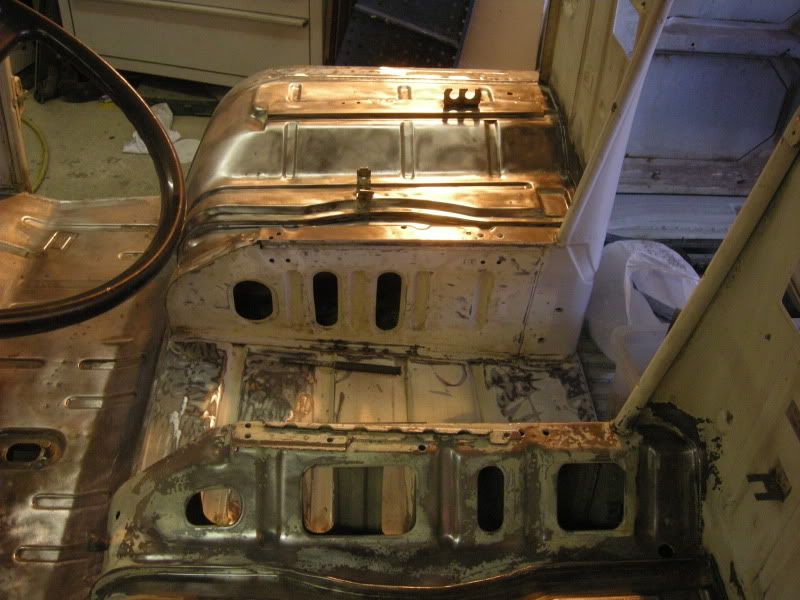
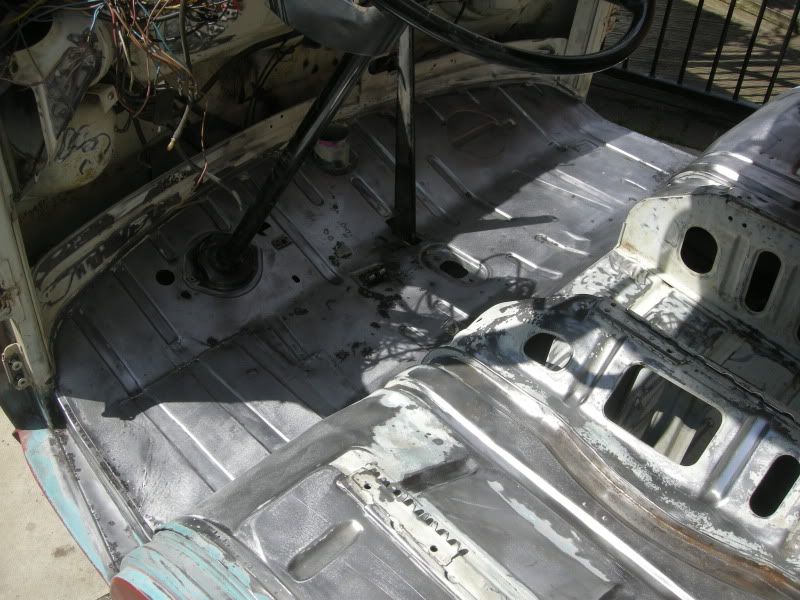
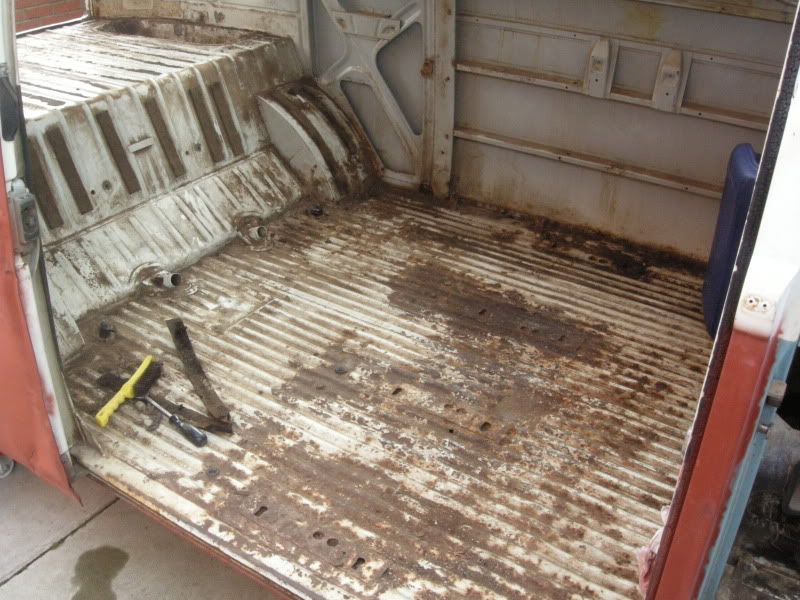
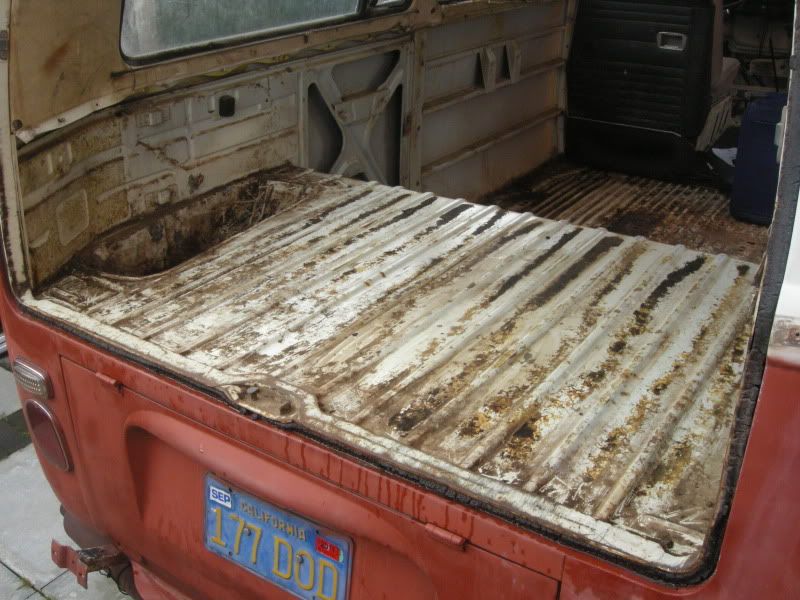
Anyway after running a wire brush on a grinder over everything, it didnt seem too bad apart from a handful of pin prick holes.
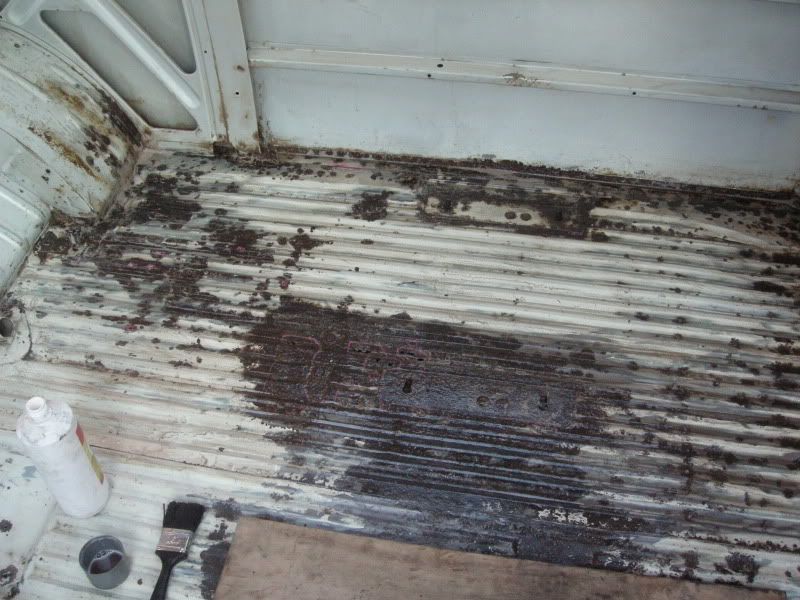
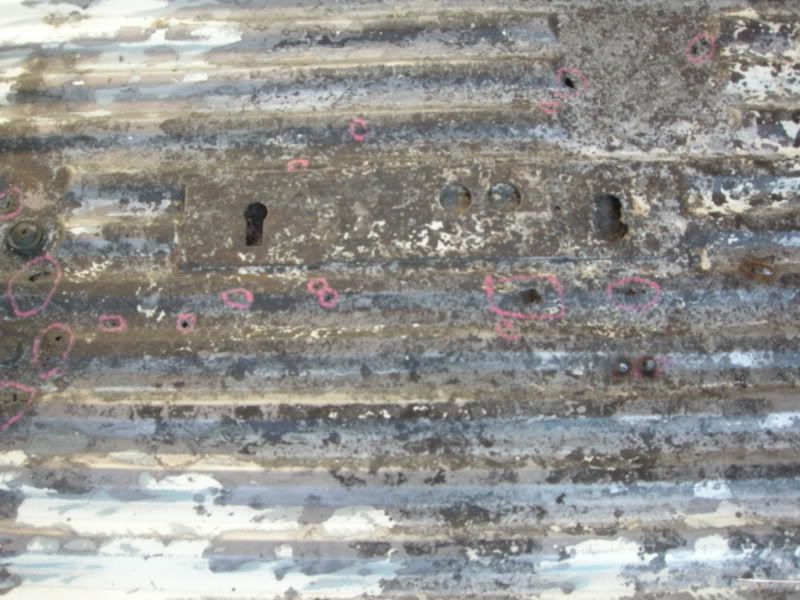
Now dont get me wrong if I wasnt up against a deadline with this bus I would probably of changed the floors but I tried welding up the holes and it was pretty easy and the floor is rock solid.
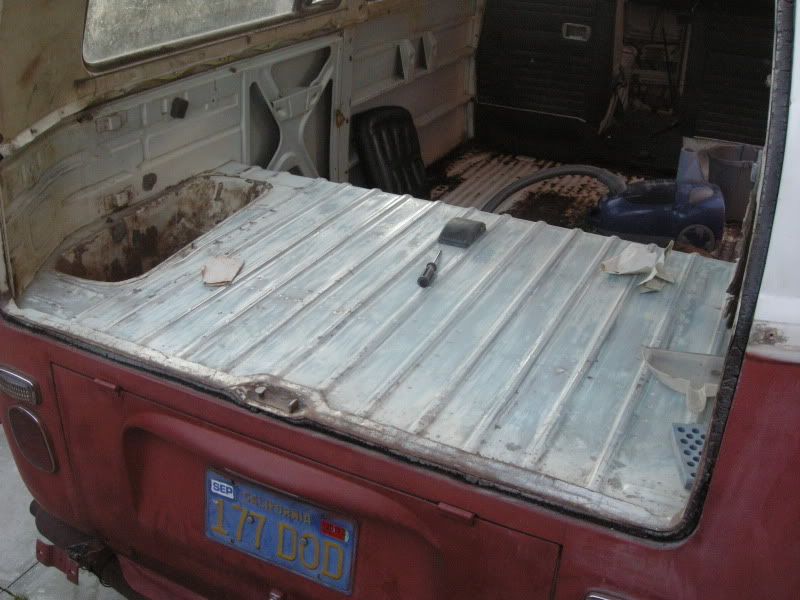
It now looks like its got measles
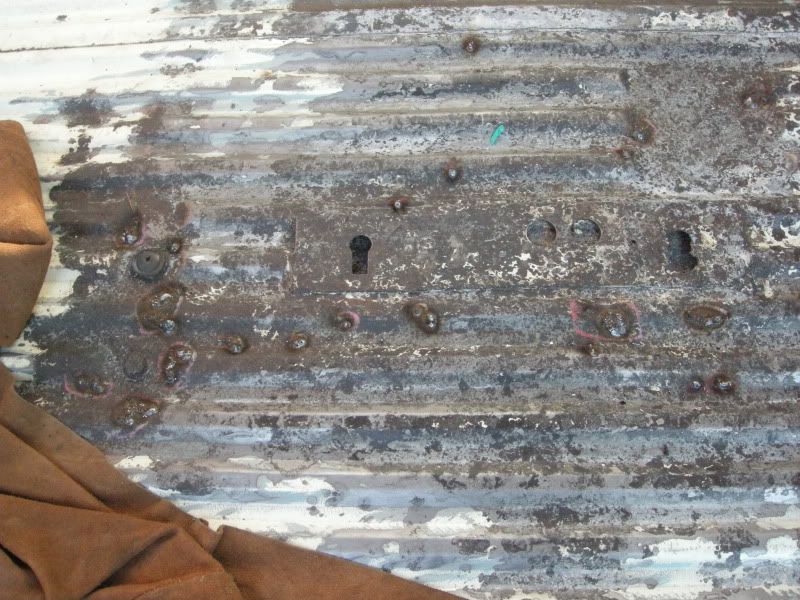
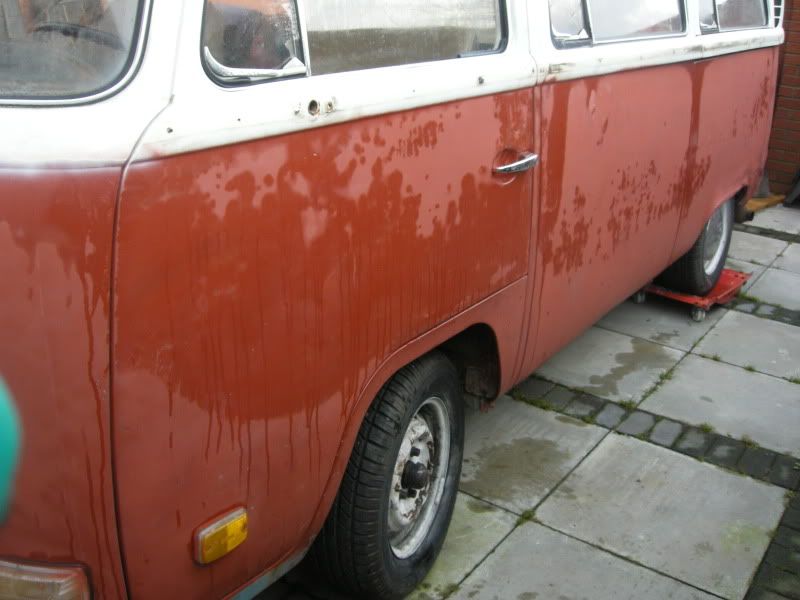
Then treated with a rust remover (this stuff is cheap but seems to work really well)

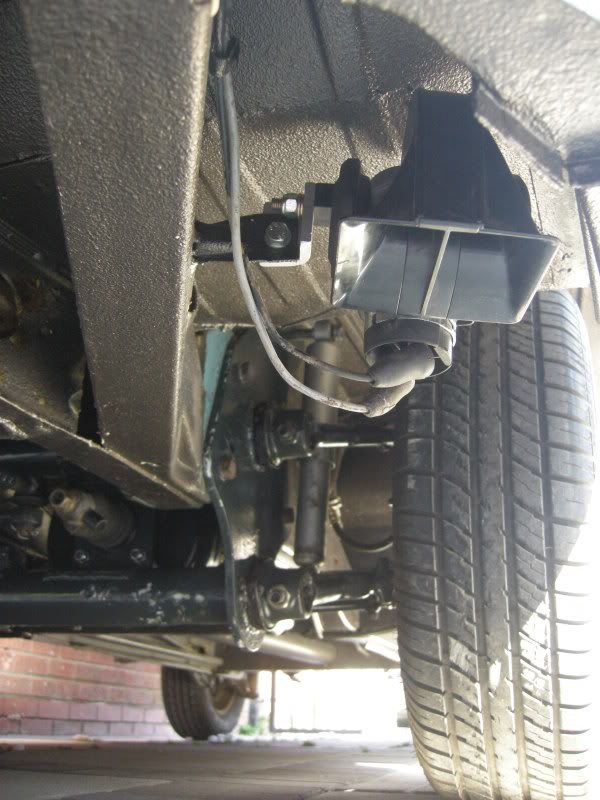
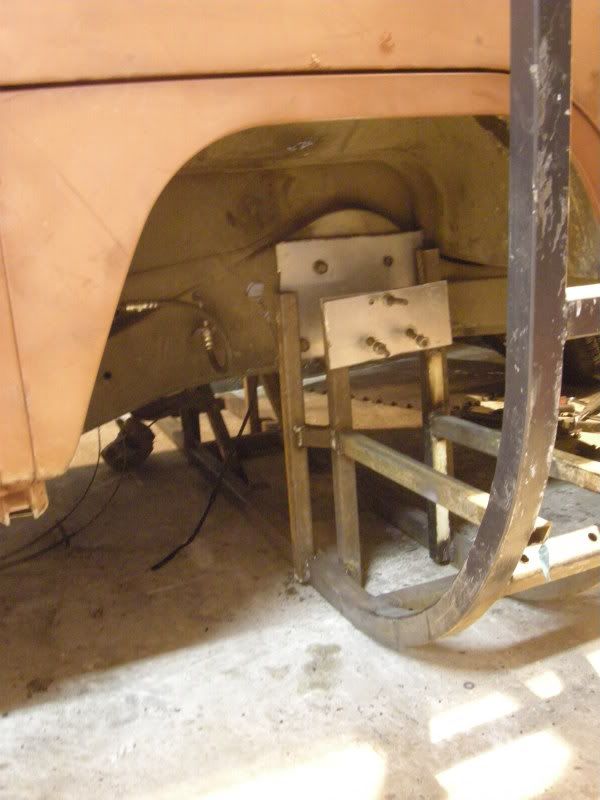
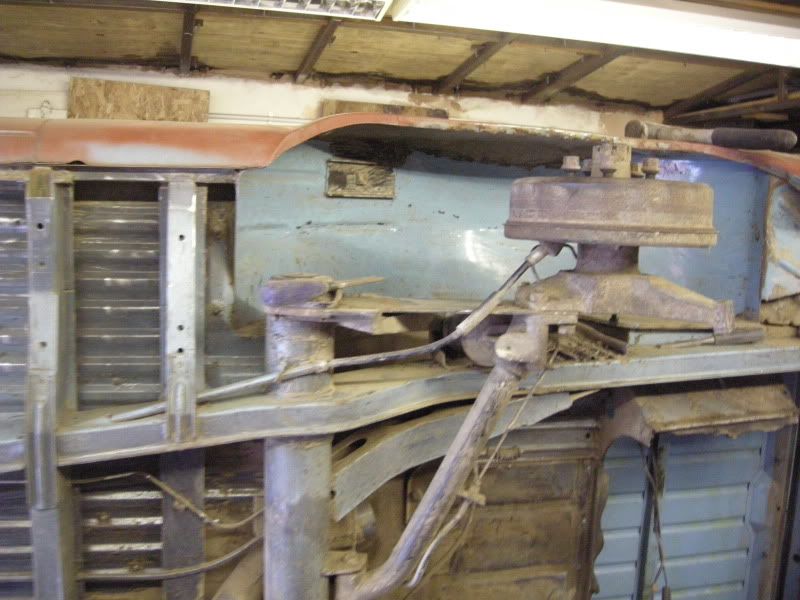
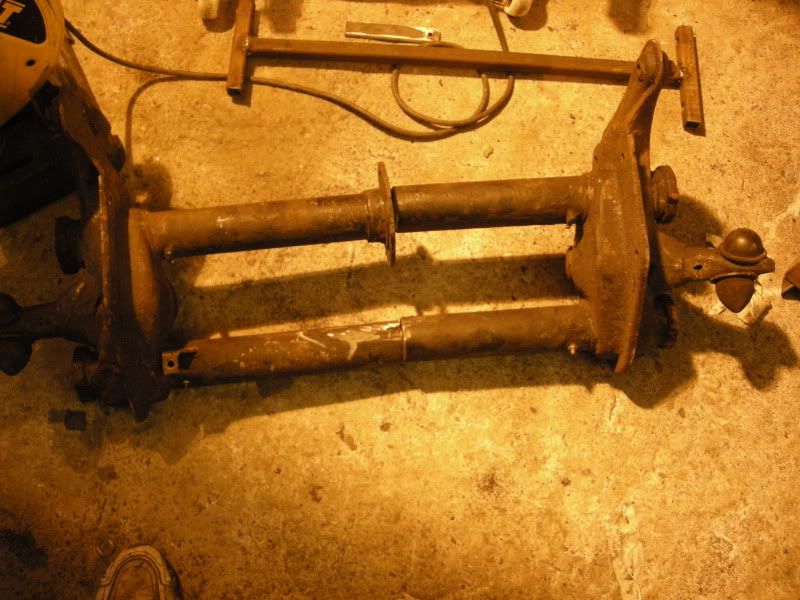
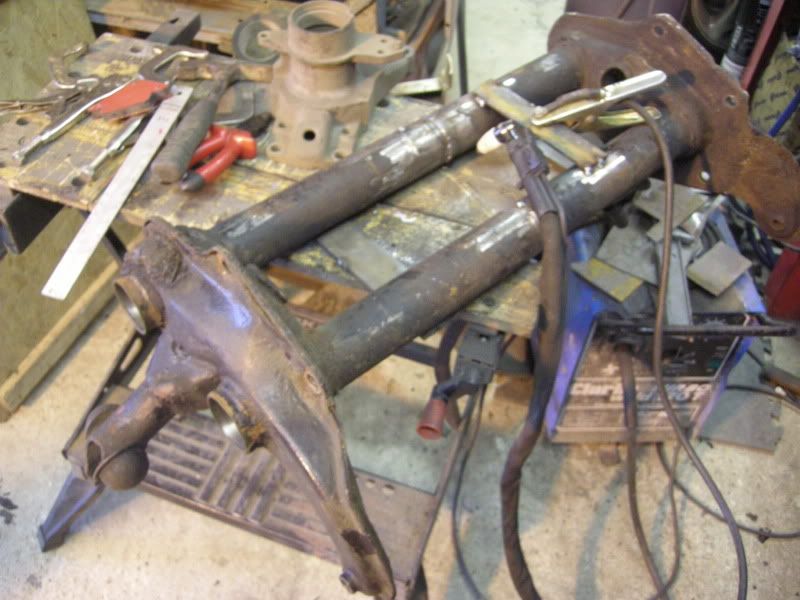
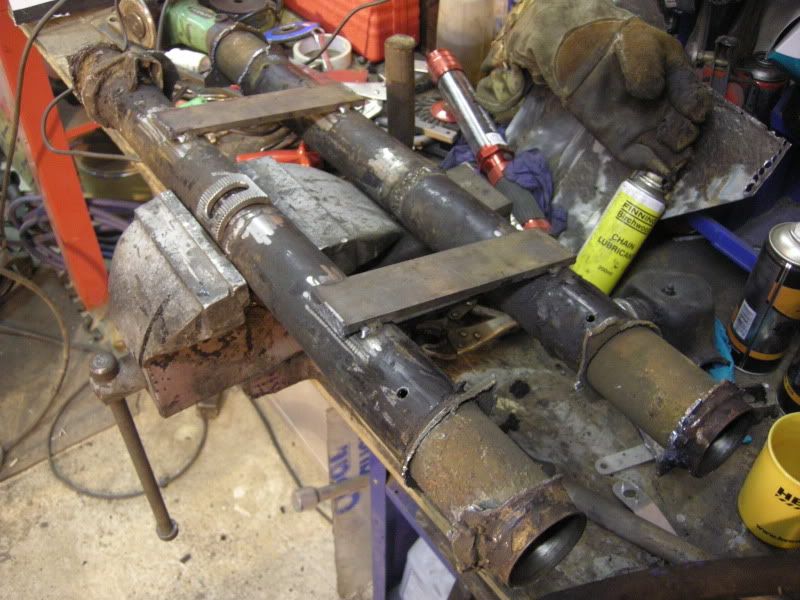
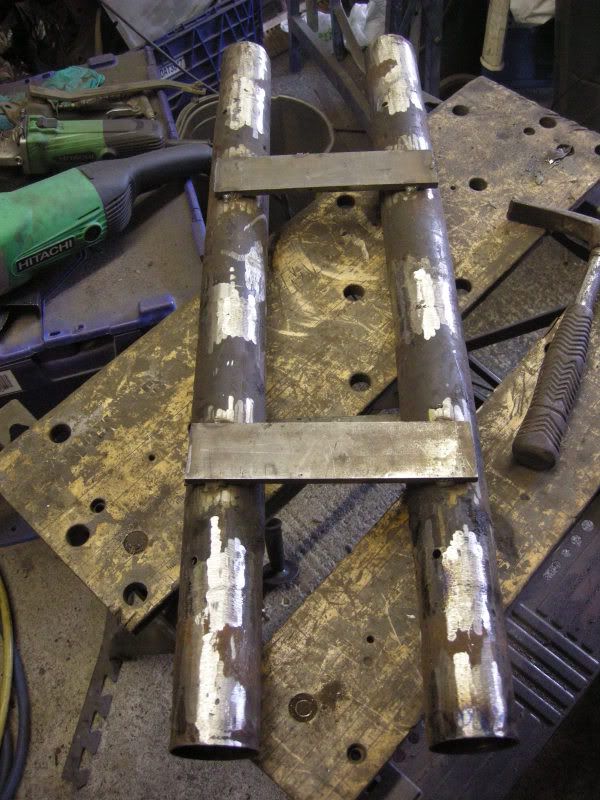
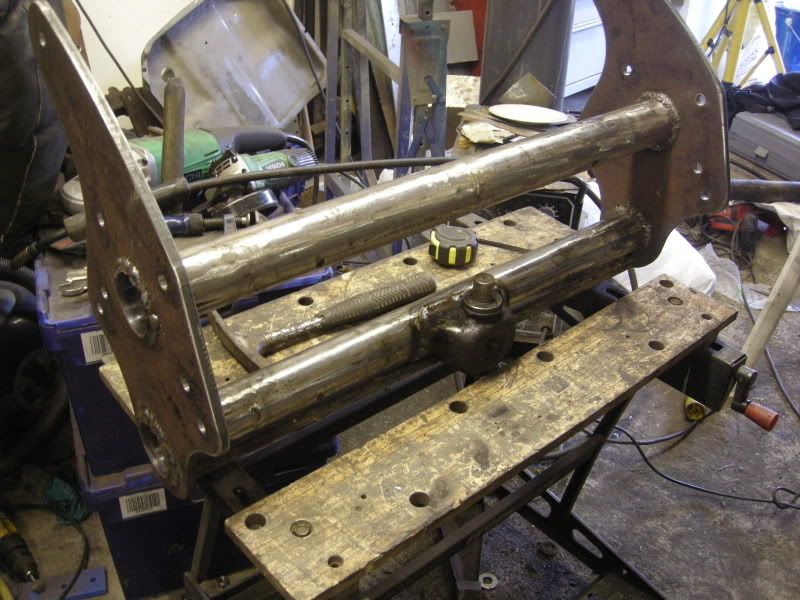
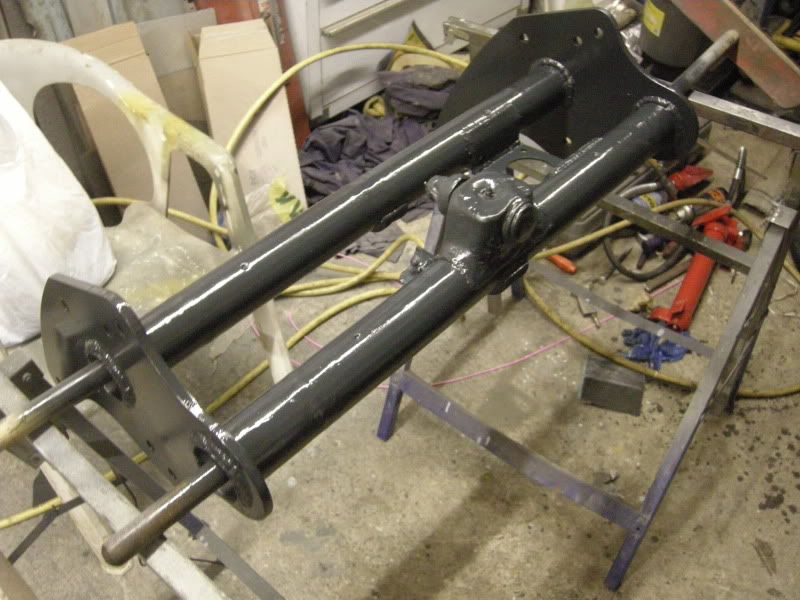
Well it was a bit disaponiting to get rained/iced/snowed off last Saturday, so I spent the day modifying my roller to take the early bay, when i built the rollers to take my Devon I originally wanted roll it without the front axle in place but since i'd already overhauled the axle on the van I didnt want to take it off again
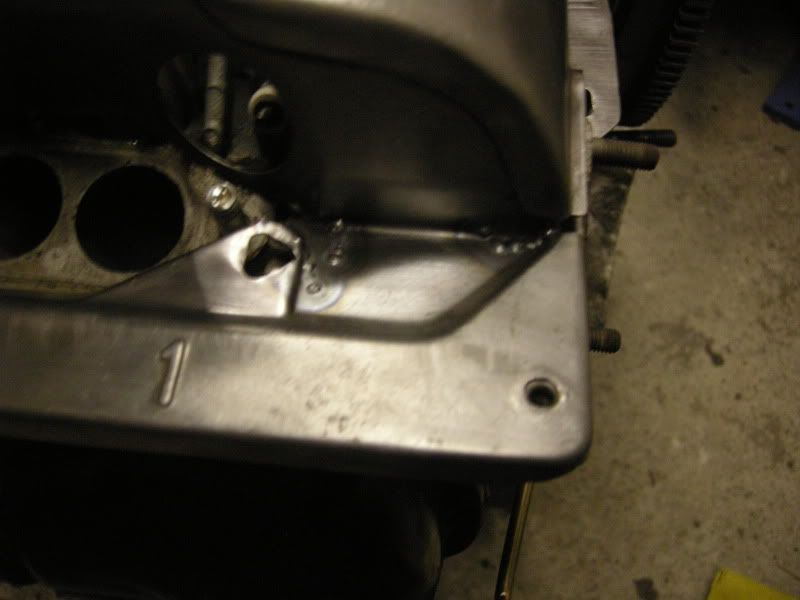
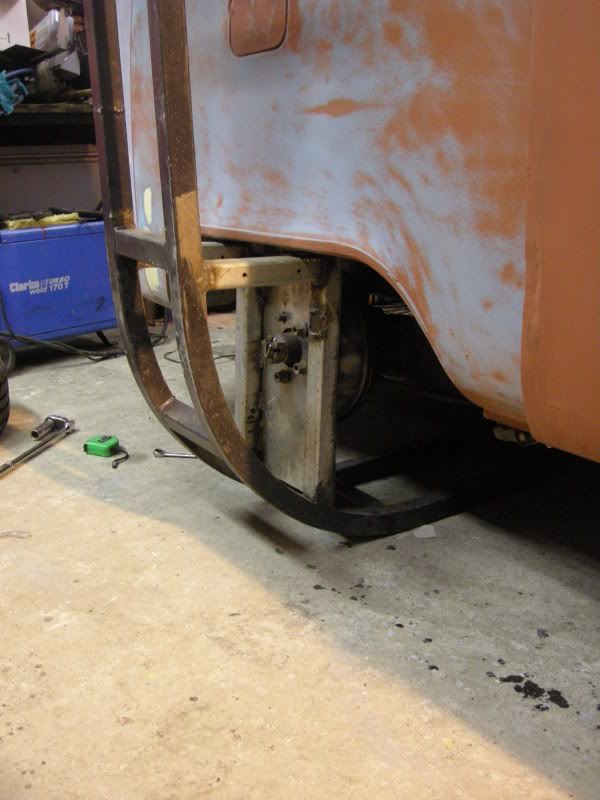
Anyway here a few boring photos, because the engine mounting is different on the early bay I couldnt mount the roller like I did with the Devon, so I came up with this...
Stay with me, i'll try to be quick
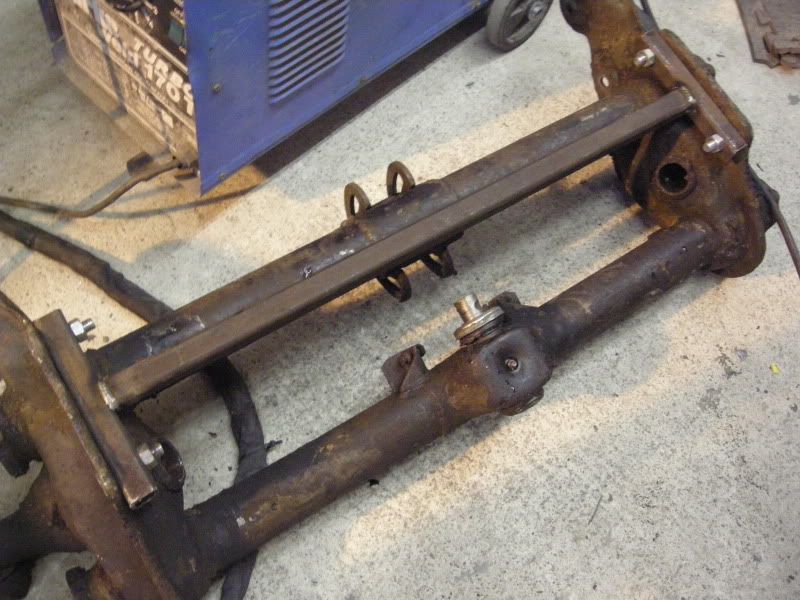
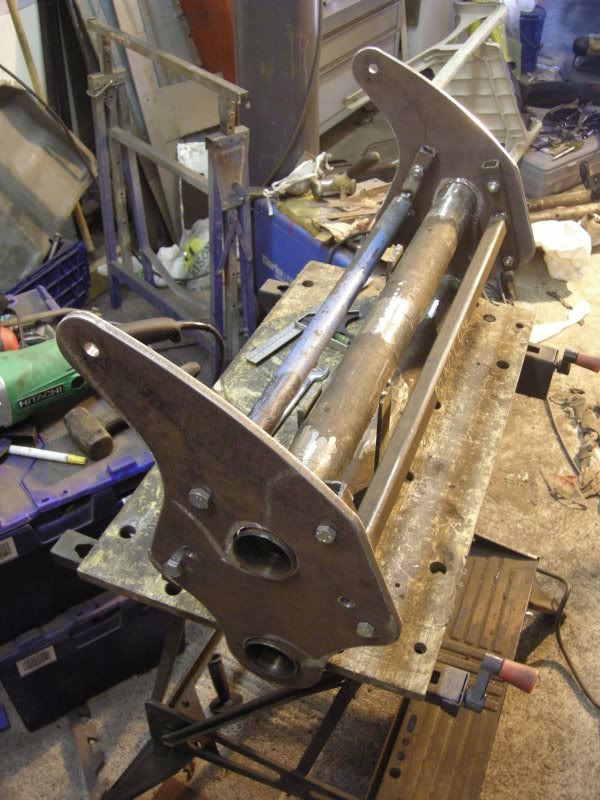
This is the original, mounting which bolts to the engine mounts on a late bay.
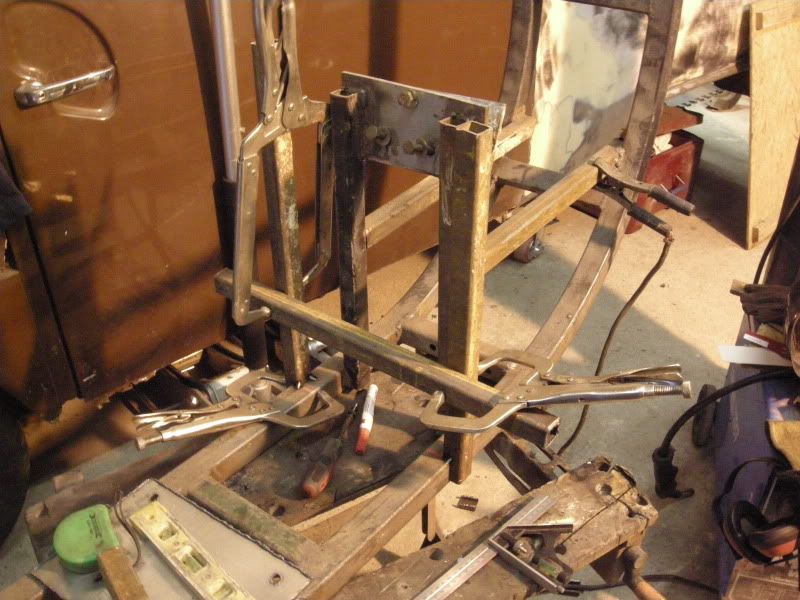
This is now a mount for the front axle but I should still be able to use it as I did on the engine bay of a late.
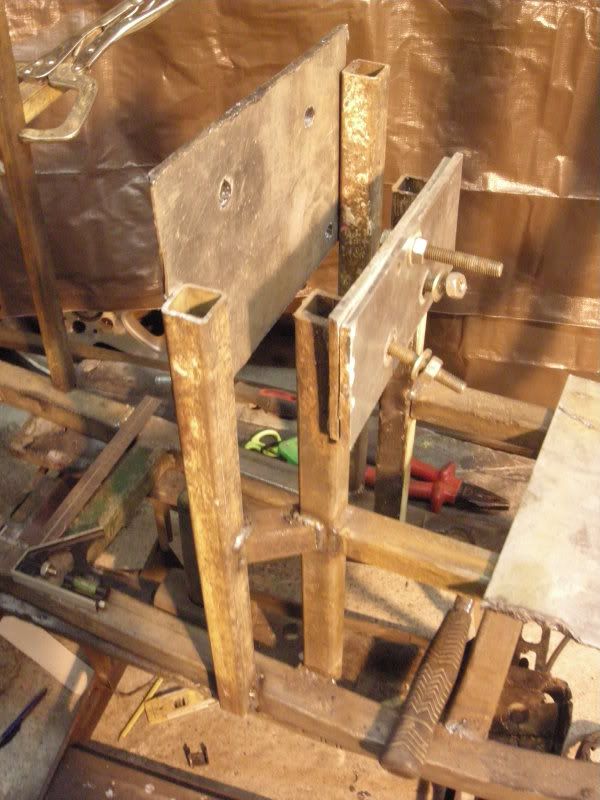
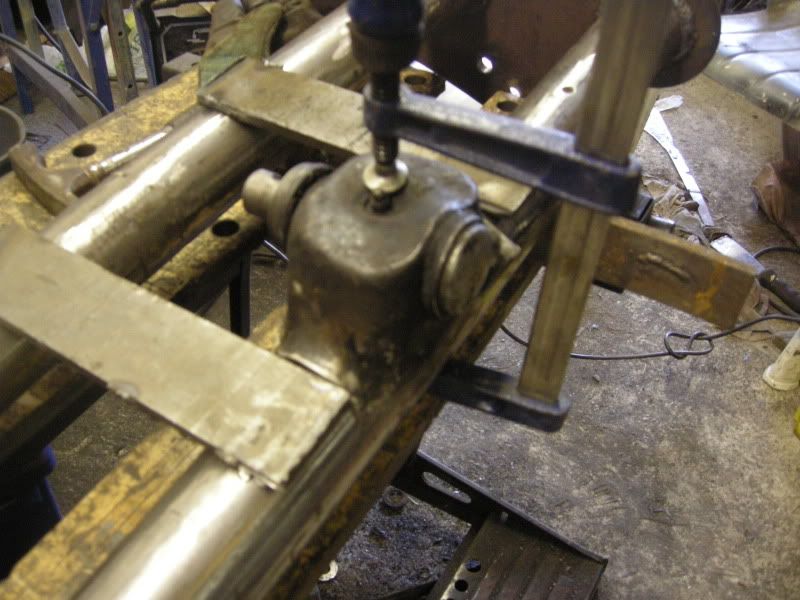
The tricky bit was getting it all to line up square, so I came up with this using a spare axle (thanks Mark ). I can also use this for when I narrow my axle.
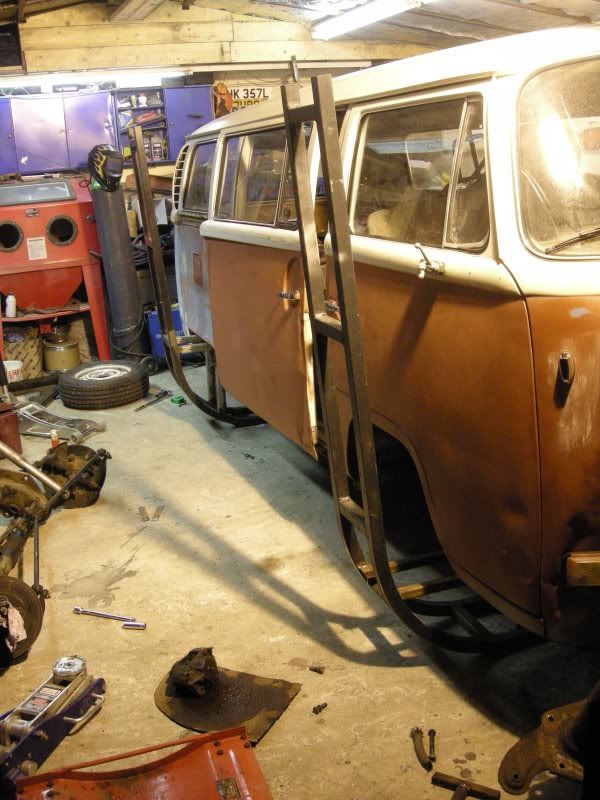
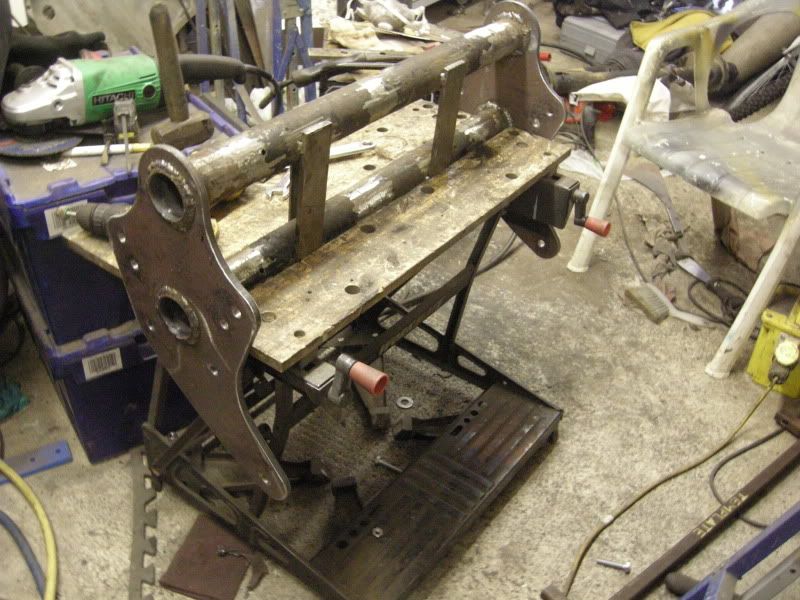
Really I should of made two but I was rushing a little to get it finished.
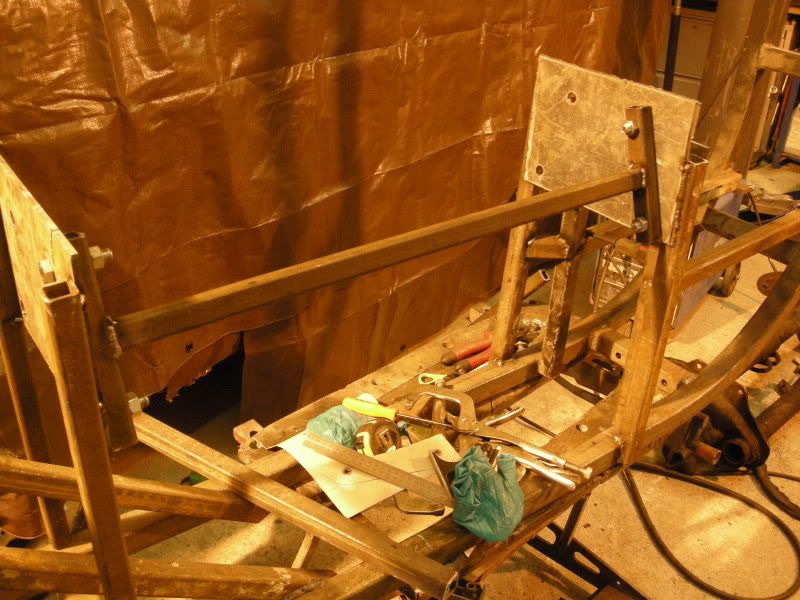
Finished 8)
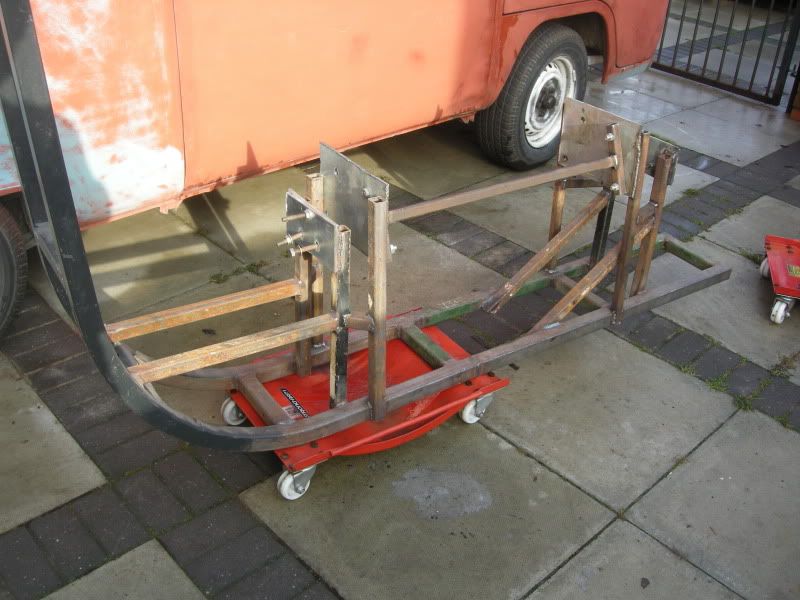
So I spent this morning finishing all the welding off on the roller, then after a quick tidy up I moved the vans about with the help of the other half.
This will probably be RIP for the x-over
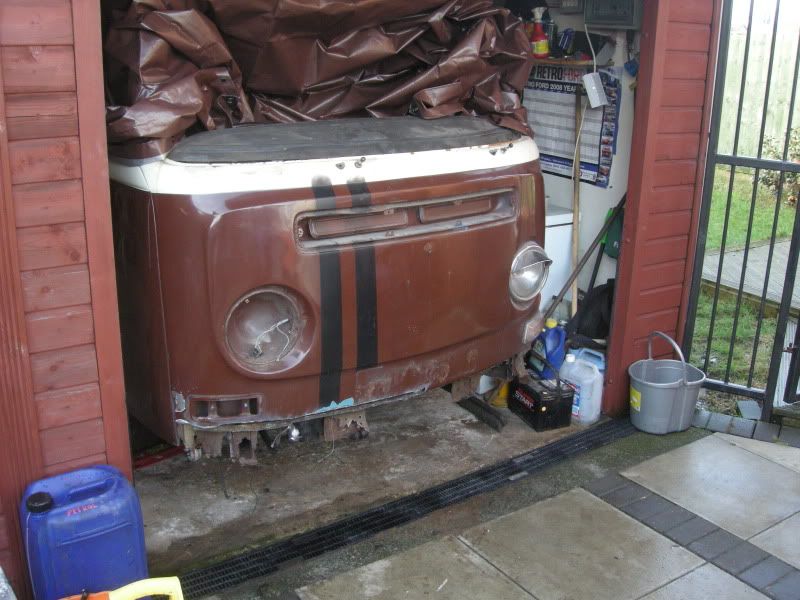
In its new home.
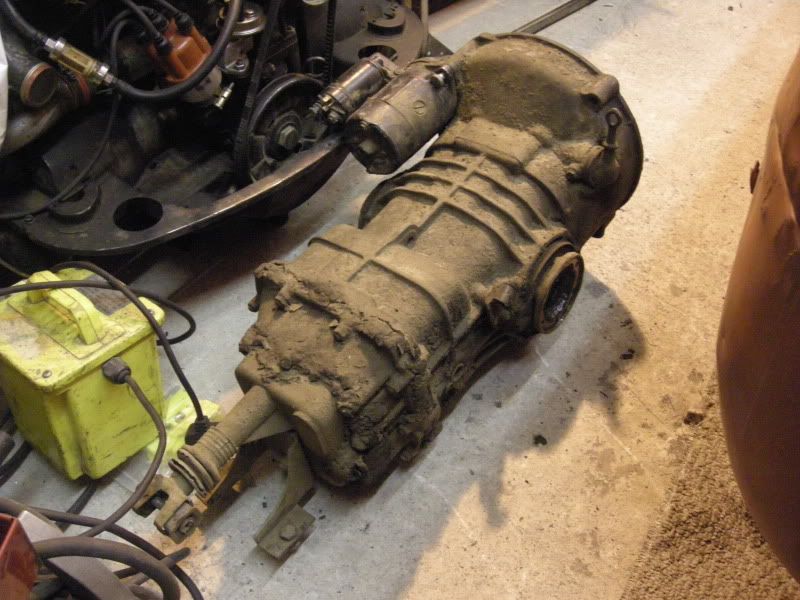
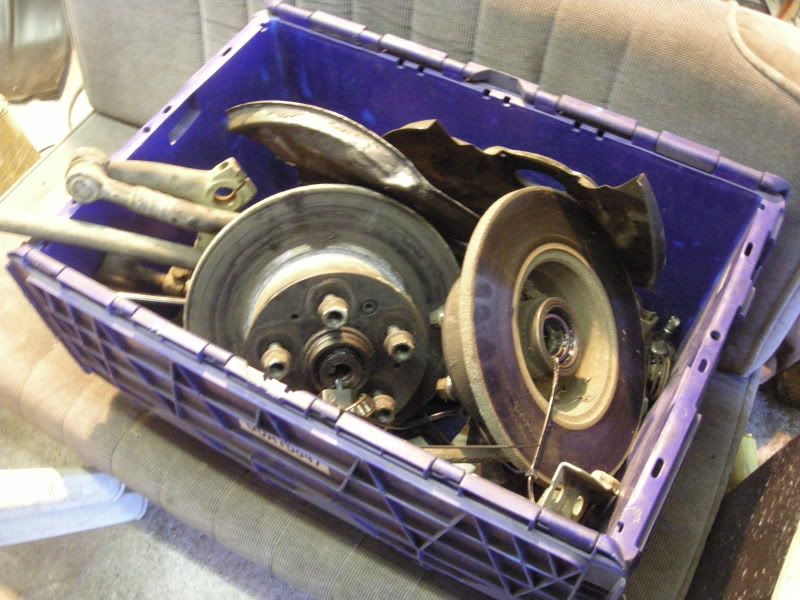
First job up, gearbox came out.
Should be all ok with a clean up, lick of paint and an oil change.
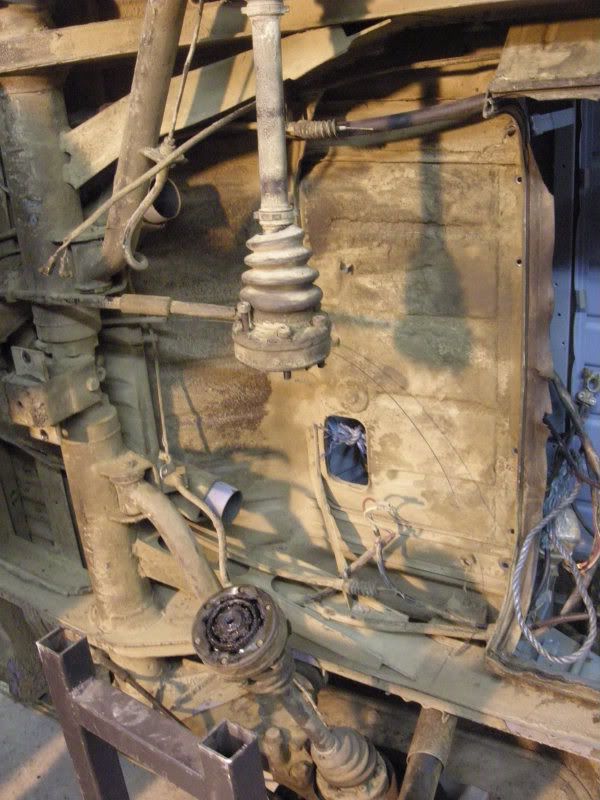
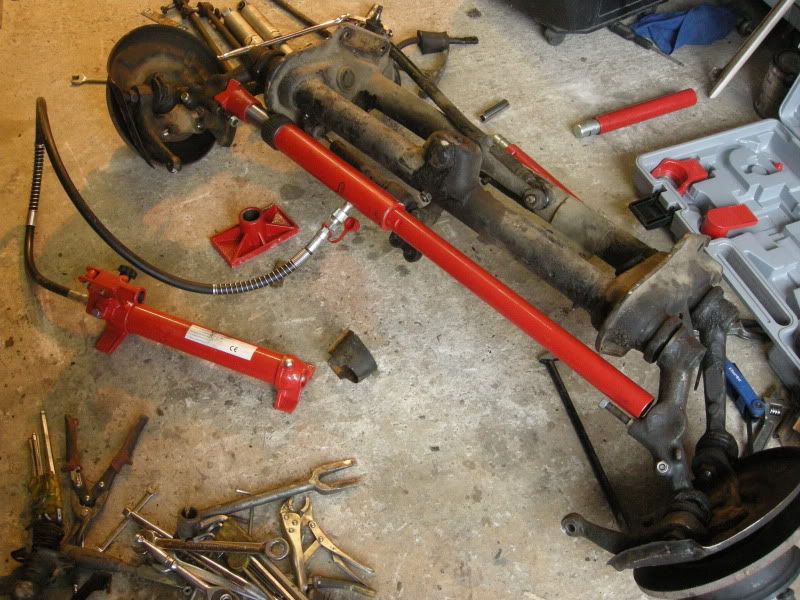
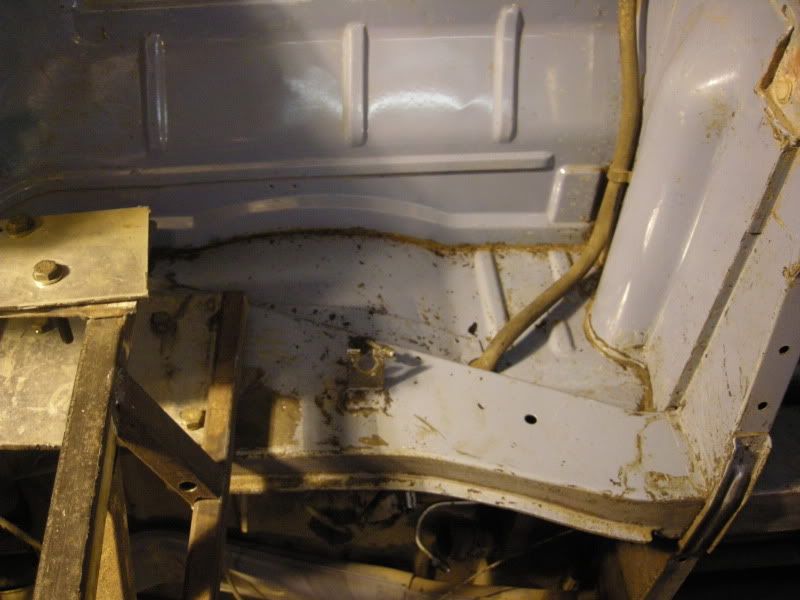
Front axle was next up, for once it came out pretty easy although I had one ball joint I couldnt budge so ended up cutting the chassis which was cutting corners but I was loosing light and it will be a simple repair. I also had to cut the clutch cable but i'm changing that anyway.
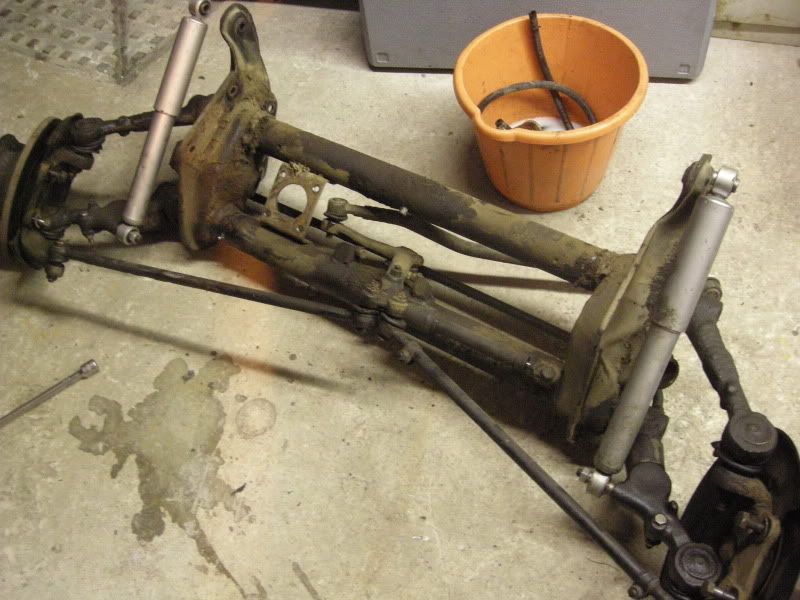
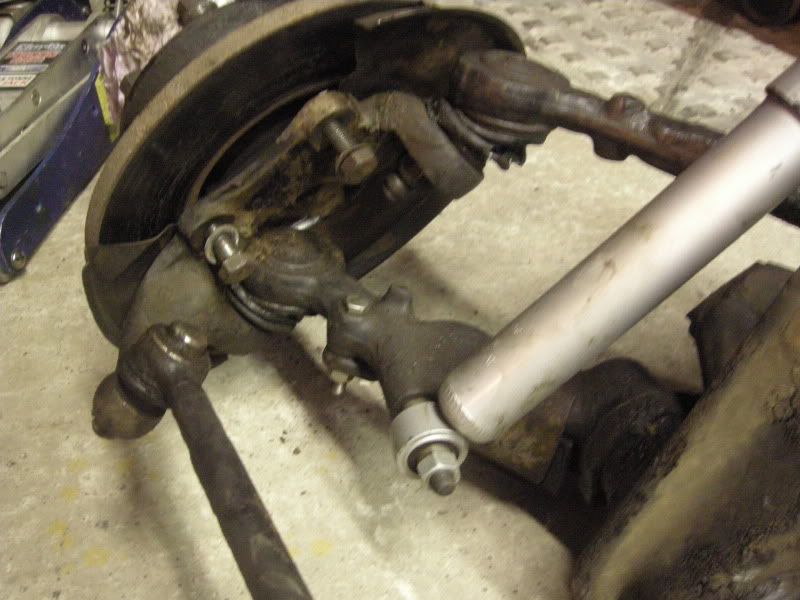
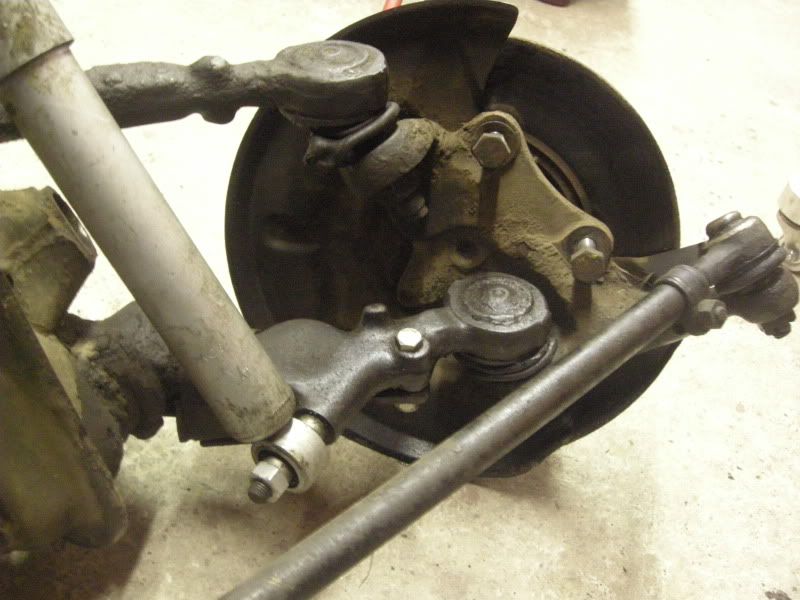
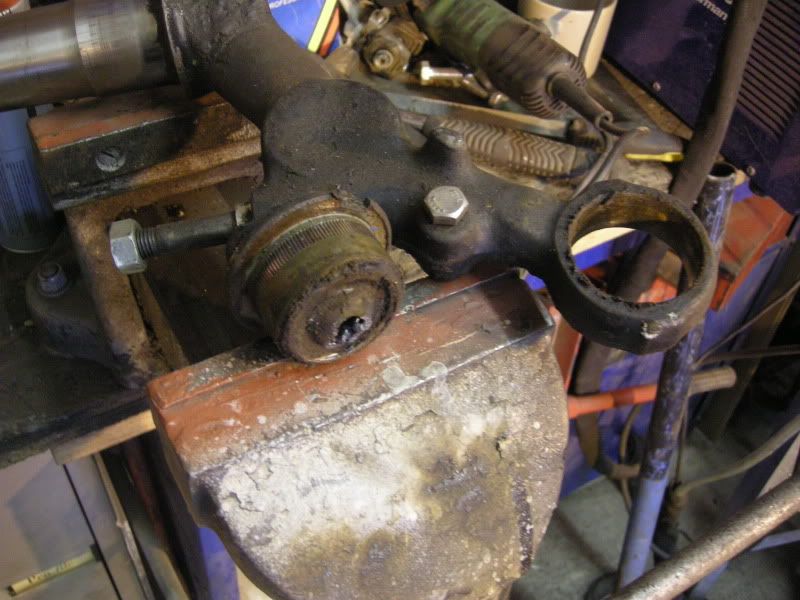
It needs work, all four ball joints are shot and for some reason (im assuming the heat) all the grease in the hubs has dried out.
Then the moment of truth, not bad for a bit of hill billy engineering even if I say so myself :rocknroll:
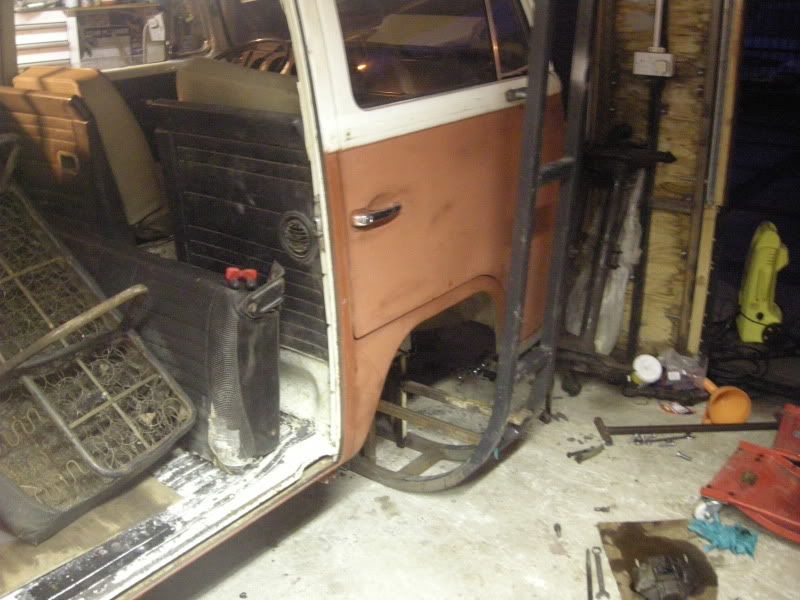
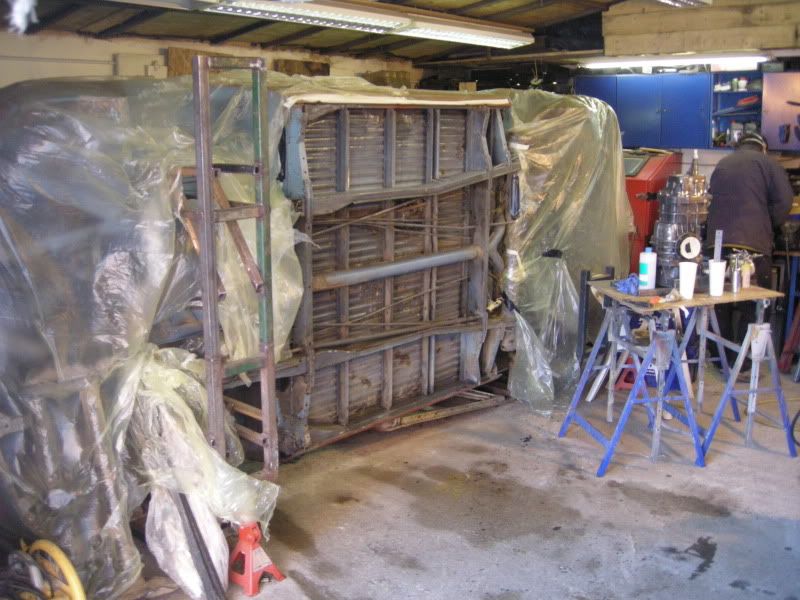
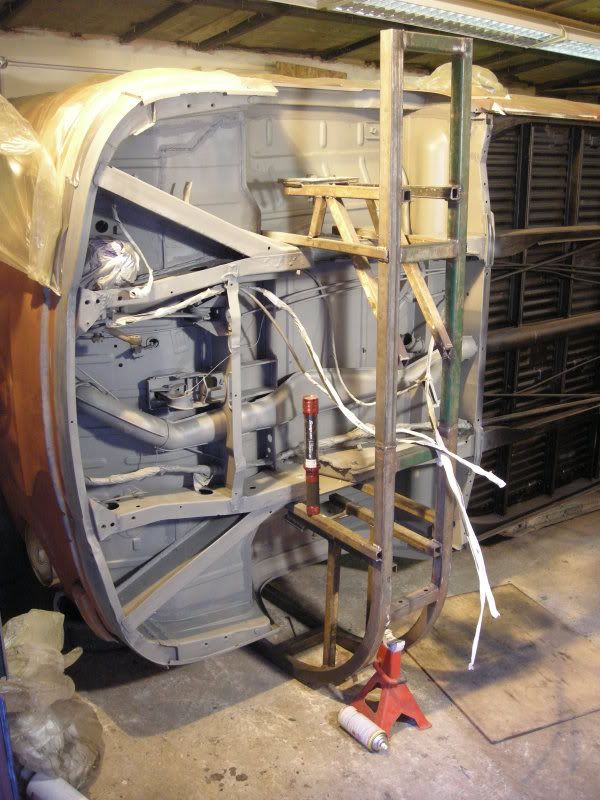
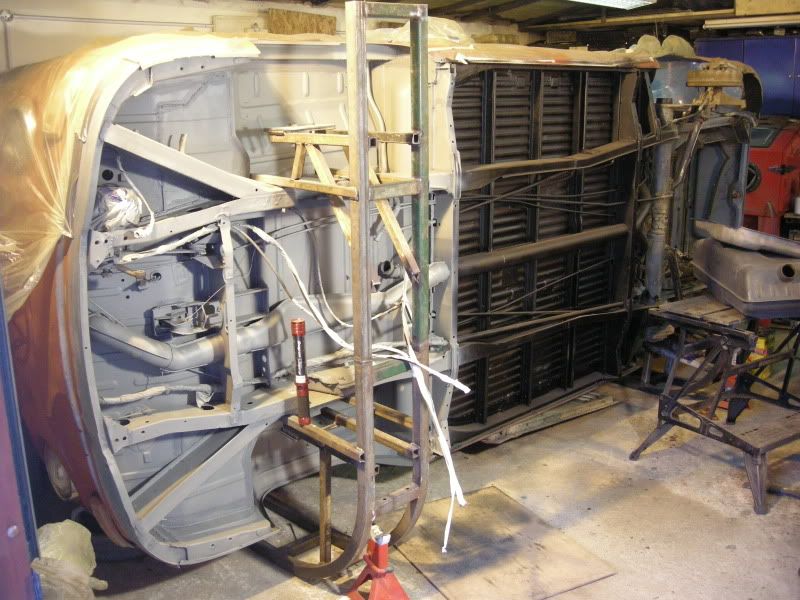
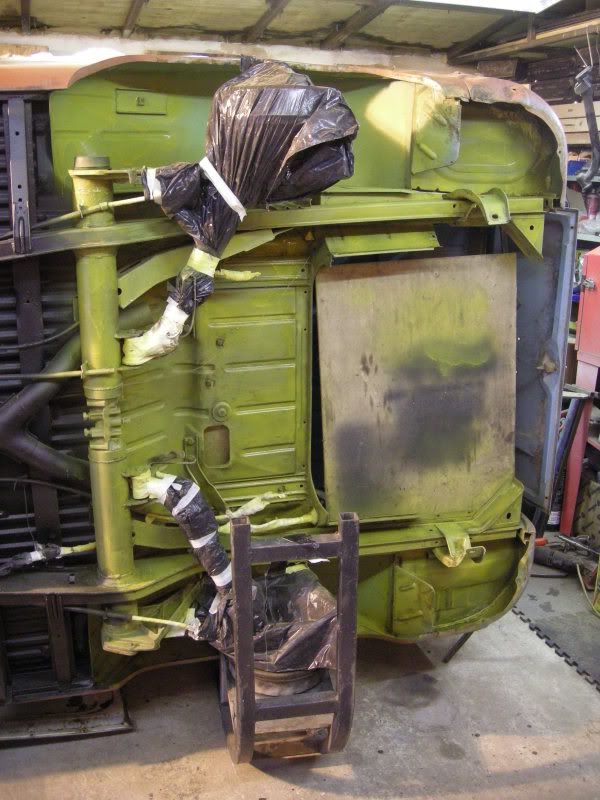
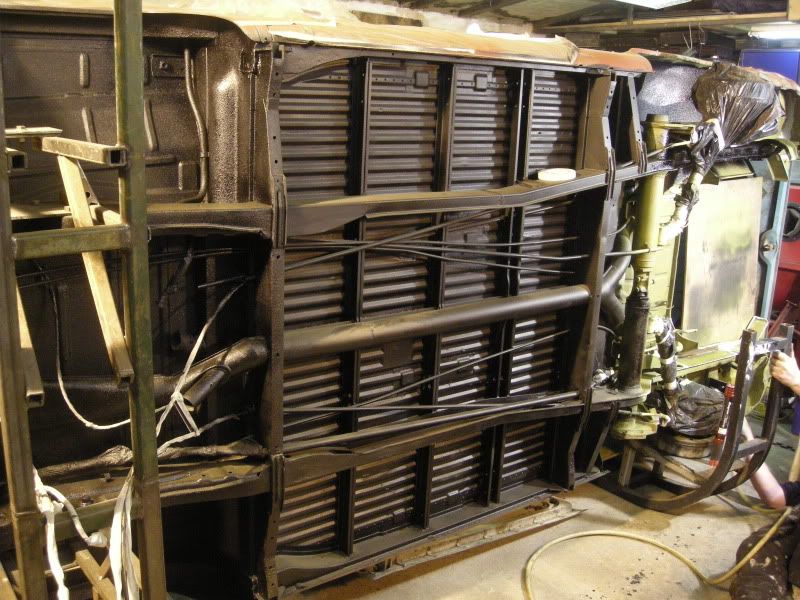
I was home by 4pm closely followed by my dad and after a bit of faffing about we managed to get her on her side.
Was too busy and stressed out to take photos of her actually going over, its a scary moment even though i've done it a few times now.
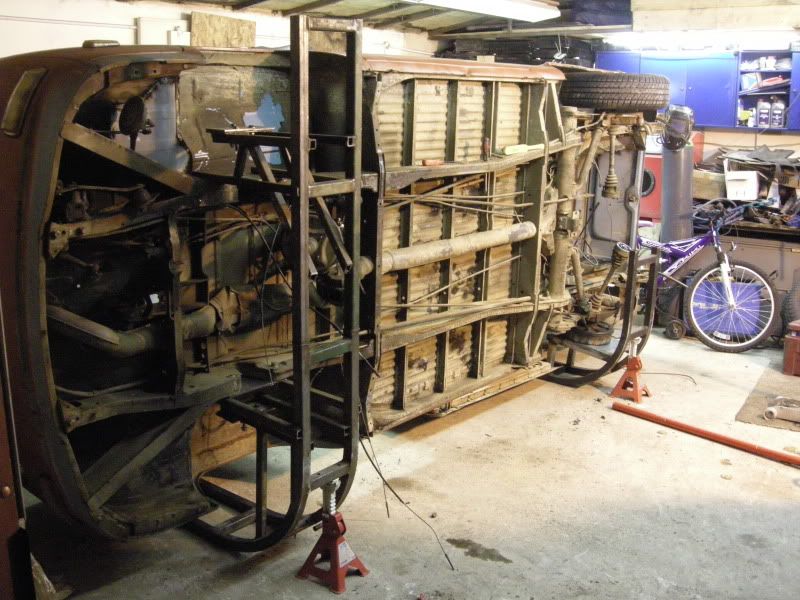
And boy oh boy this van just gets better and better, I can finaly see that all the stress involved in getting her here was worth it.
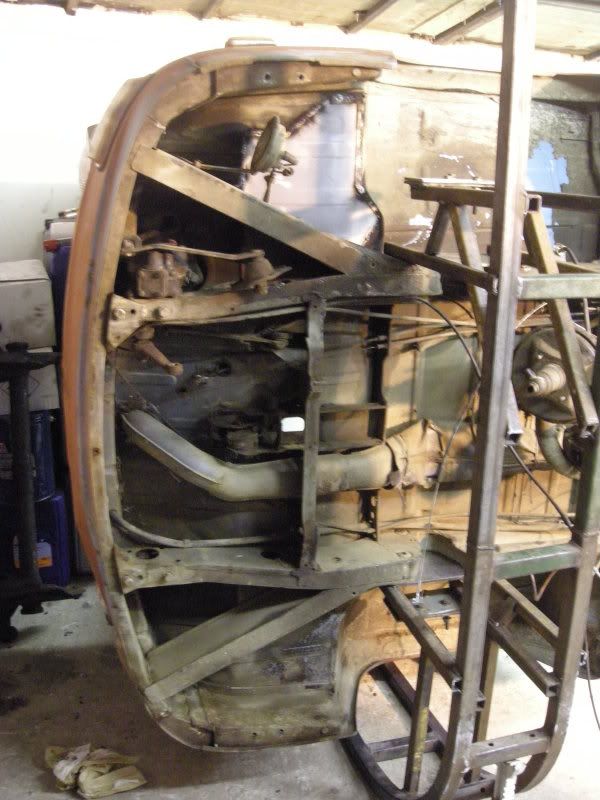
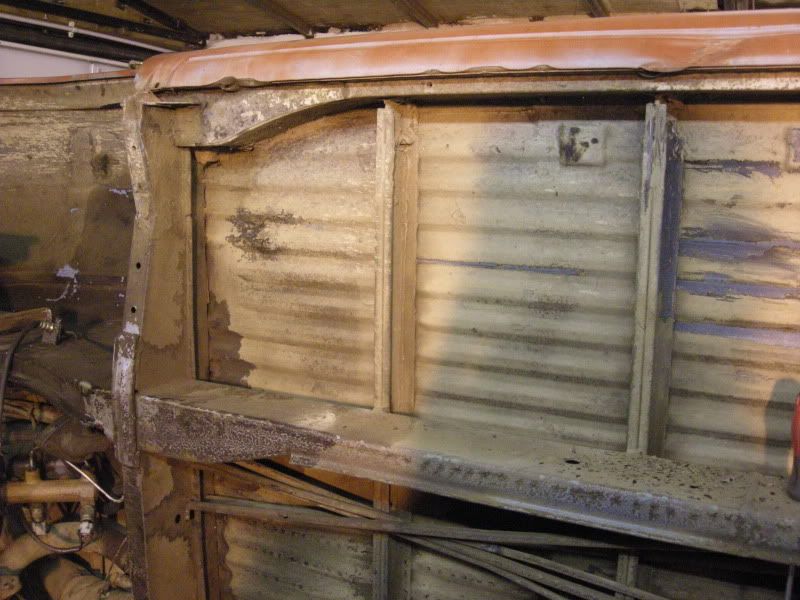
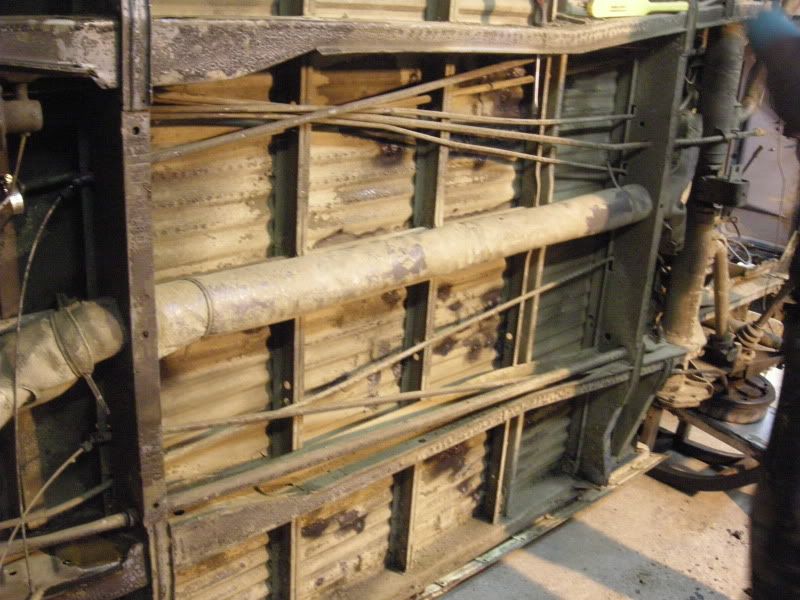

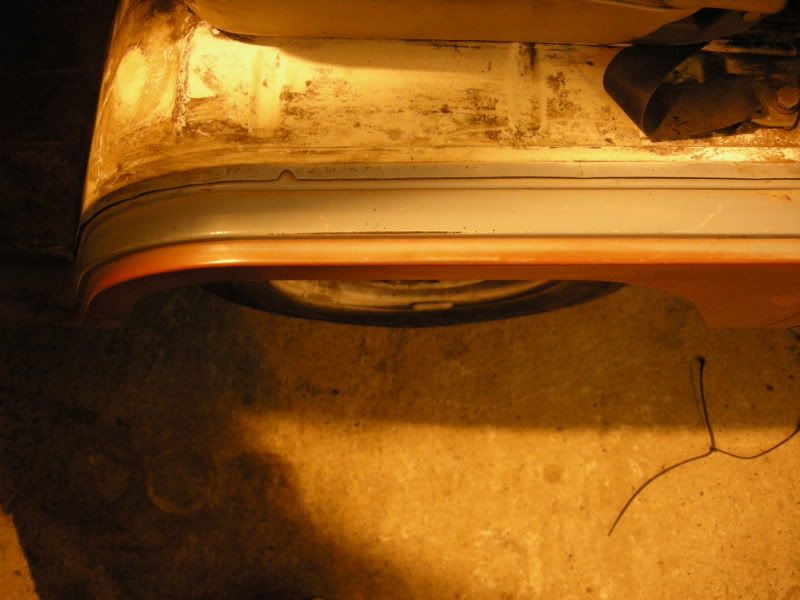
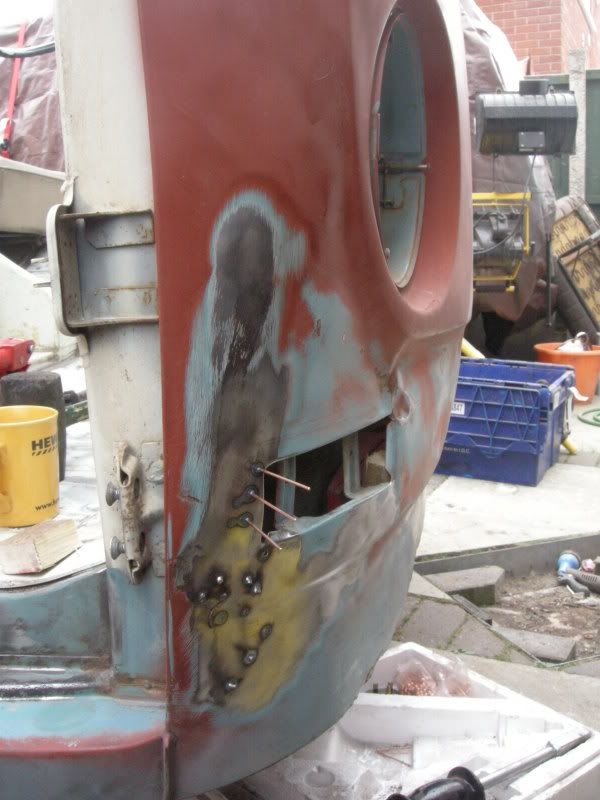
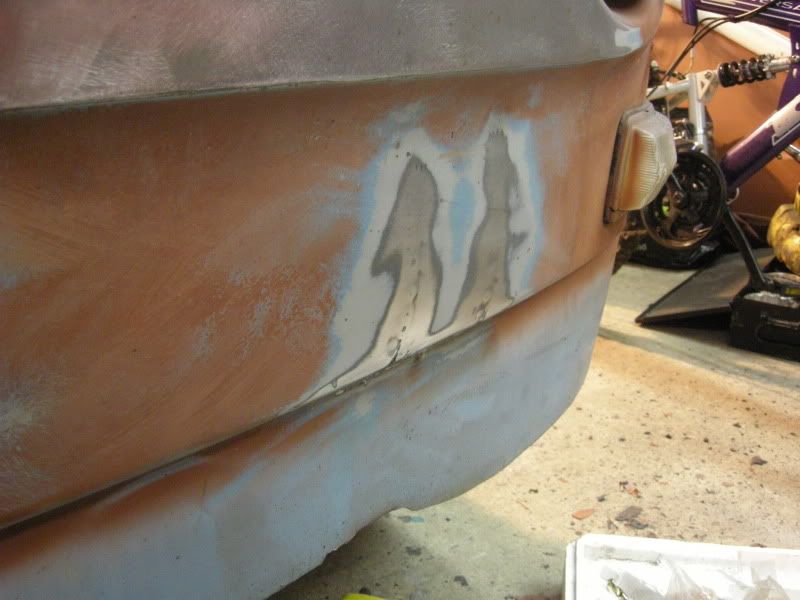
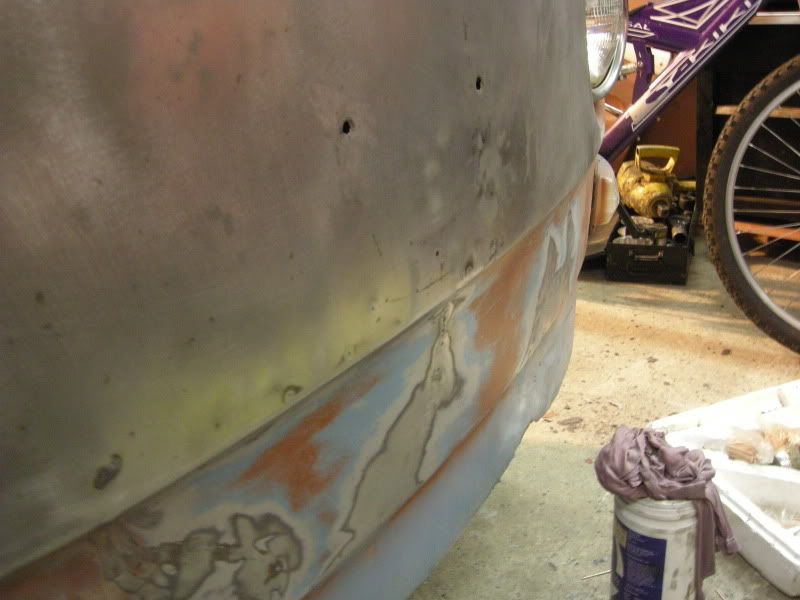
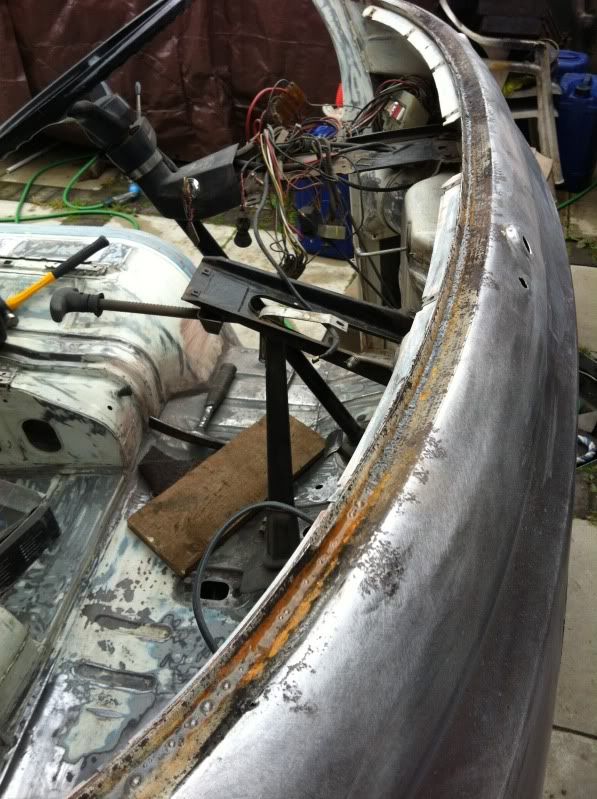
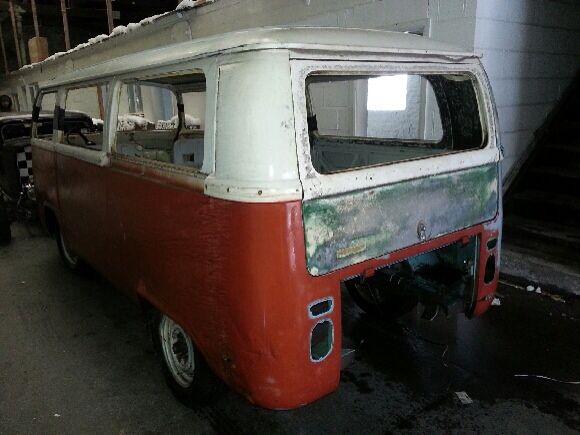
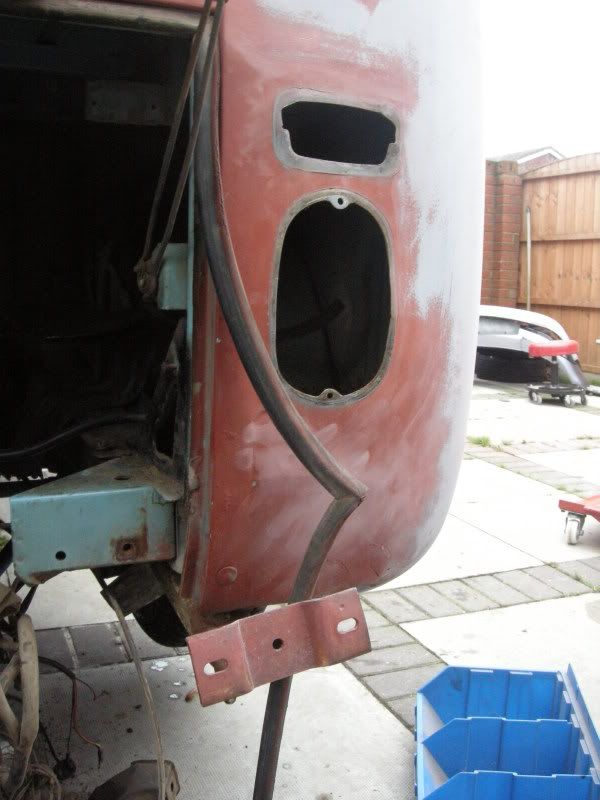
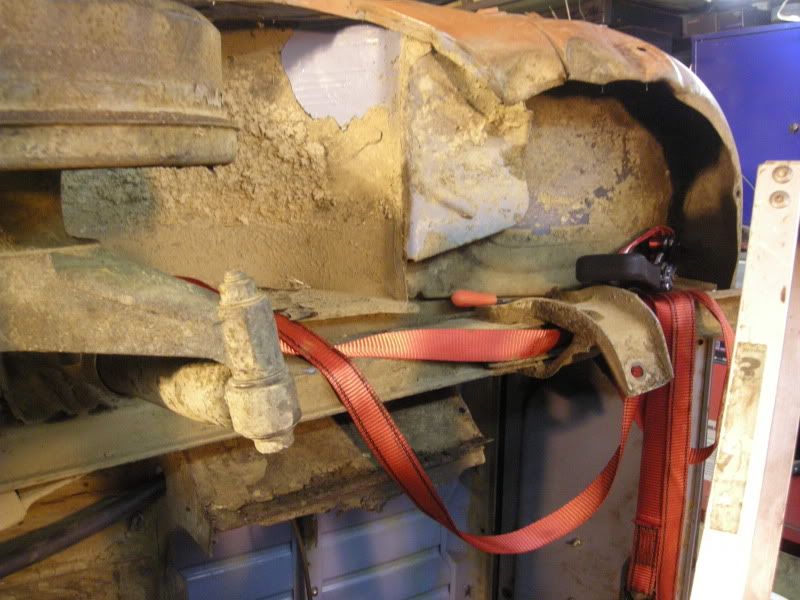
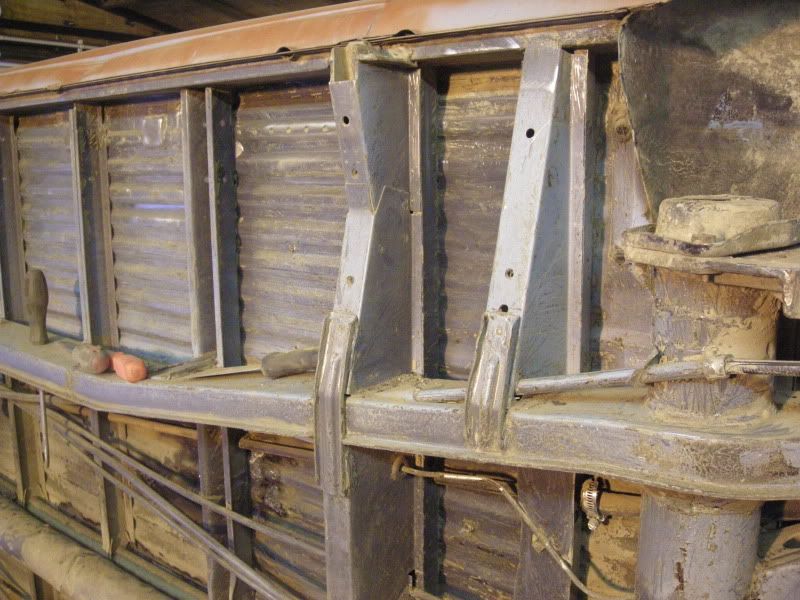
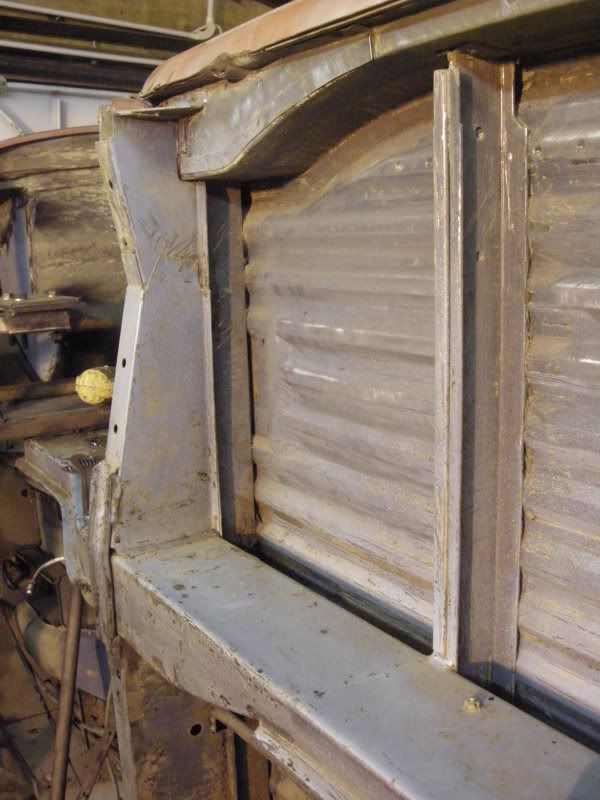
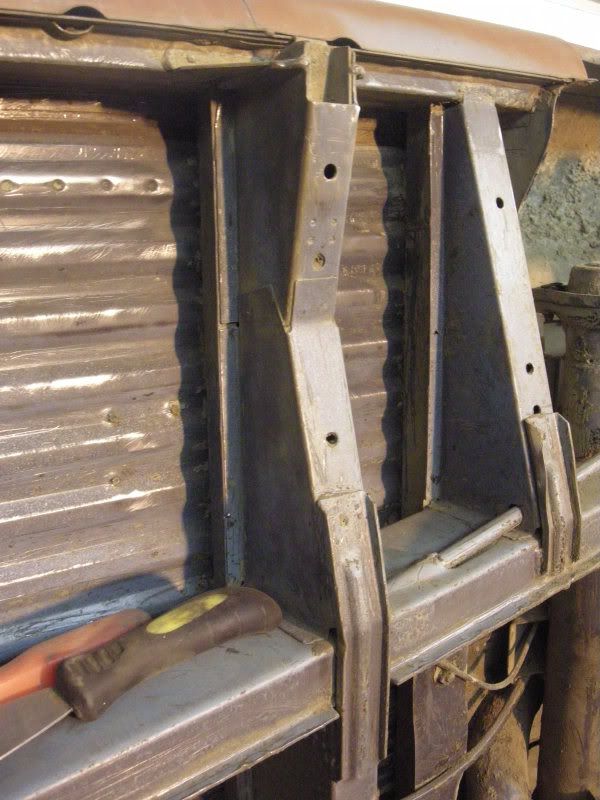
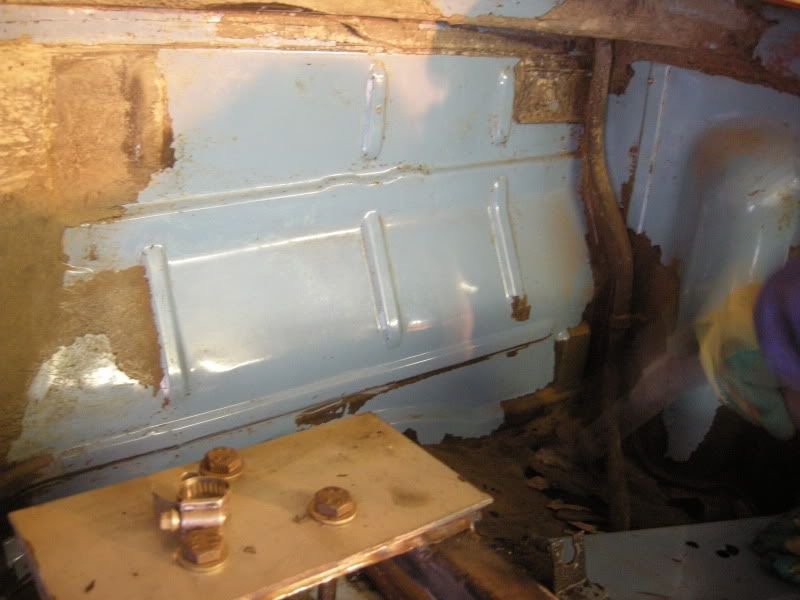
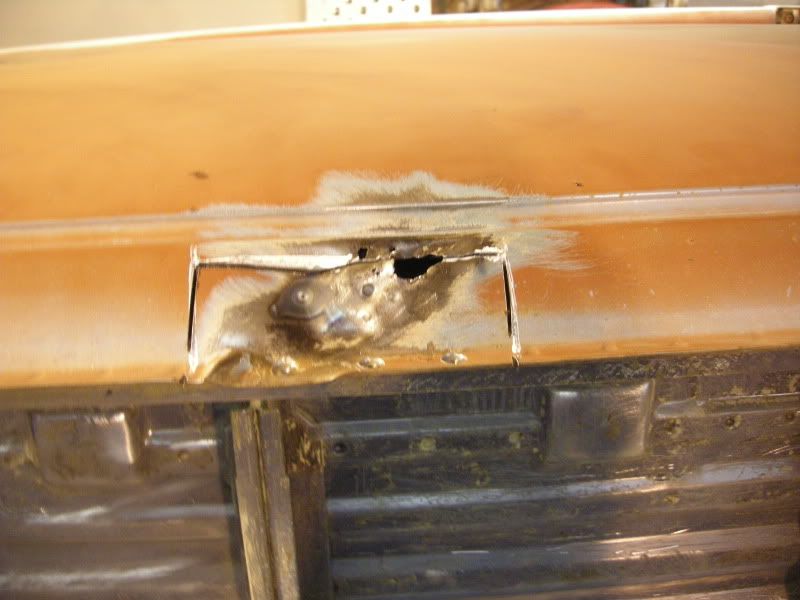
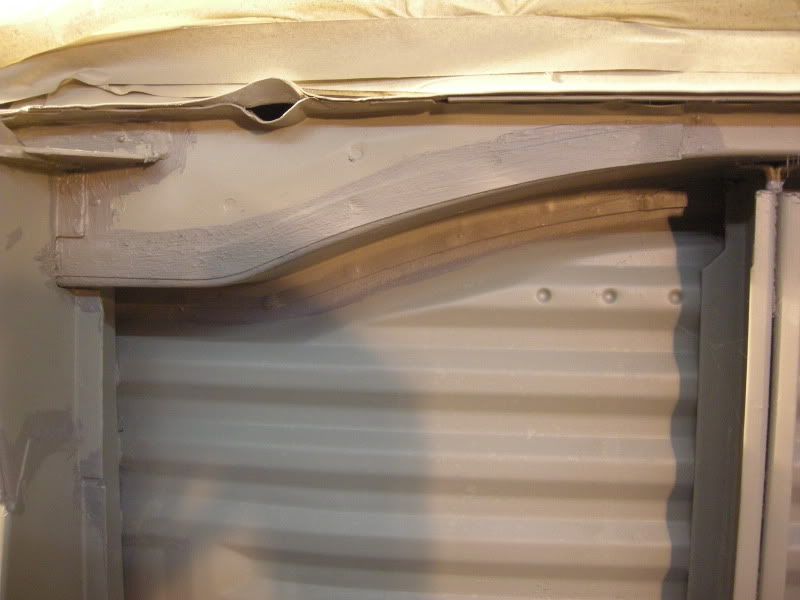
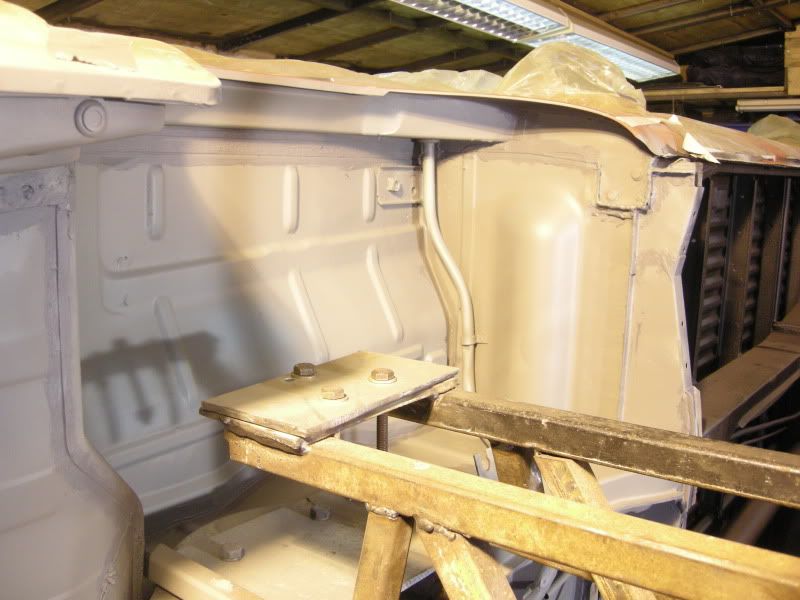
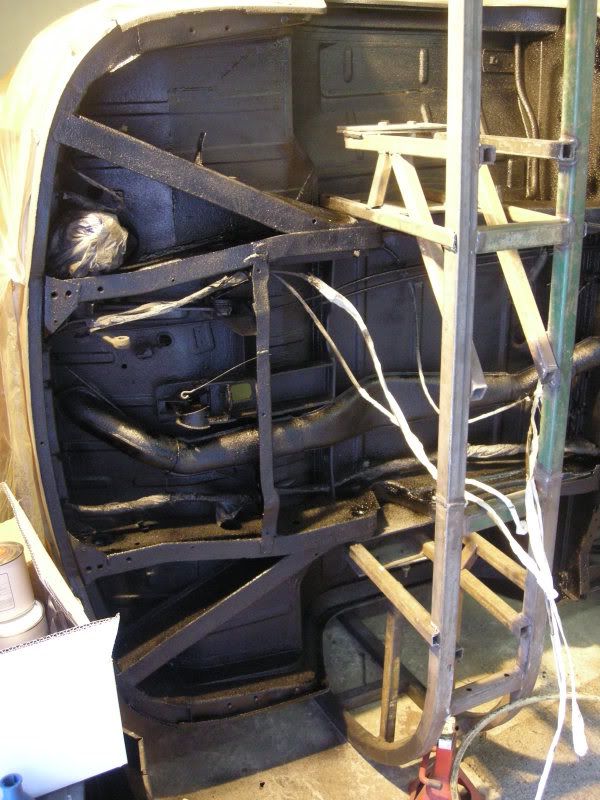
Apart from the battery tray the only tricky thing to sort out is the rear corner/arch, im not sure yet the best way to tackle this?? dont really want to cut it out but I cant see it pulling very well either.
Battery tray
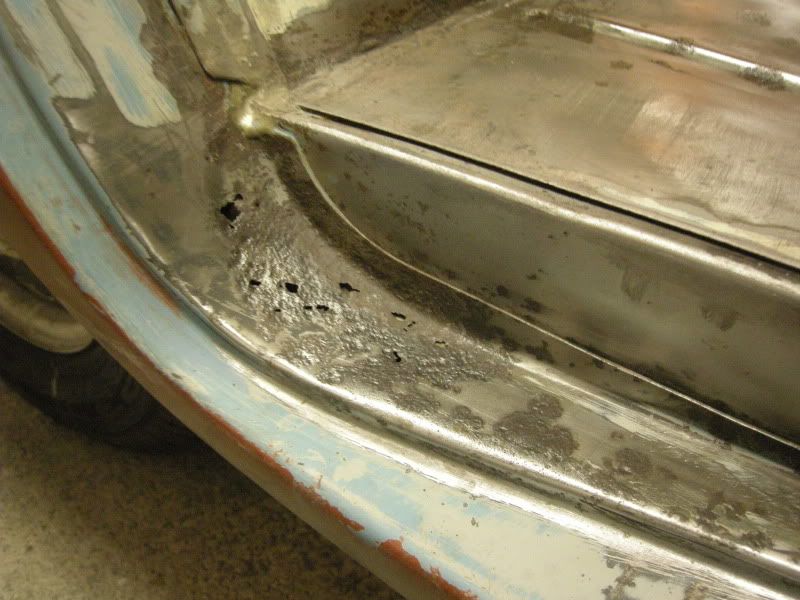
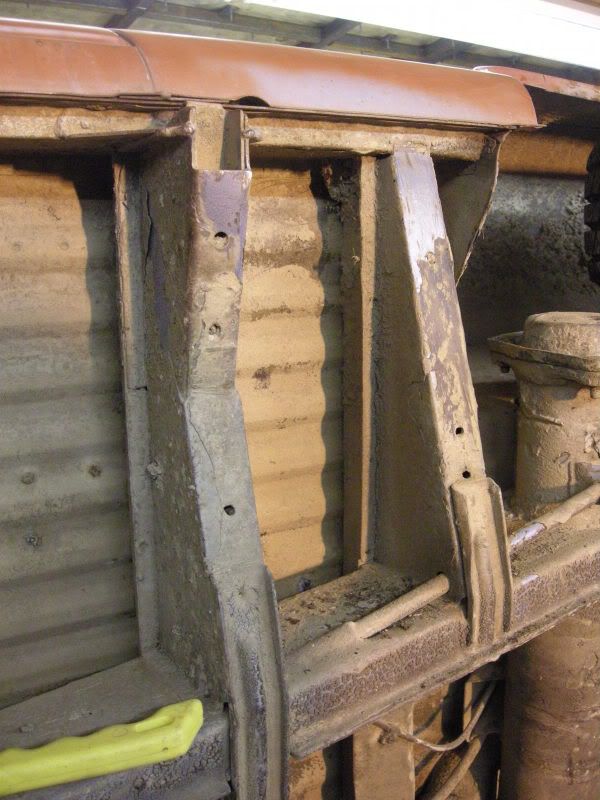
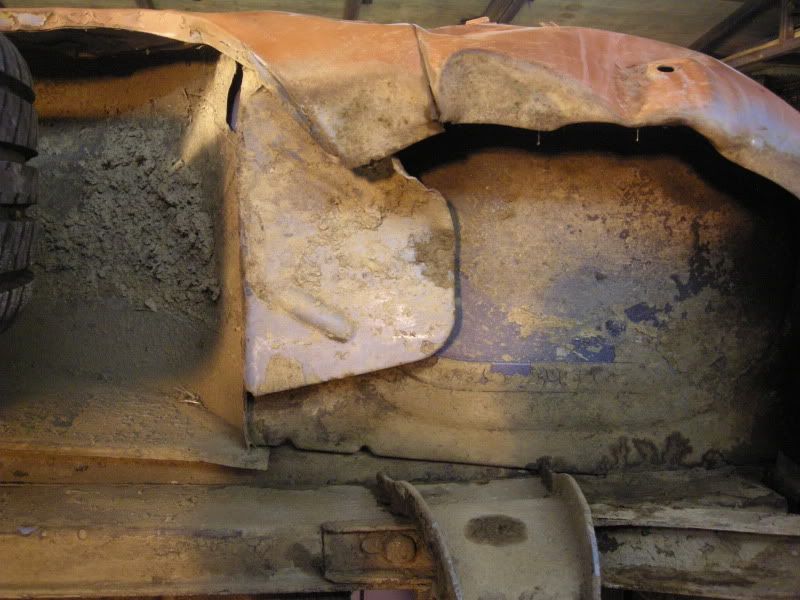
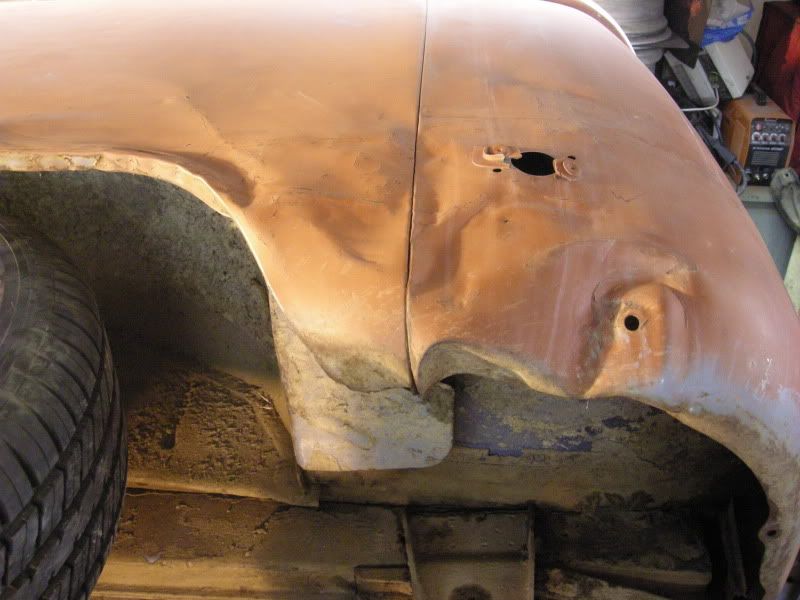
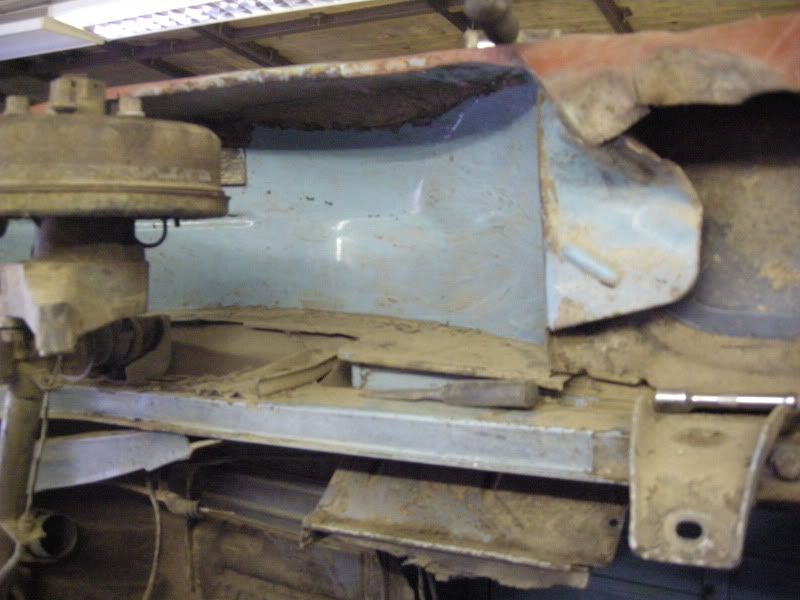
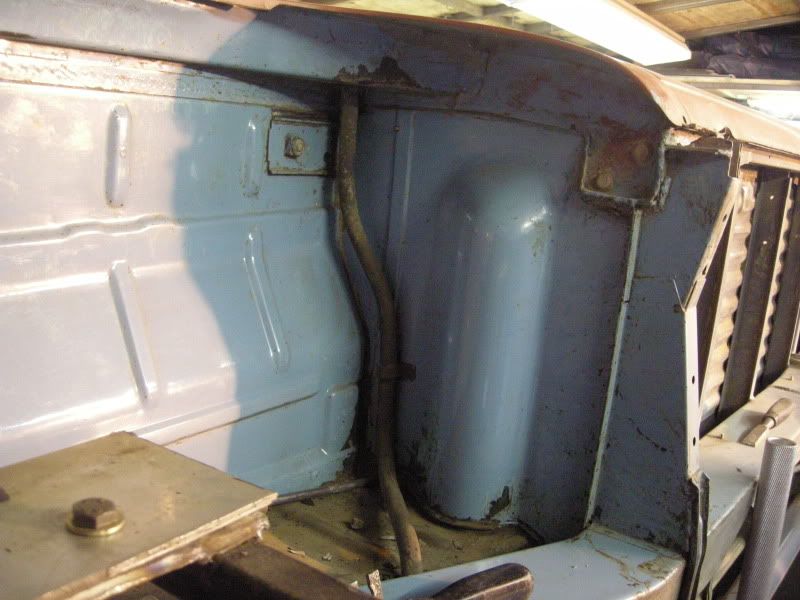
Rear corner

Nice bit of penetration
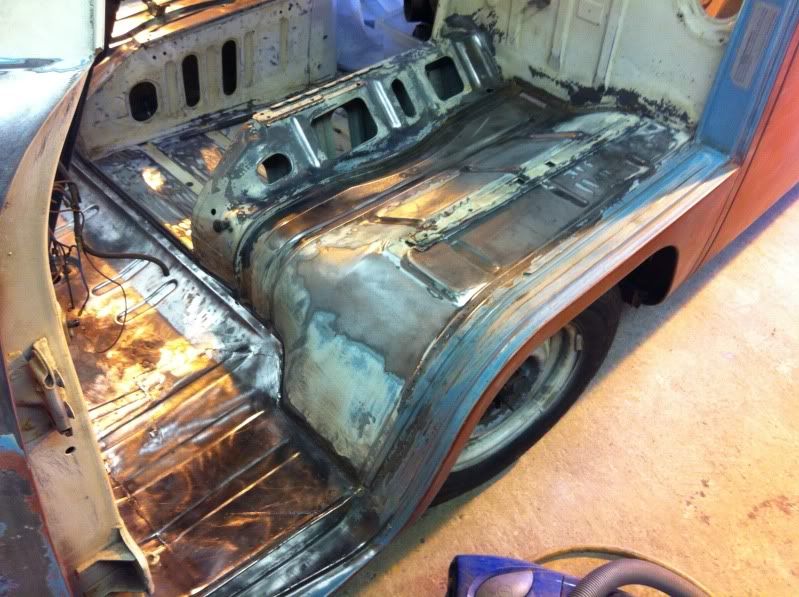
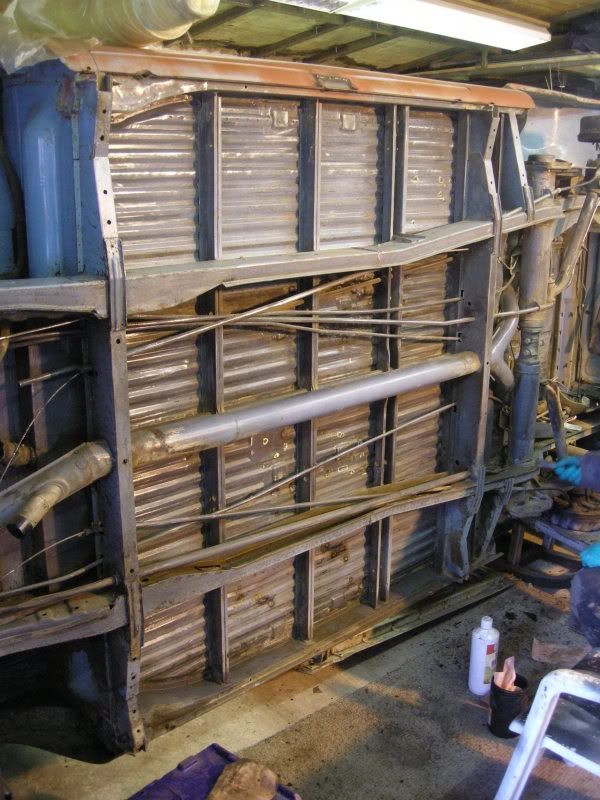
Lots of scraping and cleaning ahead, then hopefully into primer and stonechip.
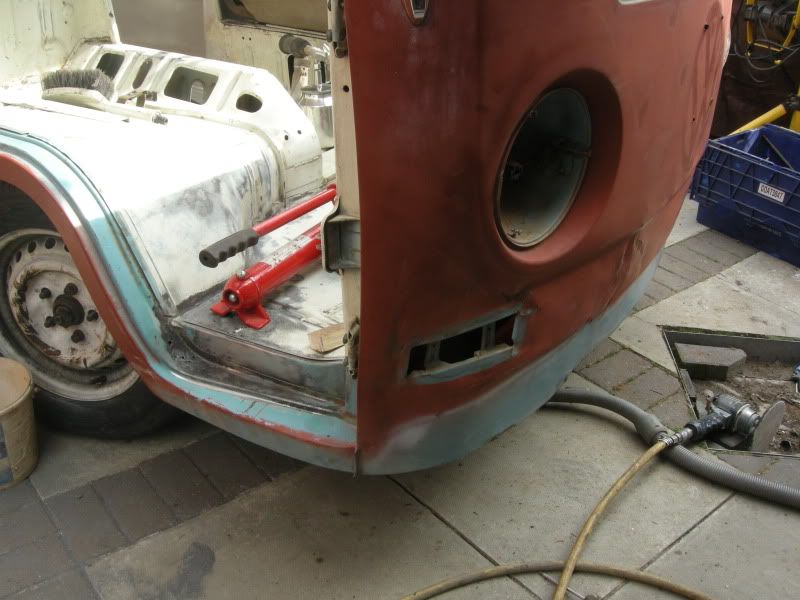
The lazy way to do it, someone has already very kindly cut the bumpstops off.
Somethings missing here .....
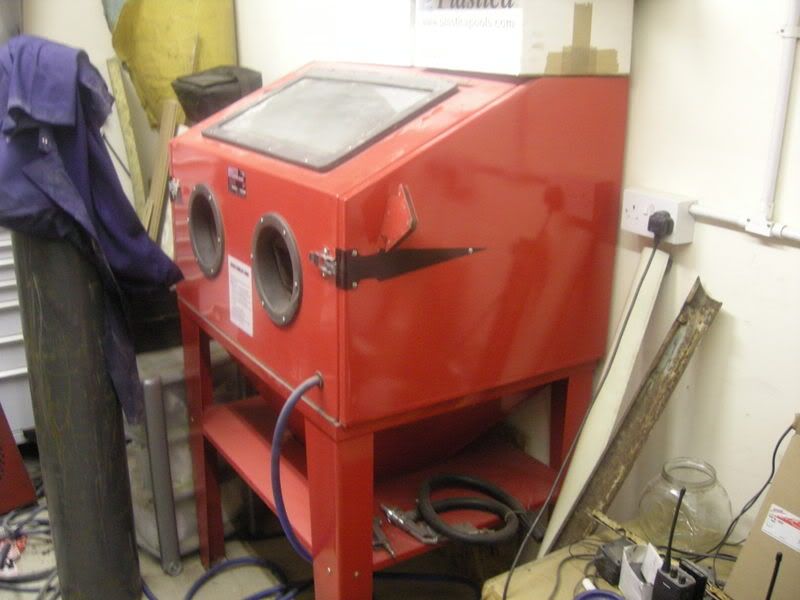
All ready for shotblasting and cleaning up
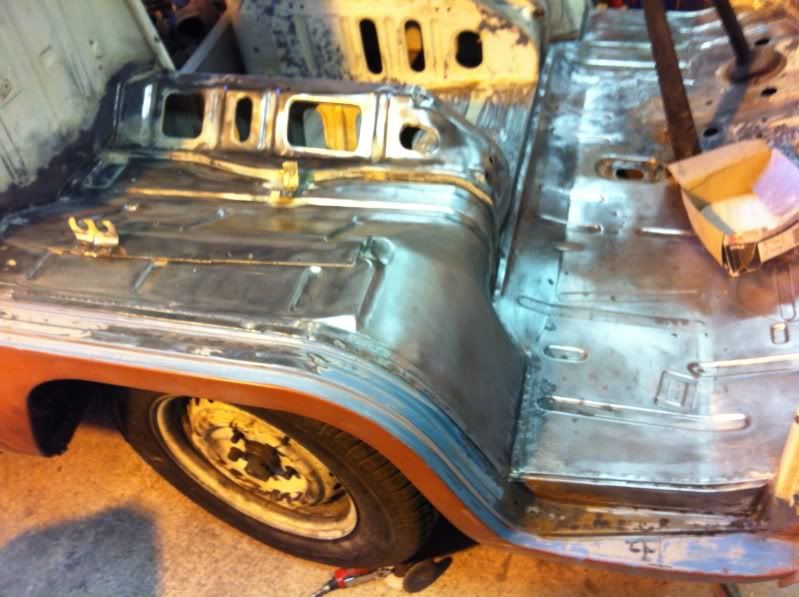
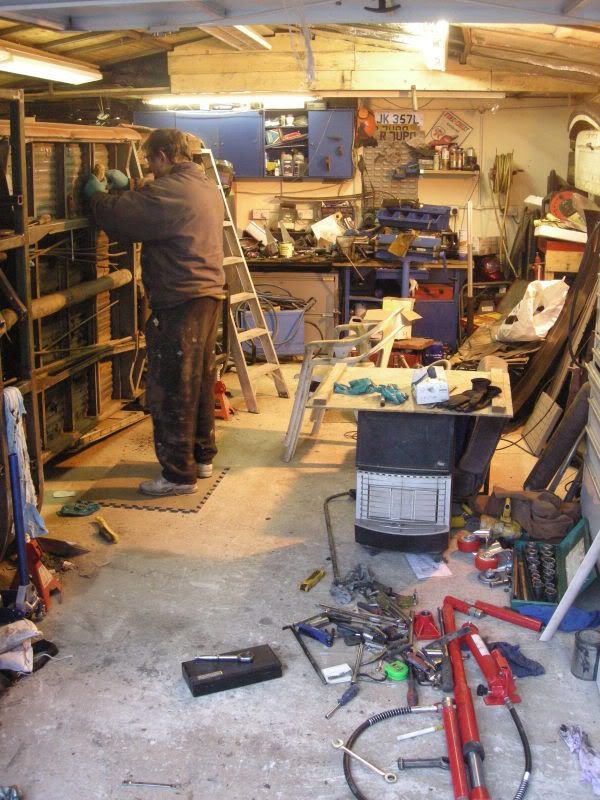
And my awesome dad at work, he was about 4 hours scraping and cleaning. I managed about 15 minutes max and got bored
And the results speak for themselves. 8)
So solid
Bit of shot blasting done ready for powder coating
Removing the rotten battery tray


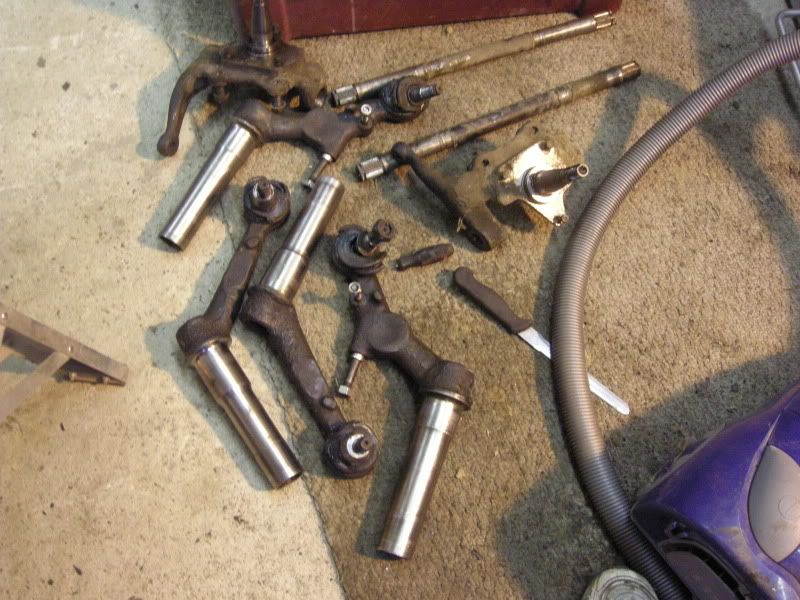
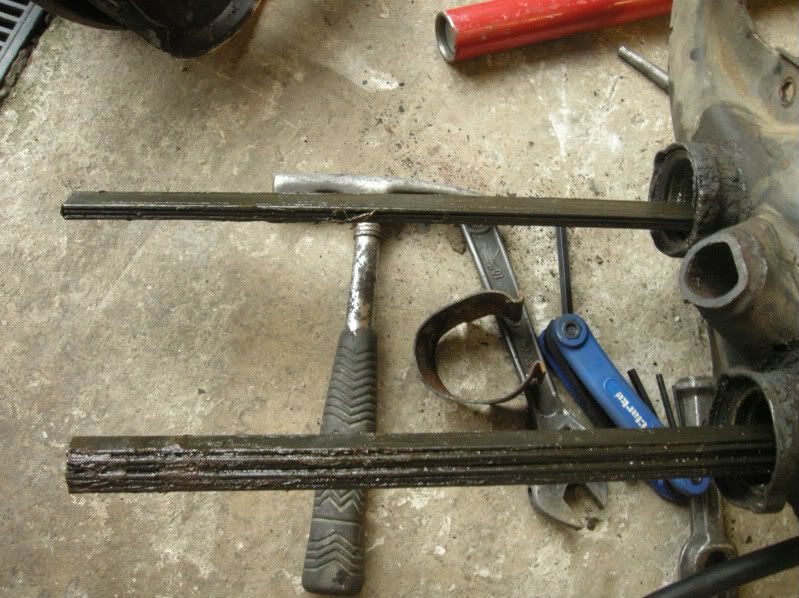
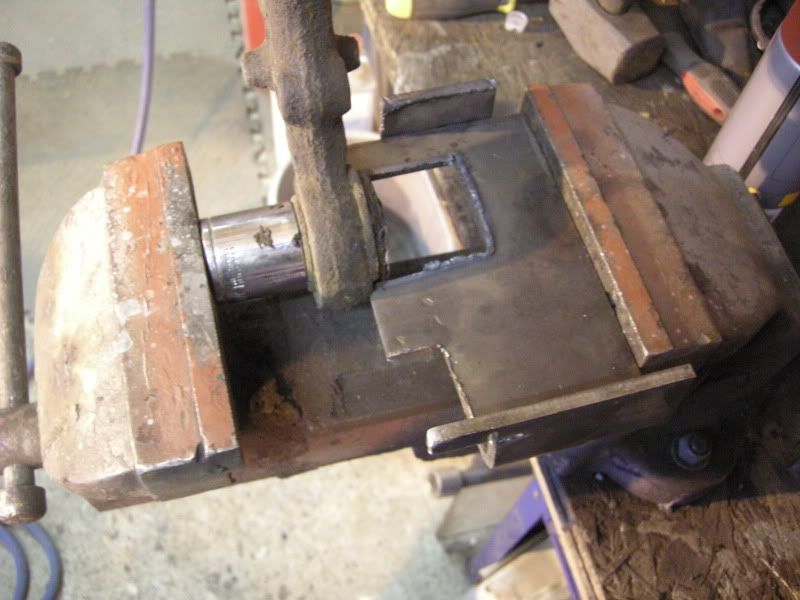
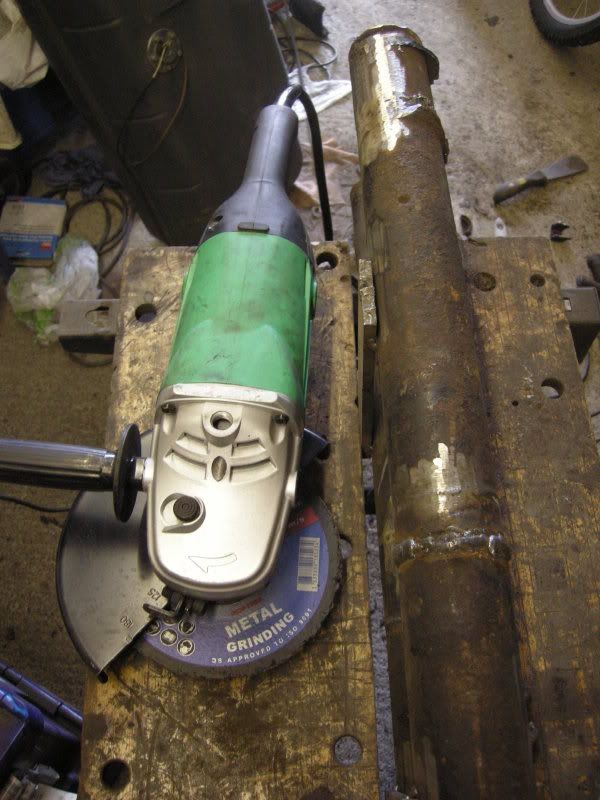
And finaly onto my narrowed beam, what a bastard to do I wont be doing another
Remove steer box
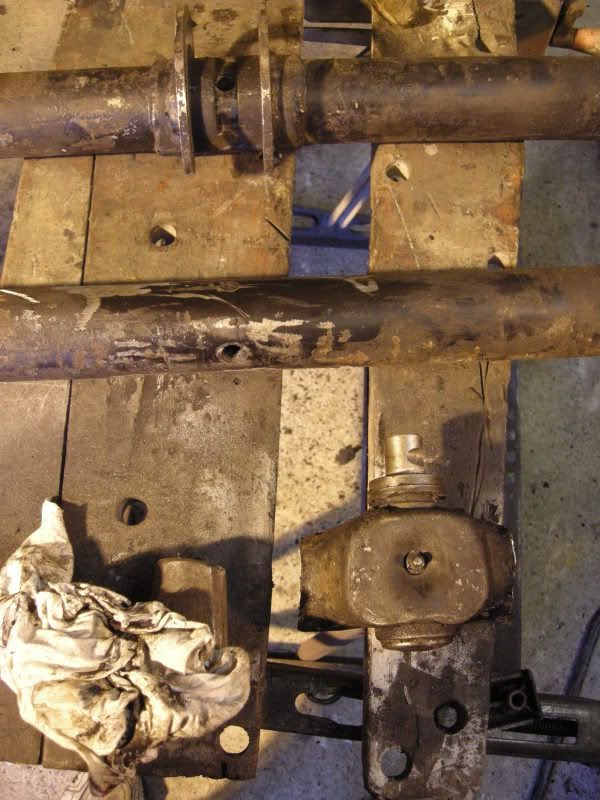
Chop out 4 inches


Got to make these fit in here

and ready to weld up again (once that stupid adjusters removed!)
God its gone all quiet in here, 2012 he
And my mate Mark got to grips with the gearbox,
40 years of grime versus 3-4 hours with a wire brush,
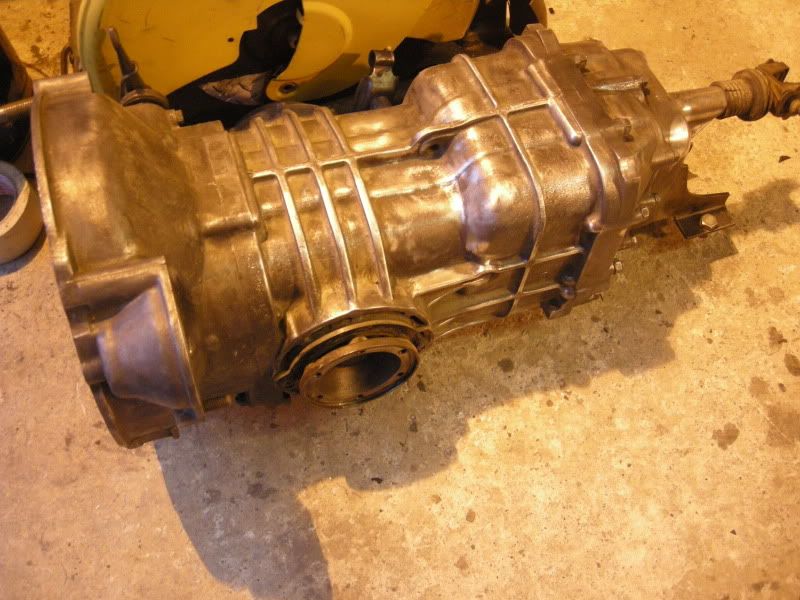
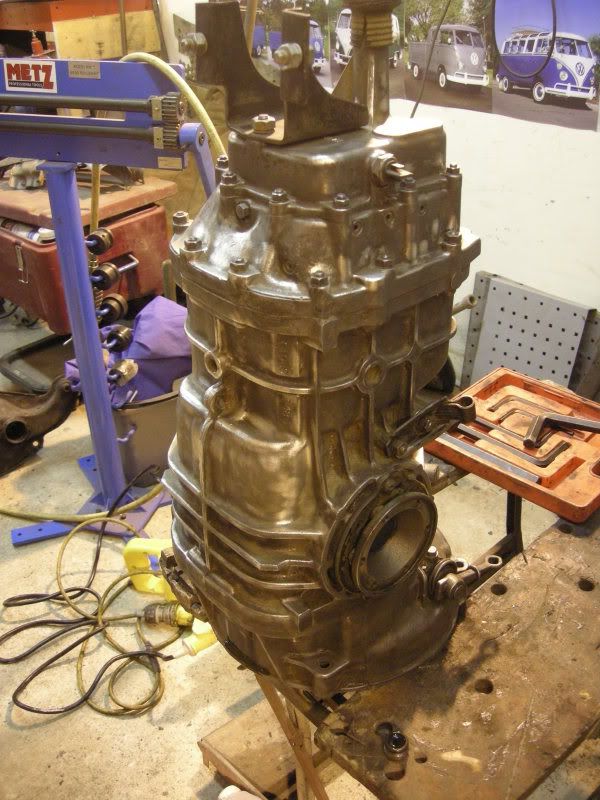
Dropped the old oil out which thankfully looks pretty good, Box just wants a little bit more prep and hopefully I might even get it painted today finaly feel like I'm making pregress with something.
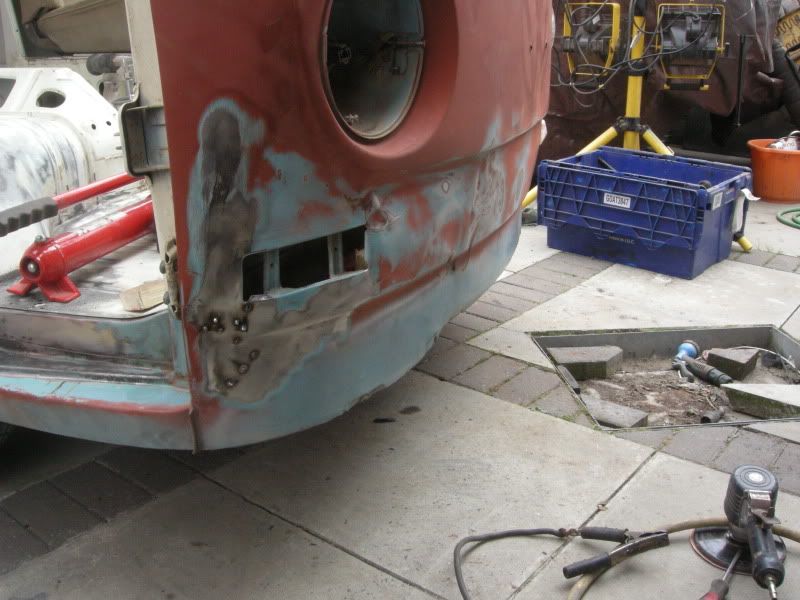
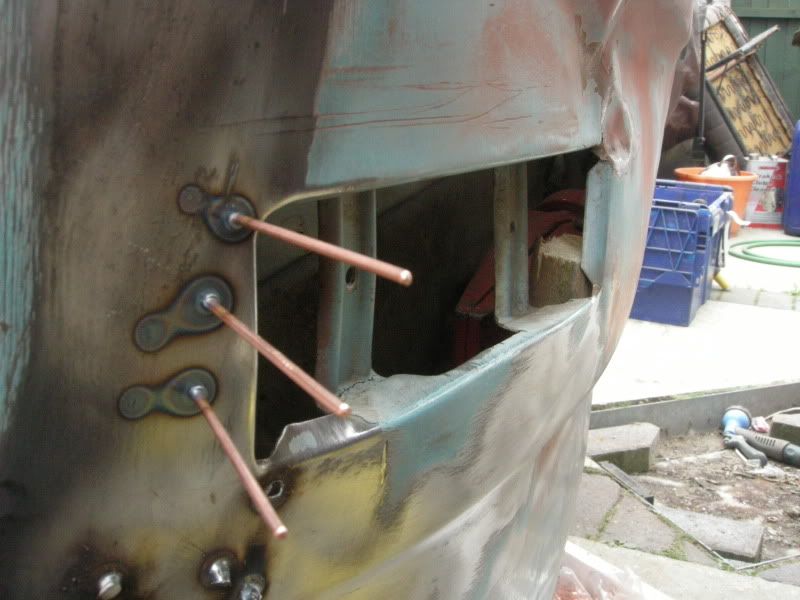
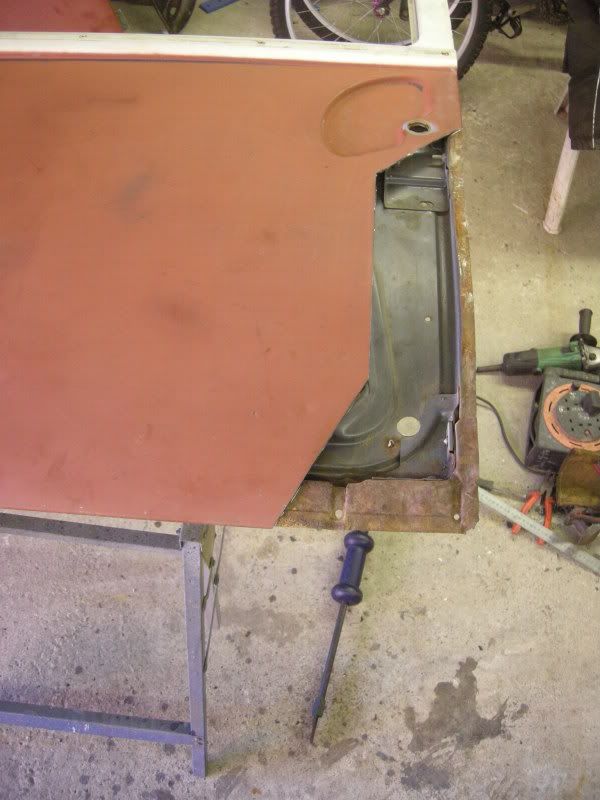
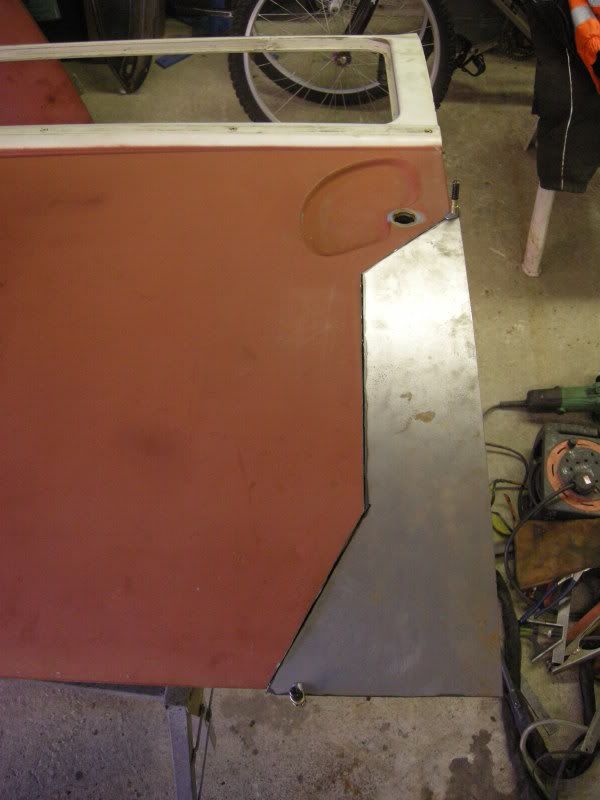
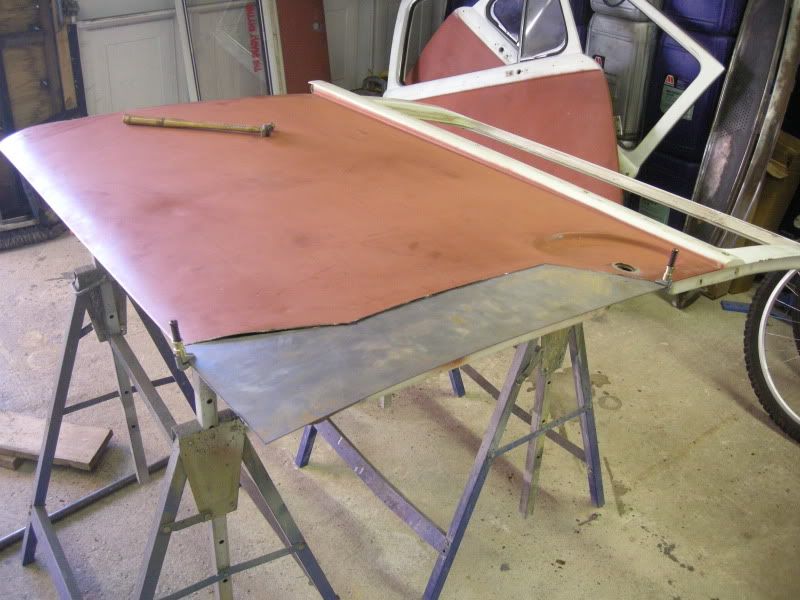
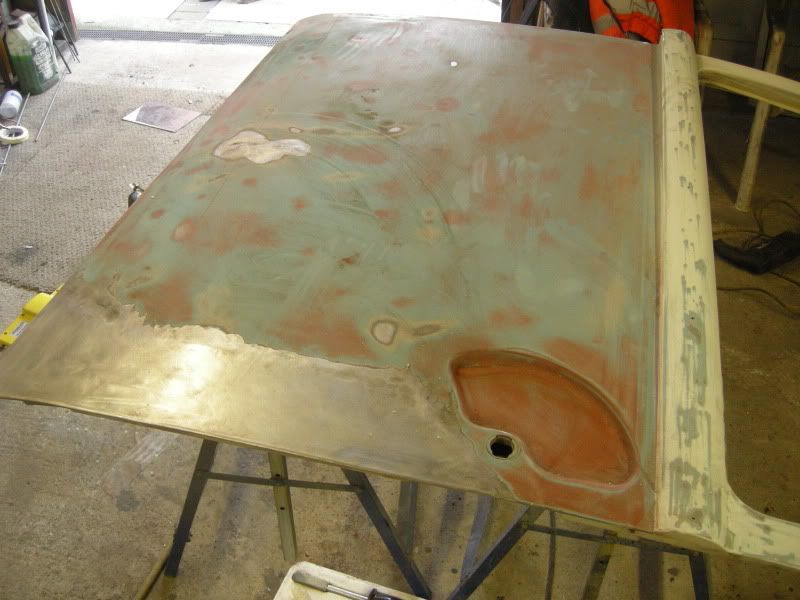
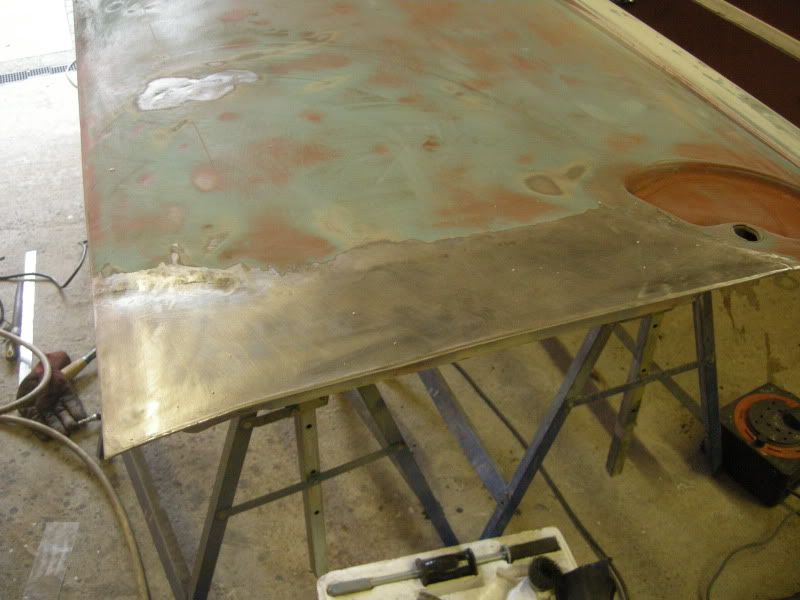
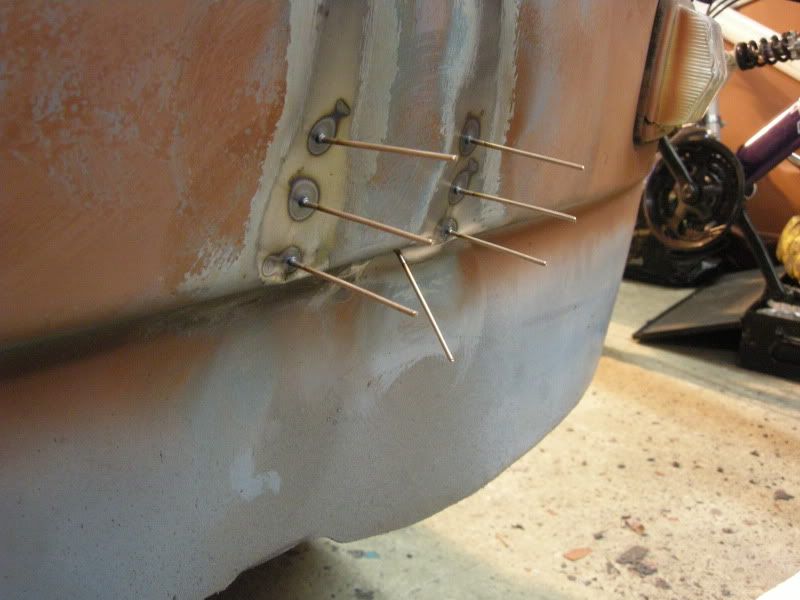
I did find a few more holes in the damage on the sill
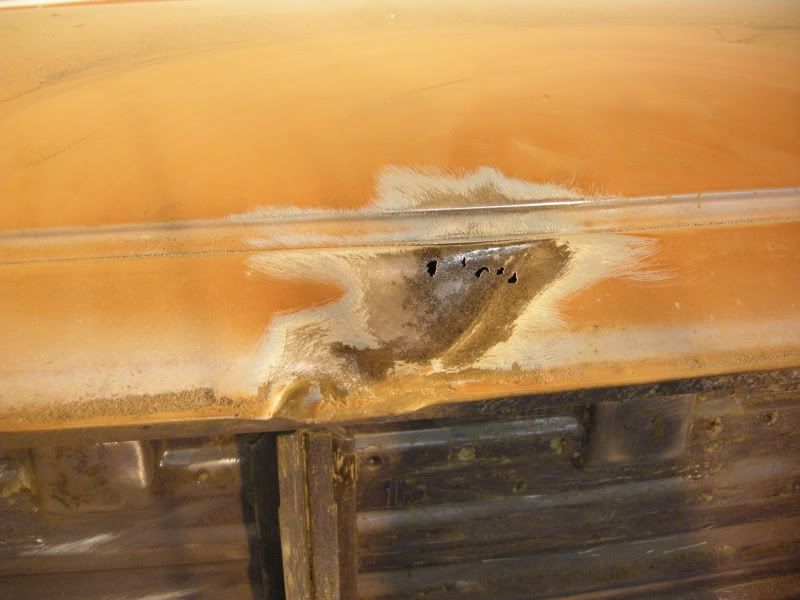
Then proceeded to make a complete mess of it with a stud welder will probably end up cutting this out I think and patching it.
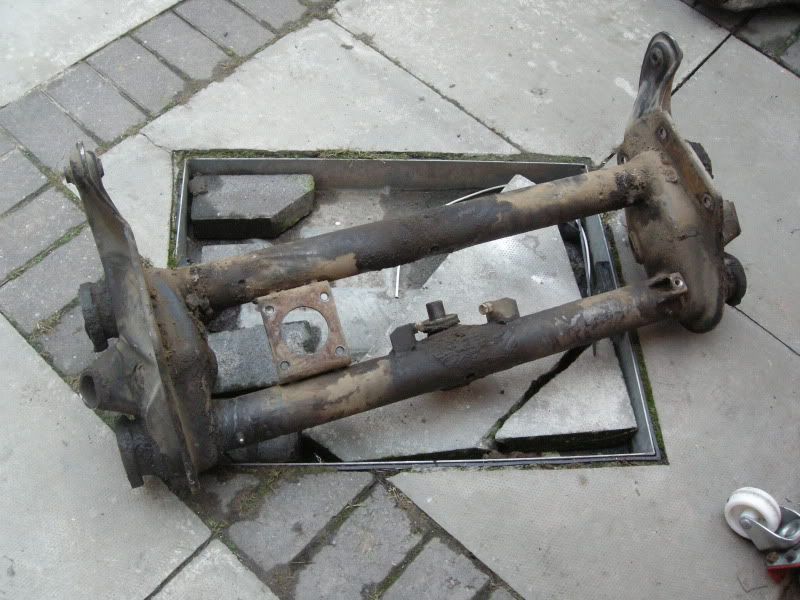
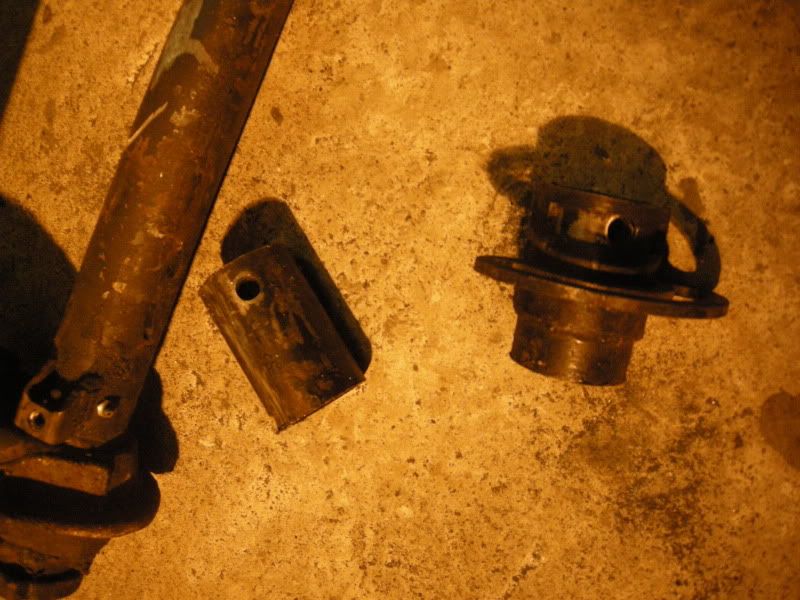
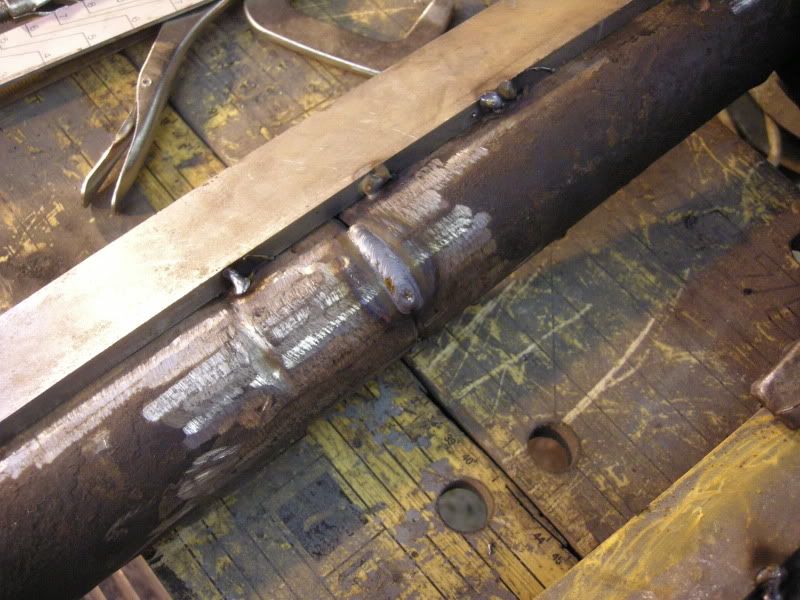
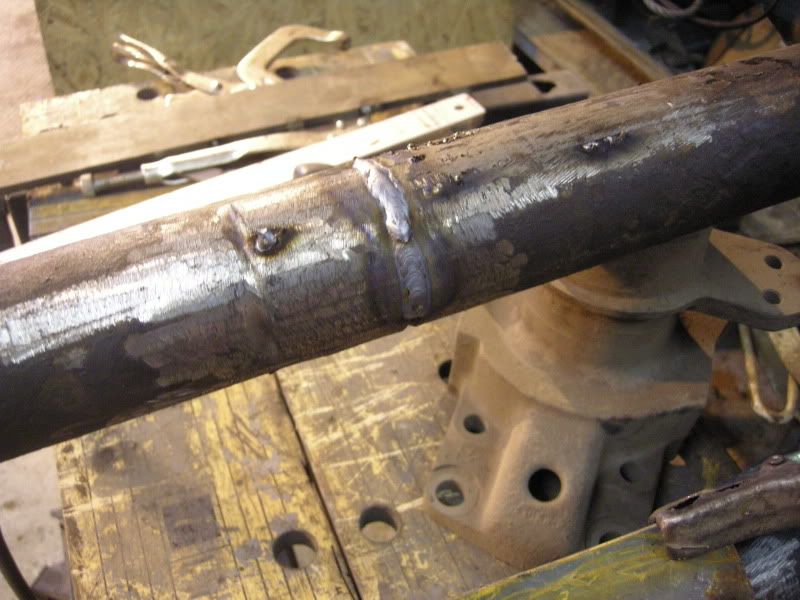
On a better note the two beam halfs are now welded back together.
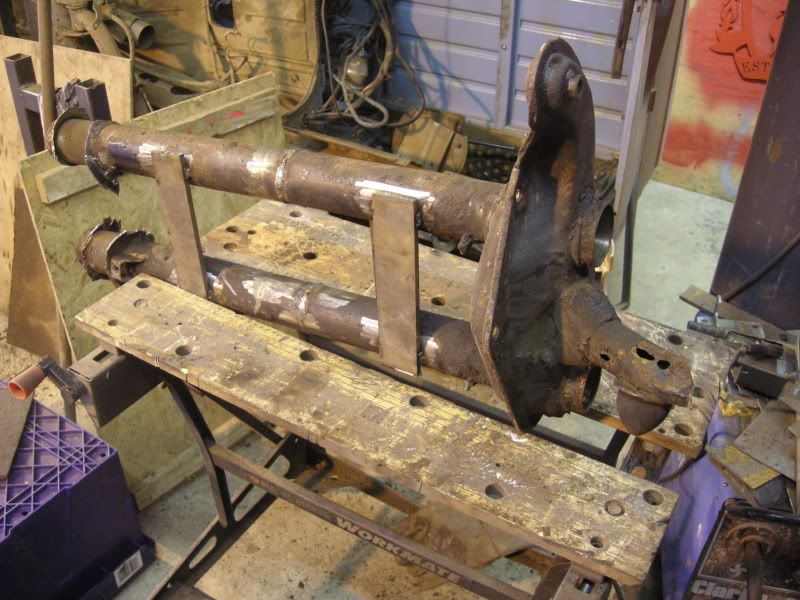
Then all braced up too cut the original towers off
This ones seen better days..
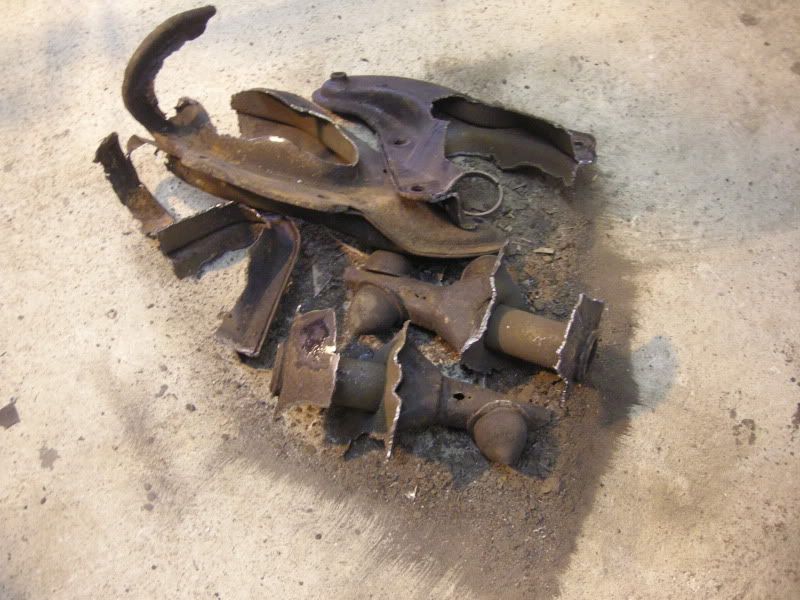
Also decided to cut this out in the end,
Yay! 8)
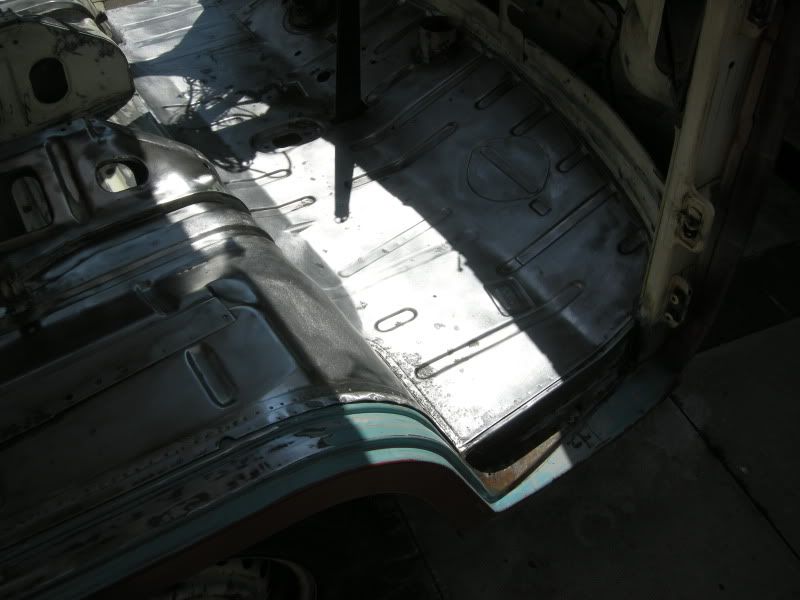
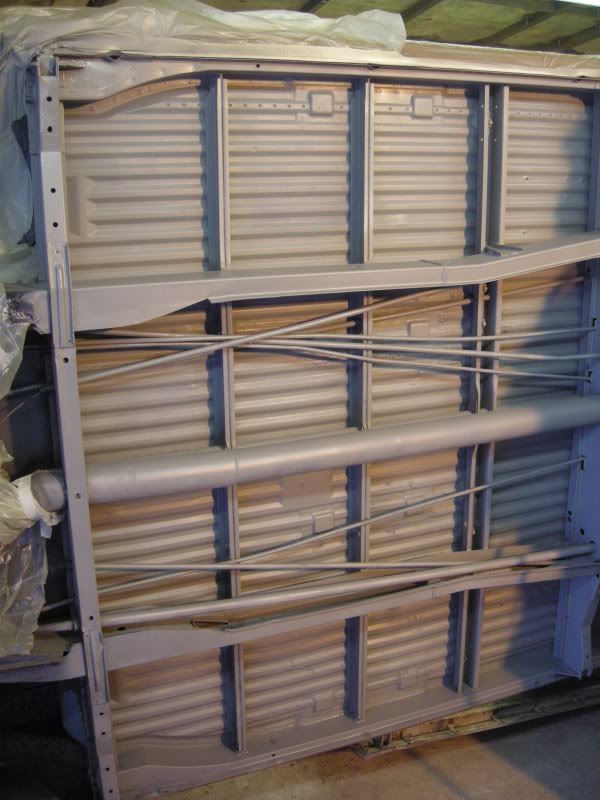
It finaly feels like were making progress, having gotten completely bored with cleaning the floor we decided to prime up what was ready. That being the center section.
And while that was getting done we managed to splash some primer on the gearbox and give that a coat of paint.
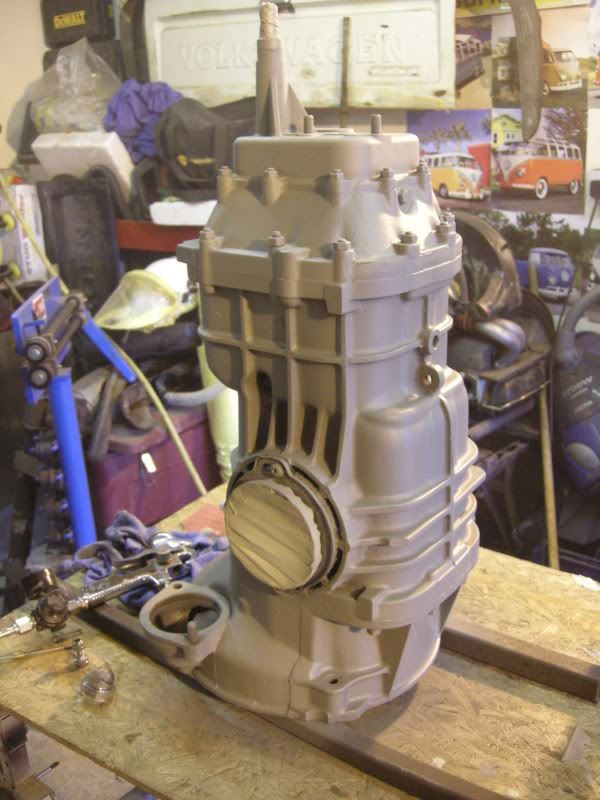
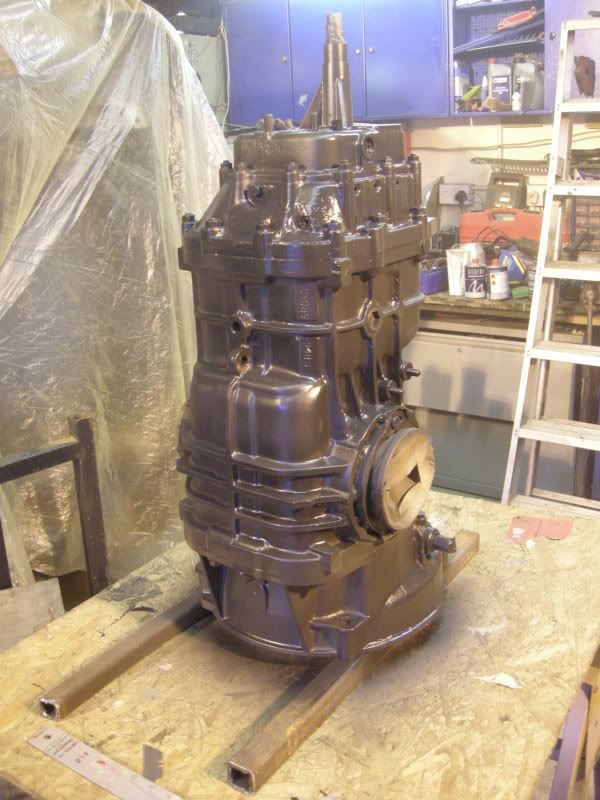
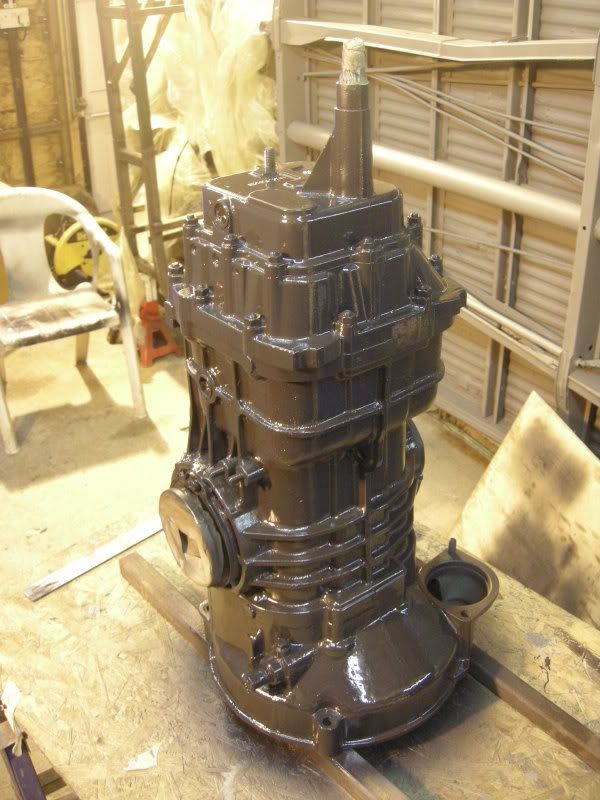
It may only be a gearbox but finaly seeing shiney paint made me
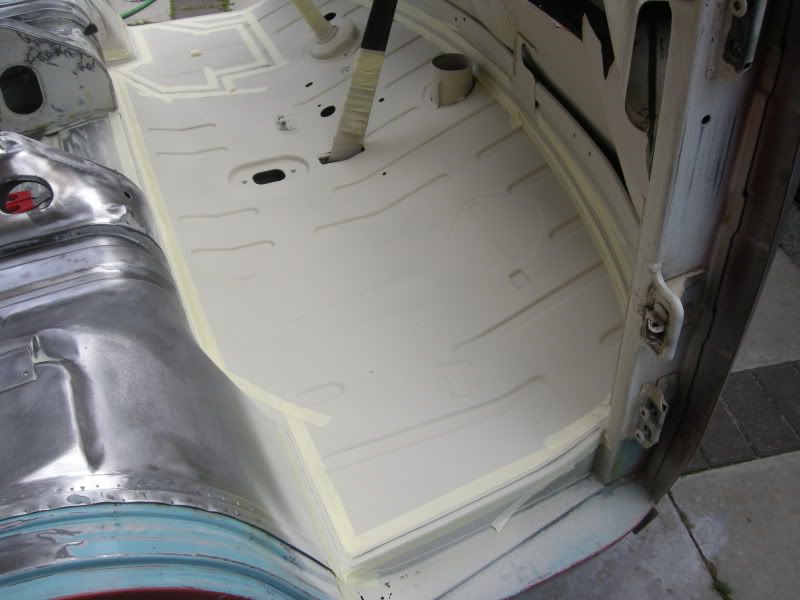
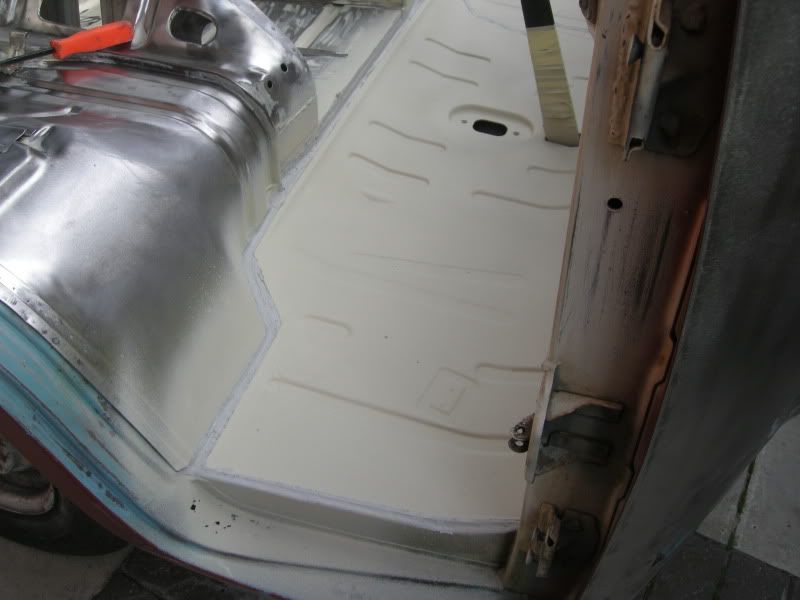
Hard to show as the seam sealer is the same colour as the primer but started seam sealing all the joints etc. No show stuff here get plenty on
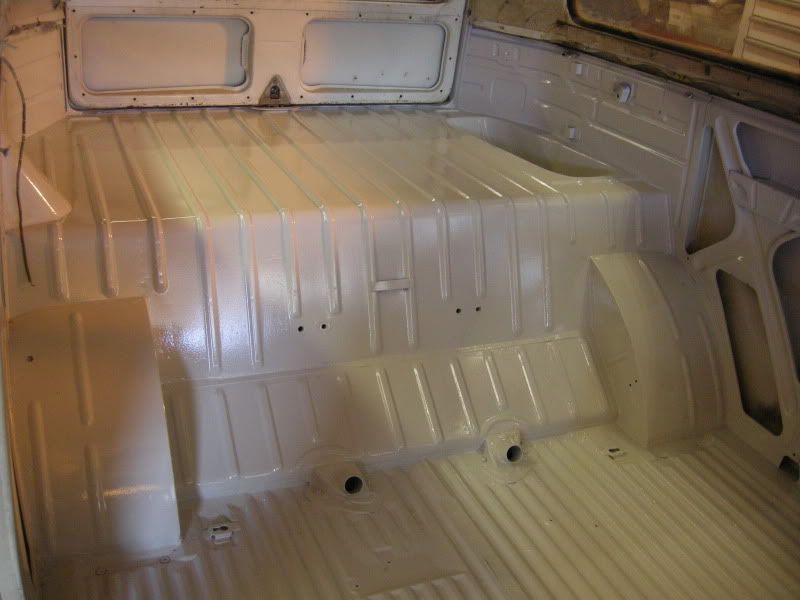
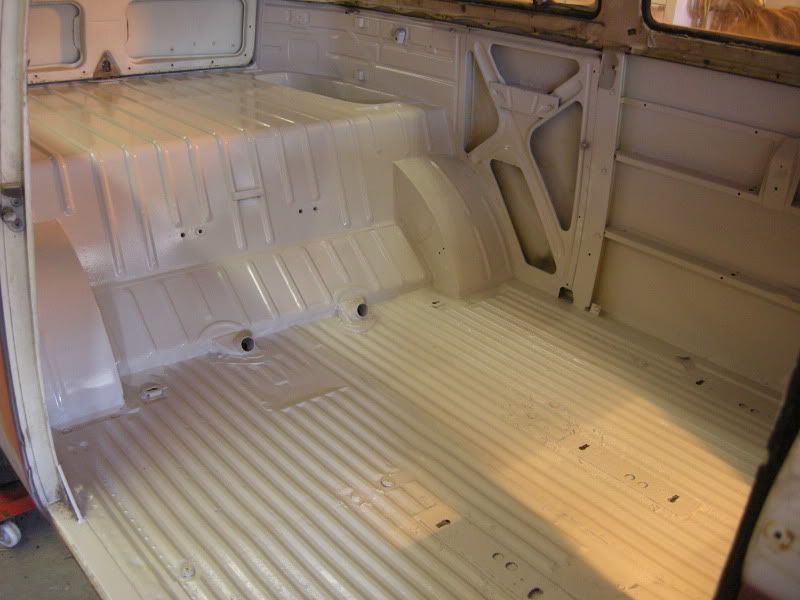
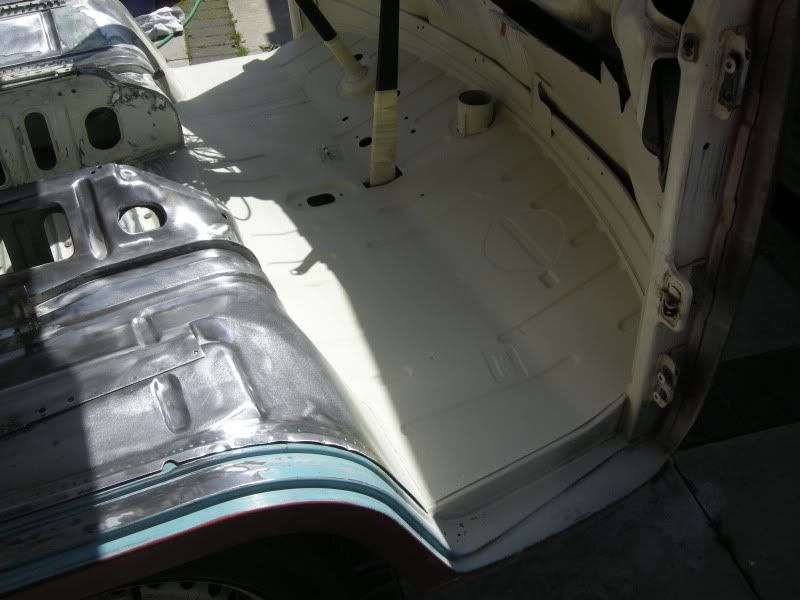
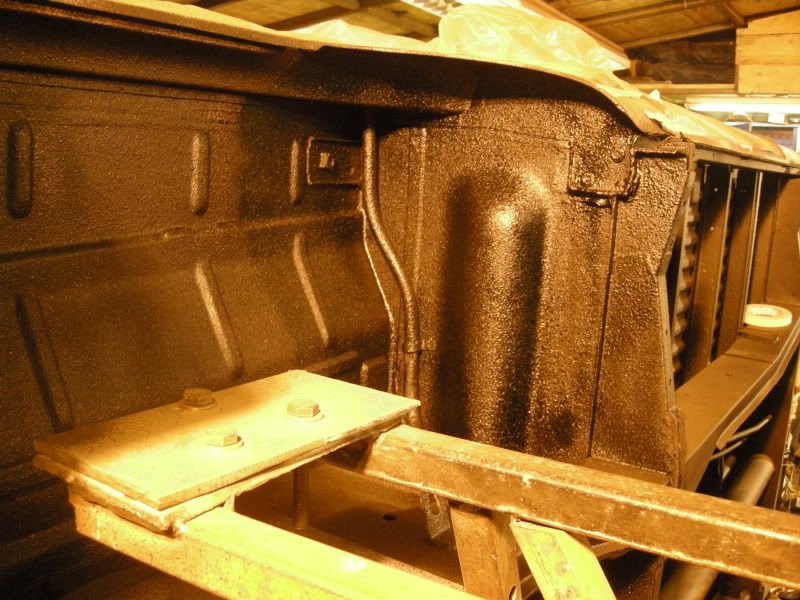
Some of the floors now got a nice heavy coat of stonechip now,
Still wet here..

Quite happy with the finish, should look ok with a top coat on it.
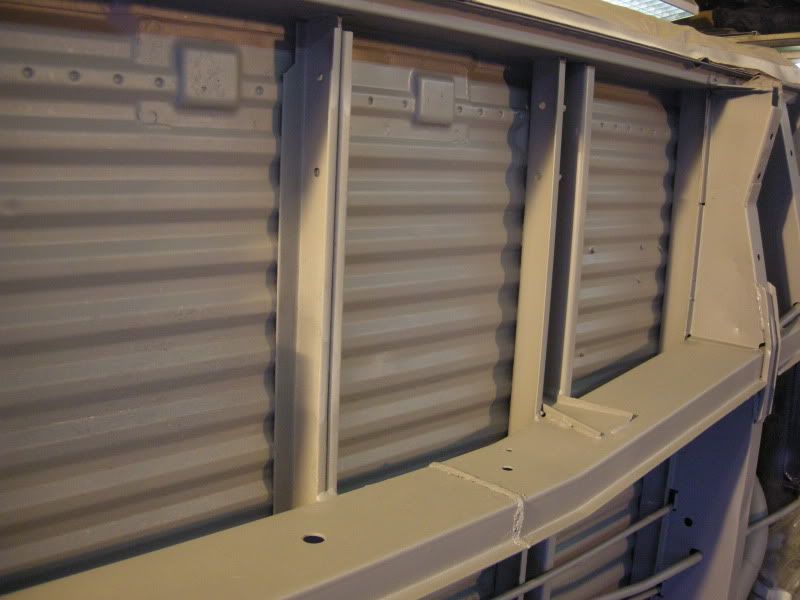
And today we got the front half primered and seam sealed

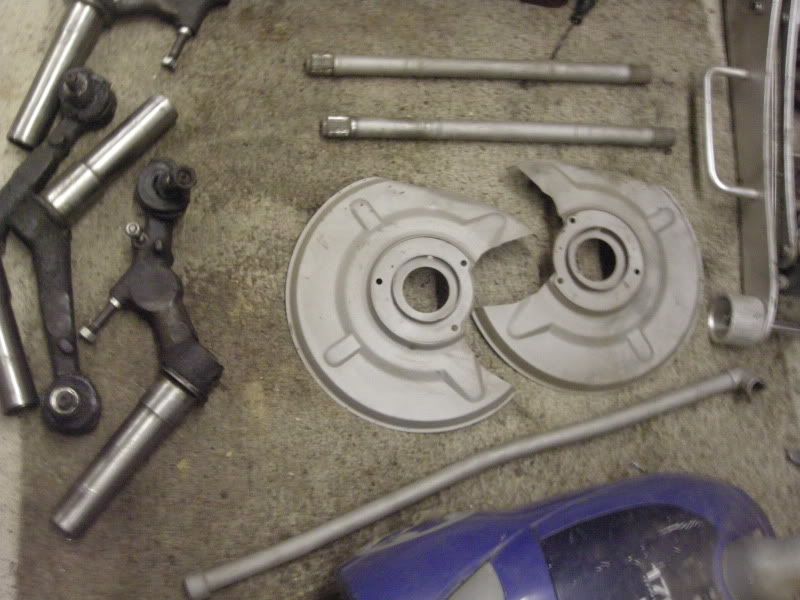
And plodding on with other bits and pieces, got some more bits shot blasted and straightened out.
Picking my axle plates up Friday so thought i'd better make as start on these..
Hillbilly engineering 8)
Picked my new axle plates up Friday and while I was there I managed to press my new ball joints in, heat and a 50 tonne press in the end to get them home
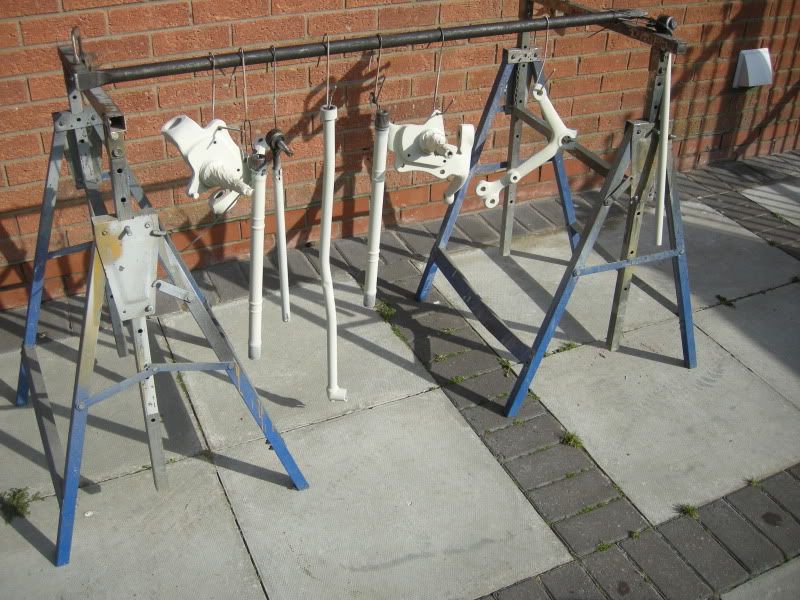
Got them home and slapped a bit of paint on them, going to do all the running gear in grey now I think.
Not a bad finish for a trailing arm
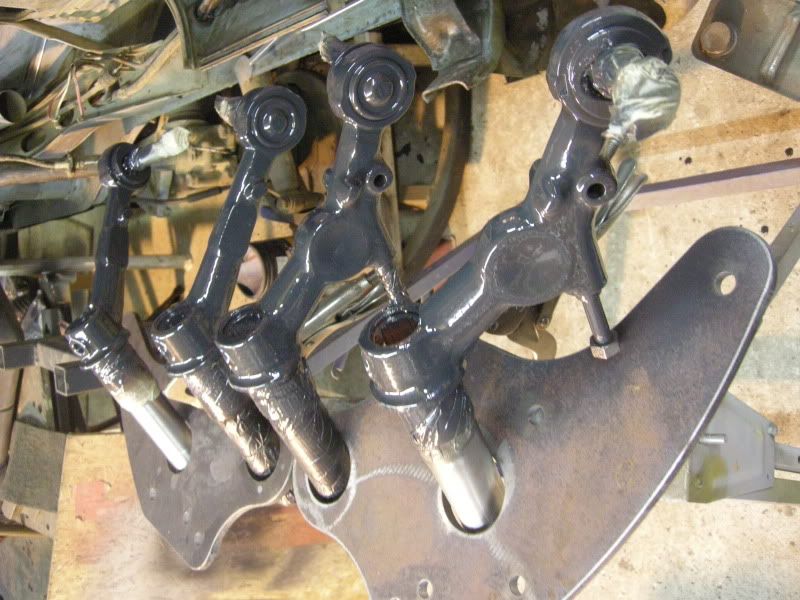
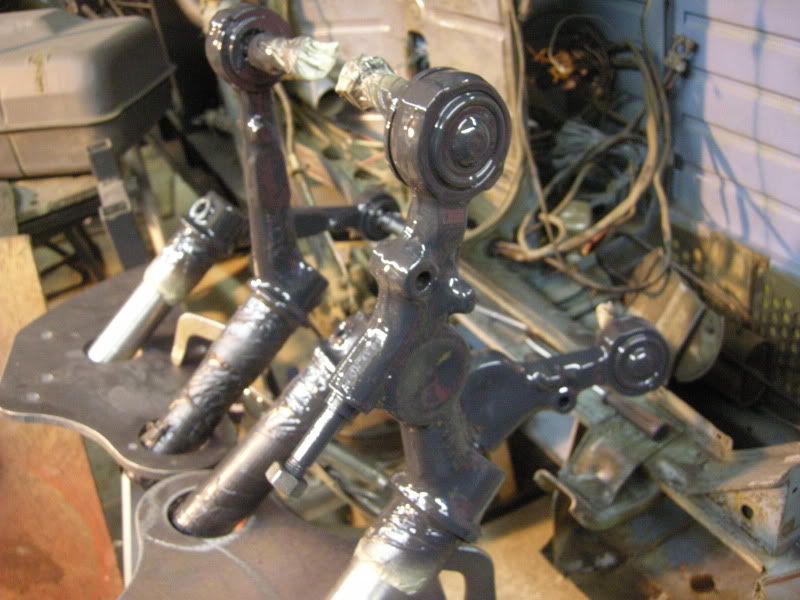
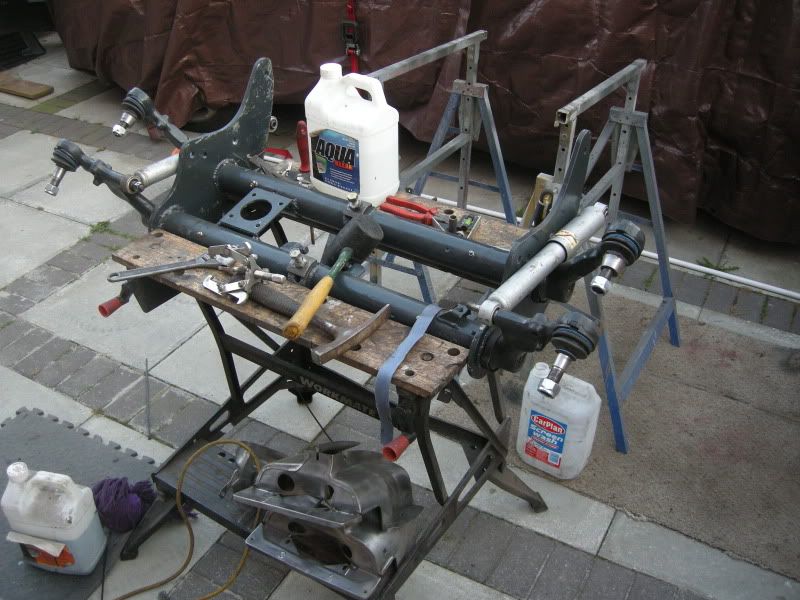
Carried on with the axle, took about two hours cleaning it up a right dirty pain in the arse..
Garage needs a good cleaning..
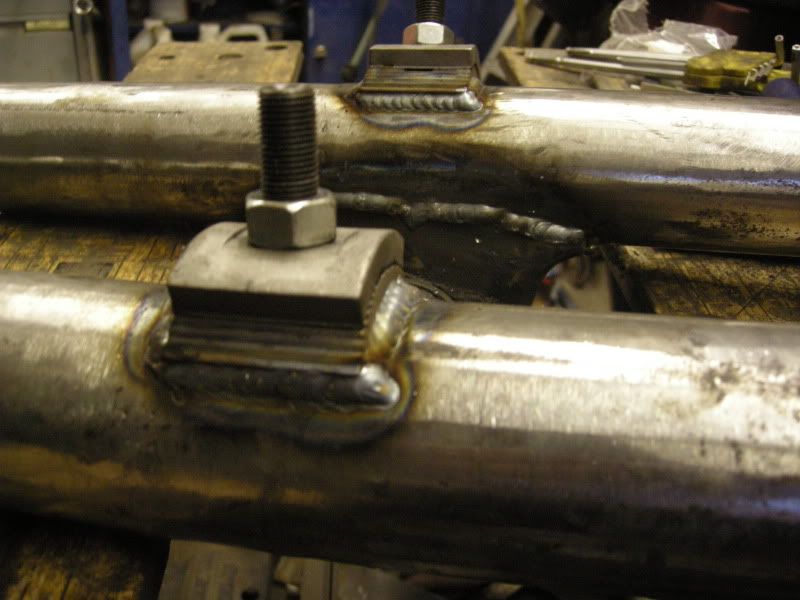
Mocked up..
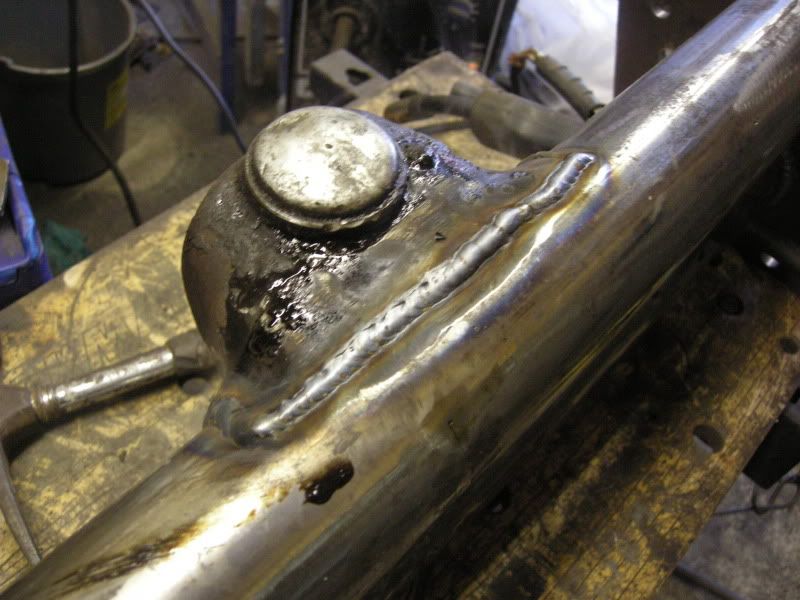
Welded up..
Refit steering box..
Cut for adjusters..
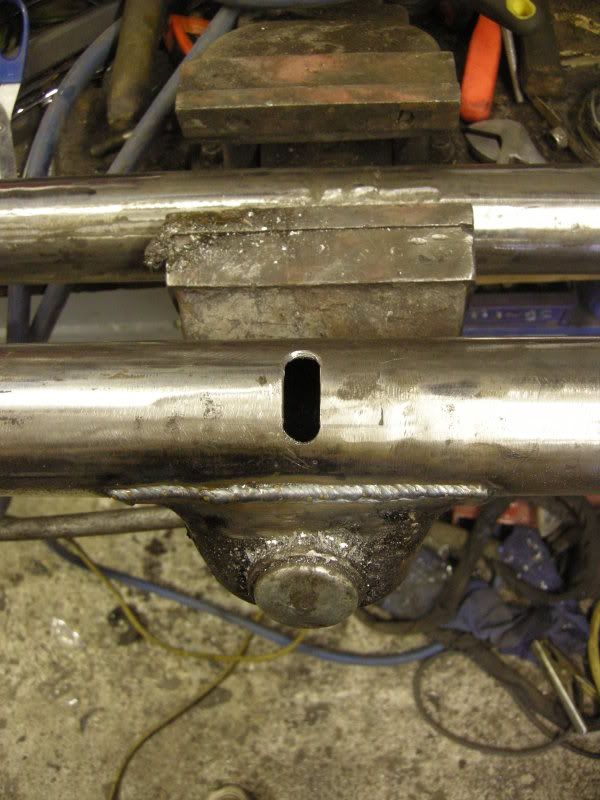
Weld in adjusters..
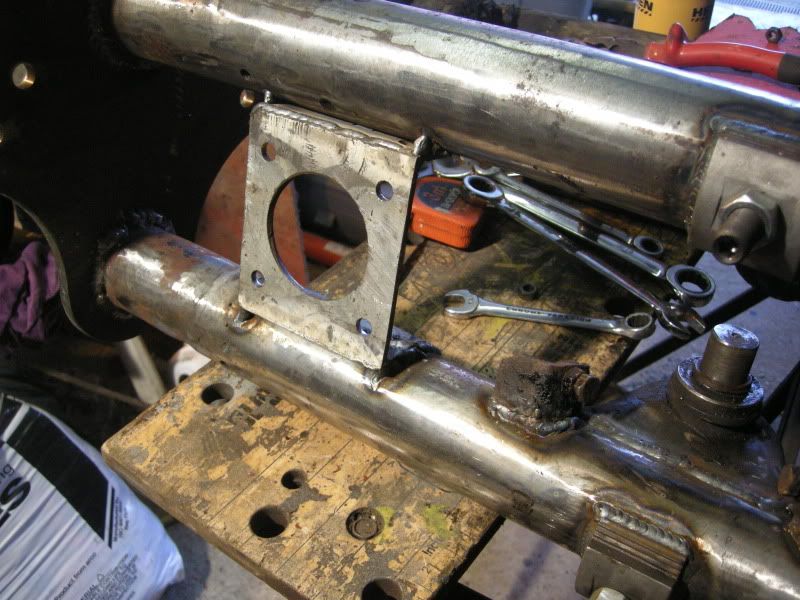
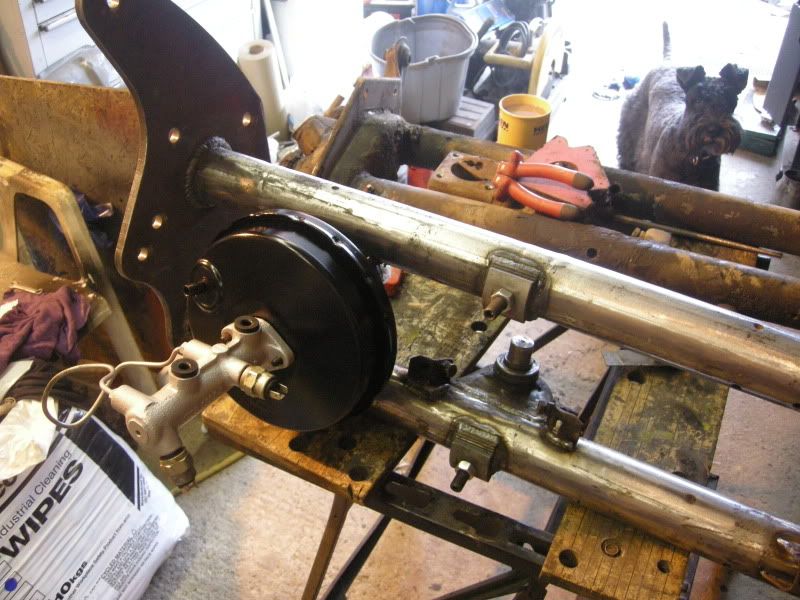
Just got to make up a servo braket and it will be ready for paint 8)
Picked a battery tray up dubfreeze and got that all welded in yesterday. Also removed the air filter braket mainly because it was in the way of the spot welder.
Hard to show as the vans on its side.

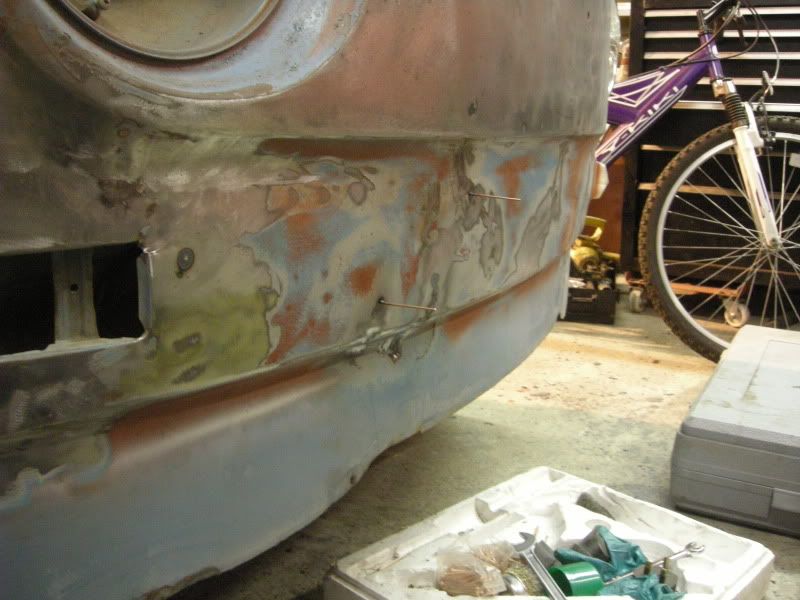
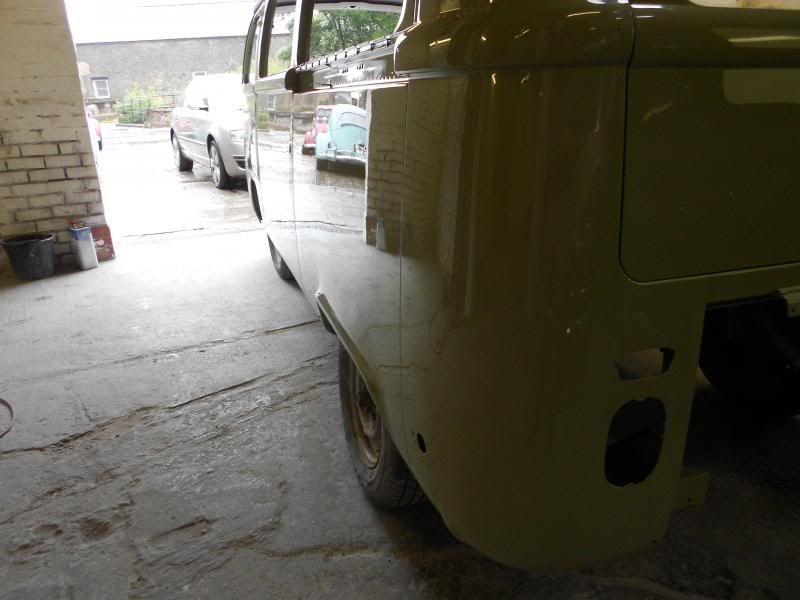
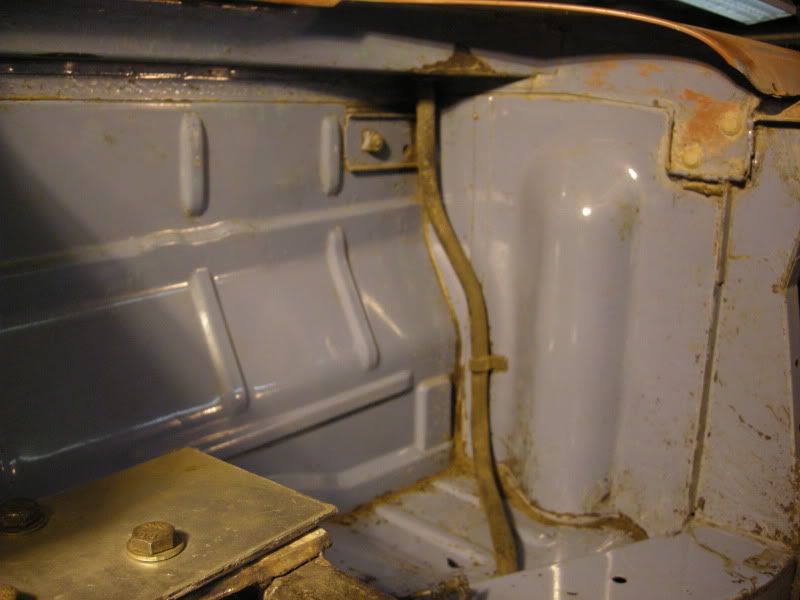
Still unsure what to do about the damaged rear corner you can see here, as the outer must be full of filler.

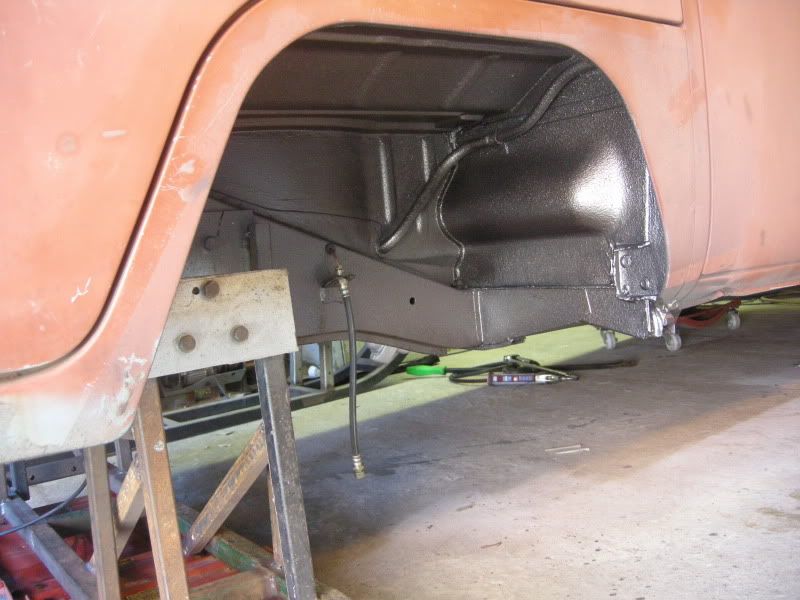
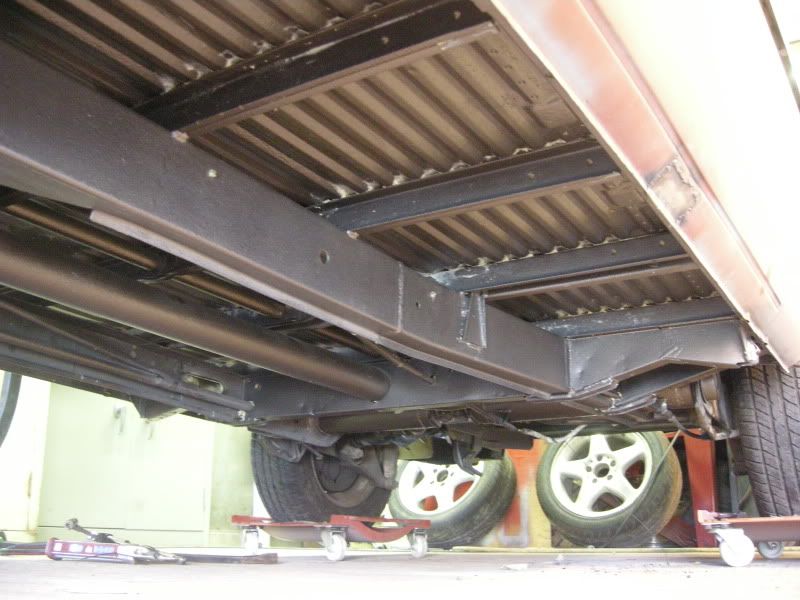
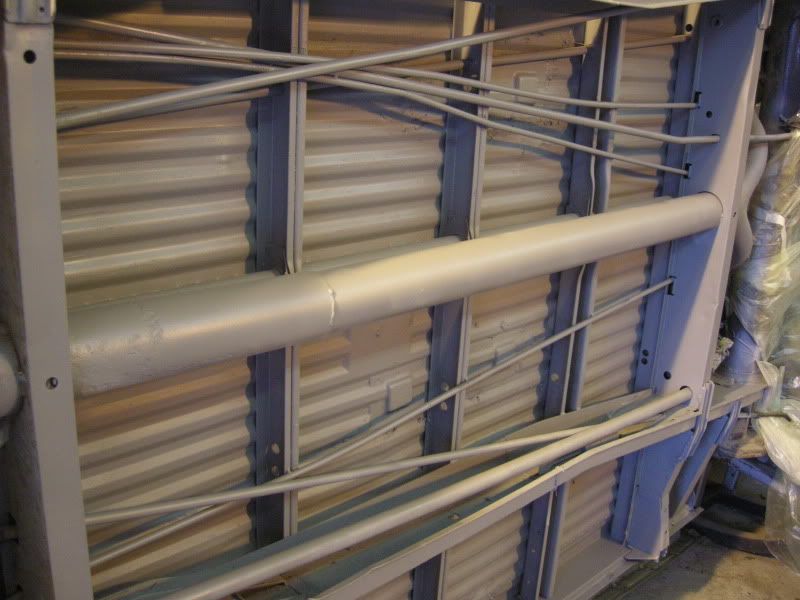
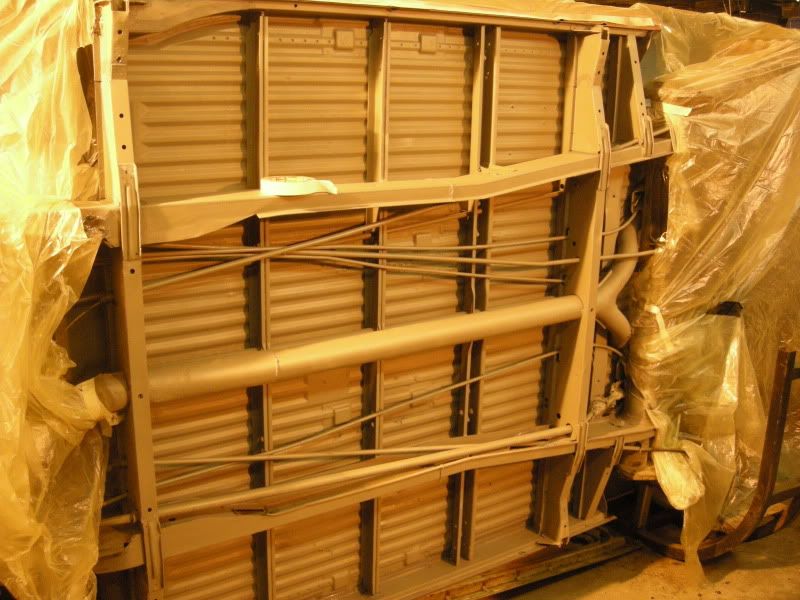
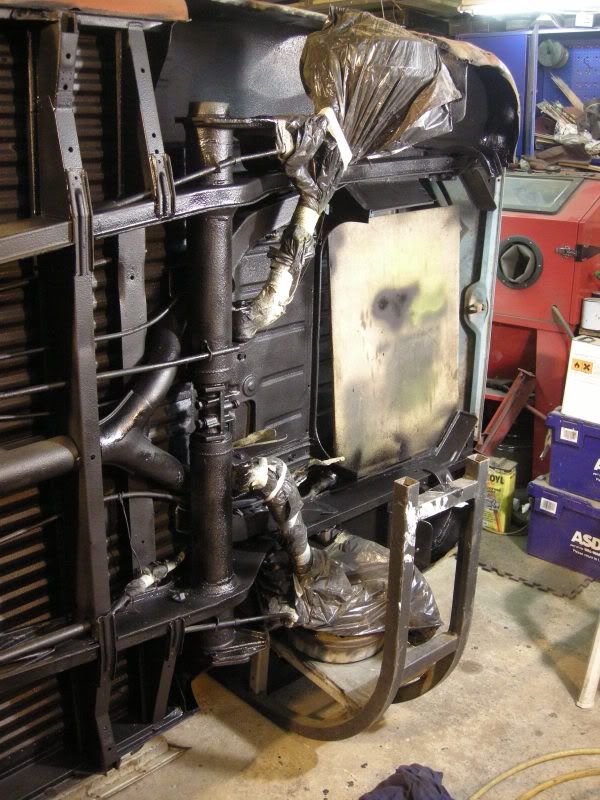
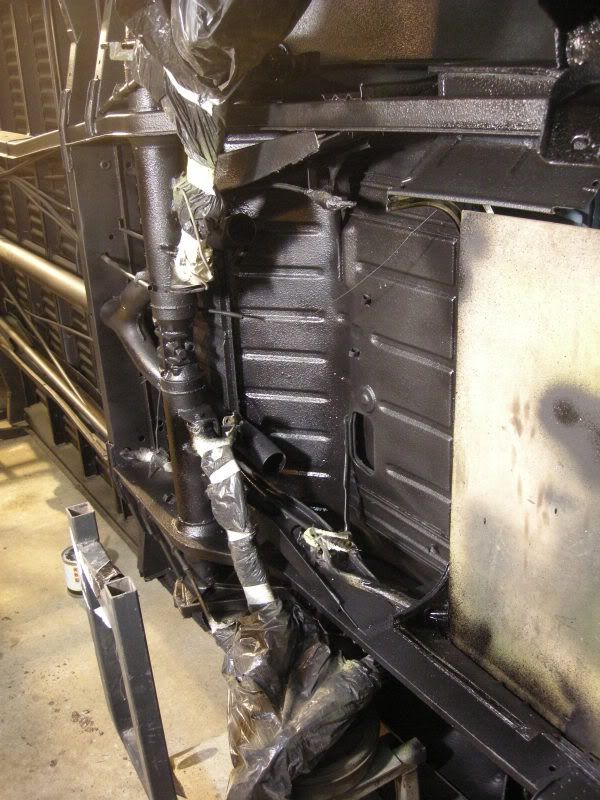
Got the rear all primed up, dont like this wash primer.
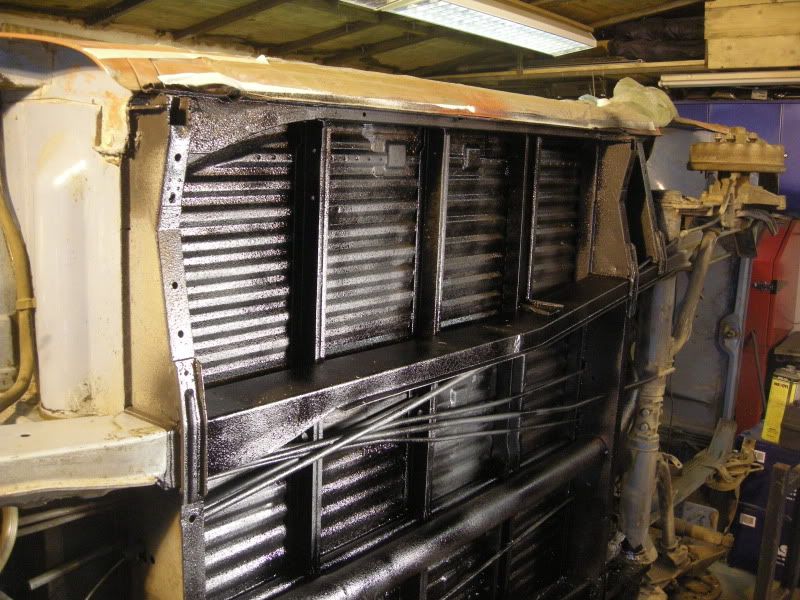
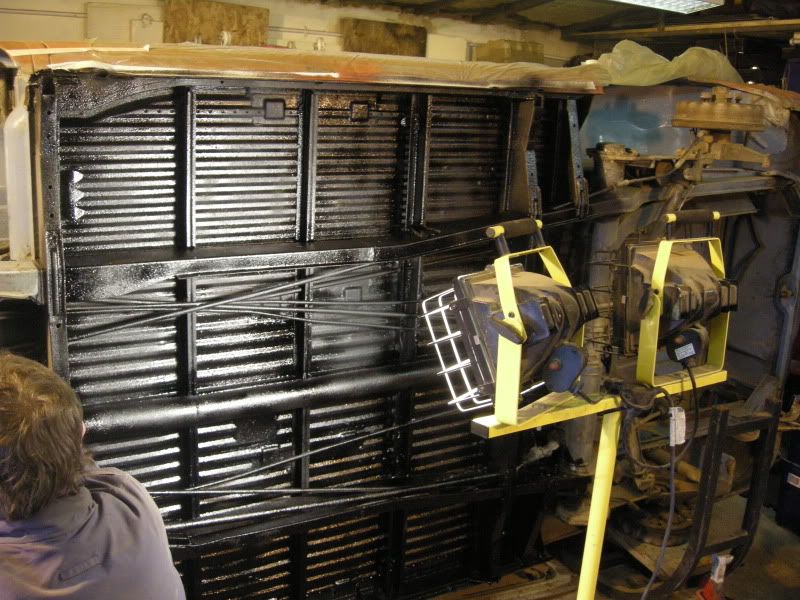
And now everything is stonechipped and just waiting for a gloss coat.
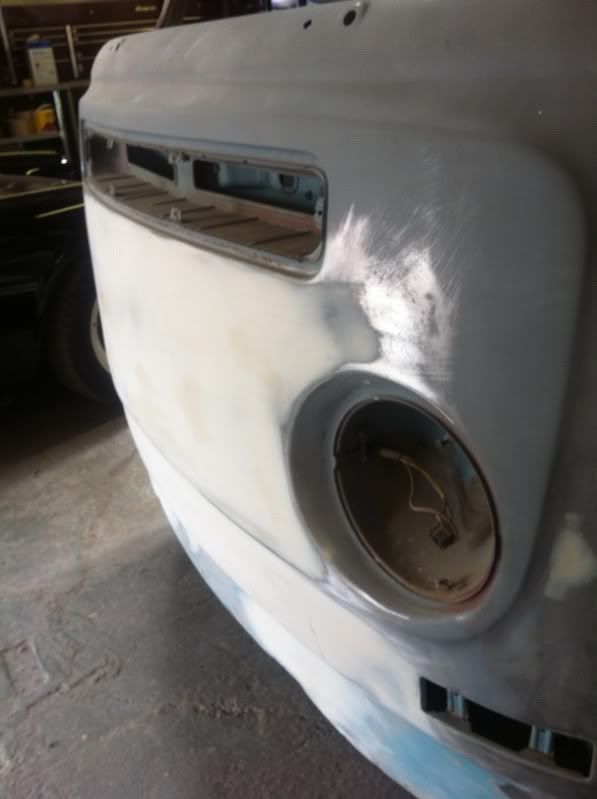
6 tins of stonechip in total, just saved a little bit to do the fornt splash pan once I get it primed up.
Broke my plasma cutter this week too, so i've had to stop on the front axle until new bits come for that.
and I cracked on trying to finish the axle.
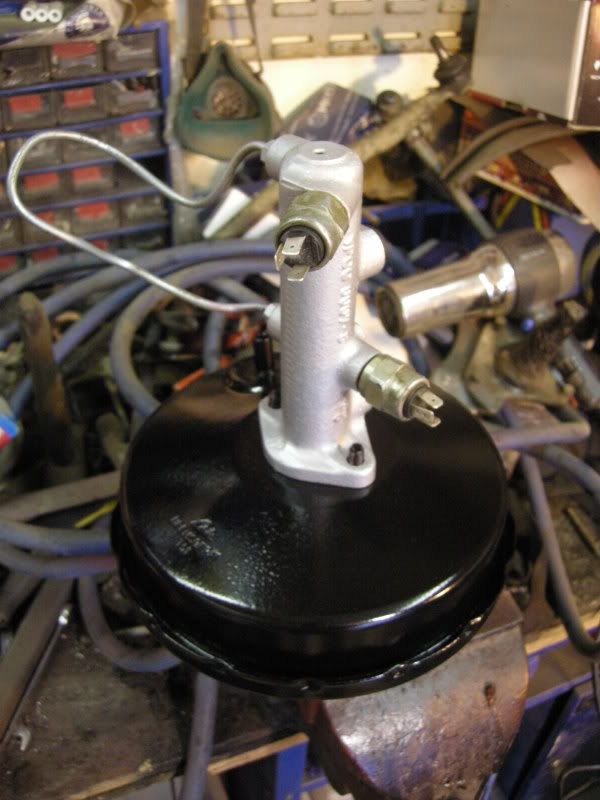
I got on with the axle, made up a servo mount and that all welded up.
My Kerrys there as always, Come on dad stop messin with this VW crap and take me out.
Etched and then a bit of high build primer to try and hide some of the marks (it is only an axle after all )

Then thanks to me dad, he managed to get the axle and a few other bits all painted up yesterday (after I screwed up the paint of the axle) while I was sat in hospital all day with the other half.
This is waiting for some stonechip
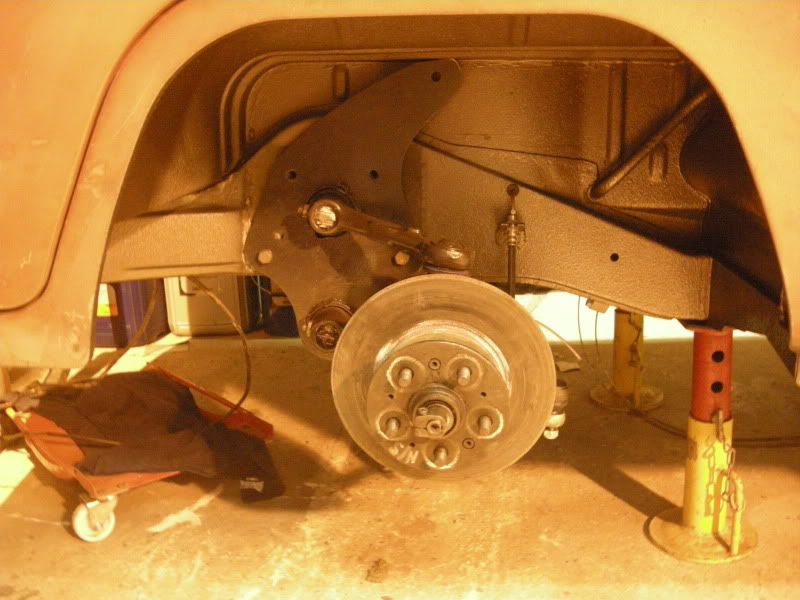
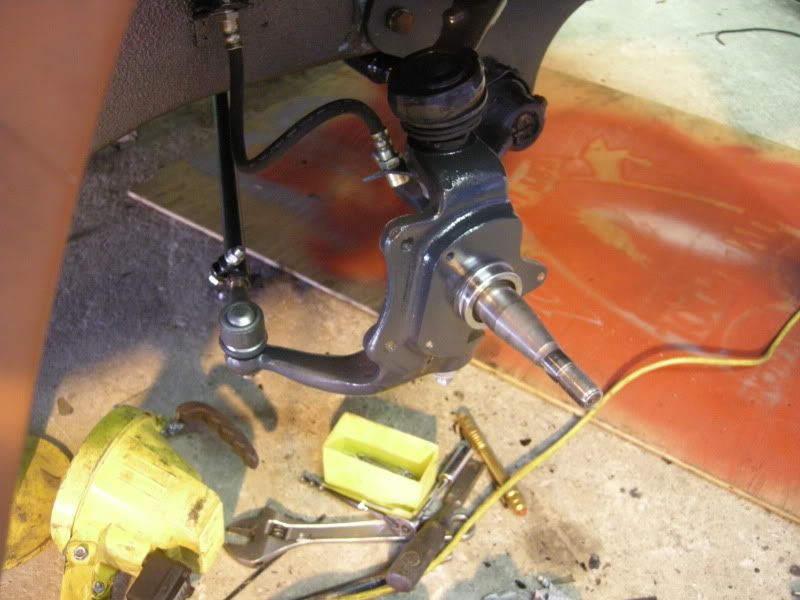
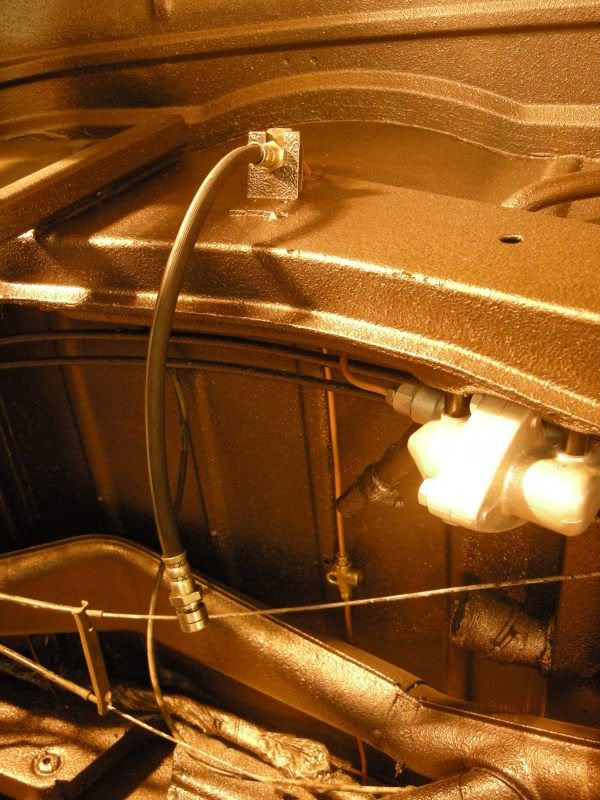
I've now started re-assembly brake lines etc are going back on.. 8)
...
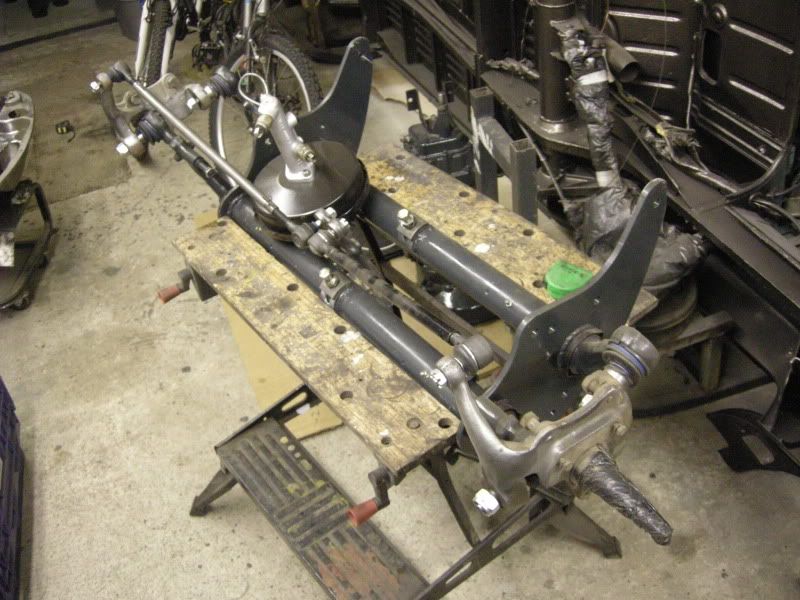
Roll on to this week and since we have been very slow in work I got the front axle built up. Just got the hubs and other bits to paint and shorten the steering arms..
No photos though im affraid as they all just came out black
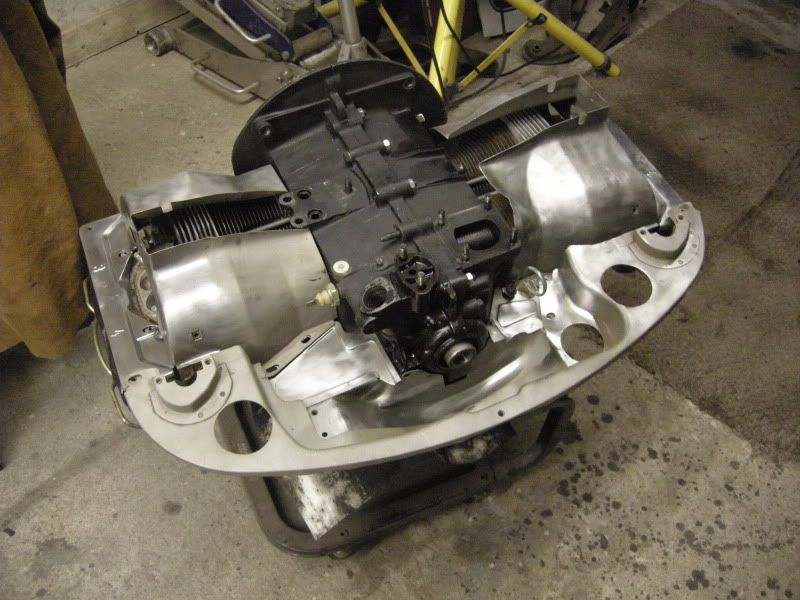
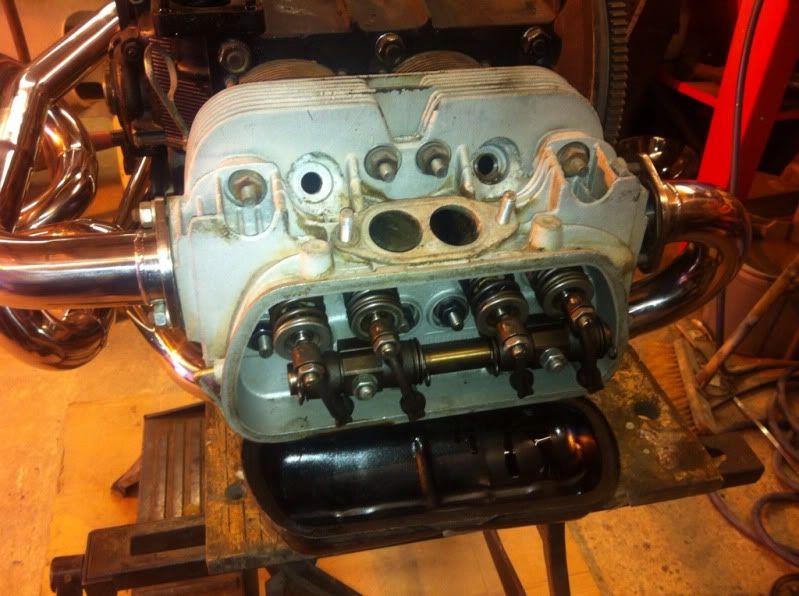
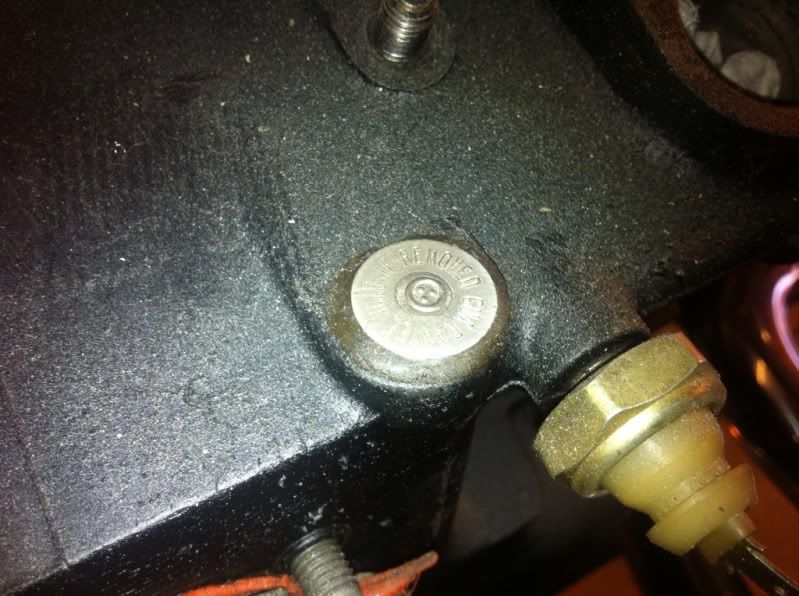
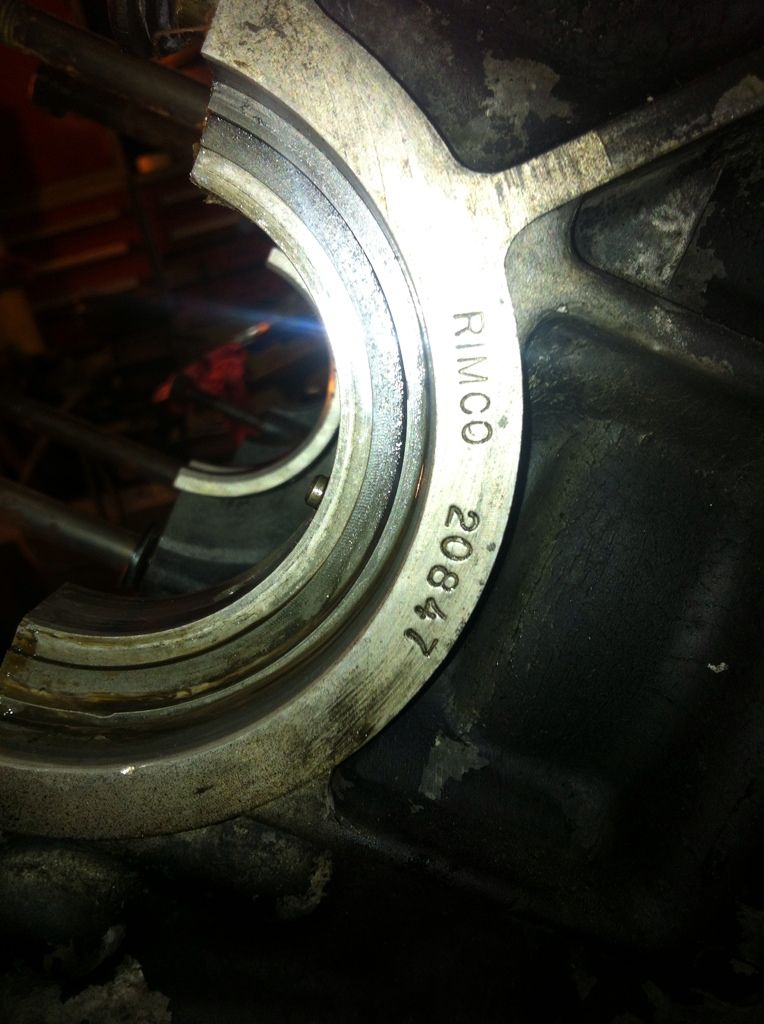
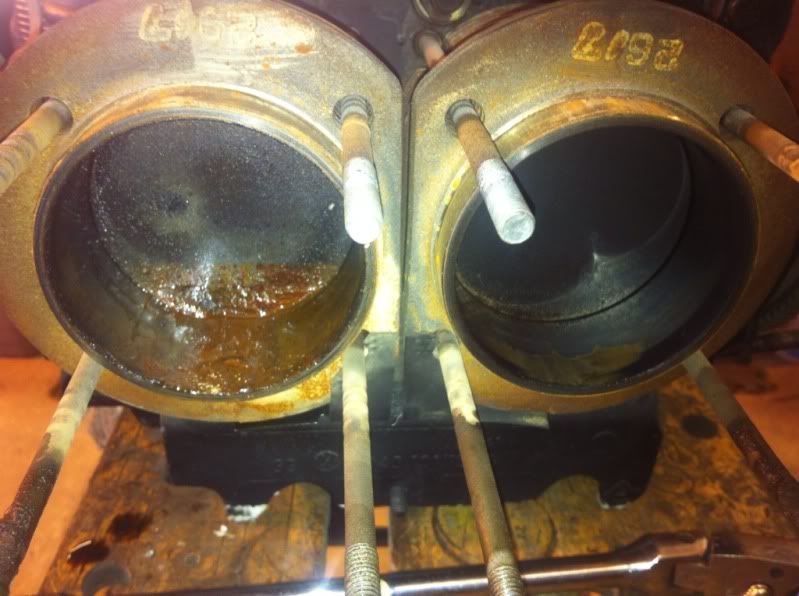
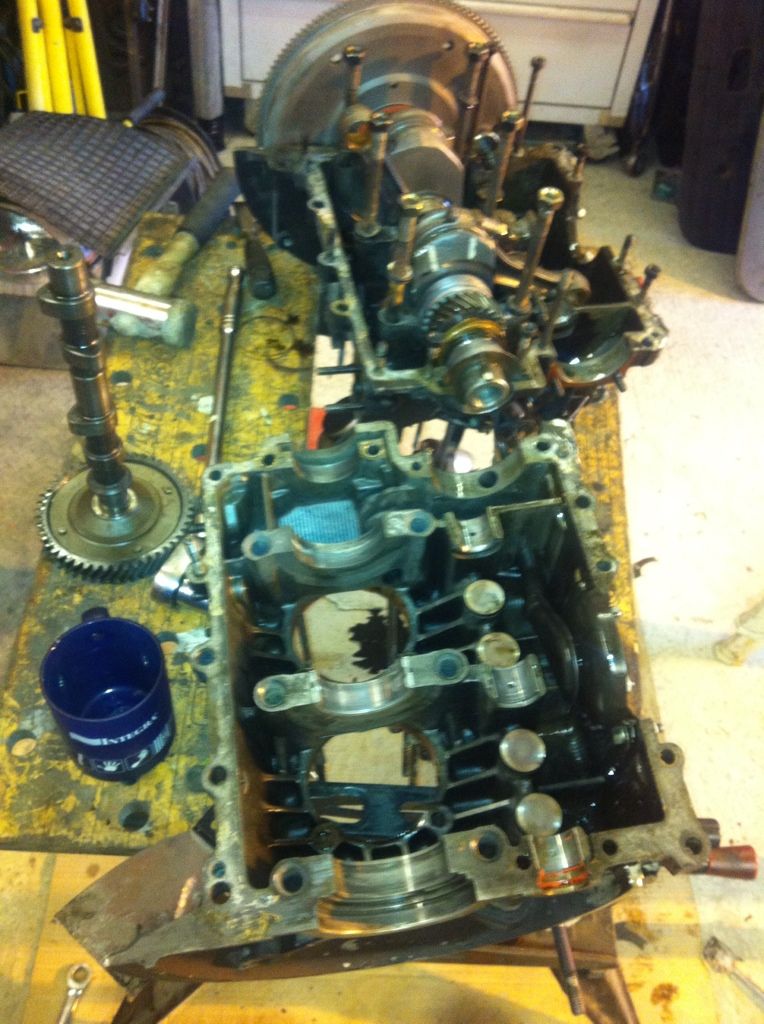
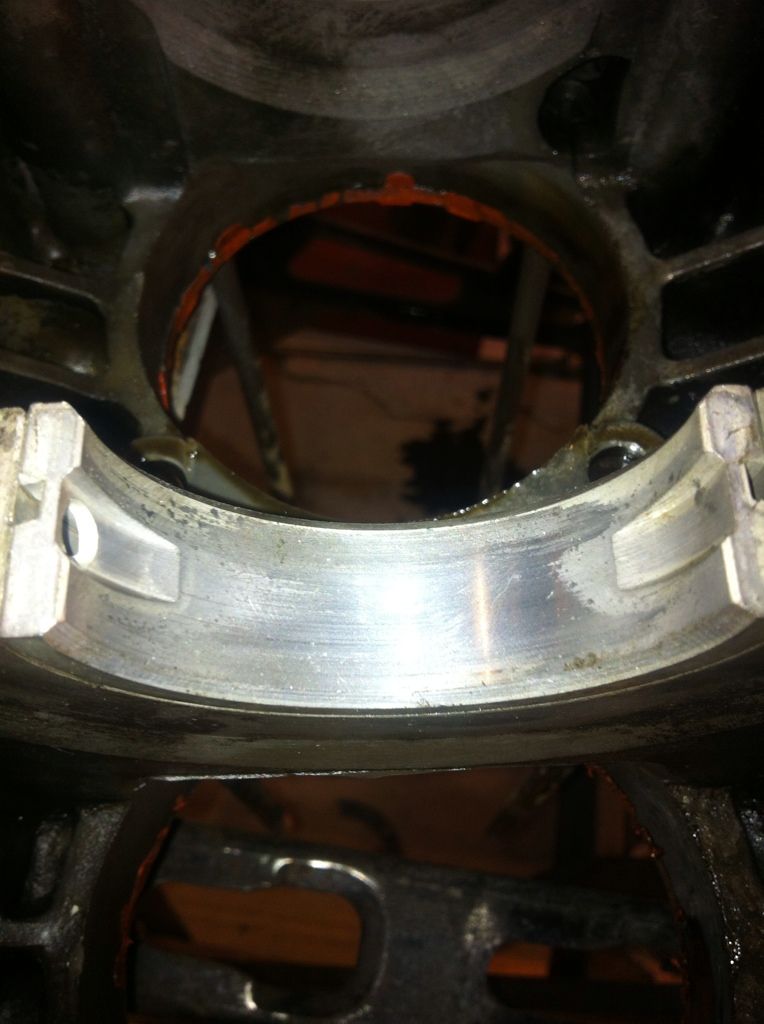
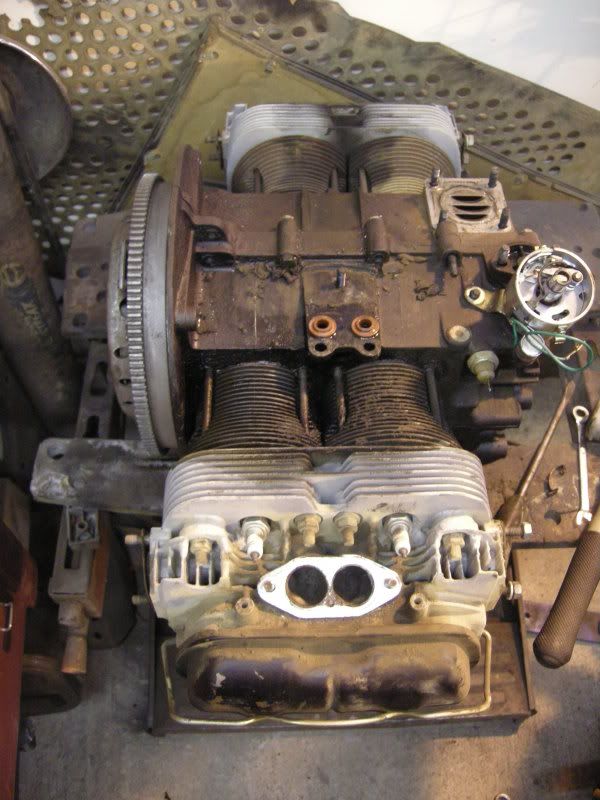
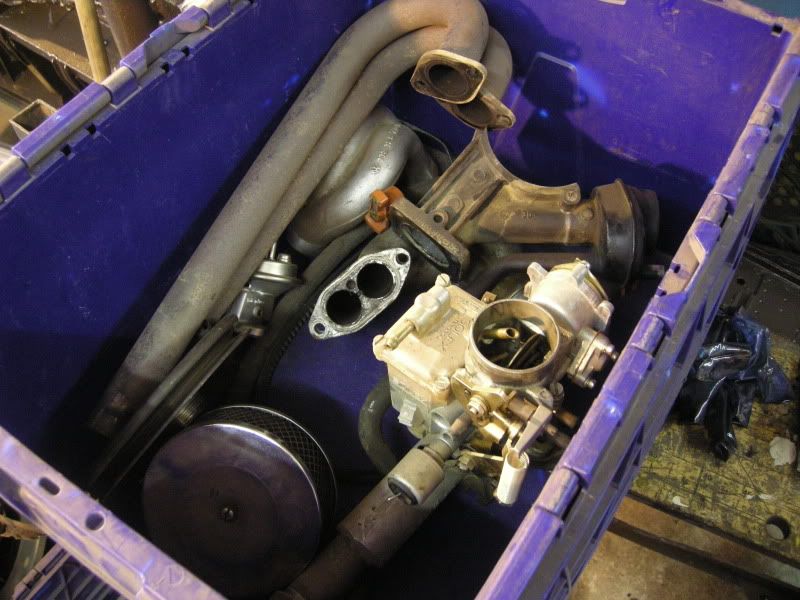
And since I have only been able to do some mechanical stuff the last two weeks I stripped the engine, still not sure what to do with it? its super clean and has a warranty tag on it so I dont think its that old, but I still might look at a bit of simple 1641 actions and some porting and polishing while its out just to give it a little boost

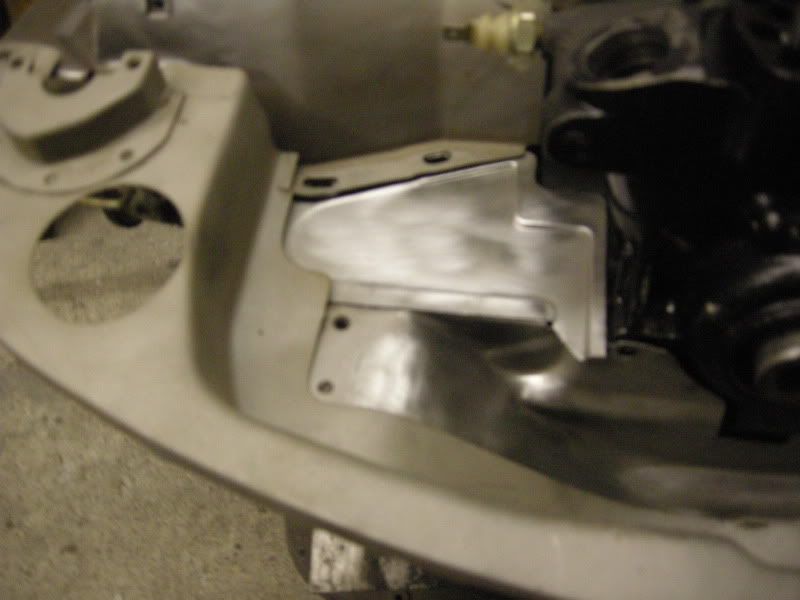
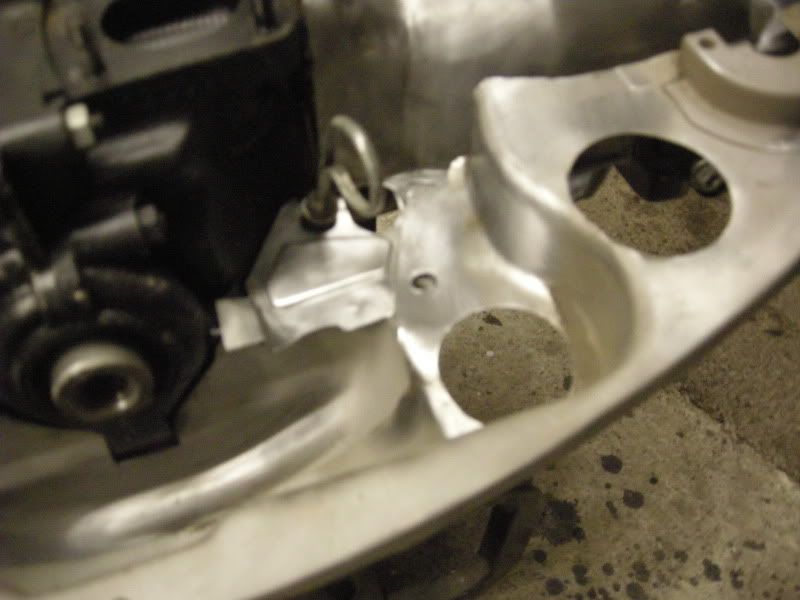
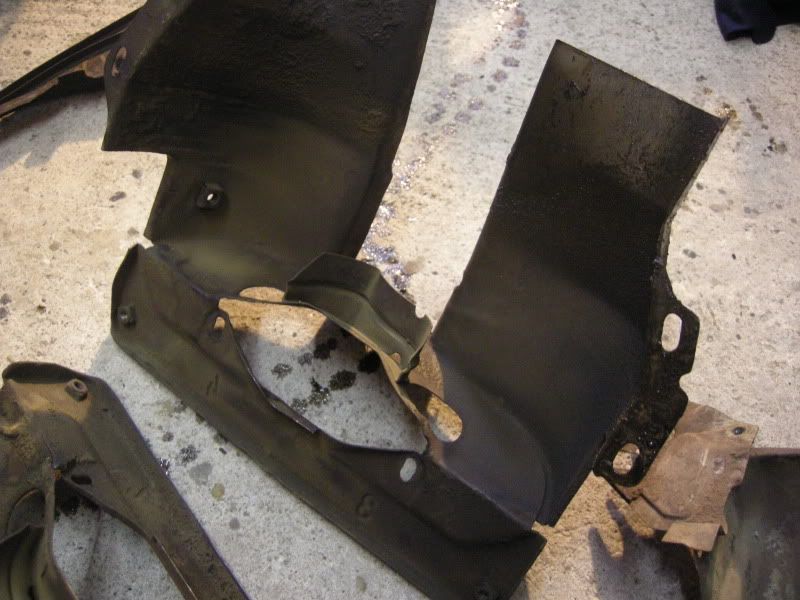
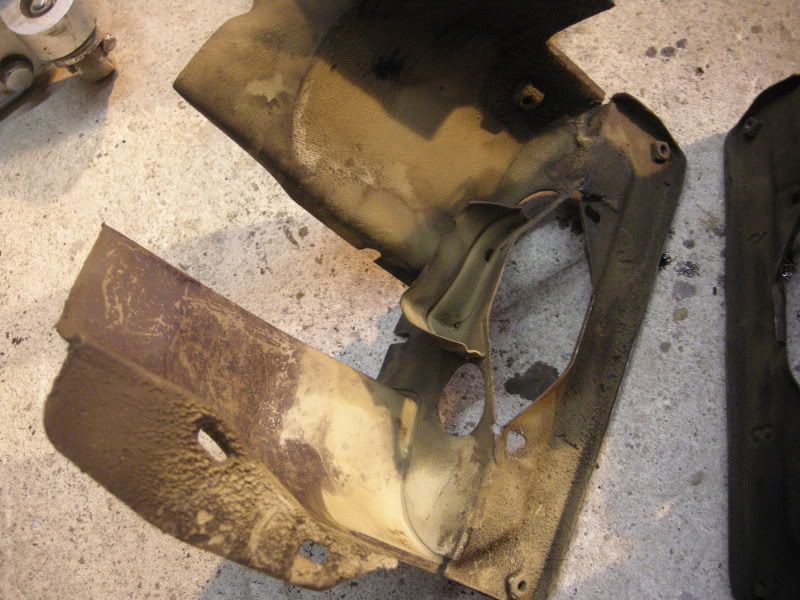
Few repairs to do on the tinware once its shotblasted, the sand/mud/shite cant of been helping with cooling
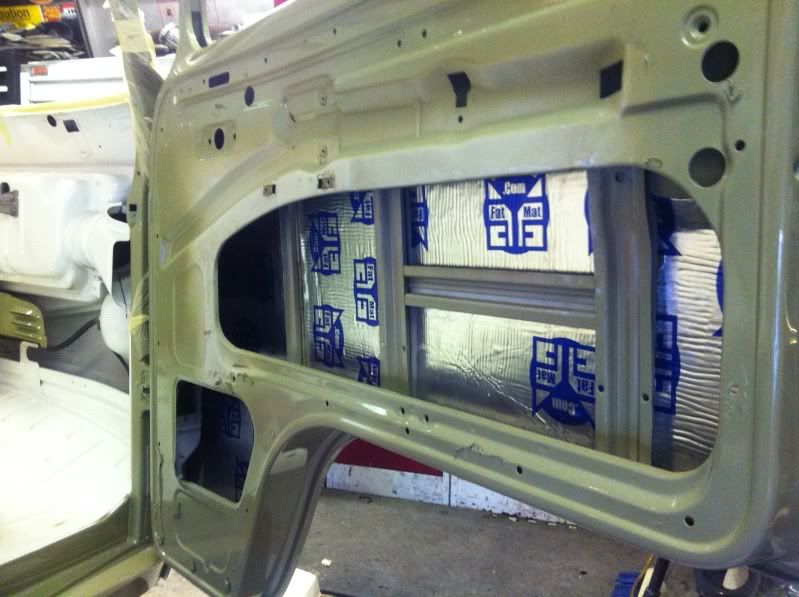
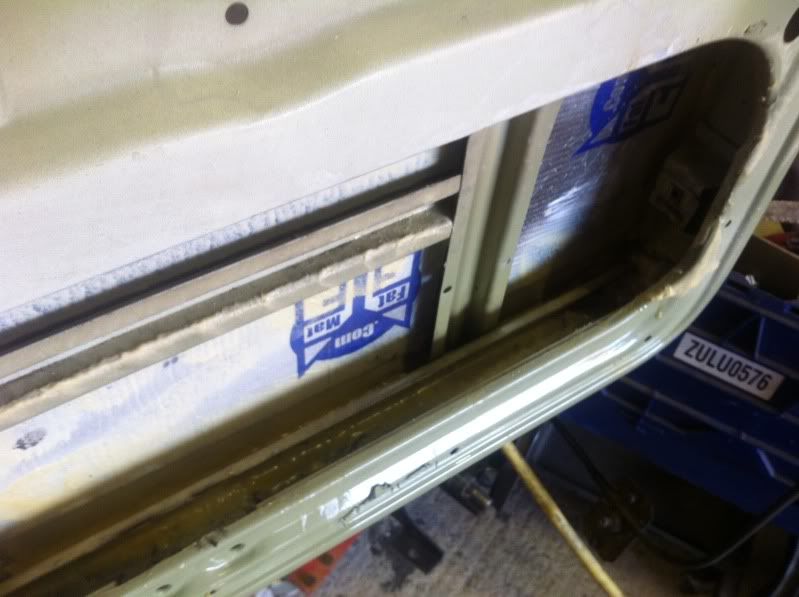
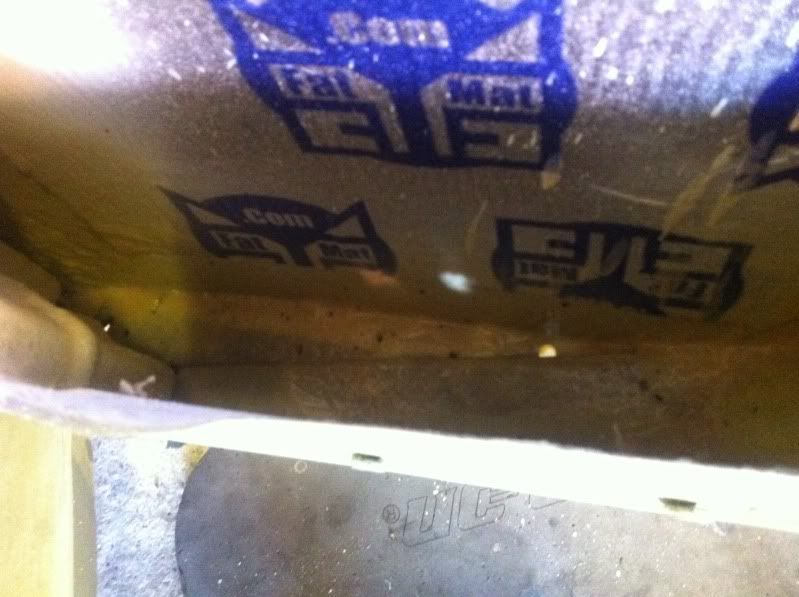
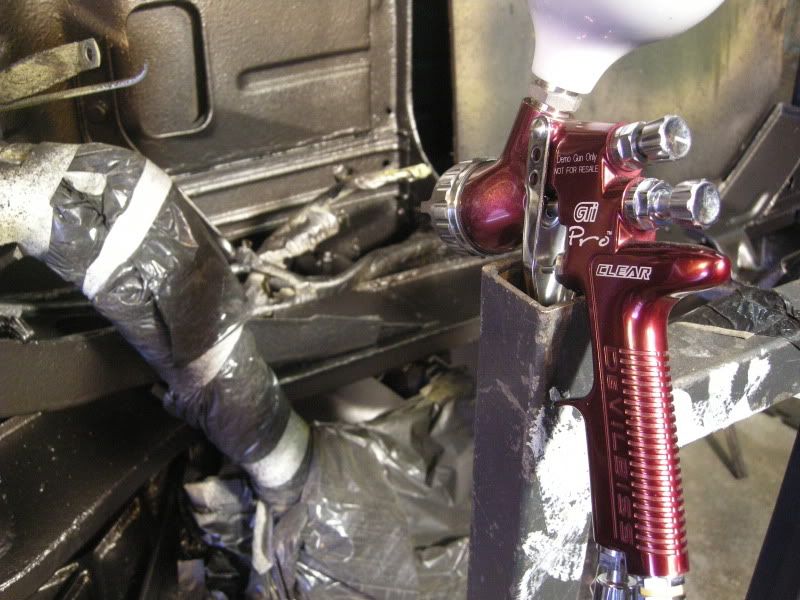
Today I got the waxoyl out, made a complete mess of myself, floor so gave up. Going to have to buy a decent waxoyl gun and there standard one is pants. so if anyone can recommend a good one?
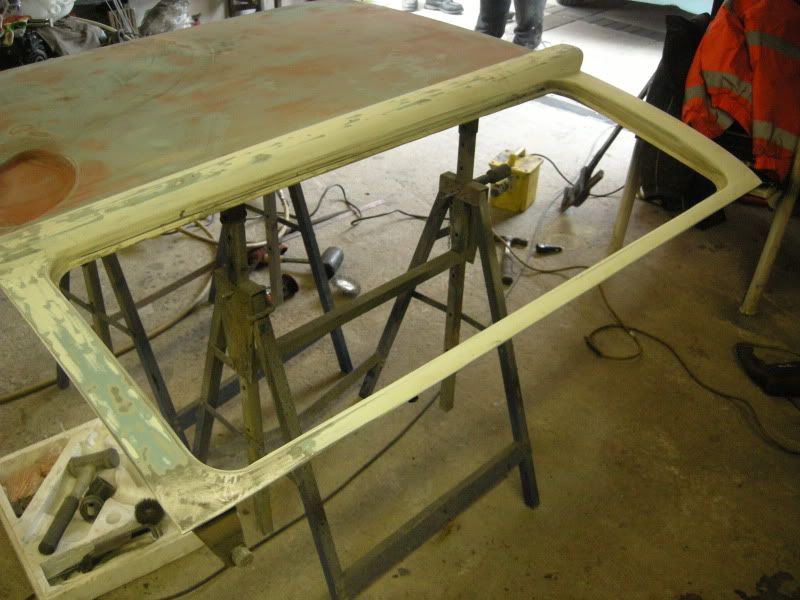
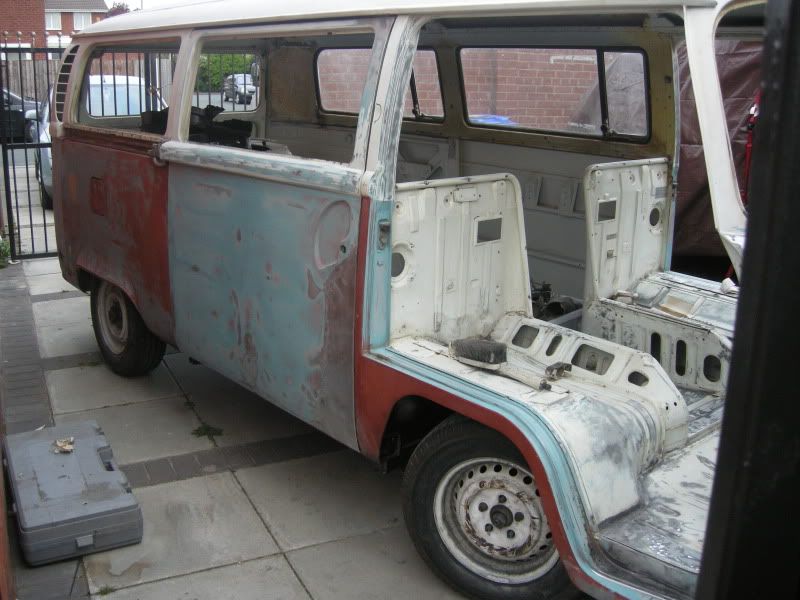
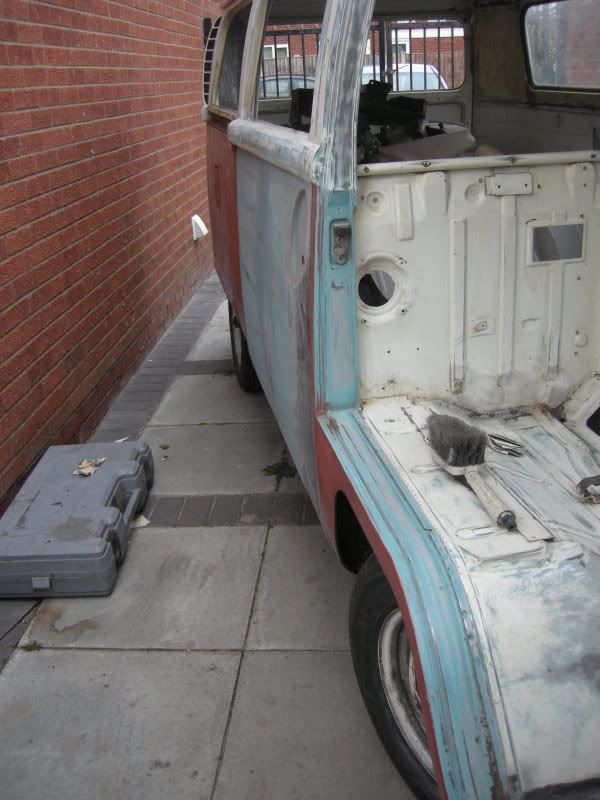
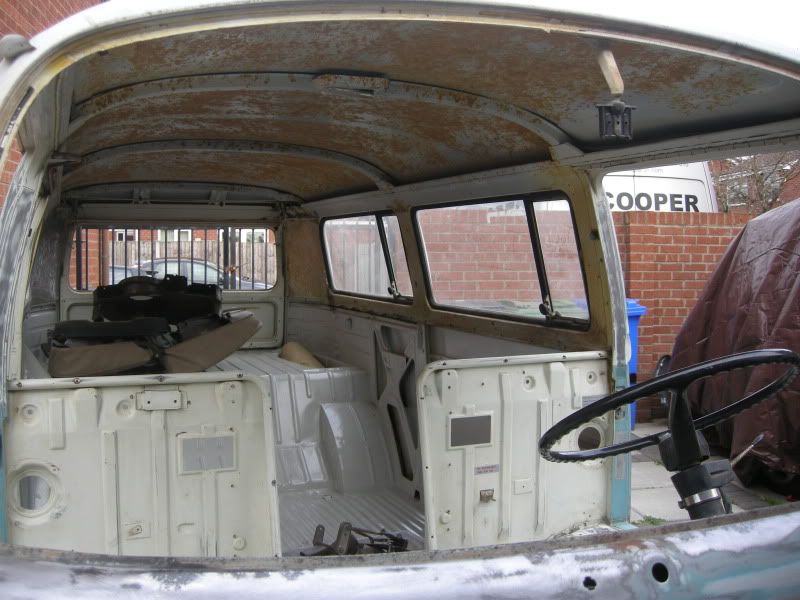
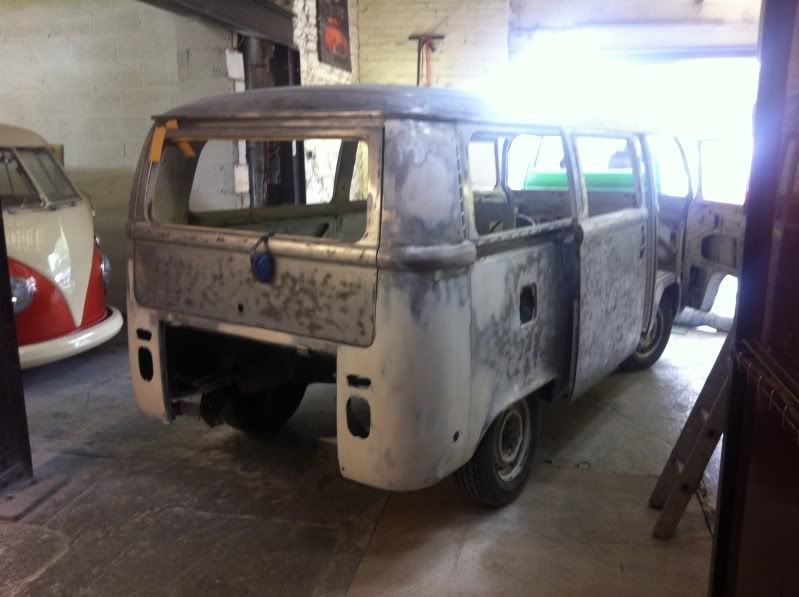
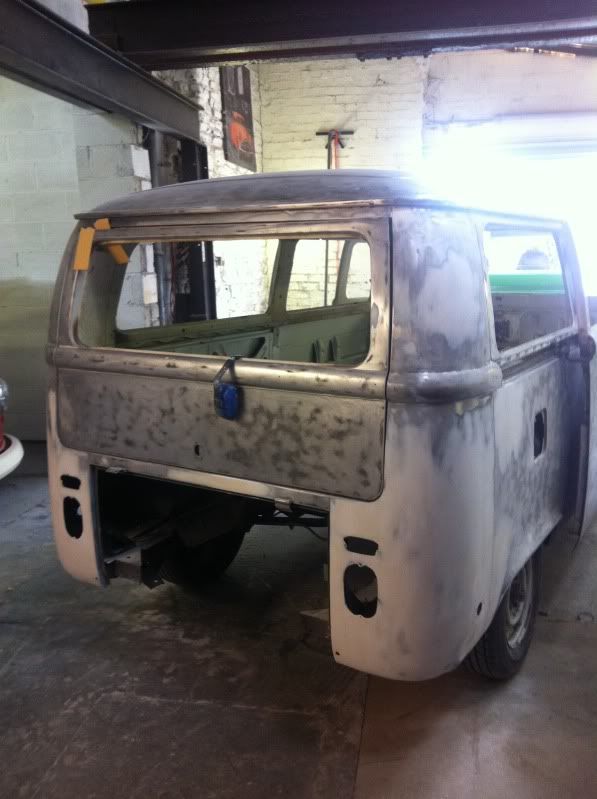
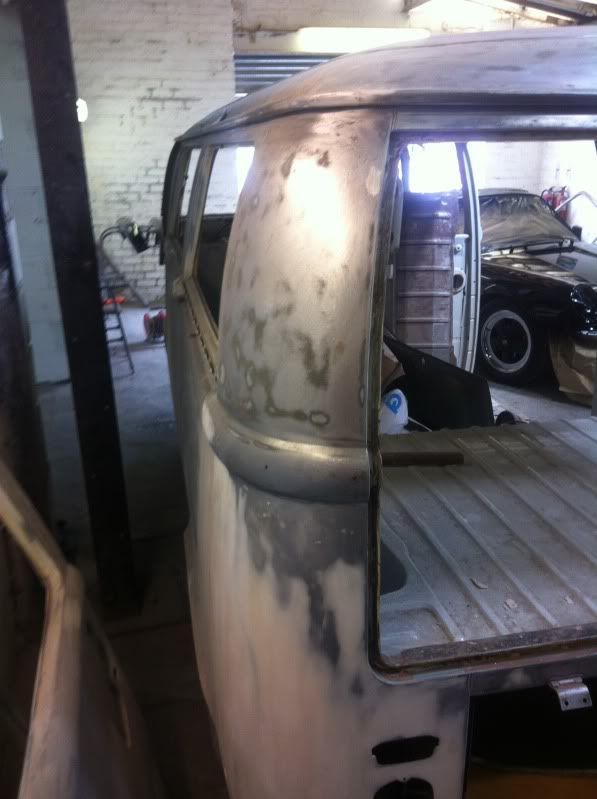
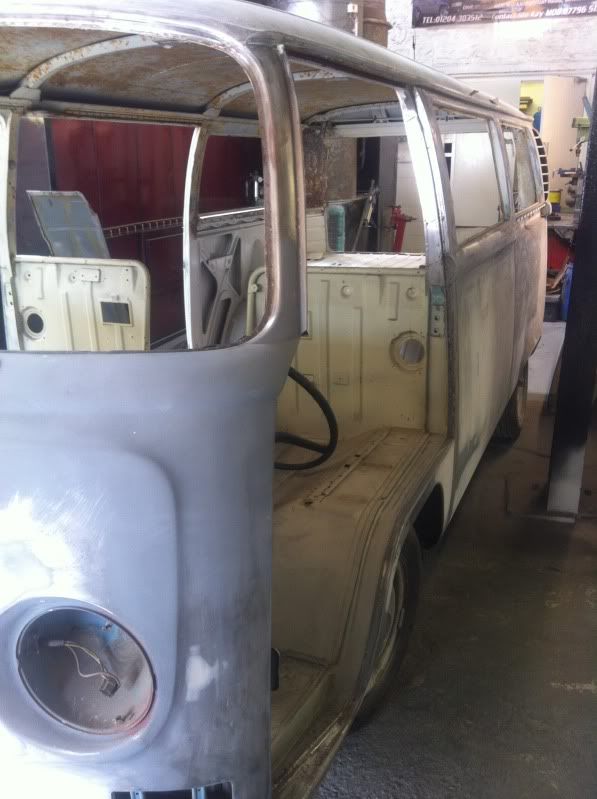
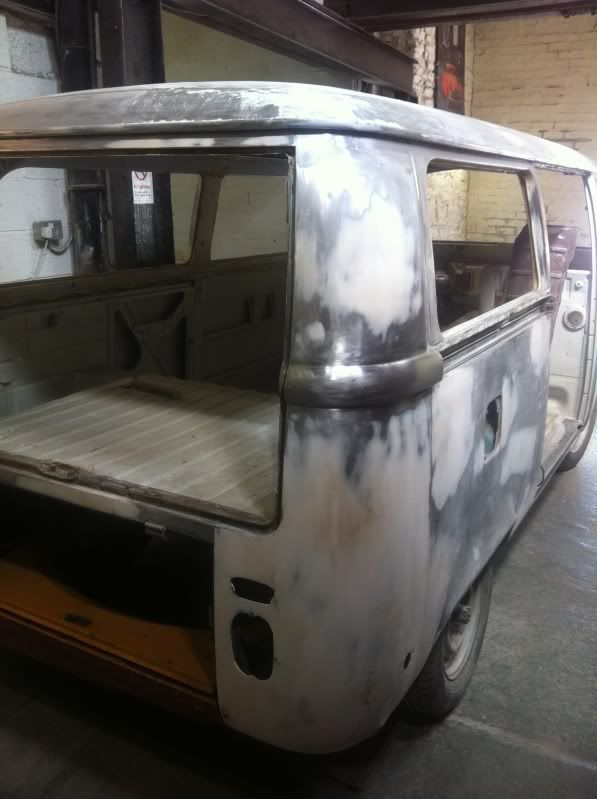
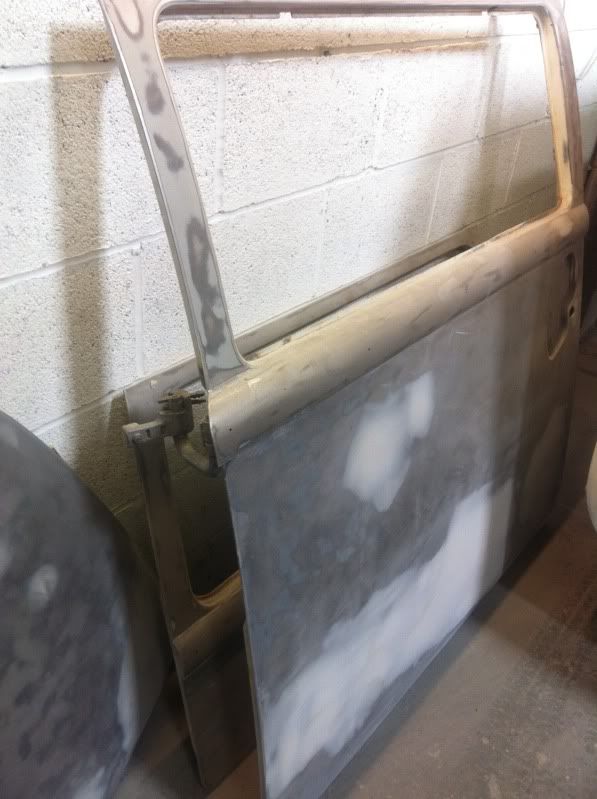
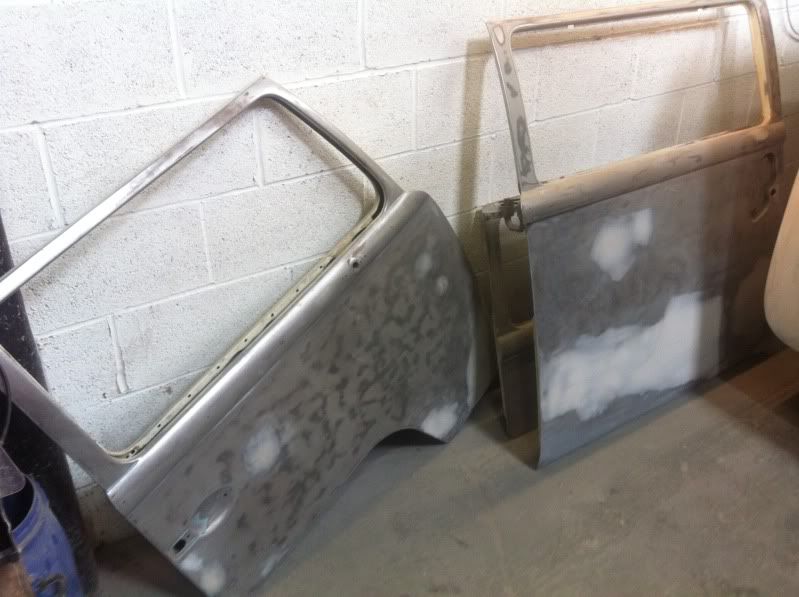
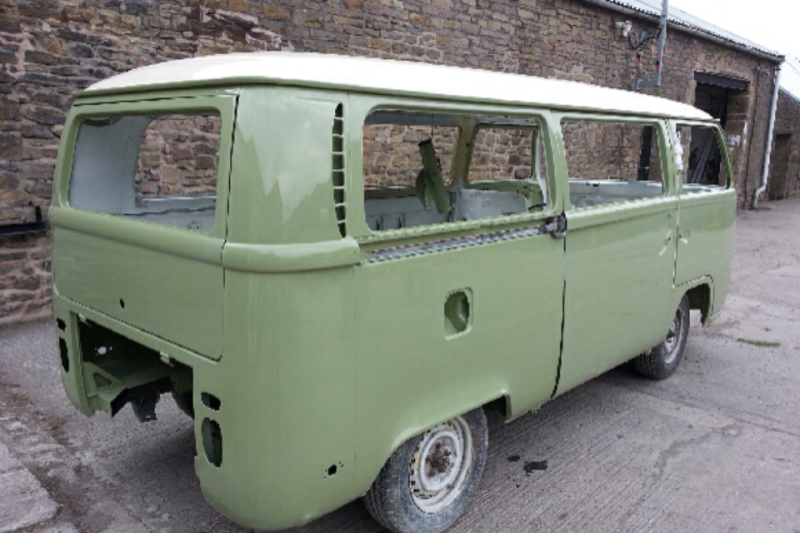
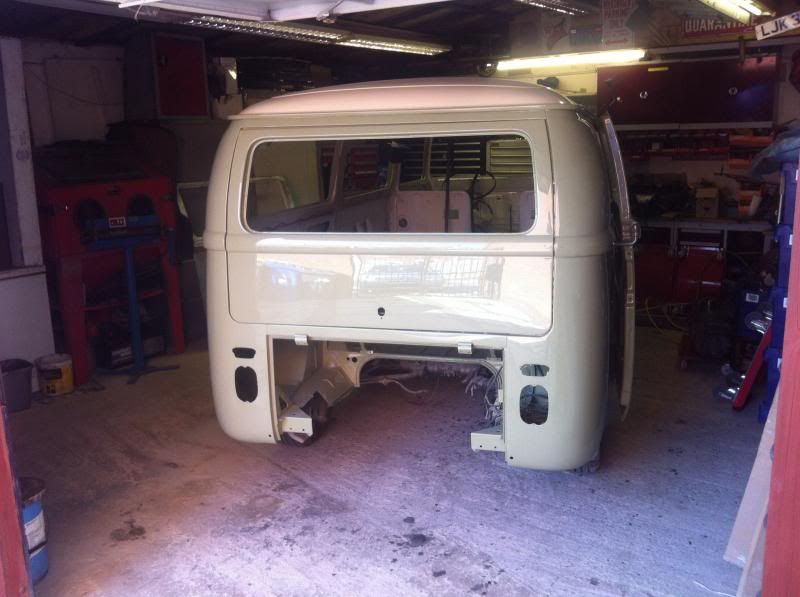
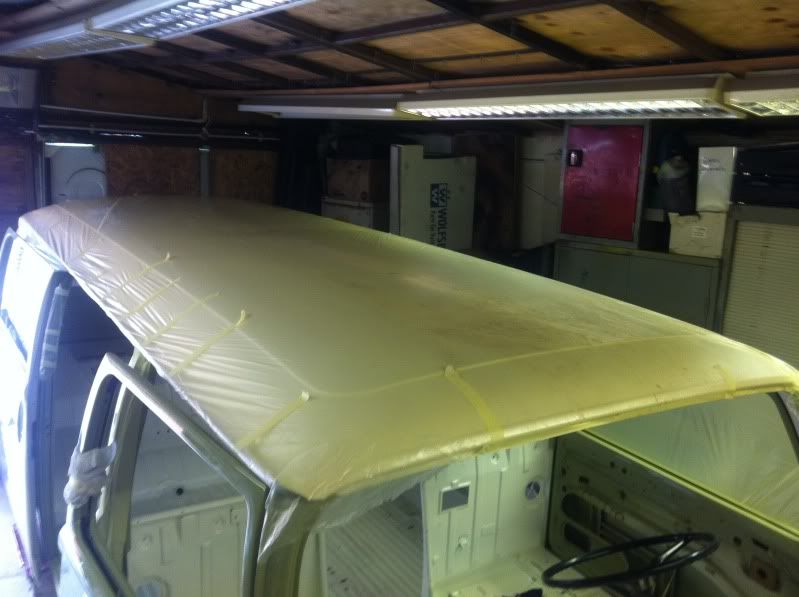
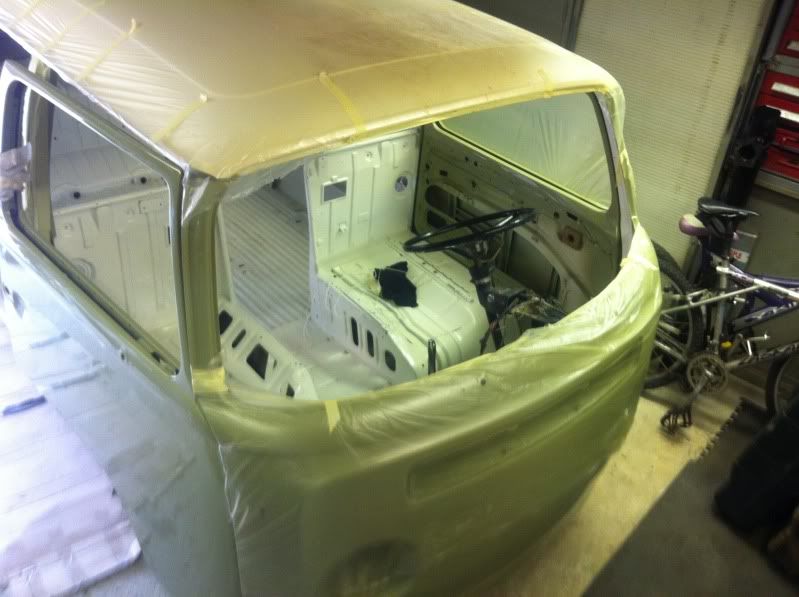
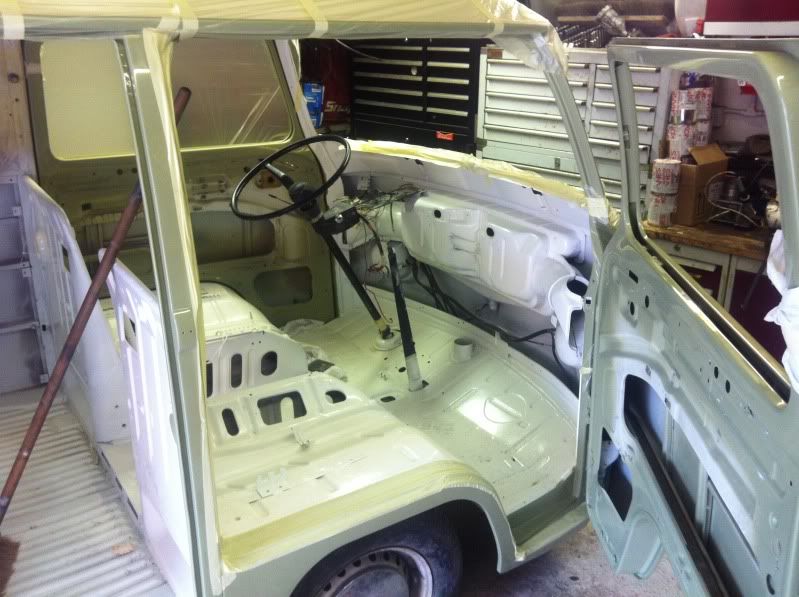
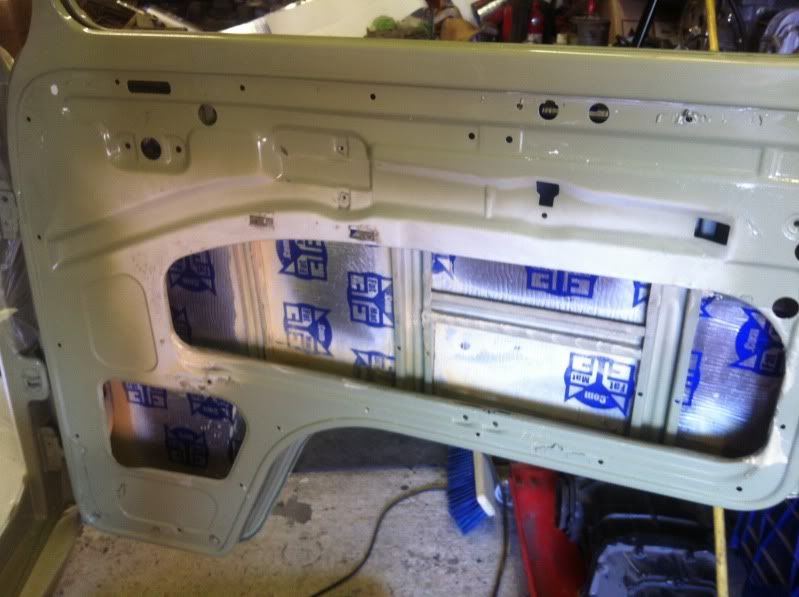
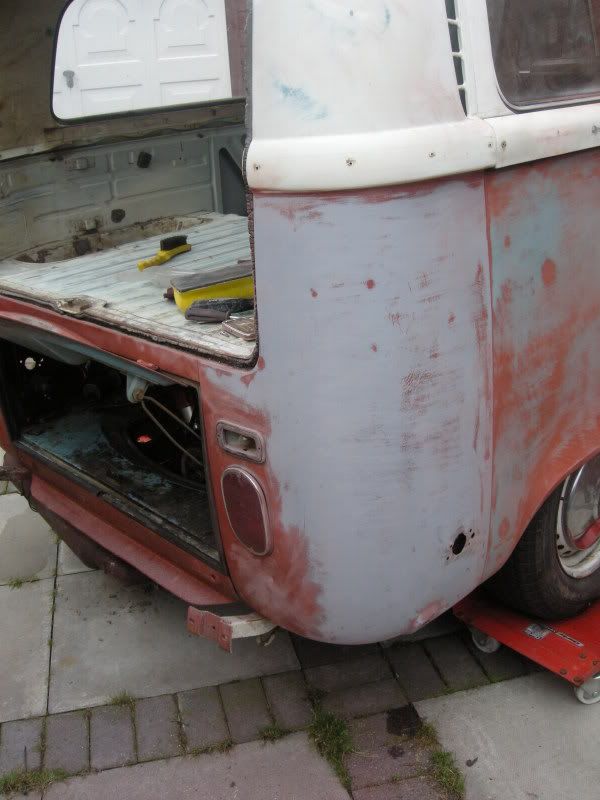
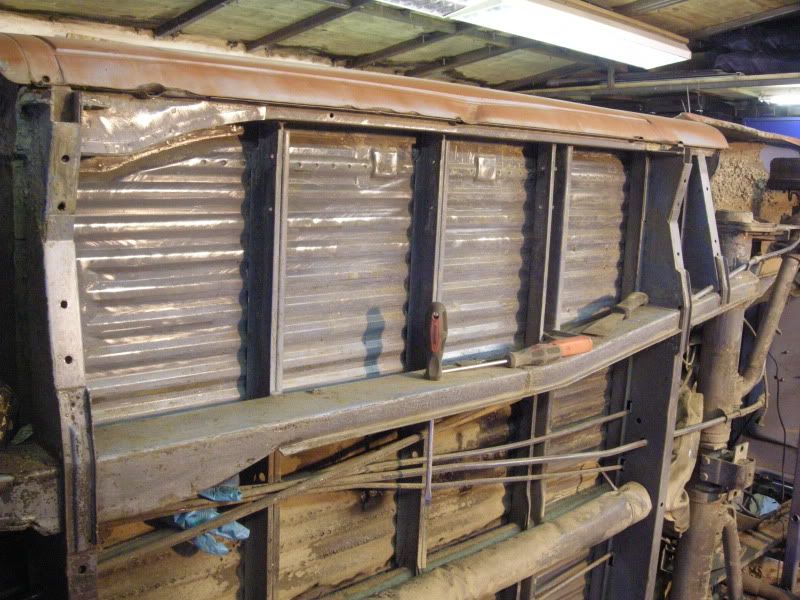
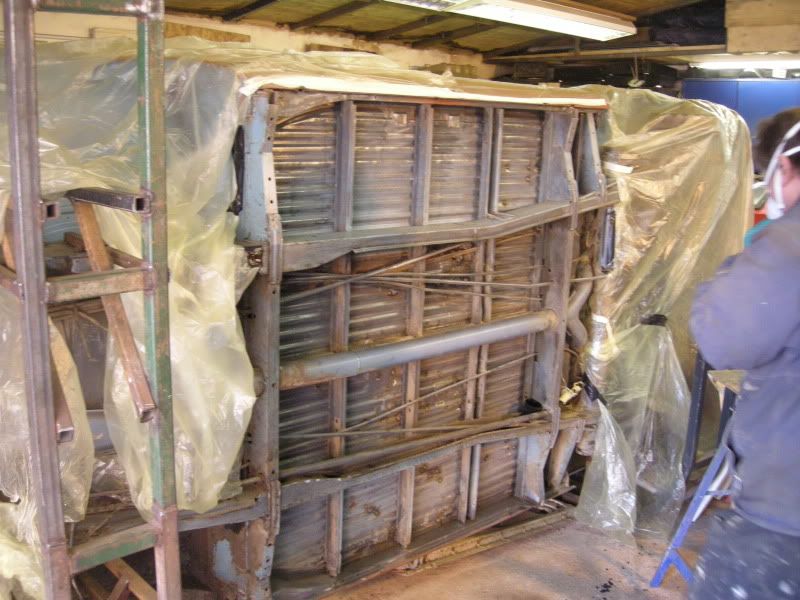
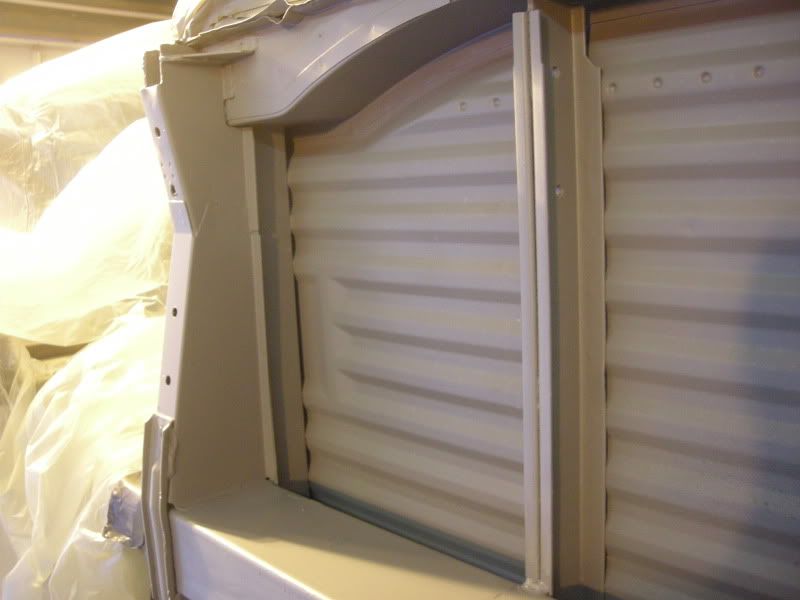
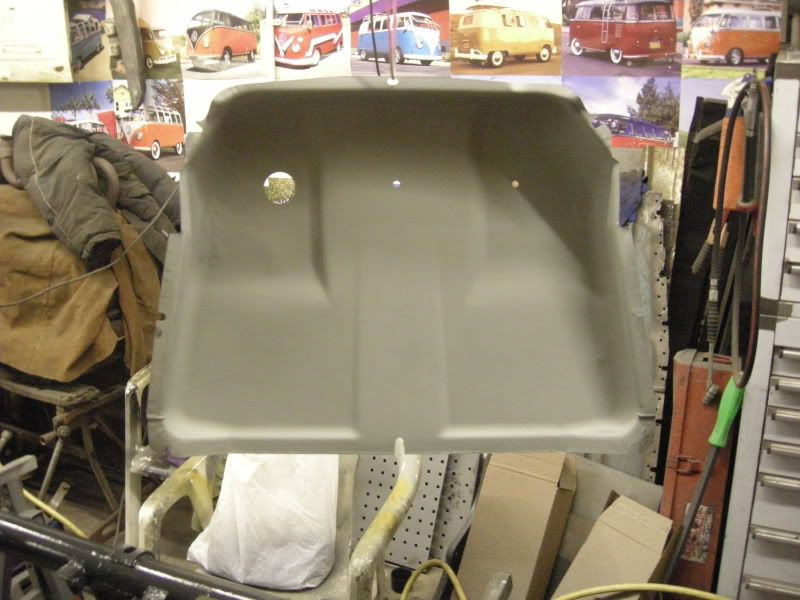
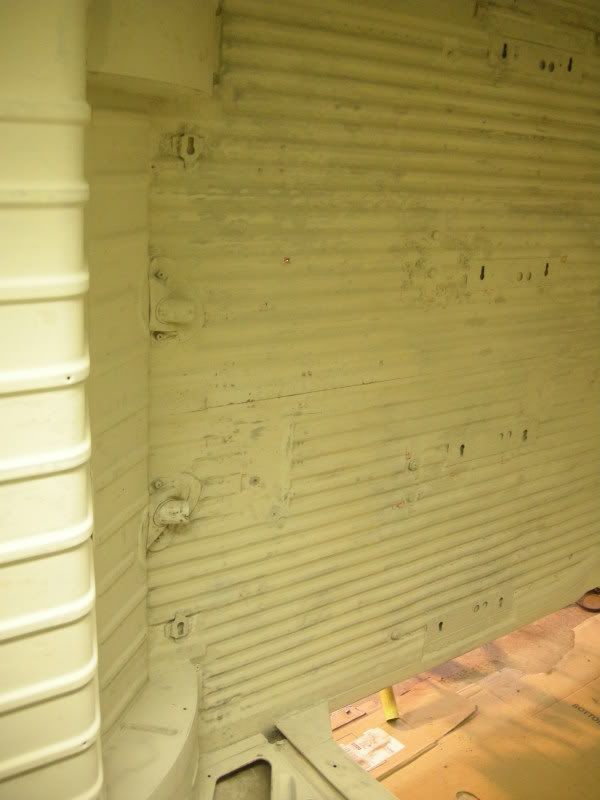
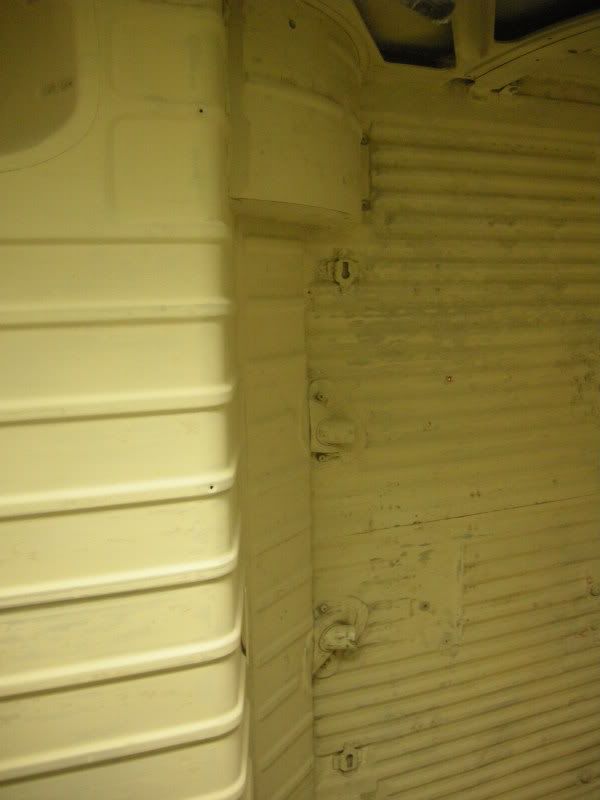
So we moved onto painting, somehow managed to remove the rear 1/4 window and sliding door with the van n its side. Giving us access to inside again.
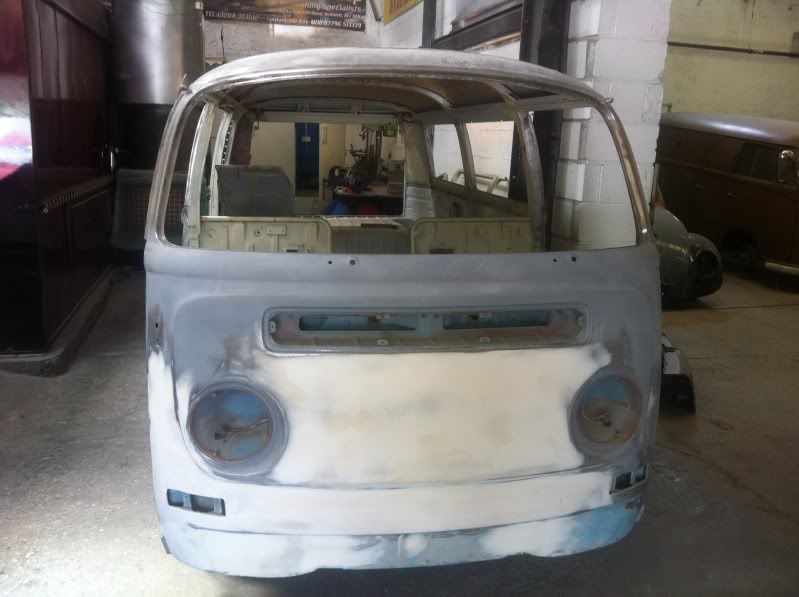
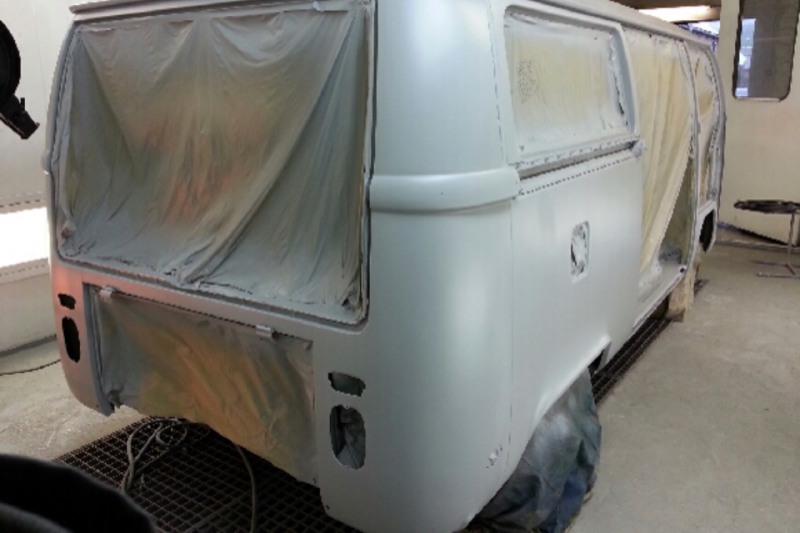
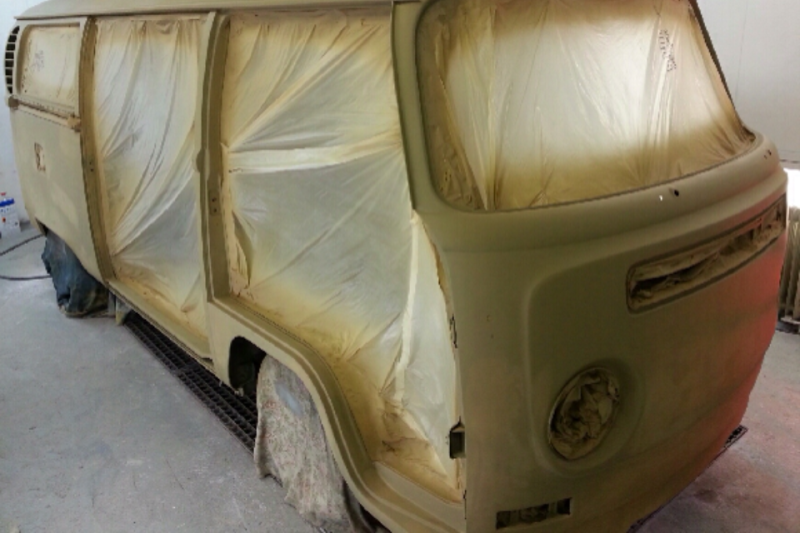
So a little bit of etch, primer then probably next week paint.
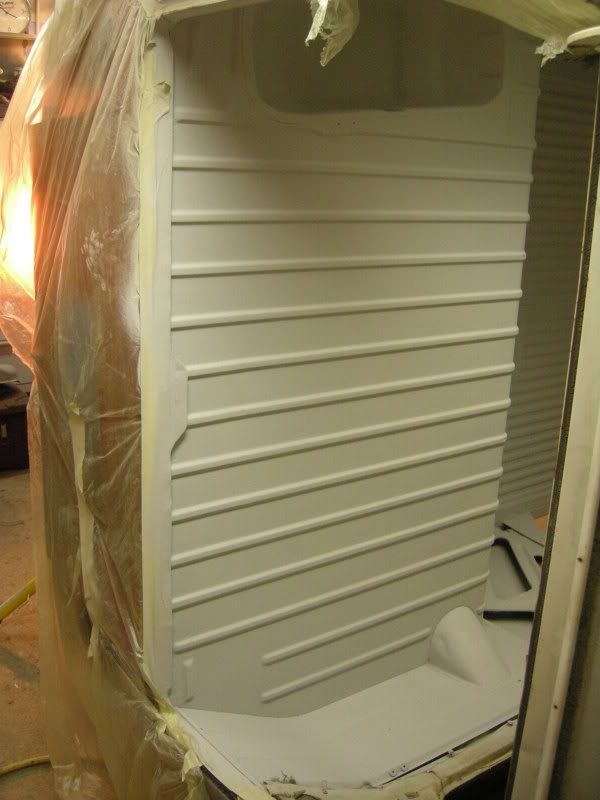
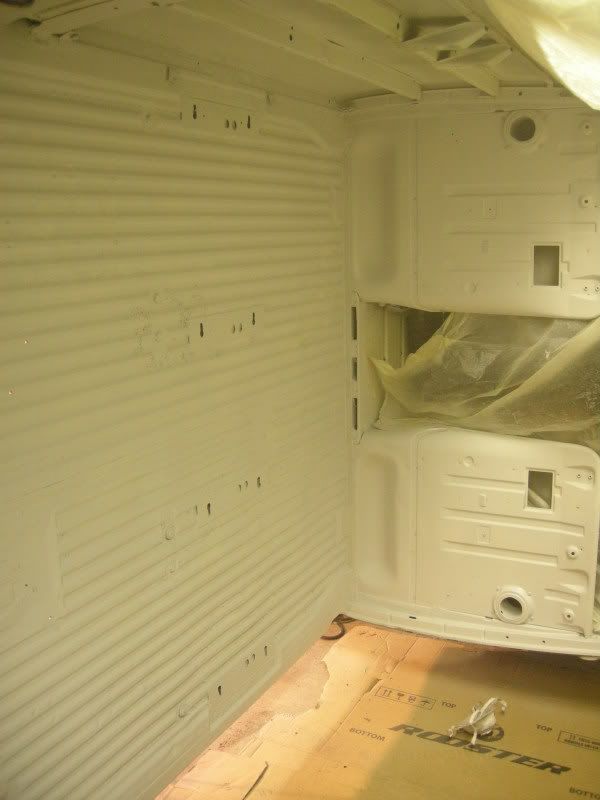

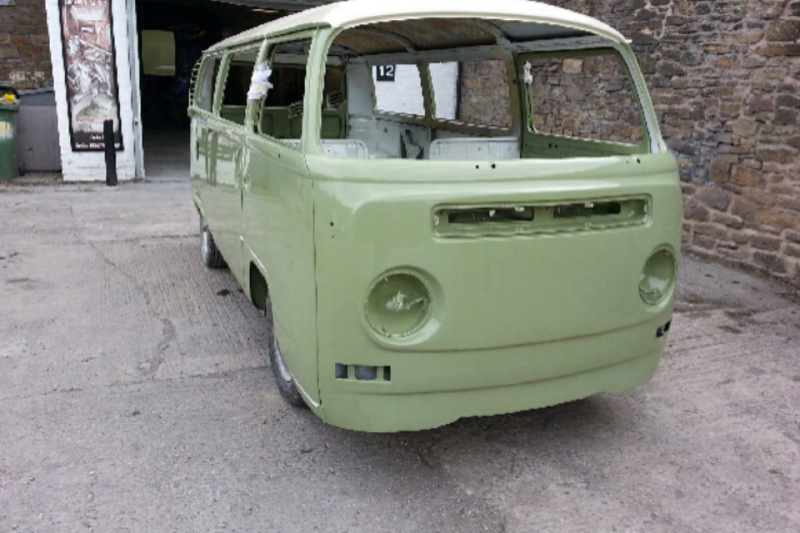
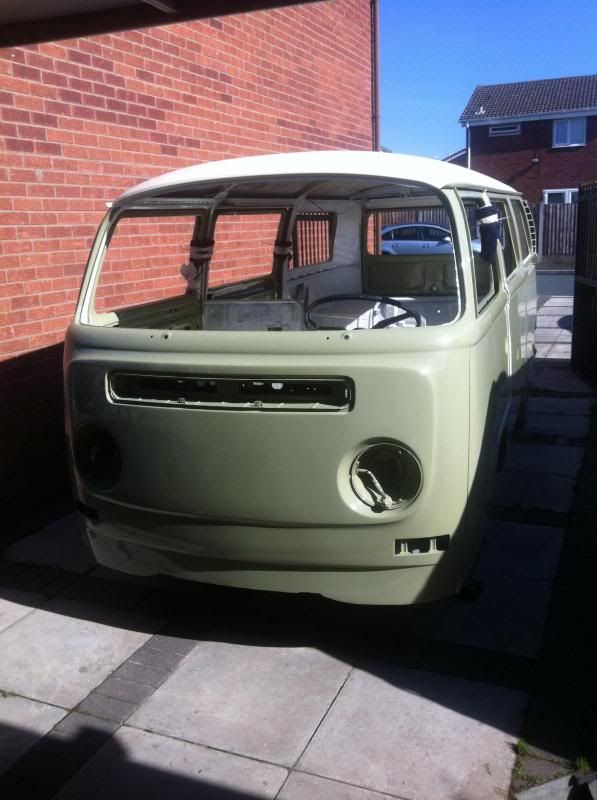
Million times better just in primer,
Apologies as the first 12 months worth of work have been copied and pasted so some of it might not make sense
Collected from Felixstowe January 2012,
We spent Saturday basically cleaning her. All the door gaps are perfect, one key fits all locks and apart from the damage and a few dents its pretty straight.
Few bits of damage
Came up pretty good after a good scrub
Before..
After..
And the only real bit of rust found up to this point was the drivers foot well
Knock up a quick repair (excuse the wonky swaging its the first time i've used my new tool
Anyway roll on to Sunday and I managed to get the repair plate welded up today
And started tearing the engine out, dogs looking bored as usual
Only to find another horror, not much left of this..
Engines pretty clean but i'm still trying to secure a new 1776 motor
And while I was doing that me dad started to flat down the body because he was bored.
I also got the tank out, since the engine was running THREE! fuel filters so I think it was a pretty good idea. I didnt get any photos but the tank looks mint but inside its corroded and full of sh1t, filler necks also pretty rusty.
Anyway after running a wire brush on a grinder over everything, it didnt seem too bad apart from a handful of pin prick holes.
Now dont get me wrong if I wasnt up against a deadline with this bus I would probably of changed the floors but I tried welding up the holes and it was pretty easy and the floor is rock solid.
It now looks like its got measles
Then treated with a rust remover (this stuff is cheap but seems to work really well)
Well it was a bit disaponiting to get rained/iced/snowed off last Saturday, so I spent the day modifying my roller to take the early bay, when i built the rollers to take my Devon I originally wanted roll it without the front axle in place but since i'd already overhauled the axle on the van I didnt want to take it off again
Anyway here a few boring photos, because the engine mounting is different on the early bay I couldnt mount the roller like I did with the Devon, so I came up with this...
Stay with me, i'll try to be quick
This is the original, mounting which bolts to the engine mounts on a late bay.
This is now a mount for the front axle but I should still be able to use it as I did on the engine bay of a late.
The tricky bit was getting it all to line up square, so I came up with this using a spare axle (thanks Mark
Really I should of made two but I was rushing a little to get it finished.
Finished 8)
So I spent this morning finishing all the welding off on the roller, then after a quick tidy up I moved the vans about with the help of the other half.
This will probably be RIP for the x-over
In its new home.
First job up, gearbox came out.
Should be all ok with a clean up, lick of paint and an oil change.
Front axle was next up, for once it came out pretty easy although I had one ball joint I couldnt budge so ended up cutting the chassis which was cutting corners
It needs work, all four ball joints are shot and for some reason (im assuming the heat) all the grease in the hubs has dried out.
Then the moment of truth, not bad for a bit of hill billy engineering even if I say so myself :rocknroll:
I was home by 4pm closely followed by my dad and after a bit of faffing about we managed to get her on her side.
Was too busy and stressed out to take photos of her actually going over, its a scary moment even though i've done it a few times now.
And boy oh boy this van just gets better and better, I can finaly see that all the stress involved in getting her here was worth it.
Apart from the battery tray the only tricky thing to sort out is the rear corner/arch, im not sure yet the best way to tackle this?? dont really want to cut it out but I cant see it pulling very well either.
Battery tray
Rear corner
Nice bit of penetration
Lots of scraping and cleaning ahead, then hopefully into primer and stonechip.
The lazy way to do it, someone has already very kindly cut the bumpstops off.
Somethings missing here
All ready for shotblasting and cleaning up
And my awesome dad at work, he was about 4 hours scraping and cleaning. I managed about 15 minutes max and got bored
And the results speak for themselves. 8)
So solid
Bit of shot blasting done ready for powder coating
Removing the rotten battery tray
And finaly onto my narrowed beam, what a bastard to do I wont be doing another
Remove steer box
Chop out 4 inches
Got to make these fit in here
and ready to weld up again (once that stupid adjusters removed!)
God its gone all quiet in here, 2012 he
And my mate Mark got to grips with the gearbox,
40 years of grime versus 3-4 hours with a wire brush,
Dropped the old oil out which thankfully looks pretty good, Box just wants a little bit more prep and hopefully I might even get it painted today finaly feel like I'm making pregress with something.
I did find a few more holes
Then proceeded to make a complete mess of it with a stud welder
On a better note the two beam halfs are now welded back together.
Then all braced up too cut the original towers off
This ones seen better days..
Also decided to cut this out in the end,
Yay! 8)
It finaly feels like were making progress, having gotten completely bored with cleaning the floor we decided to prime up what was ready. That being the center section.
And while that was getting done we managed to splash some primer on the gearbox and give that a coat of paint.
It may only be a gearbox but finaly seeing shiney paint made me
Hard to show as the seam sealer is the same colour as the primer
Some of the floors now got a nice heavy coat of stonechip now,
Still wet here..
Quite happy with the finish, should look ok with a top coat on it.
And today we got the front half primered and seam sealed
And plodding on with other bits and pieces, got some more bits shot blasted and straightened out.
Picking my axle plates up Friday so thought i'd better make as start on these..
Hillbilly engineering 8)
Picked my new axle plates up Friday and while I was there I managed to press my new ball joints in, heat and a 50 tonne press in the end to get them home
Got them home and slapped a bit of paint on them, going to do all the running gear in grey now I think.
Not a bad finish for a trailing arm
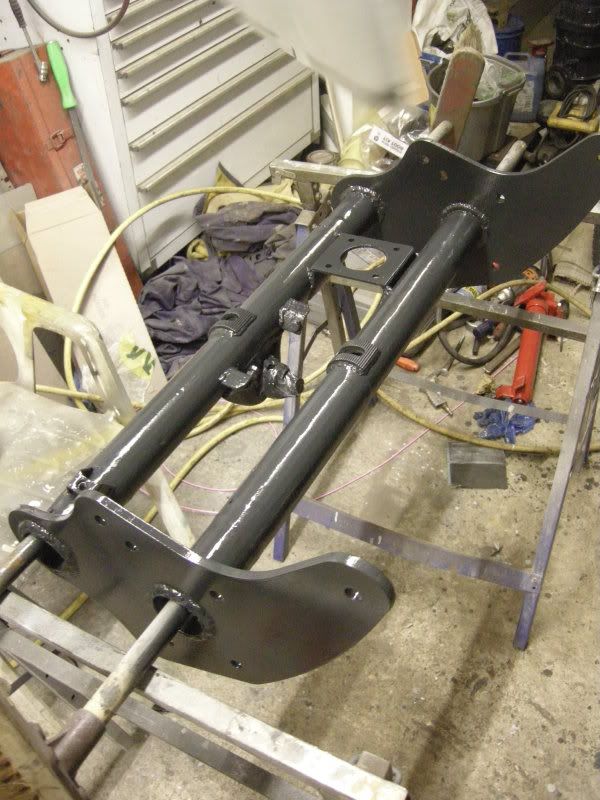
Carried on with the axle, took about two hours cleaning it up a right dirty pain in the arse..
Garage needs a good cleaning..
Mocked up..
Welded up..
Refit steering box..
Cut for adjusters..
Weld in adjusters..
Just got to make up a servo braket and it will be ready for paint 8)
Picked a battery tray up dubfreeze and got that all welded in yesterday. Also removed the air filter braket mainly because it was in the way of the spot welder.
Hard to show as the vans on its side.
Still unsure what to do about the damaged rear corner you can see here, as the outer must be full of filler.
Got the rear all primed up, dont like this wash primer.
And now everything is stonechipped and just waiting for a gloss coat.
6 tins of stonechip in total, just saved a little bit to do the fornt splash pan once I get it primed up.
Broke my plasma cutter this week too, so i've had to stop on the front axle until new bits come for that.
and I cracked on trying to finish the axle.
I got on with the axle, made up a servo mount and that all welded up.
My Kerrys there as always, Come on dad stop messin with this VW crap and take me out.
Etched and then a bit of high build primer to try and hide some of the marks (it is only an axle after all
Then thanks to me dad, he managed to get the axle and a few other bits all painted up yesterday (after I screwed up the paint of the axle) while I was sat in hospital all day with the other half.
This is waiting for some stonechip
I've now started re-assembly brake lines etc are going back on.. 8)
...
Roll on to this week and since we have been very slow in work I got the front axle built up. Just got the hubs and other bits to paint and shorten the steering arms..
No photos though im affraid as they all just came out black
And since I have only been able to do some mechanical stuff the last two weeks I stripped the engine, still not sure what to do with it? its super clean and has a warranty tag on it so I dont think its that old, but I still might look at a bit of simple 1641 actions and some porting and polishing while its out just to give it a little boost
Few repairs to do on the tinware once its shotblasted, the sand/mud/shite cant of been helping with cooling
Today I got the waxoyl out, made a complete mess of myself, floor so gave up. Going to have to buy a decent waxoyl gun and there standard one is pants. so if anyone can recommend a good one?
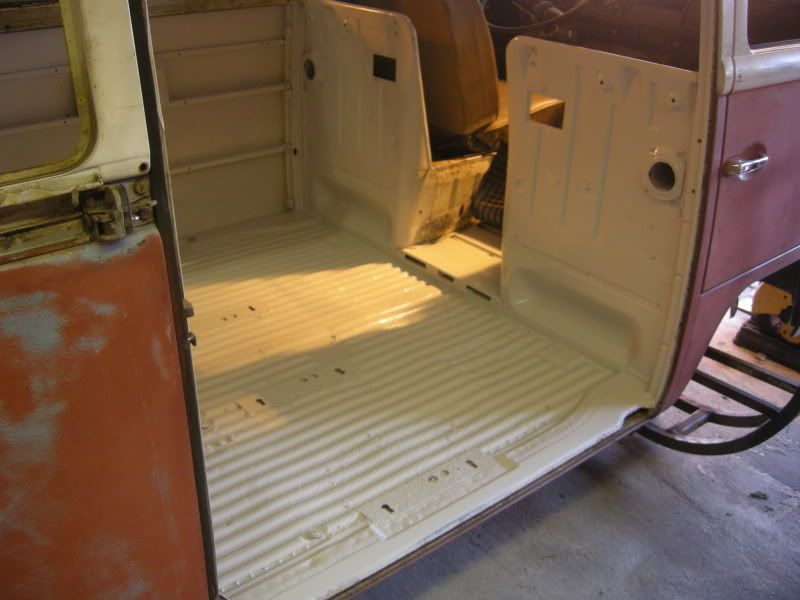
So we moved onto painting, somehow managed to remove the rear 1/4 window and sliding door with the van n its side. Giving us access to inside again.
So a little bit of etch, primer then probably next week paint.
Million times better just in primer,