MGB ROadster 1979 Full Resto
Posted: Wed Jun 22, 2011 8:17 pm
Here is the last of my threads that I previously started on another site before finding this one.
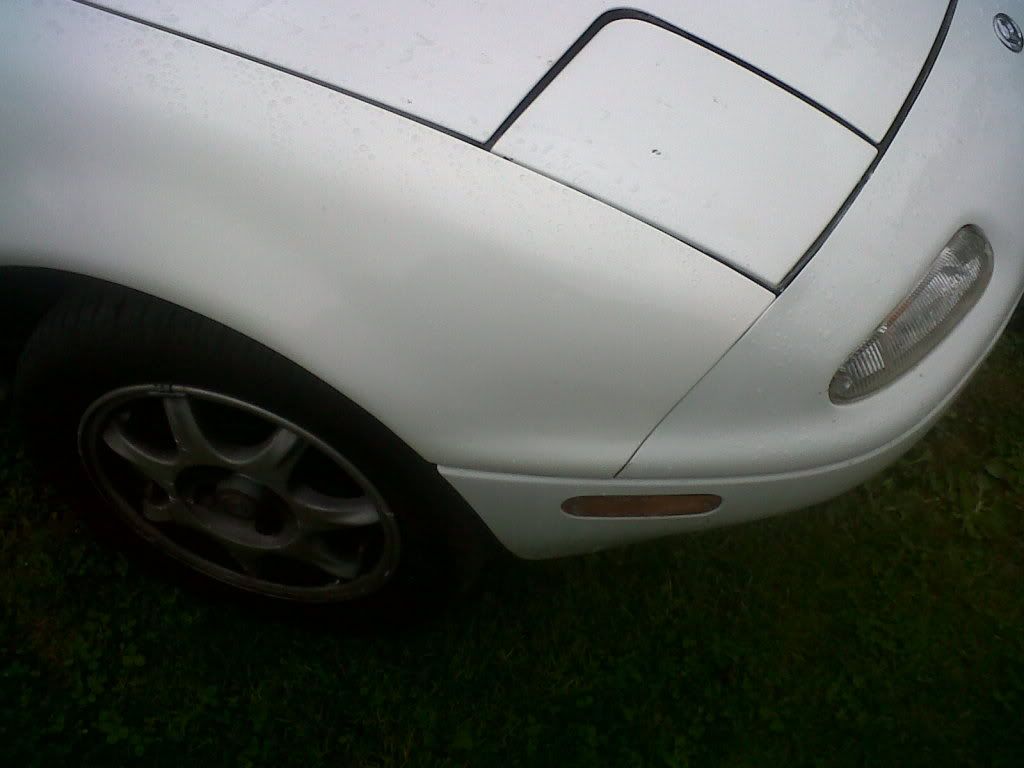
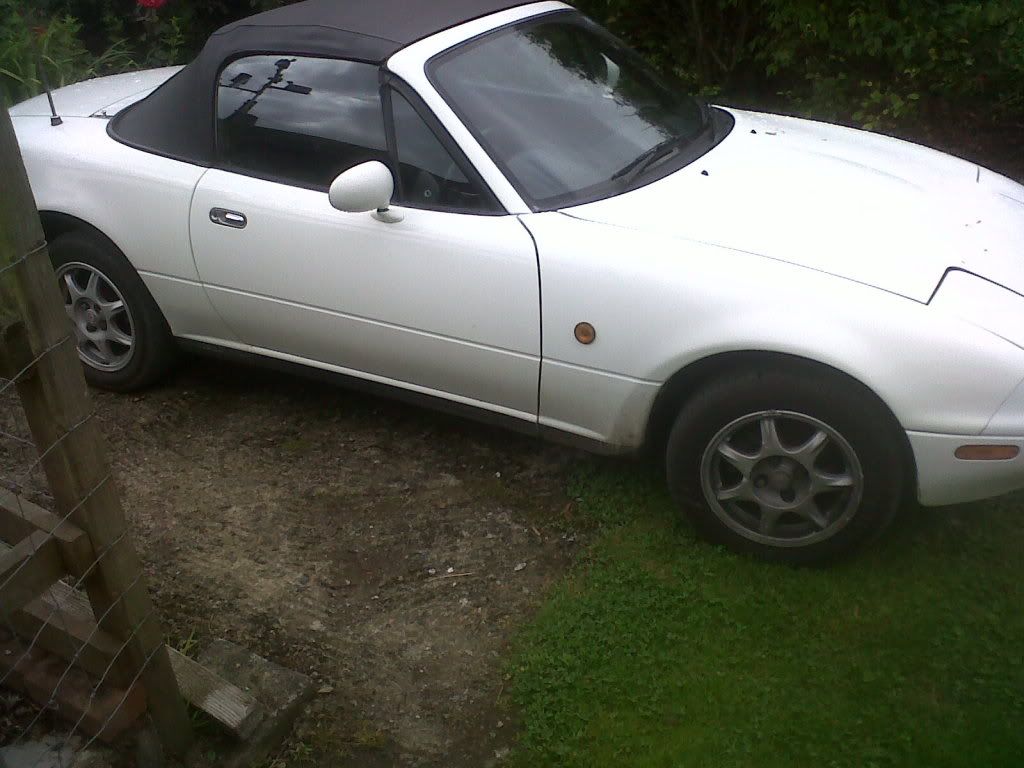
I do have a 93 MX5 also along side the Alfa,Saab and MG but its a bit boring really as nothing goes wrong and is it a classic yet.
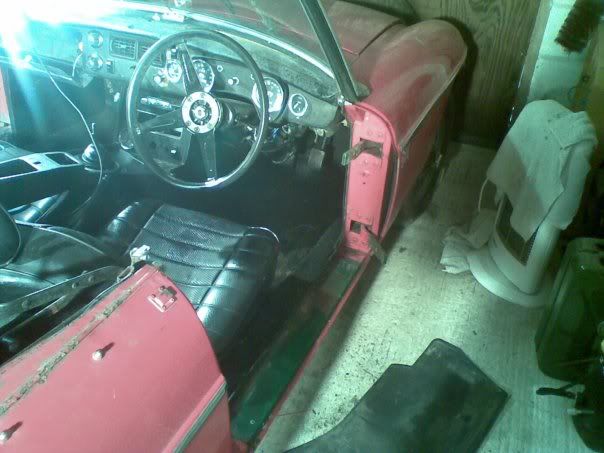
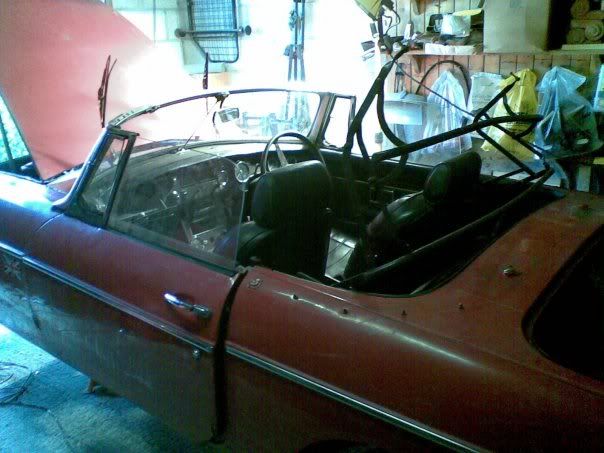
Thought I would post some pics of my other Ebay impulse purchase from about a year ok. My father in law told me at dinner he always wanted a Roadster so that night I bought one on ebay and told him to clear the garage.
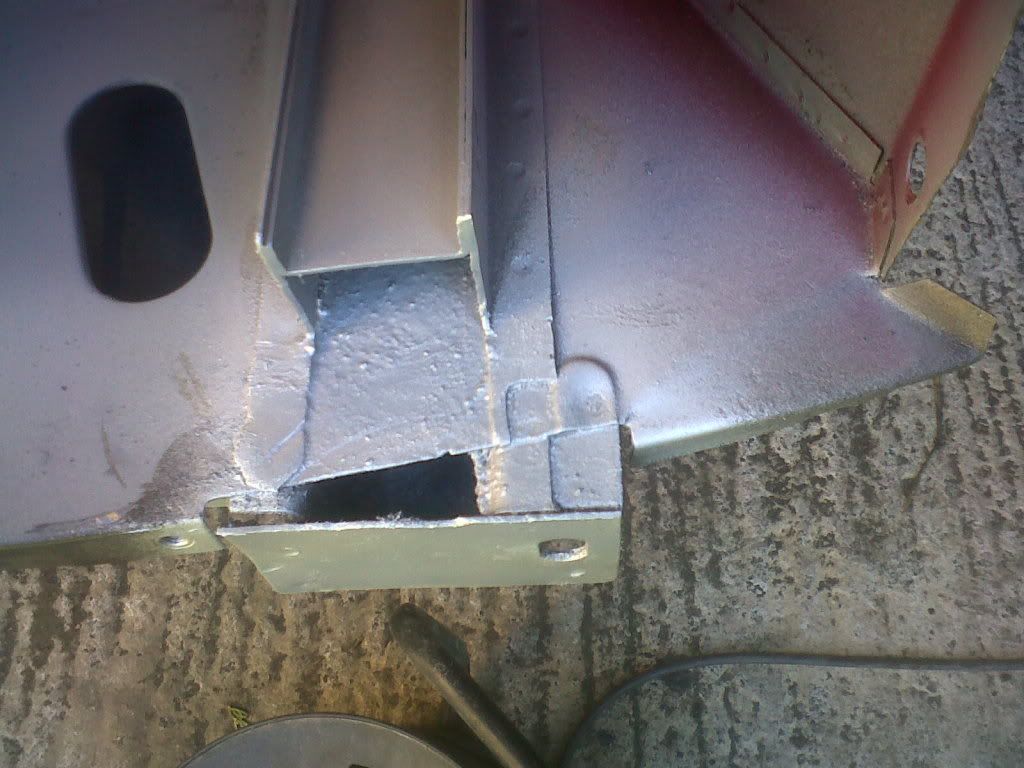
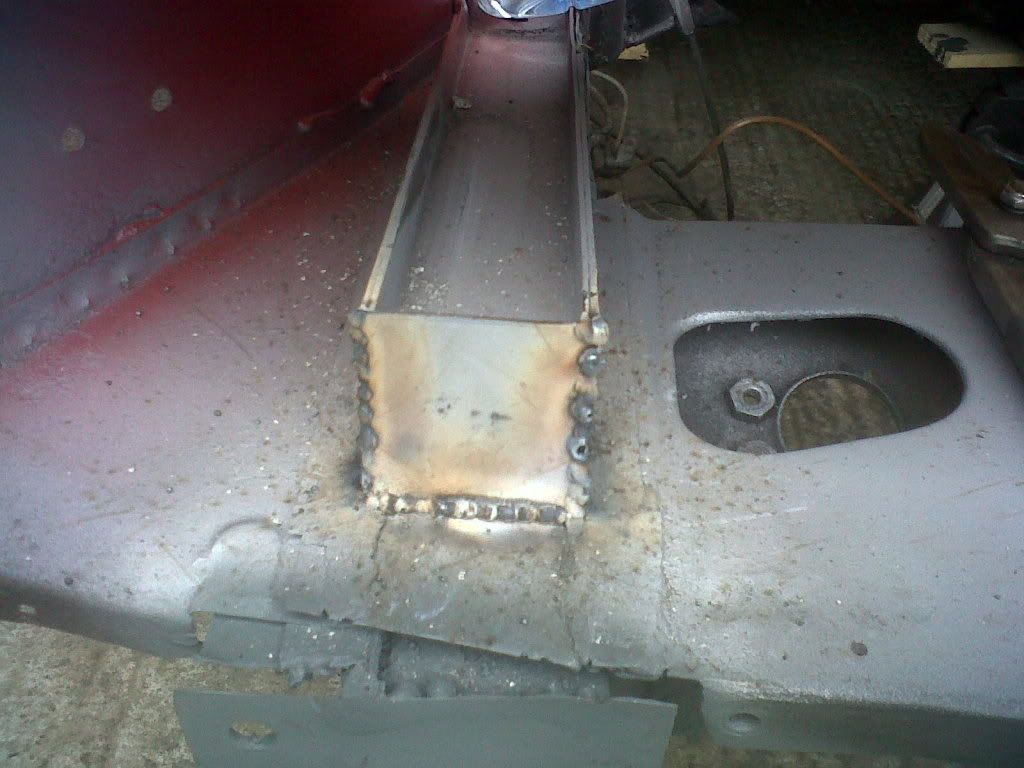
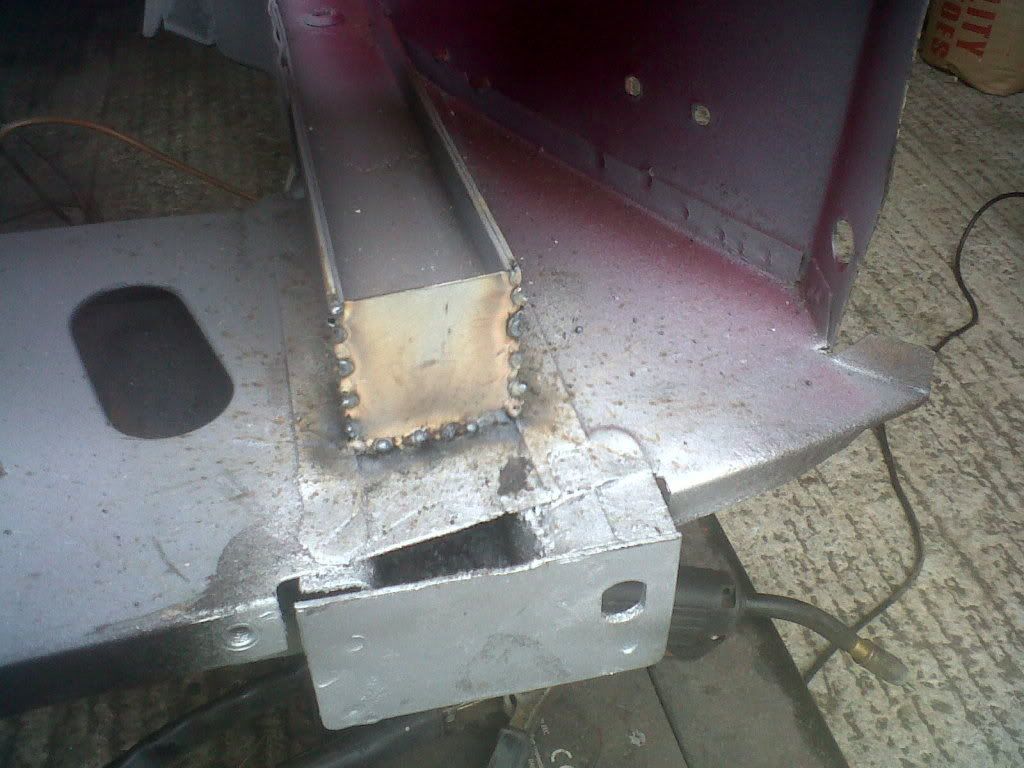
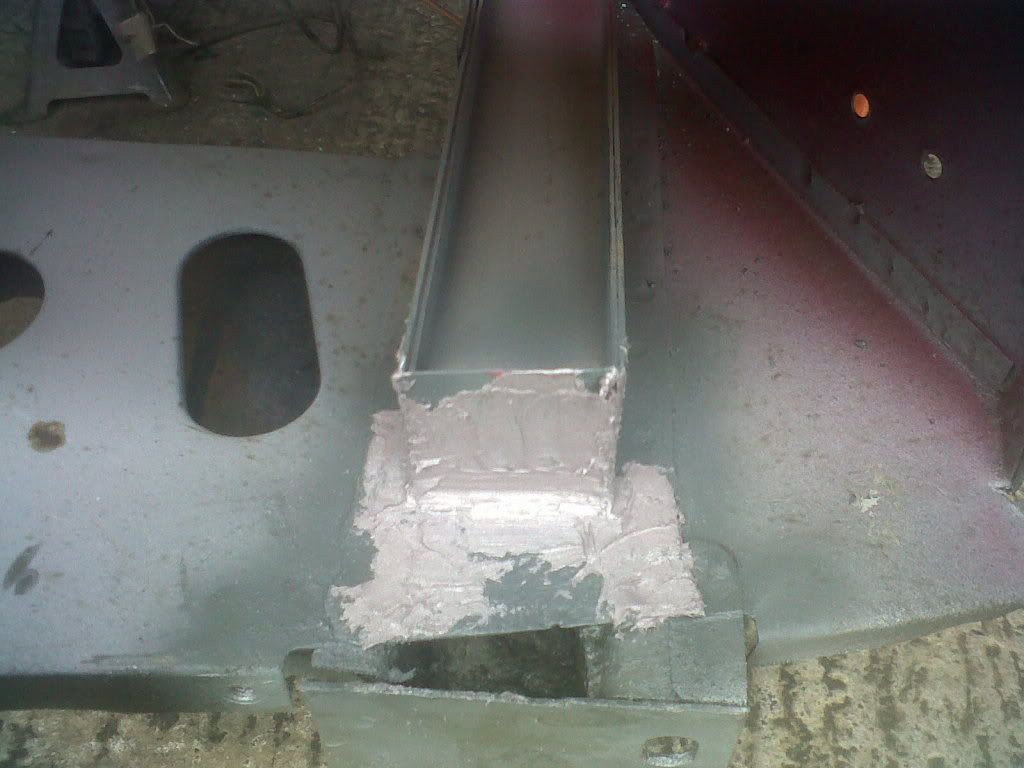
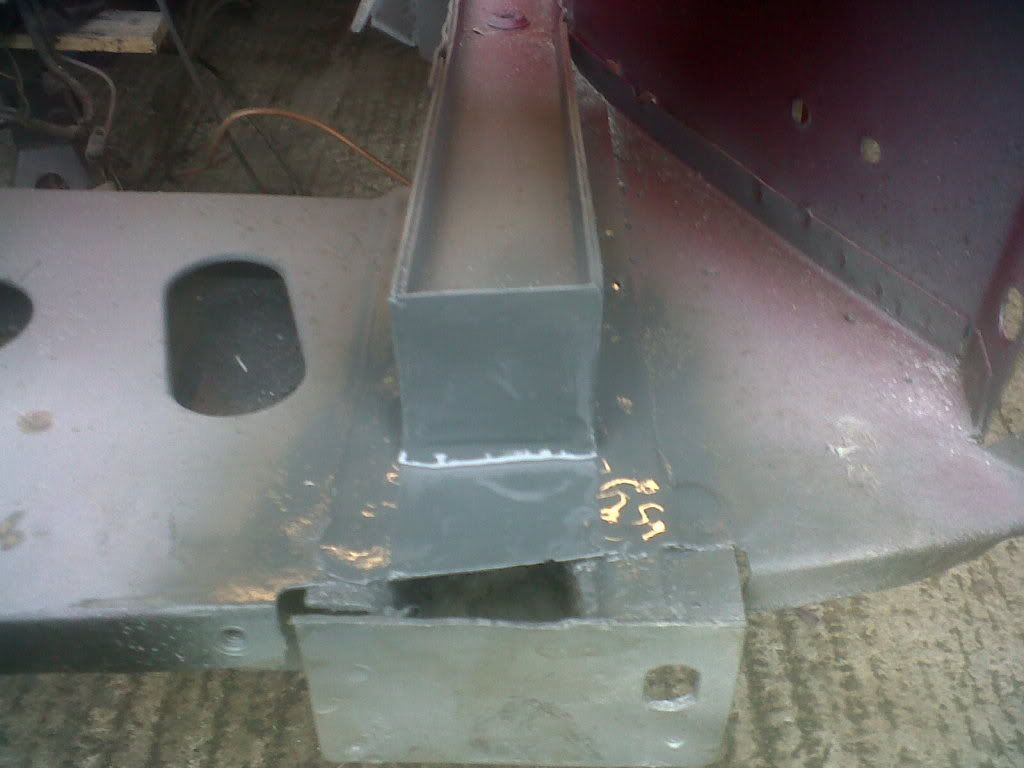
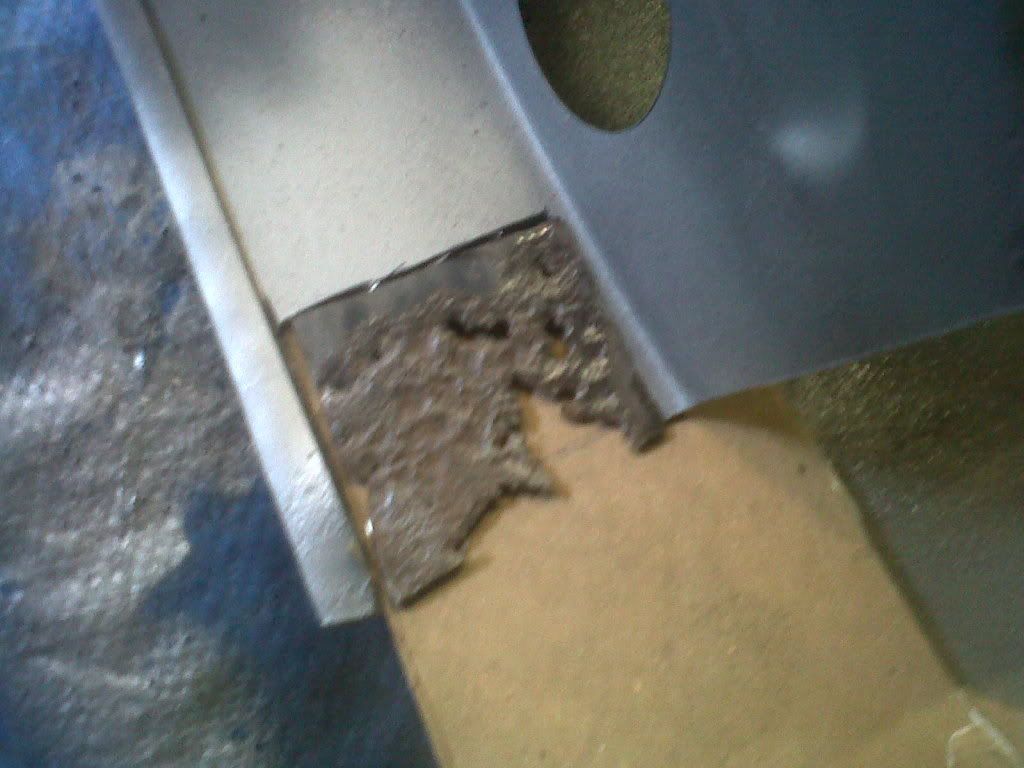
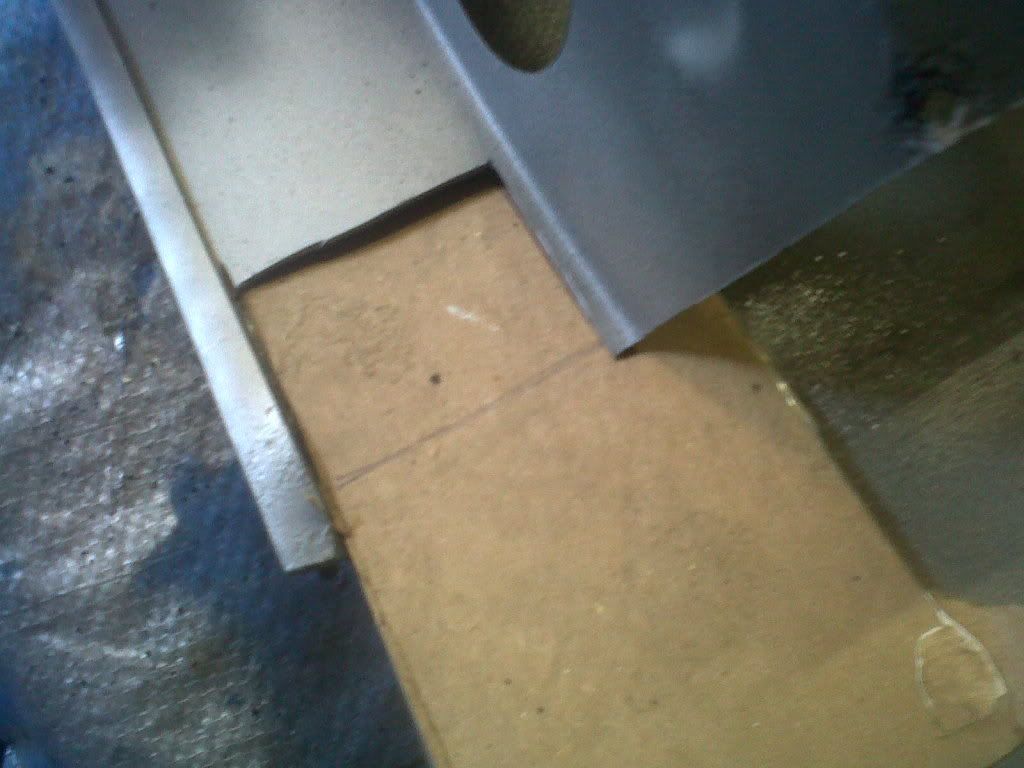
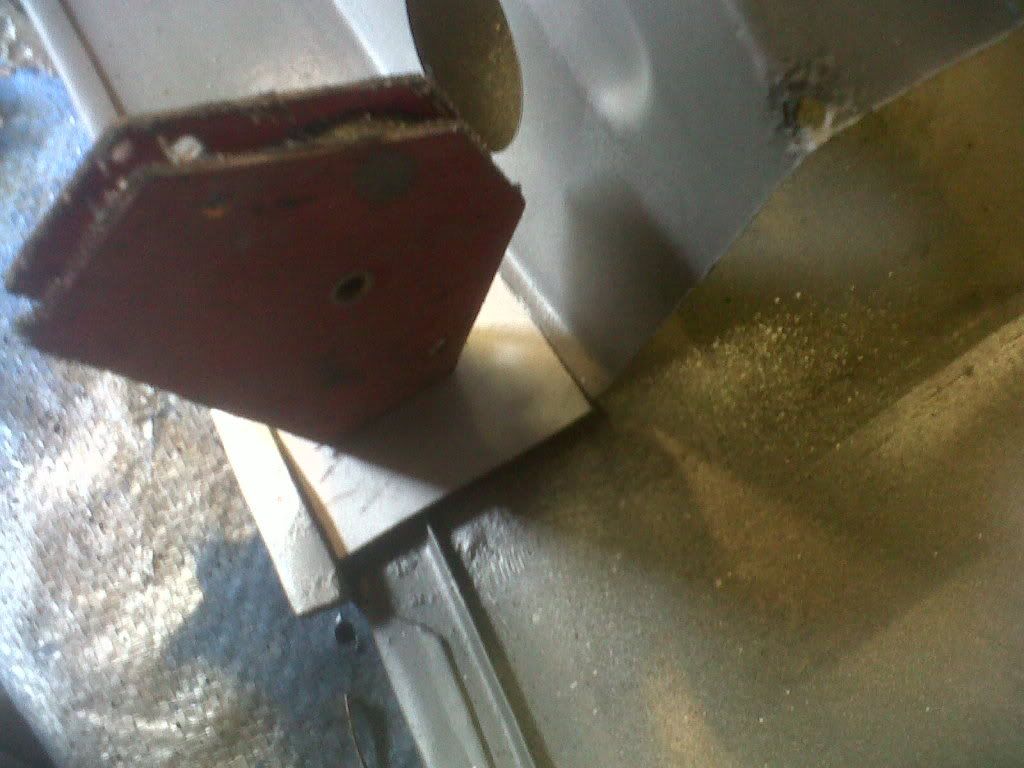
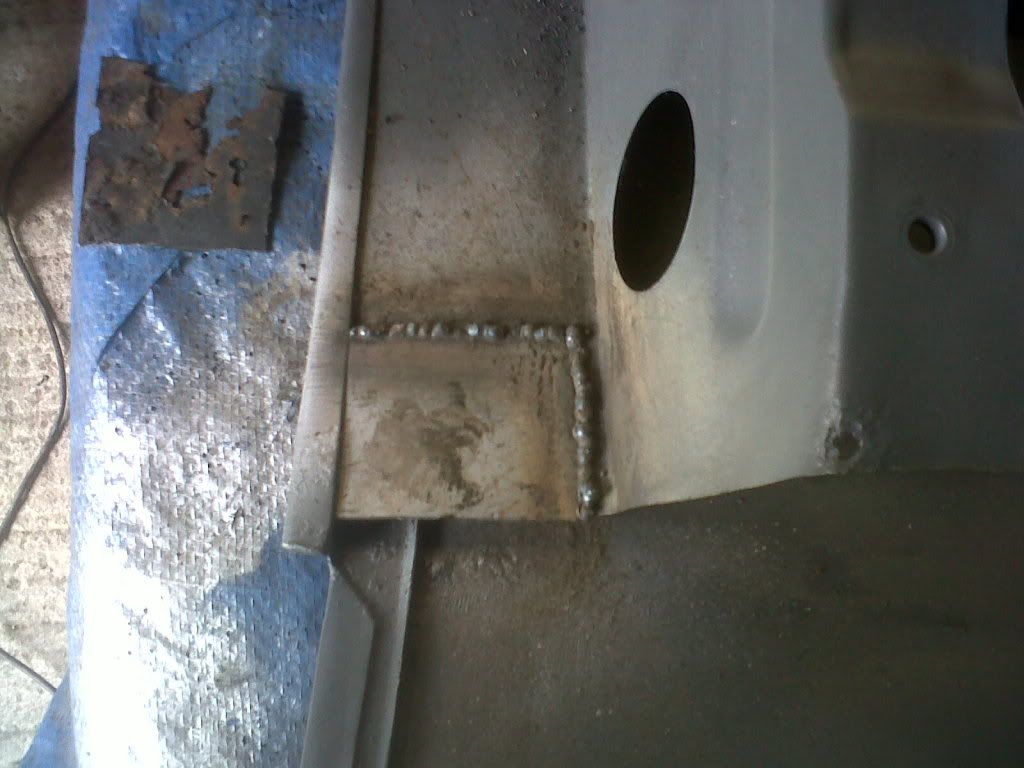
Got it transported down and decided to do a light resto. But after started to strip it down realised there was alot to be done! So started by cutting the rear panel out and the boot floor. Replaced with brand new panels. Then both floors came out (hours of spot weld removing!!!) and new panels went in, but before they could I ahd to replace one out rigger and jacking point plus replace a section of the chassis rail. Small sections of the footwells also needed doing.
Latest work has involved stripping the engine dow as it decided to go the whole hog and do a full respray and nut and bolt resto.
Got all new bushes and new springs for under but need to get ton of old waxoyl off first!
Got a full chrome bumper conversion kit to go on too. The Alfa and the Saab now have distracted me a bit but determined to get sorted for the summer.


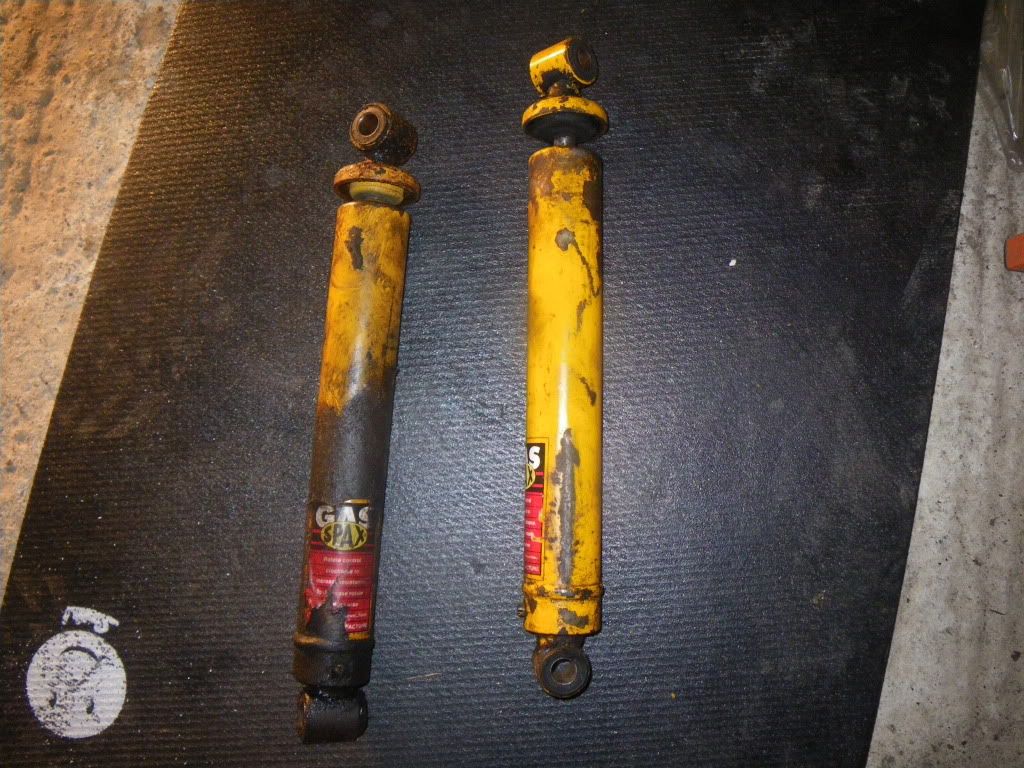
Going to get the engine out and do overhaul, but as its a project with my father in law its going to stay standard, although got all poly bushes and new konis to tighten it up underneath.
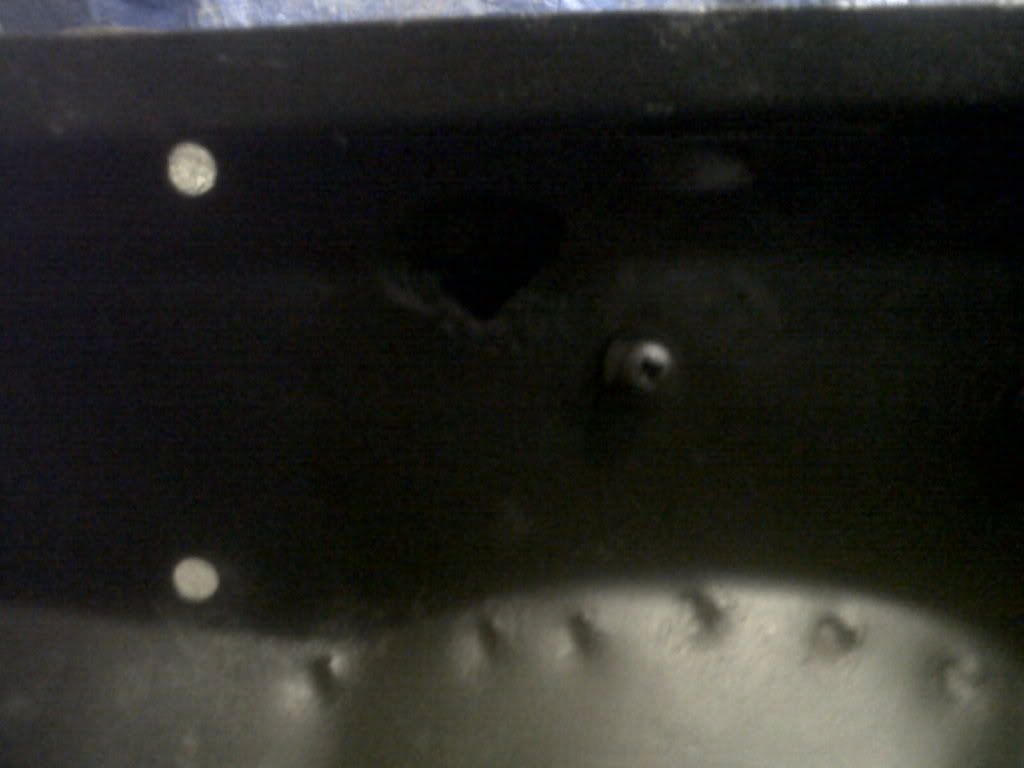
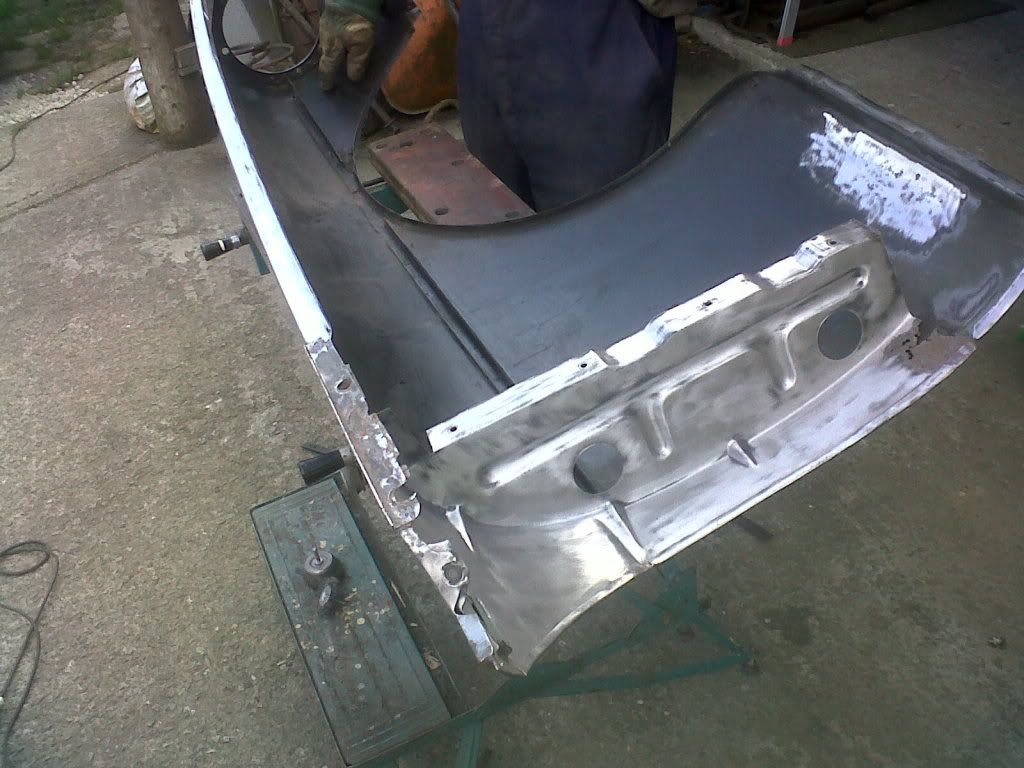
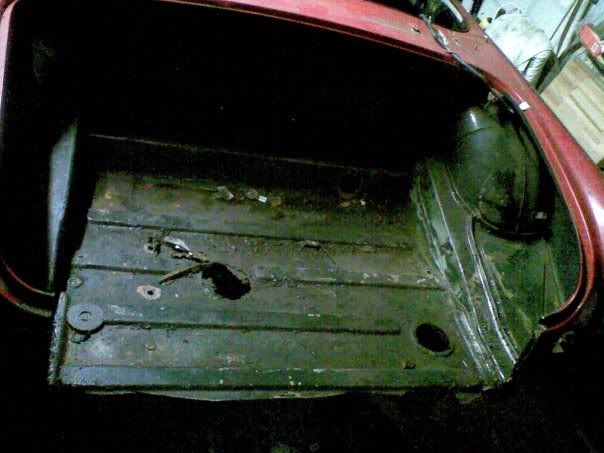
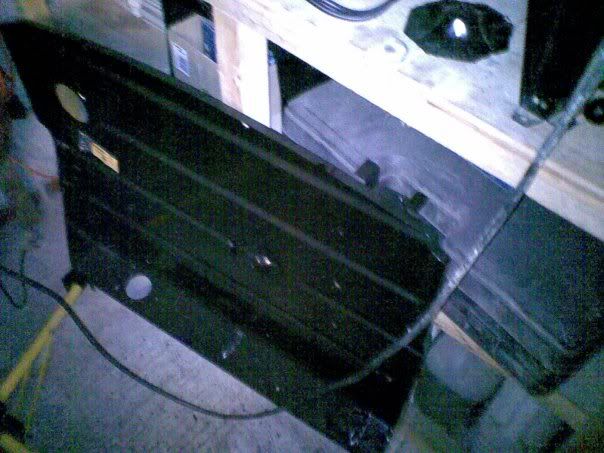
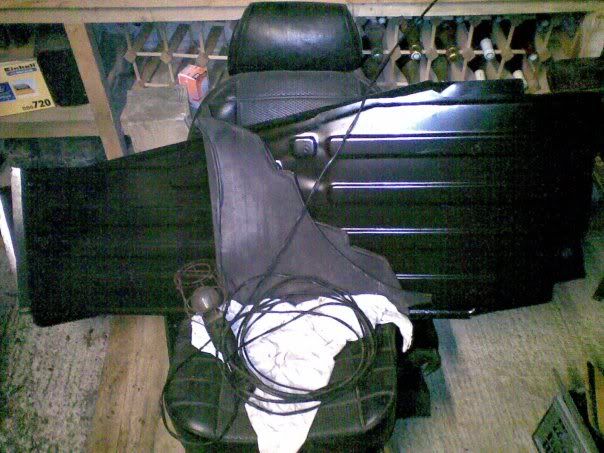
The rear was in a bad way. Cut boot out and rear panel.
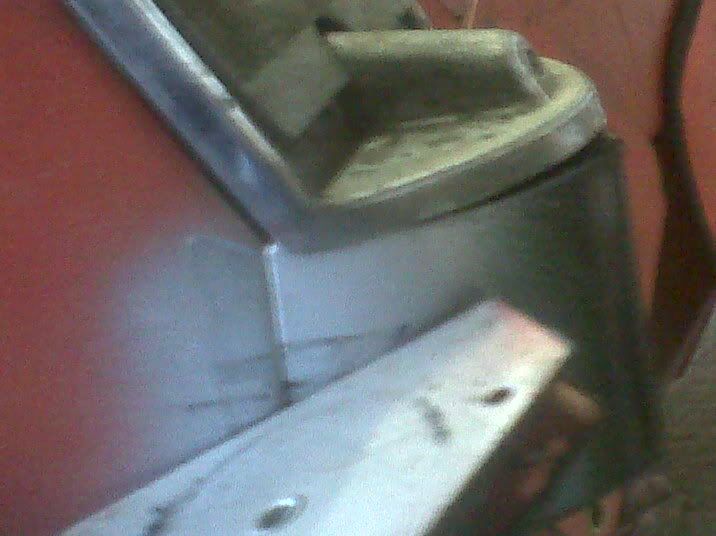
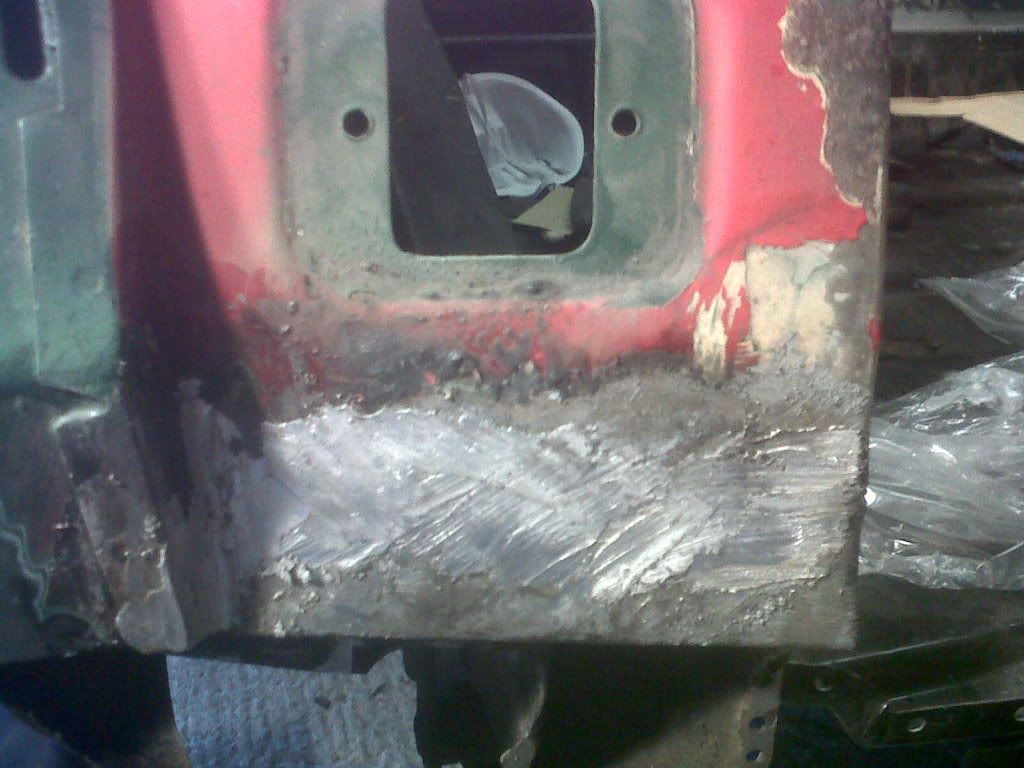
Since welded in boot panel but needed to repair the bottom edge of the rear under the lights.
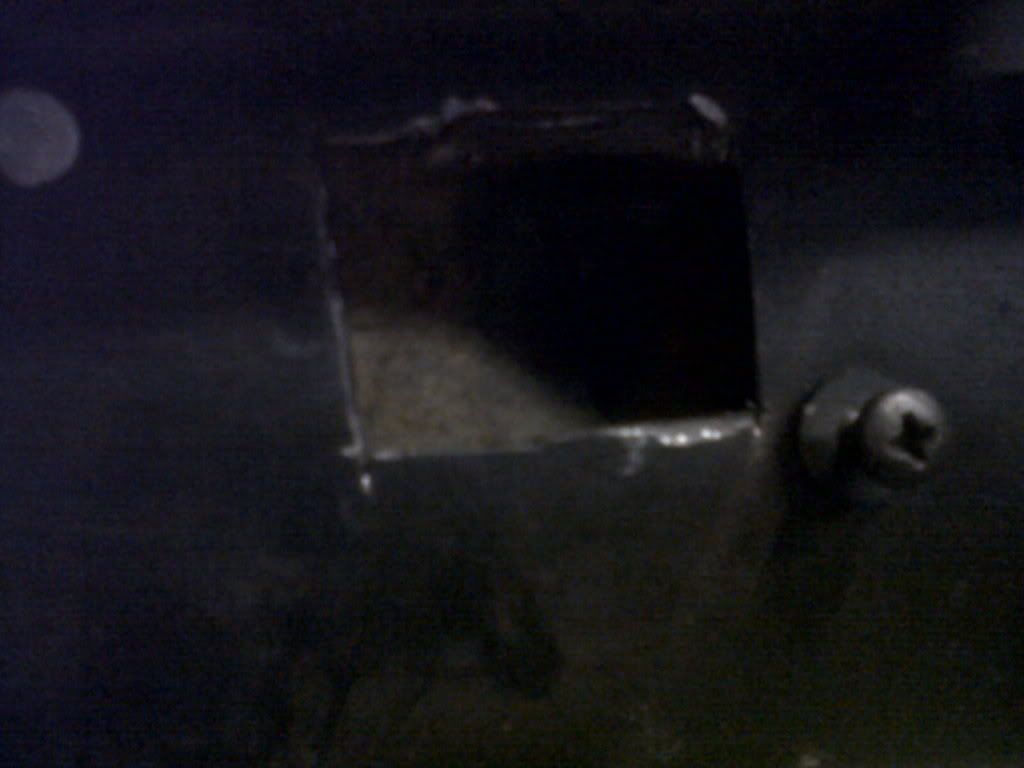
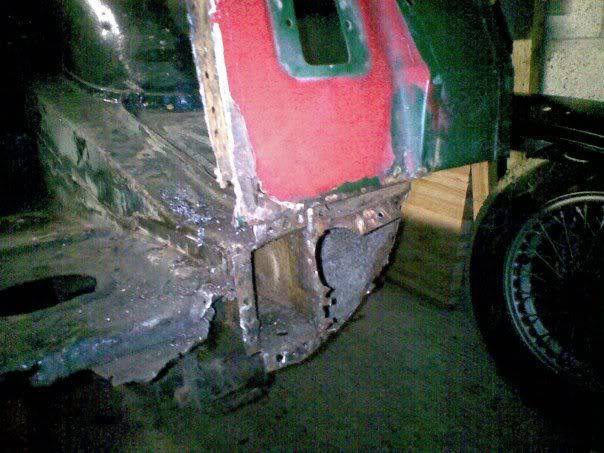
New panels for this section ar enon exsistent unless you spend £500 a shot on the whole side panel as well.
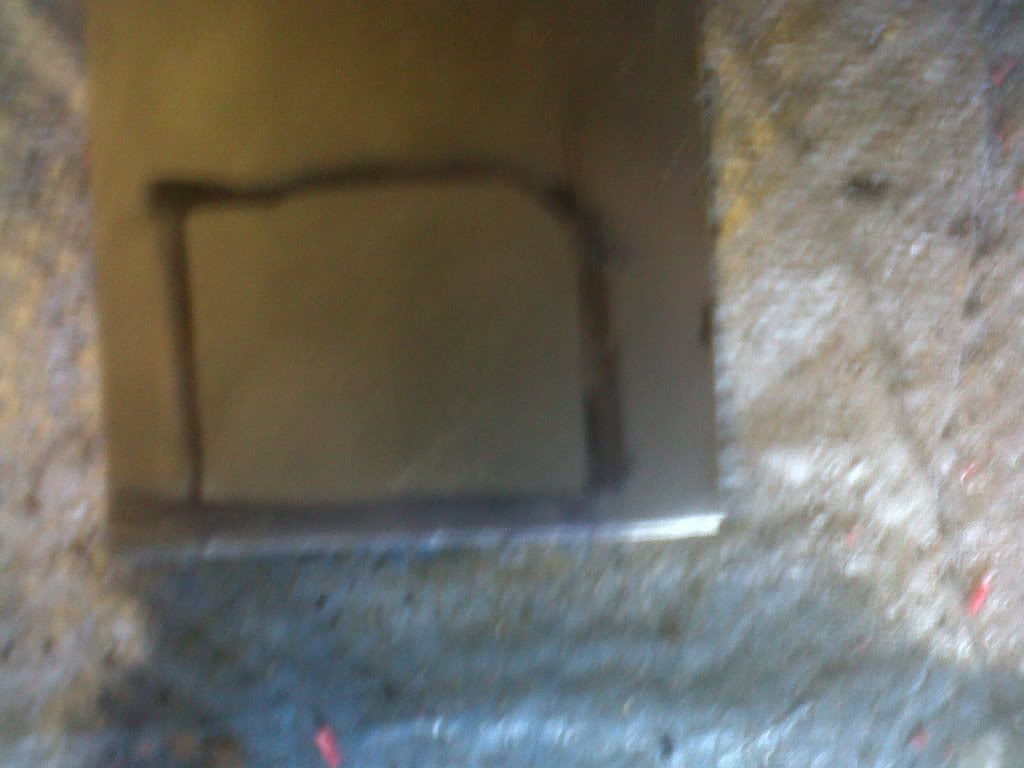
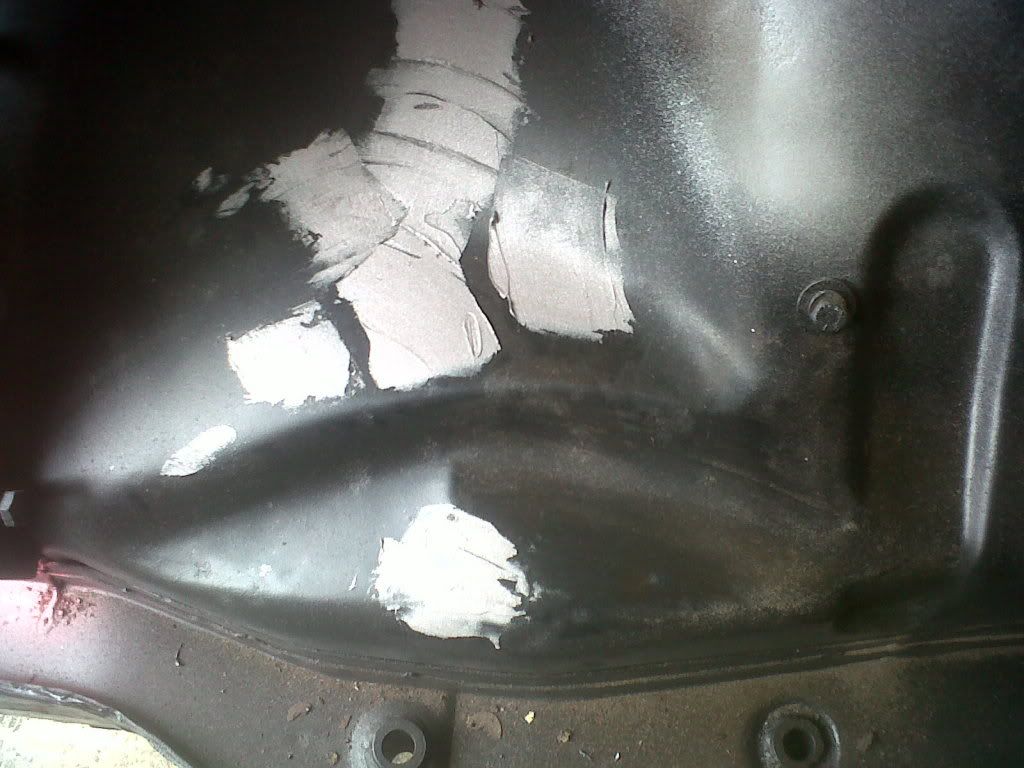
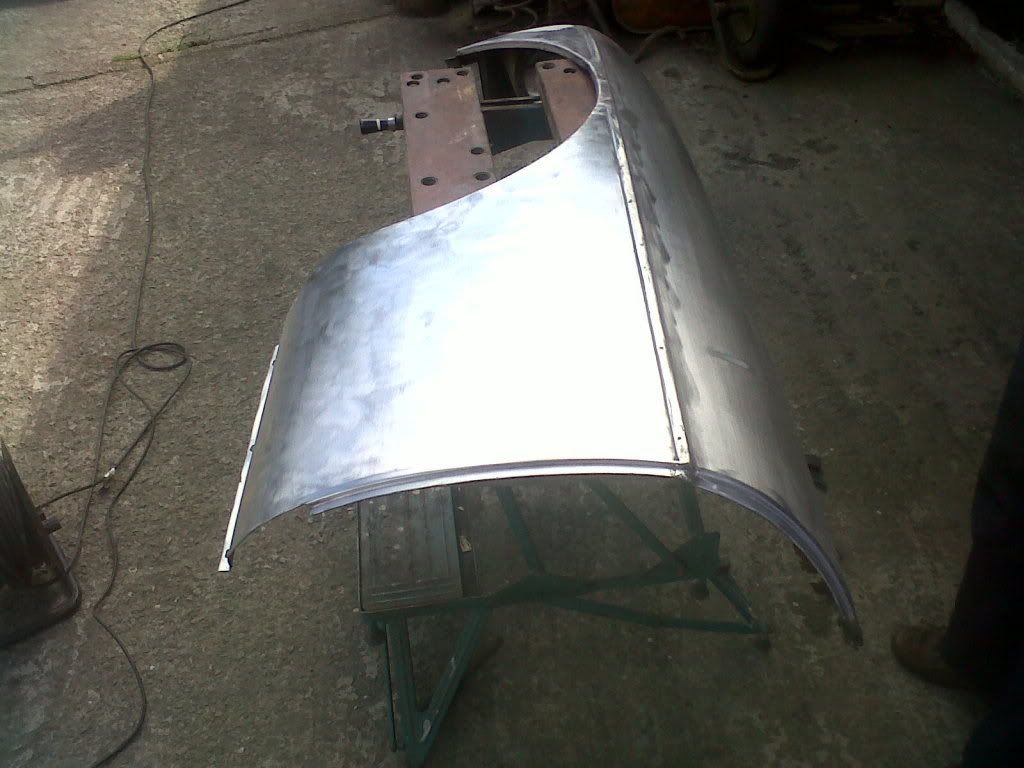
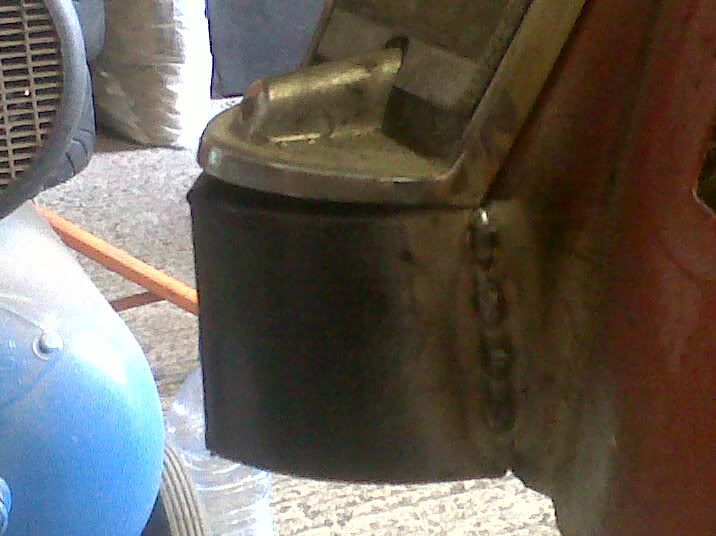
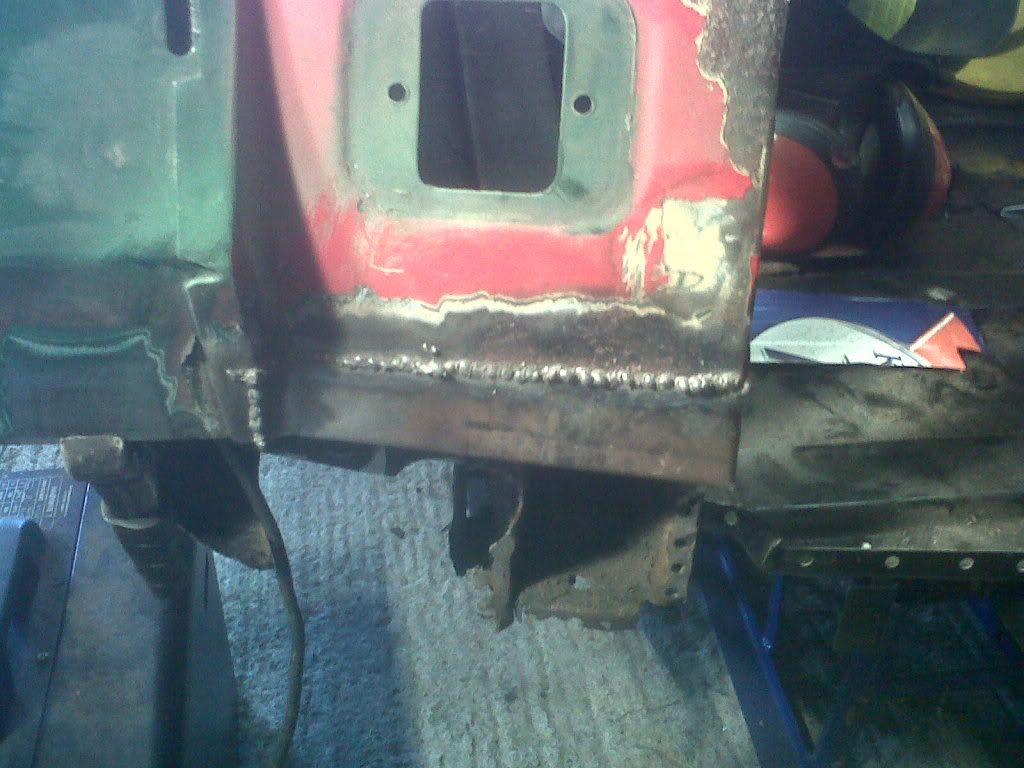
So set about cutting out the rot to good metal and making my own repair panels. Welded in bit by bit to avoid warp, ground down and then leaded. Since fitted the new rear panel will post pics.
Well the Saab bits didnt get put on and the Alfa did not get its coolant change as I got backon the MGB with my fathe rin law over the weekend and we really made some progress!!
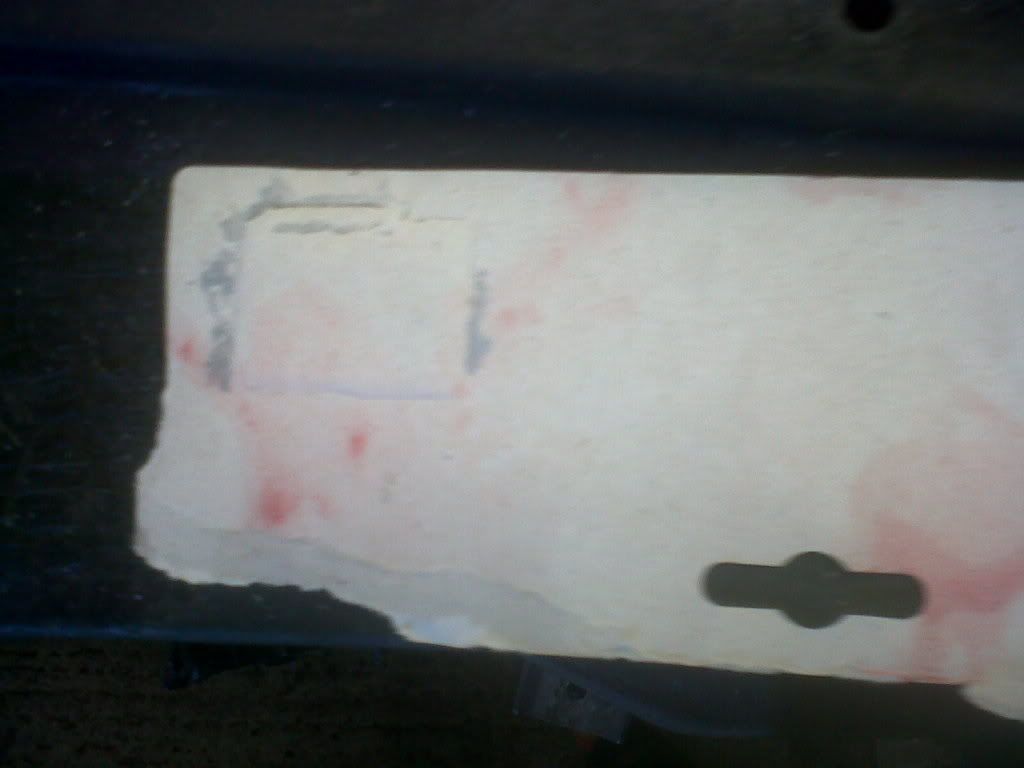
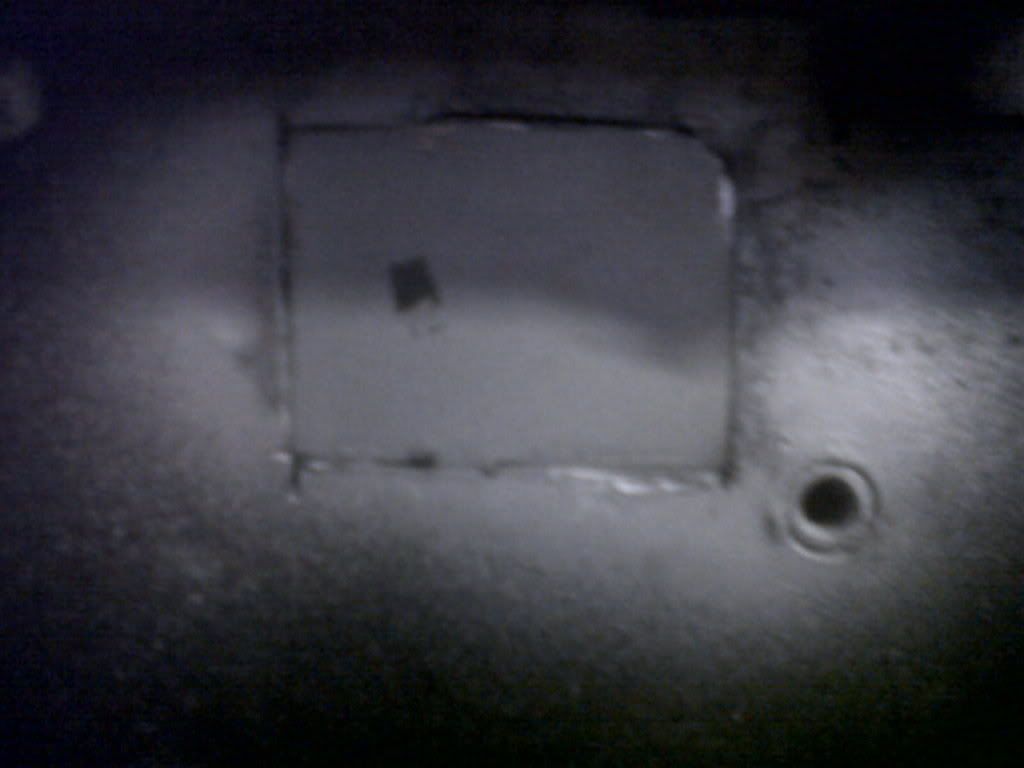
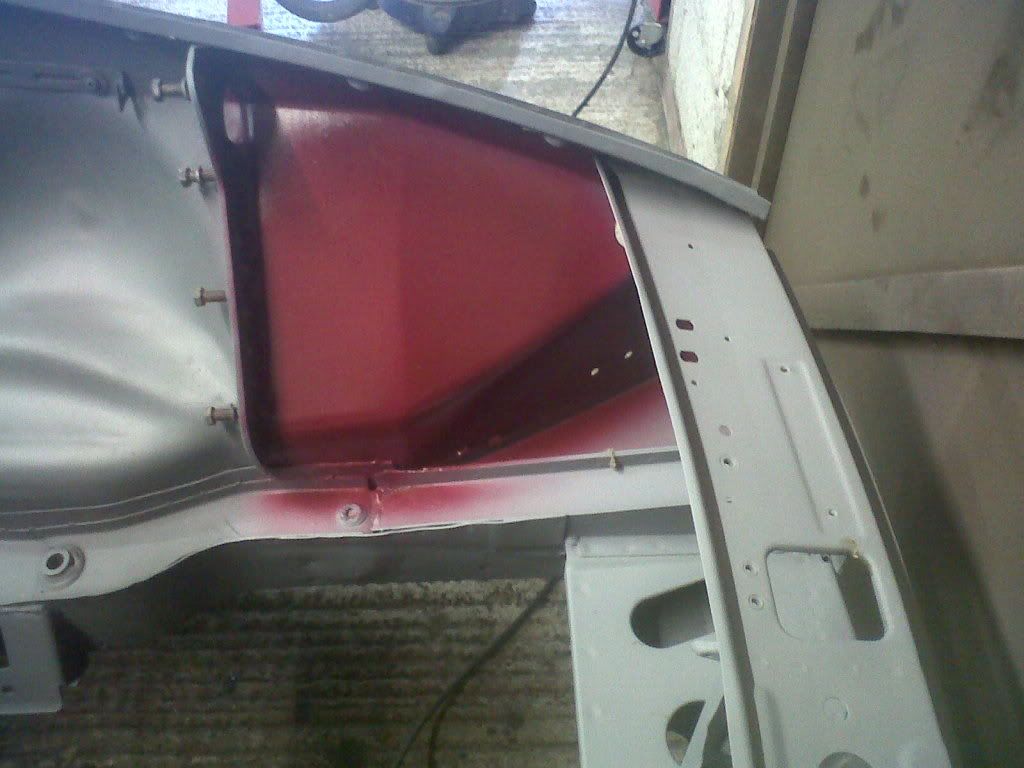
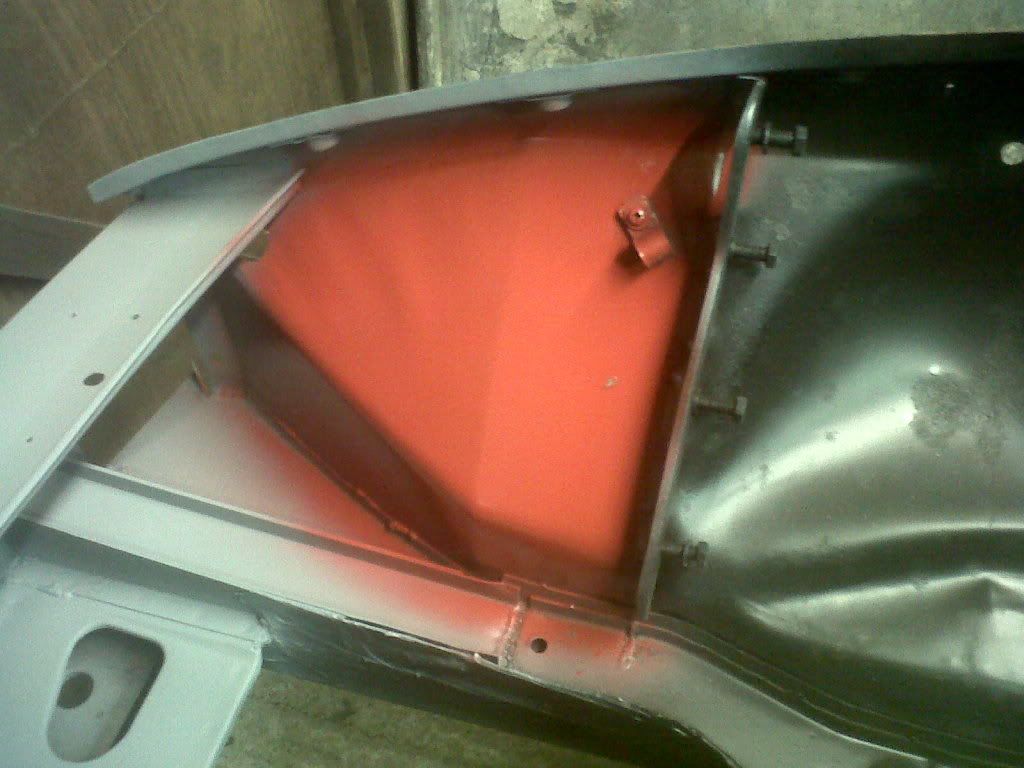
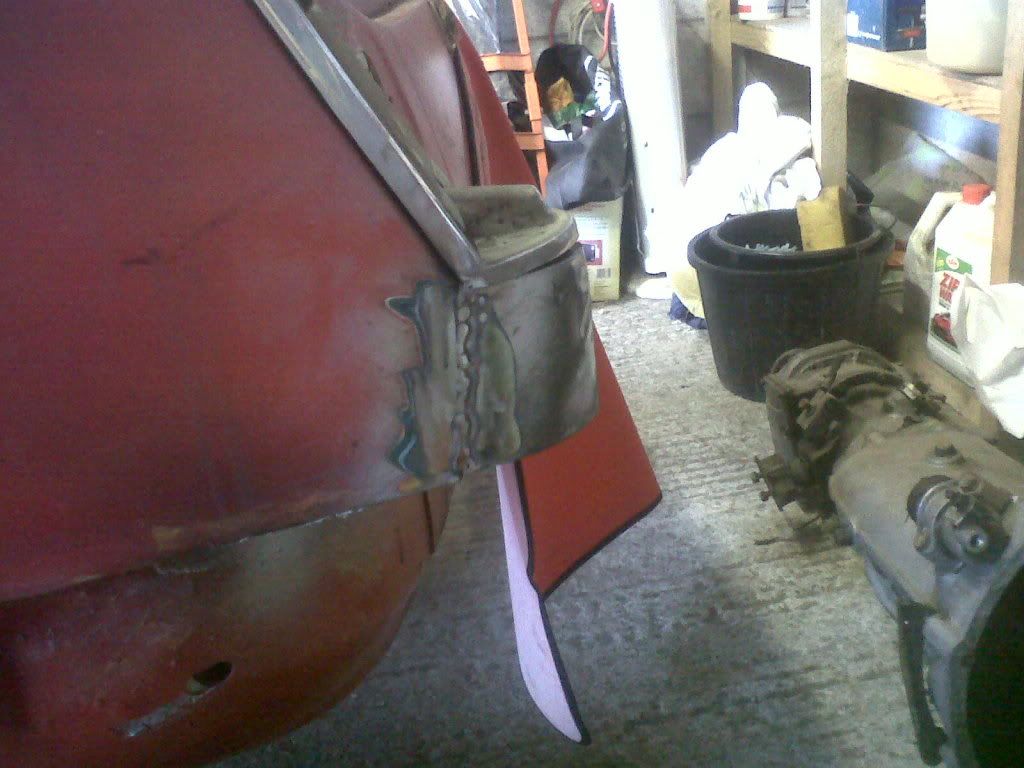
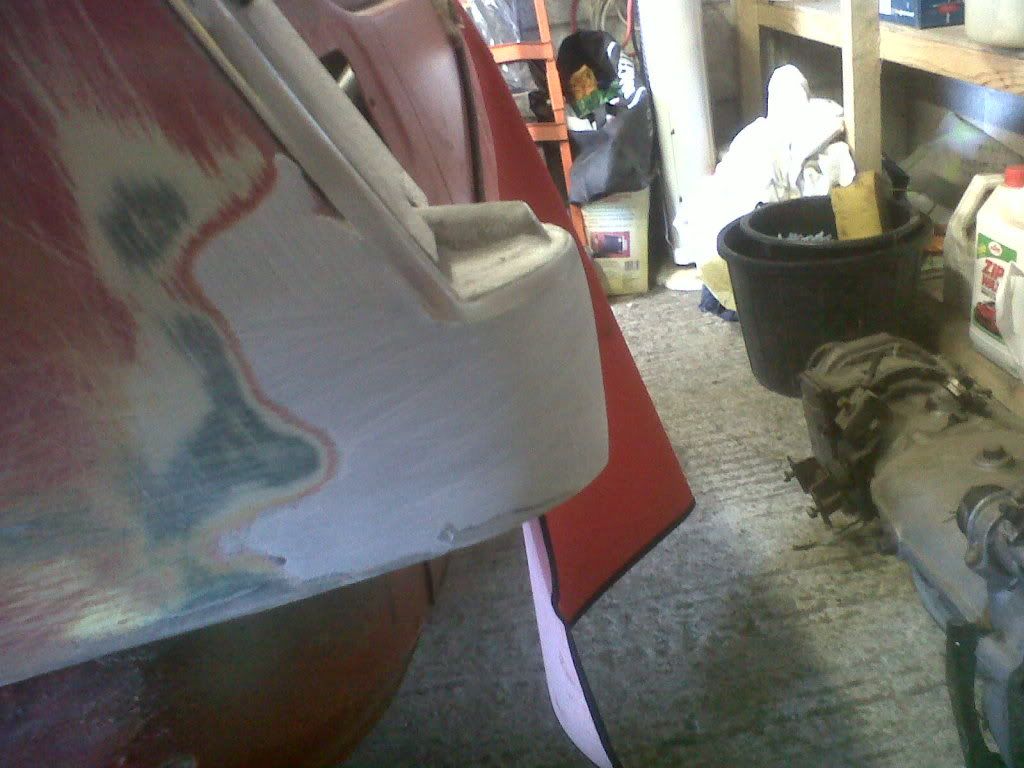
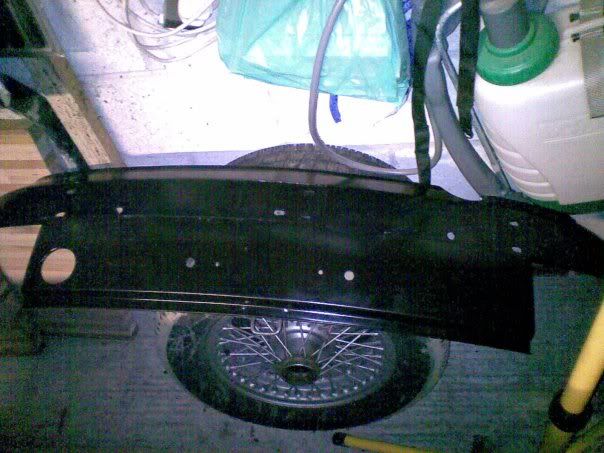
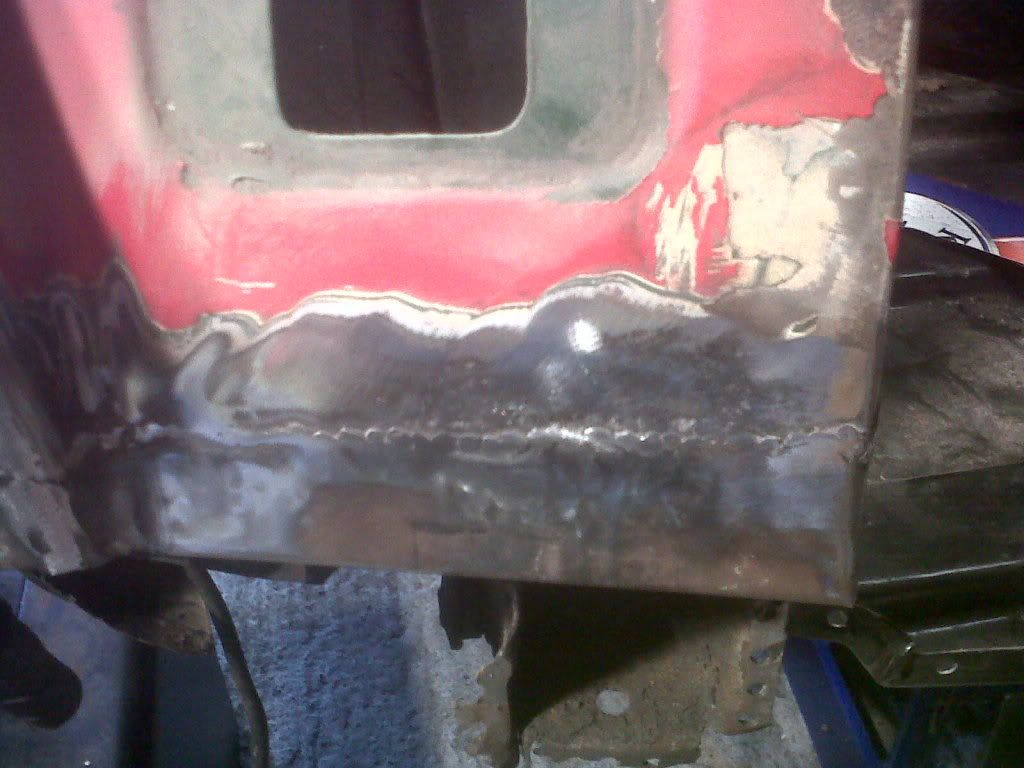
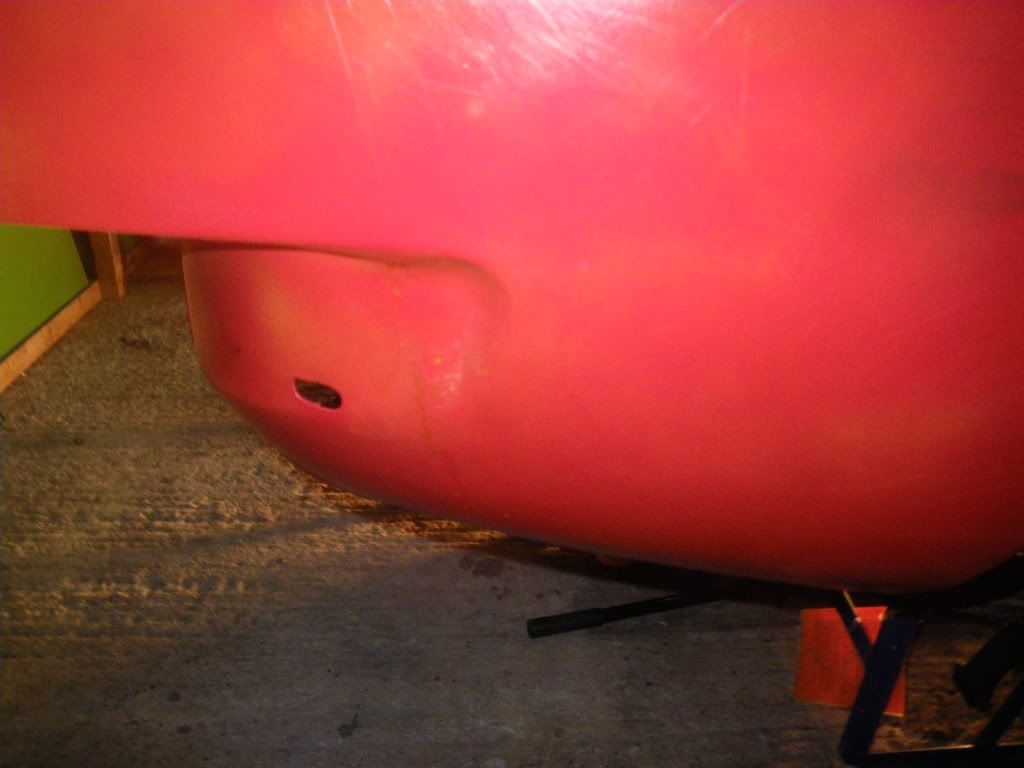
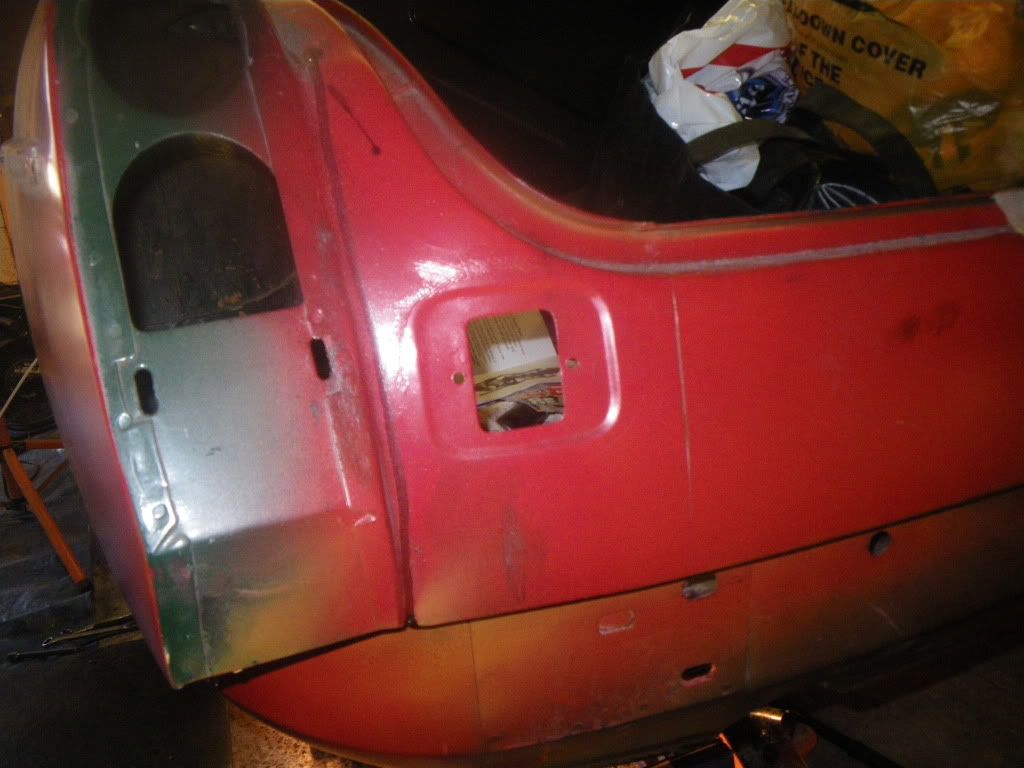
First I welded the new rear panel up where it wraps round the sides to join the rear quarters, leaded it after grinding and gave a skim of filler splashed with some red paint I had about ready for a final rub down -
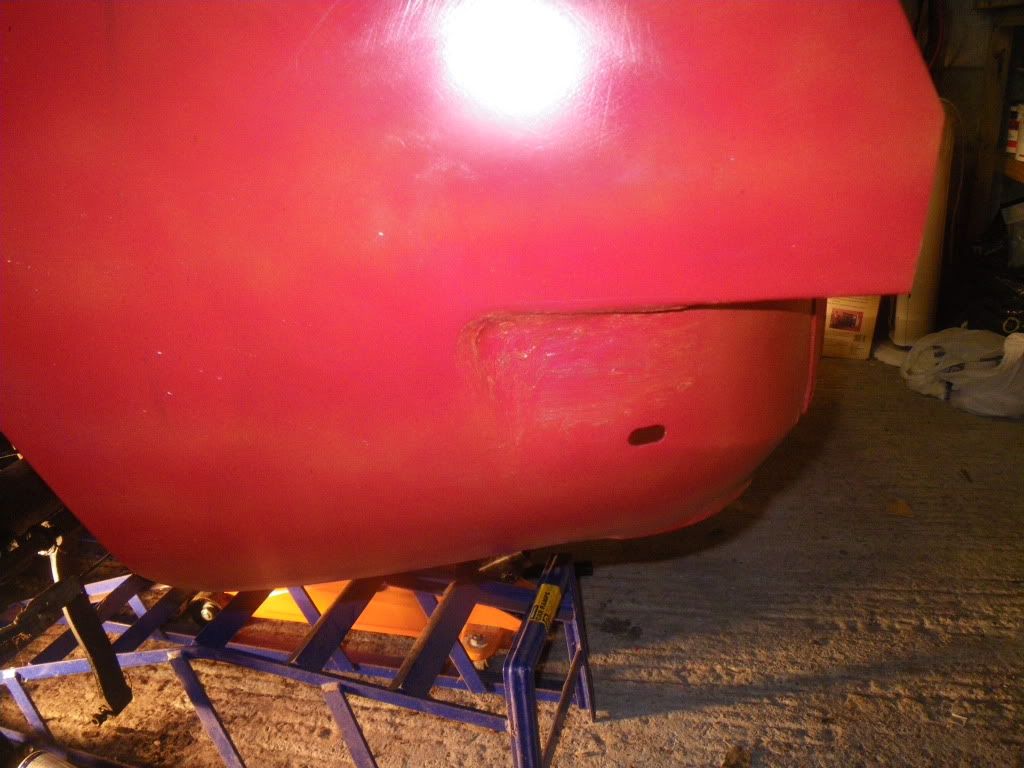
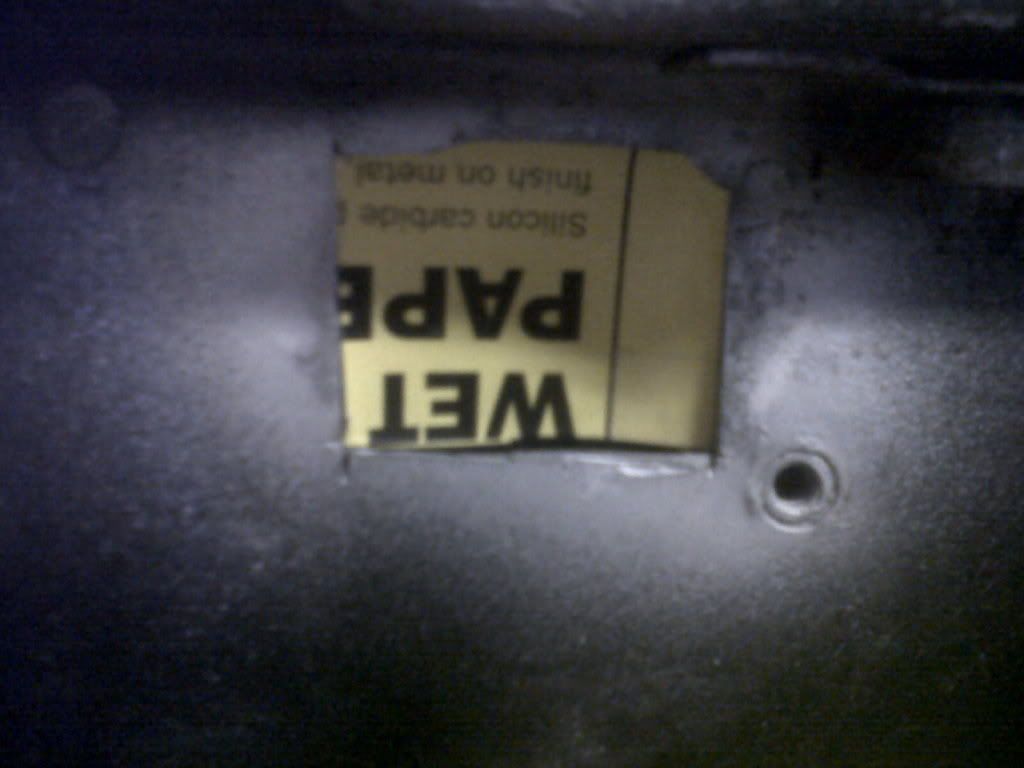
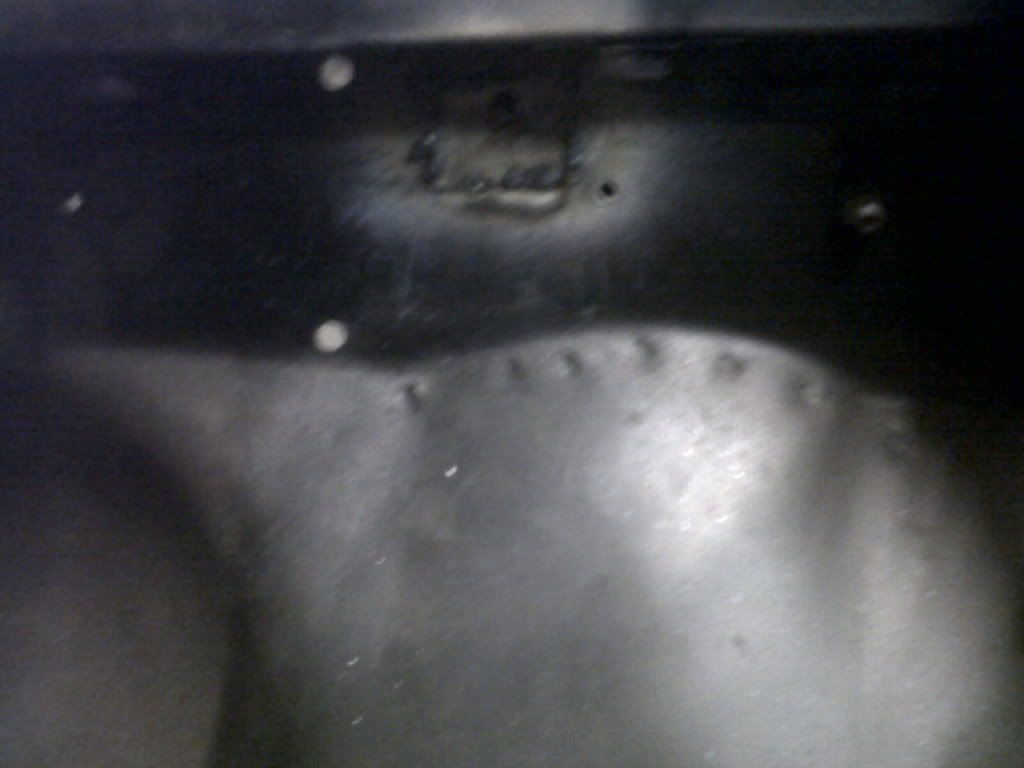
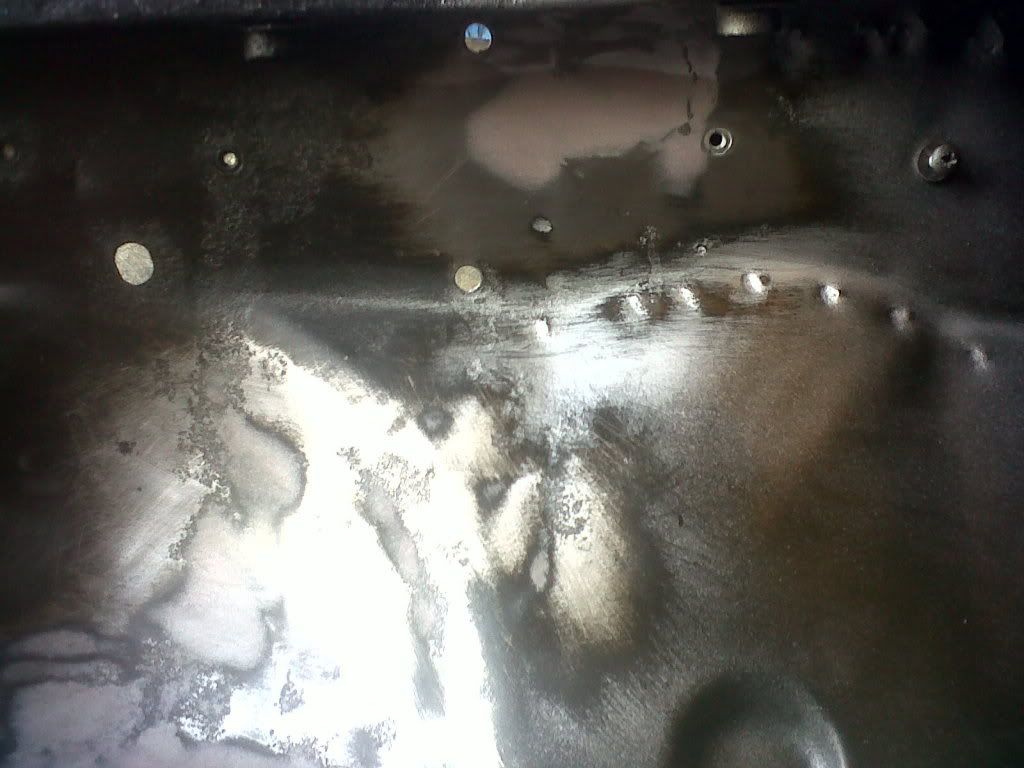
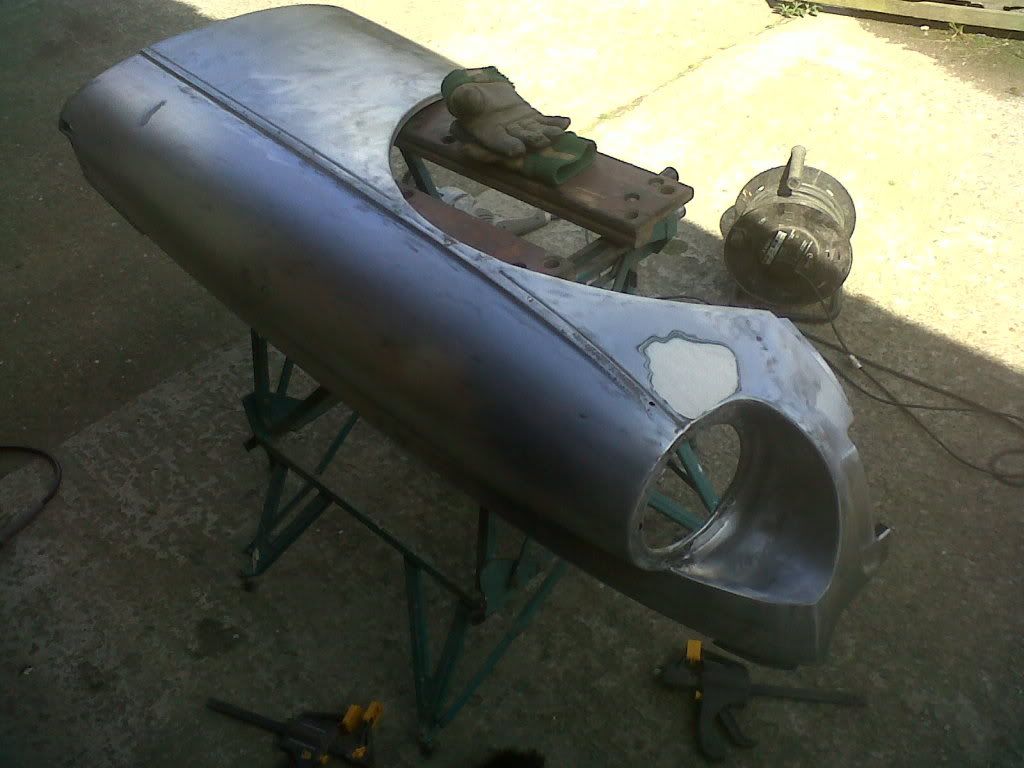
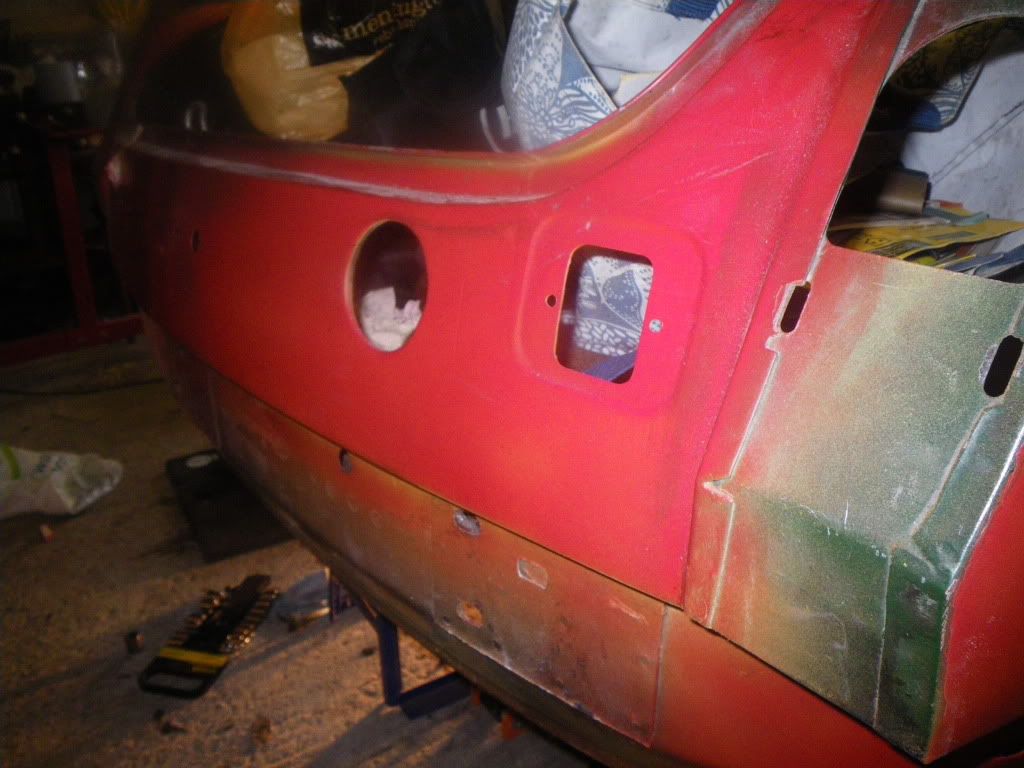
Also welded in and ground down the rear panel where it meet just by the rear lights area. Again leaded and skimmed wih filler and splashed with paint ready fro final shaping and smoothing. Started recreating the two seam lines at the rear but changed my mind, going for a totally smooth rear end -
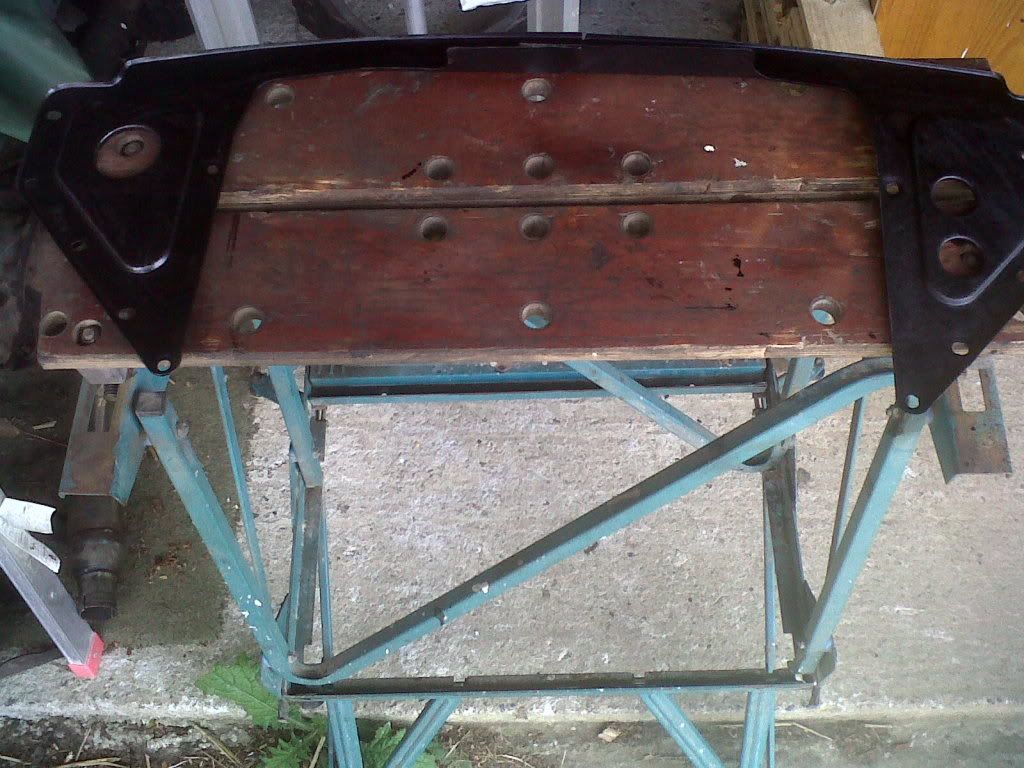
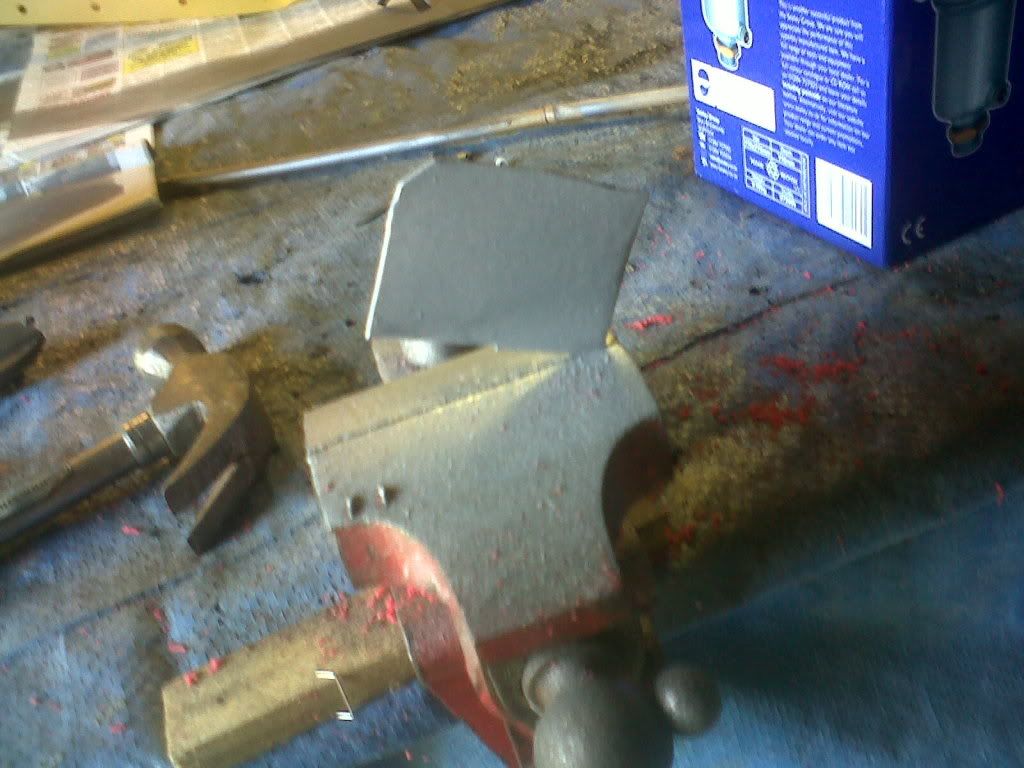
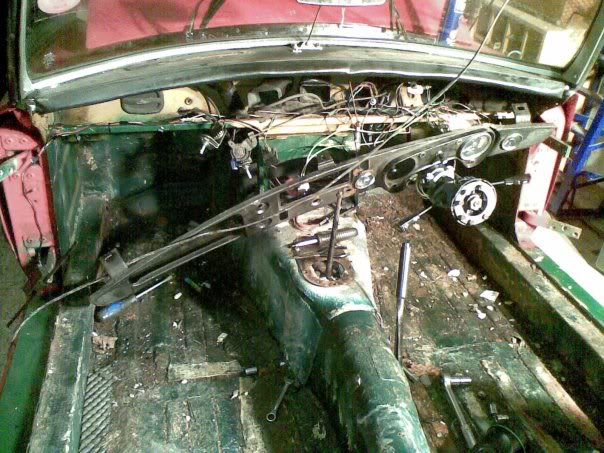
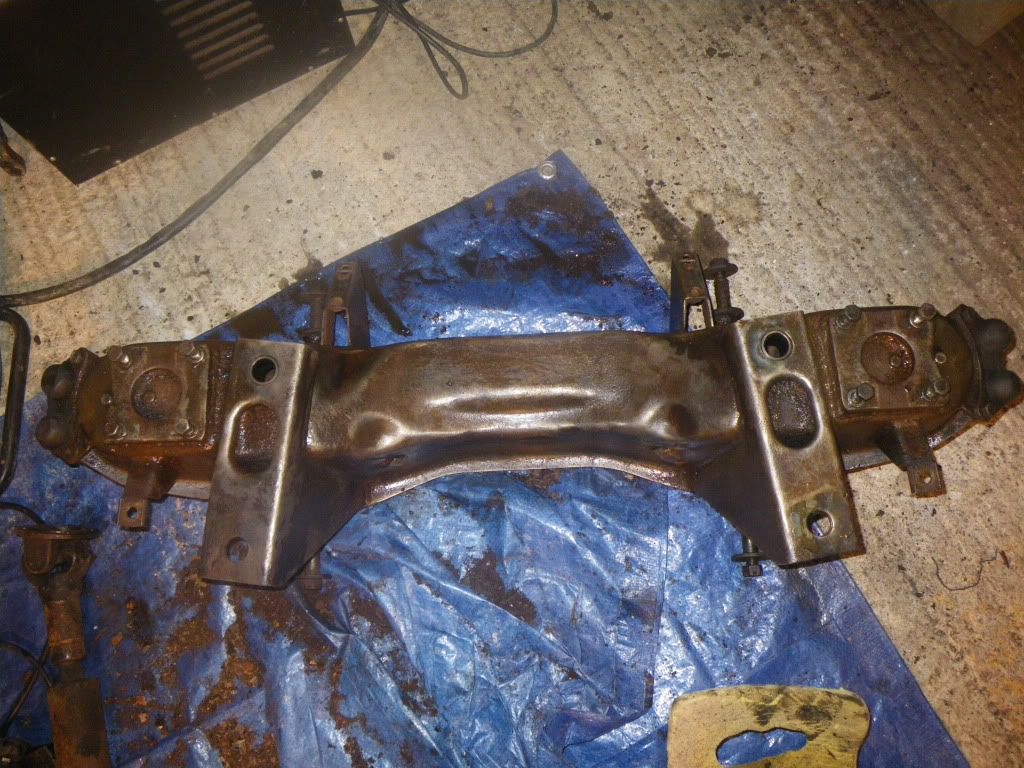
Then we dedcided it was time to stip everything underneath ready for the new lower front spring and uprated rear leaf springs and bushes. Firs tto go was front cross member with the discs suspension etc on it. Just 4 bolts and its out thankfully I had been dousing everytthing in WD40 for months in prep, got it on the work bench , time to pop the springs out -
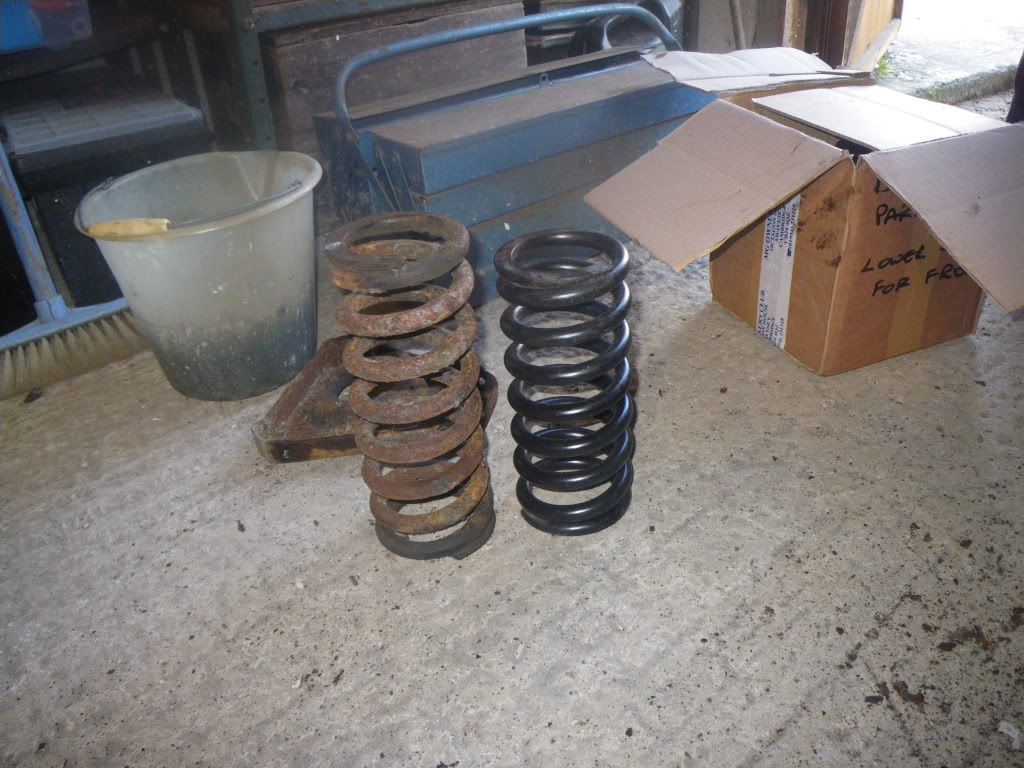
New shorter ones ready to go in
Then started stripping the bits off
Once it was all off gave it a going over with a knotted brush
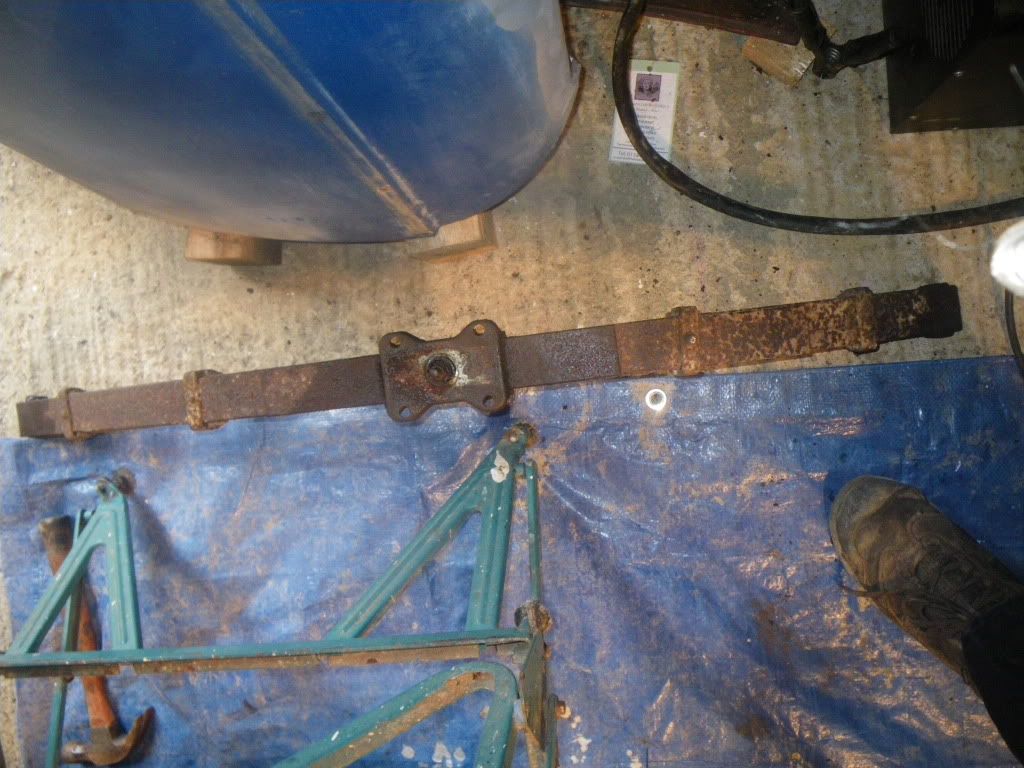
Move to the rear to get the rear koni's and leaf springs out
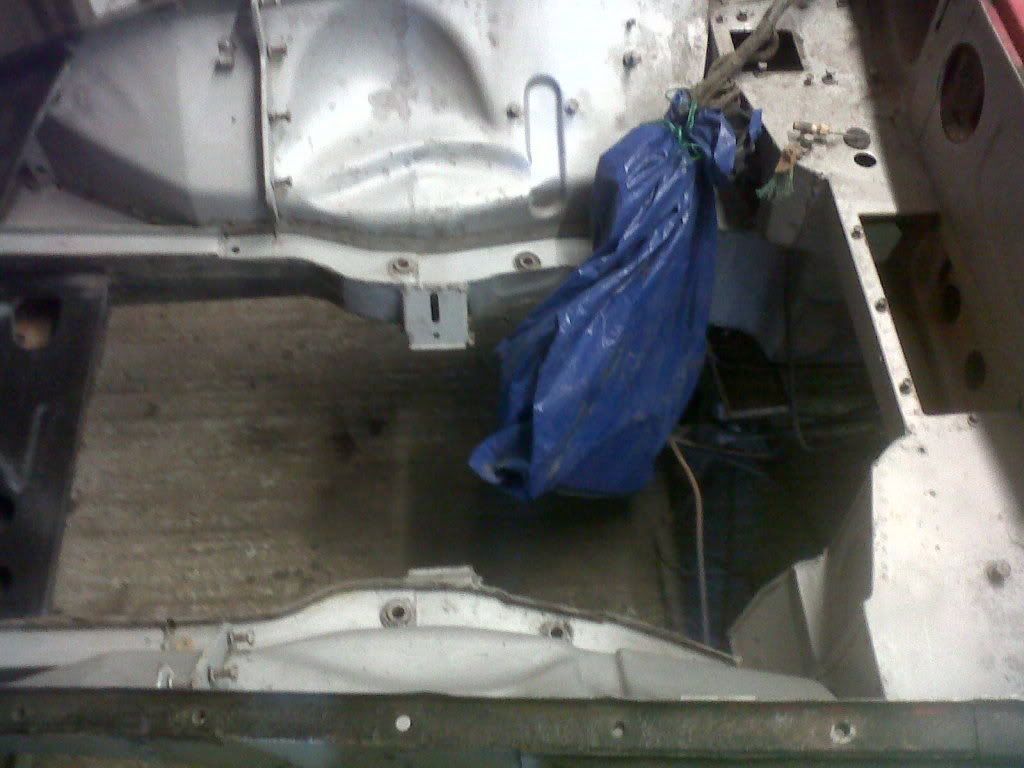
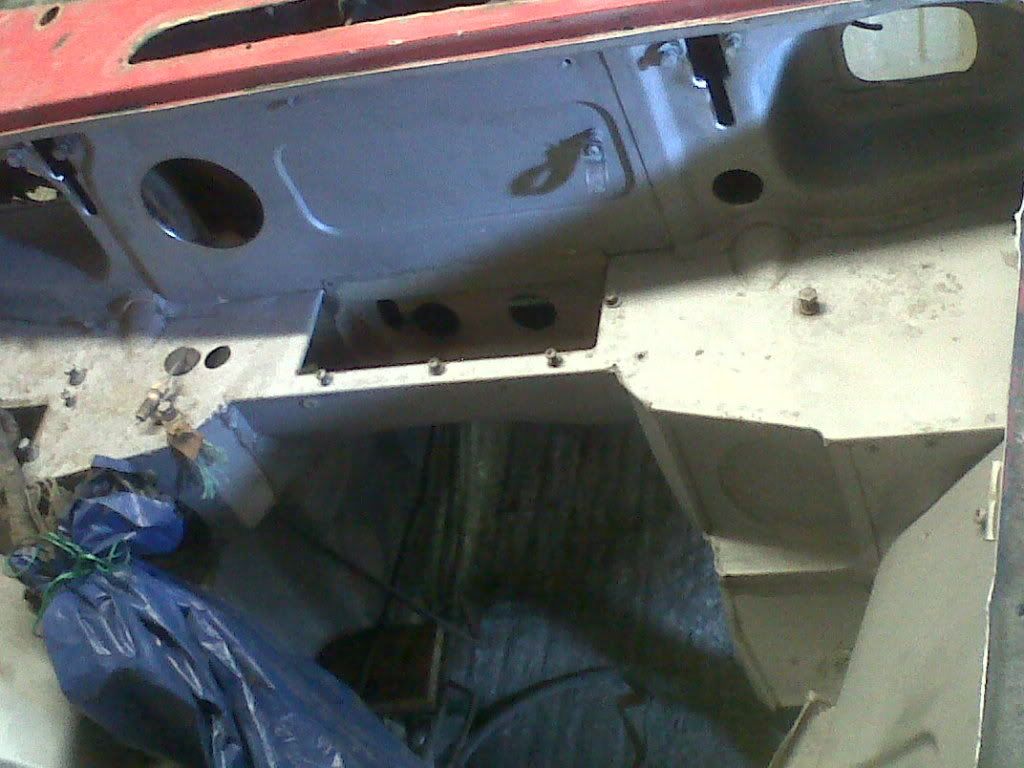
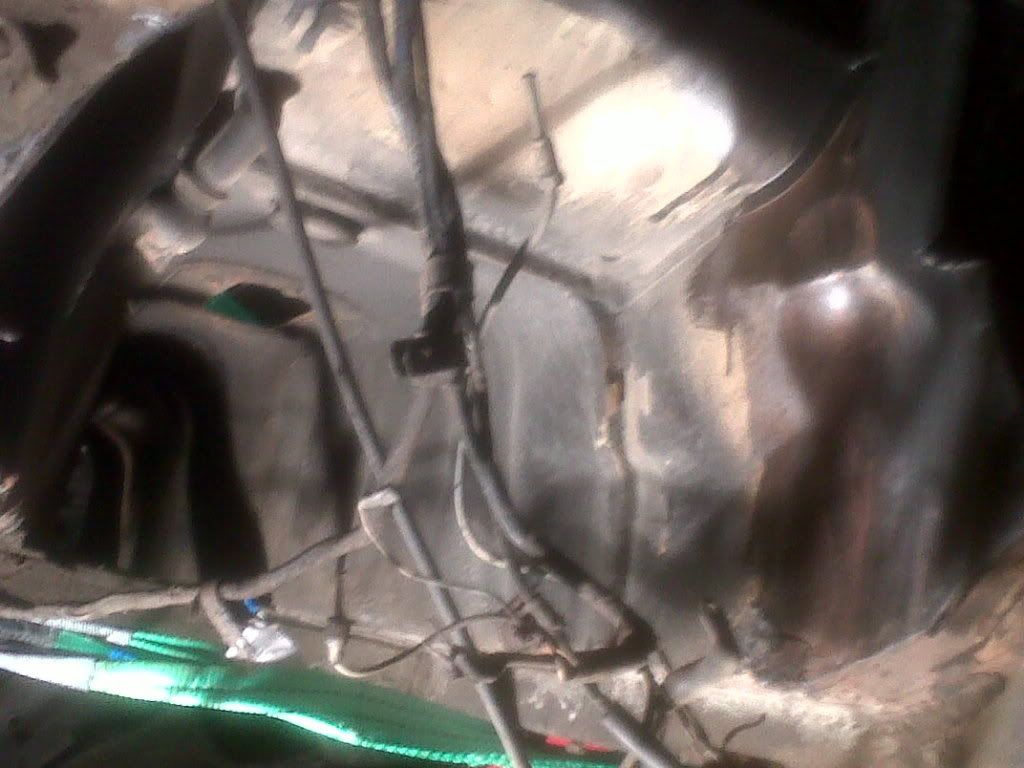
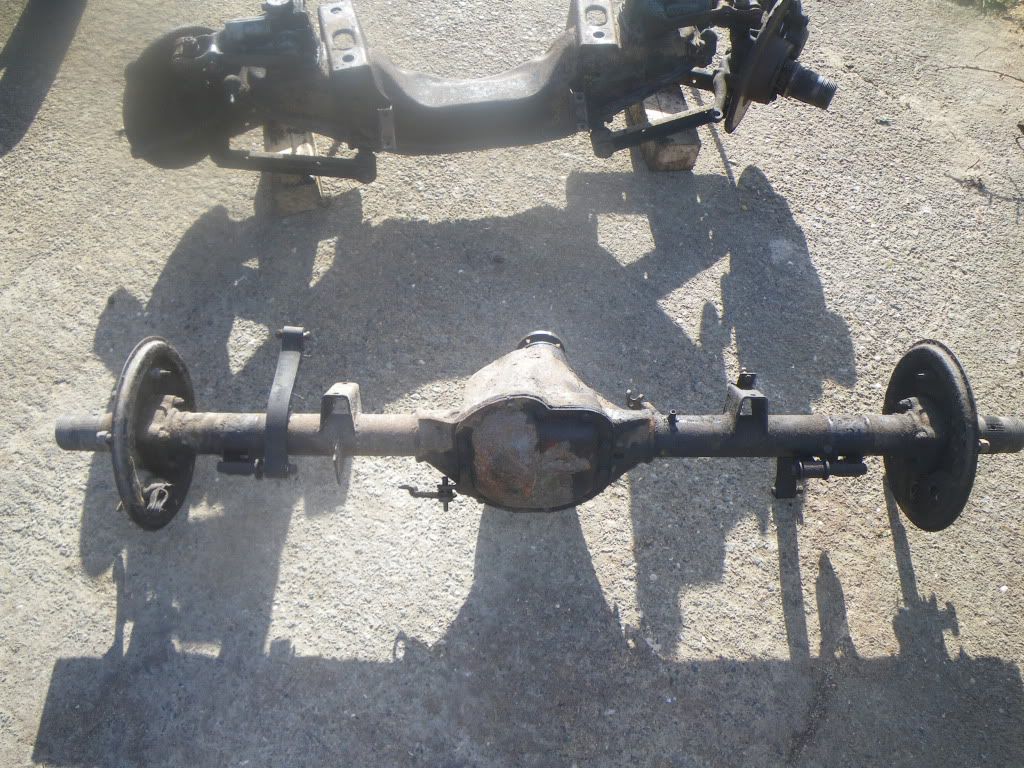
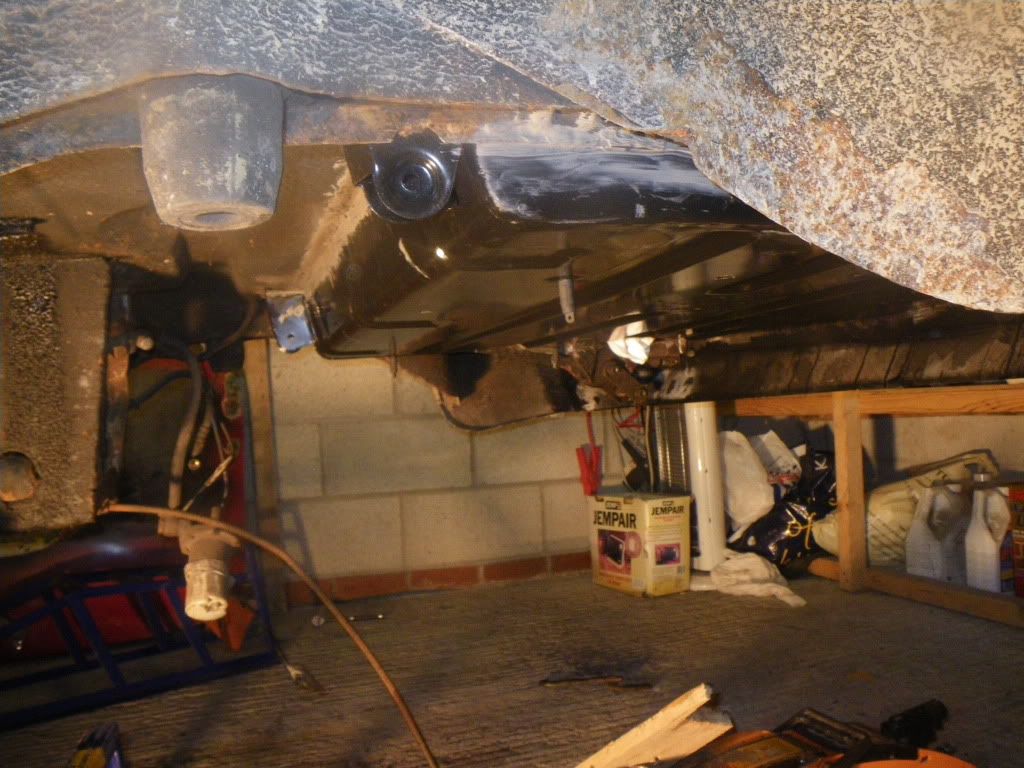
Time to get the rear axle out, again thanks to liberal WD it was all just easy spannering

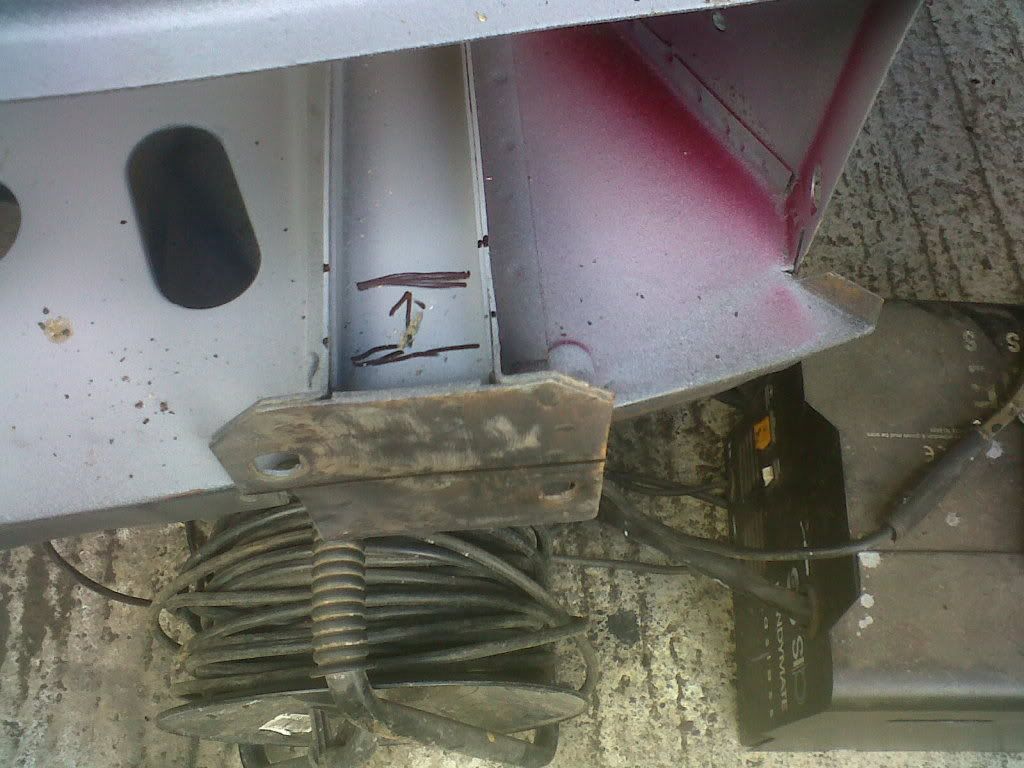
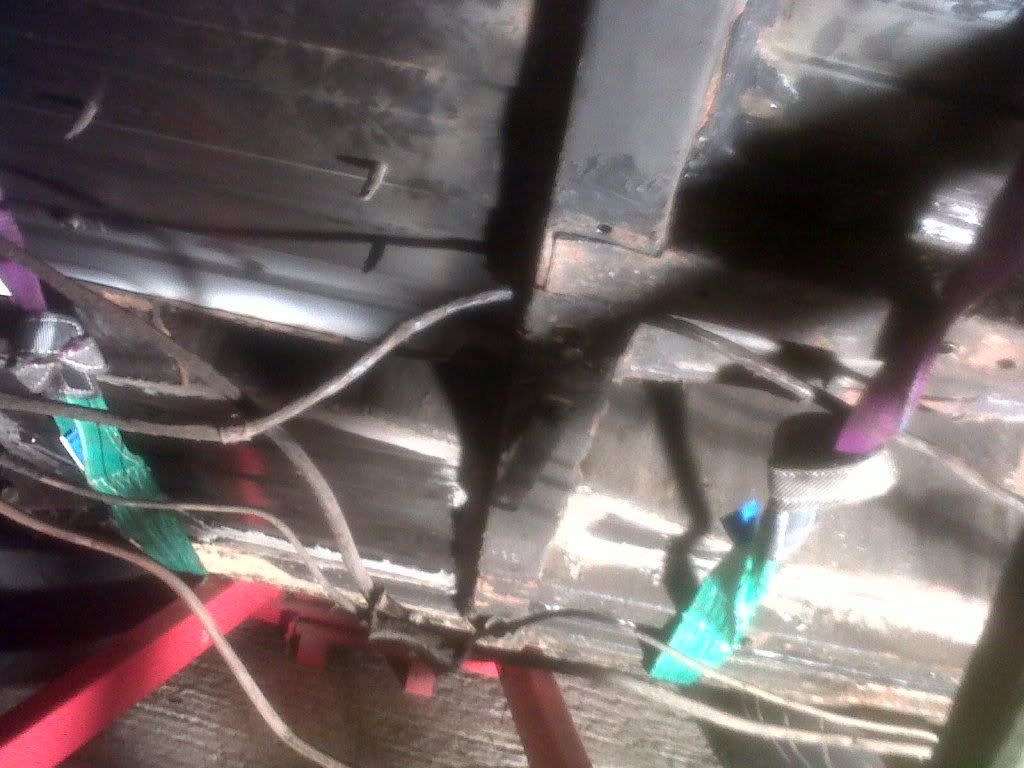
So totally naked under there now (you can see the new boot panel on the right I fitted a while ago)
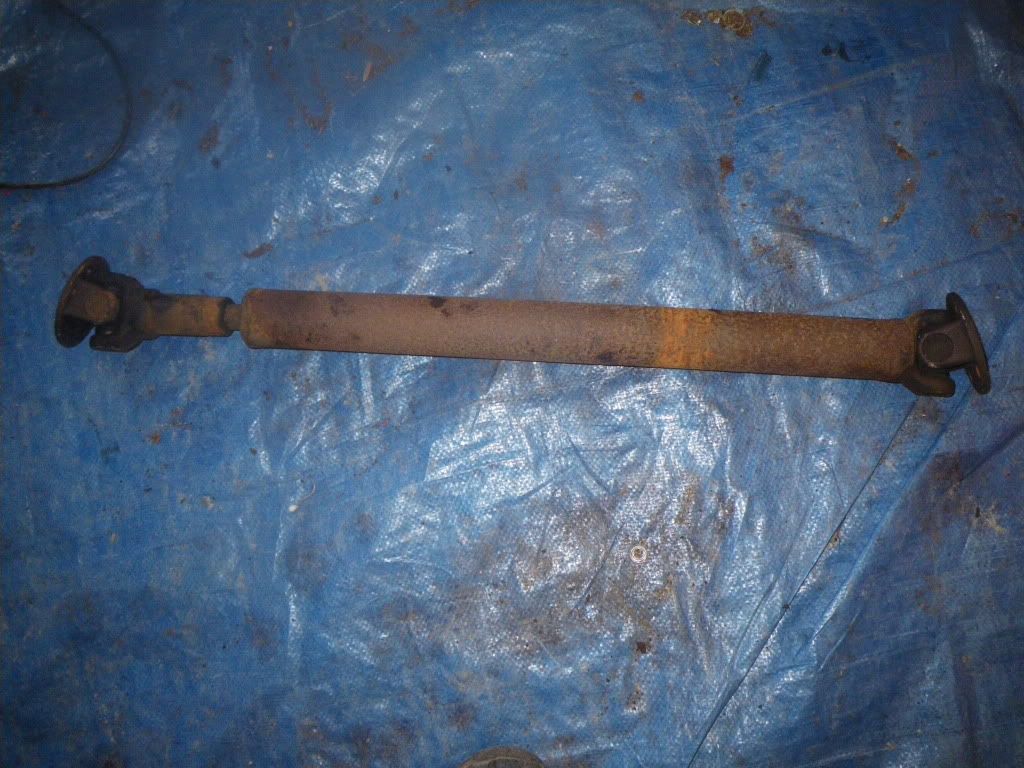
And finally out with the prop shaft
 .
.
We where going to get the engine out but had no straps for the new hoist. But all ready for scrapping off the old underseal,, POR 15 and then re -waxoyl. Funny how a "light resto" turns into a nut and bold rebuild!!
I do have a 93 MX5 also along side the Alfa,Saab and MG but its a bit boring really as nothing goes wrong and is it a classic yet.
Thought I would post some pics of my other Ebay impulse purchase from about a year ok. My father in law told me at dinner he always wanted a Roadster so that night I bought one on ebay and told him to clear the garage.
Got it transported down and decided to do a light resto. But after started to strip it down realised there was alot to be done! So started by cutting the rear panel out and the boot floor. Replaced with brand new panels. Then both floors came out (hours of spot weld removing!!!) and new panels went in, but before they could I ahd to replace one out rigger and jacking point plus replace a section of the chassis rail. Small sections of the footwells also needed doing.
Latest work has involved stripping the engine dow as it decided to go the whole hog and do a full respray and nut and bolt resto.
Got all new bushes and new springs for under but need to get ton of old waxoyl off first!
Got a full chrome bumper conversion kit to go on too. The Alfa and the Saab now have distracted me a bit but determined to get sorted for the summer.
Going to get the engine out and do overhaul, but as its a project with my father in law its going to stay standard, although got all poly bushes and new konis to tighten it up underneath.
The rear was in a bad way. Cut boot out and rear panel.
Since welded in boot panel but needed to repair the bottom edge of the rear under the lights.
New panels for this section ar enon exsistent unless you spend £500 a shot on the whole side panel as well.
So set about cutting out the rot to good metal and making my own repair panels. Welded in bit by bit to avoid warp, ground down and then leaded. Since fitted the new rear panel will post pics.
Well the Saab bits didnt get put on and the Alfa did not get its coolant change as I got backon the MGB with my fathe rin law over the weekend and we really made some progress!!
First I welded the new rear panel up where it wraps round the sides to join the rear quarters, leaded it after grinding and gave a skim of filler splashed with some red paint I had about ready for a final rub down -
Also welded in and ground down the rear panel where it meet just by the rear lights area. Again leaded and skimmed wih filler and splashed with paint ready fro final shaping and smoothing. Started recreating the two seam lines at the rear but changed my mind, going for a totally smooth rear end -
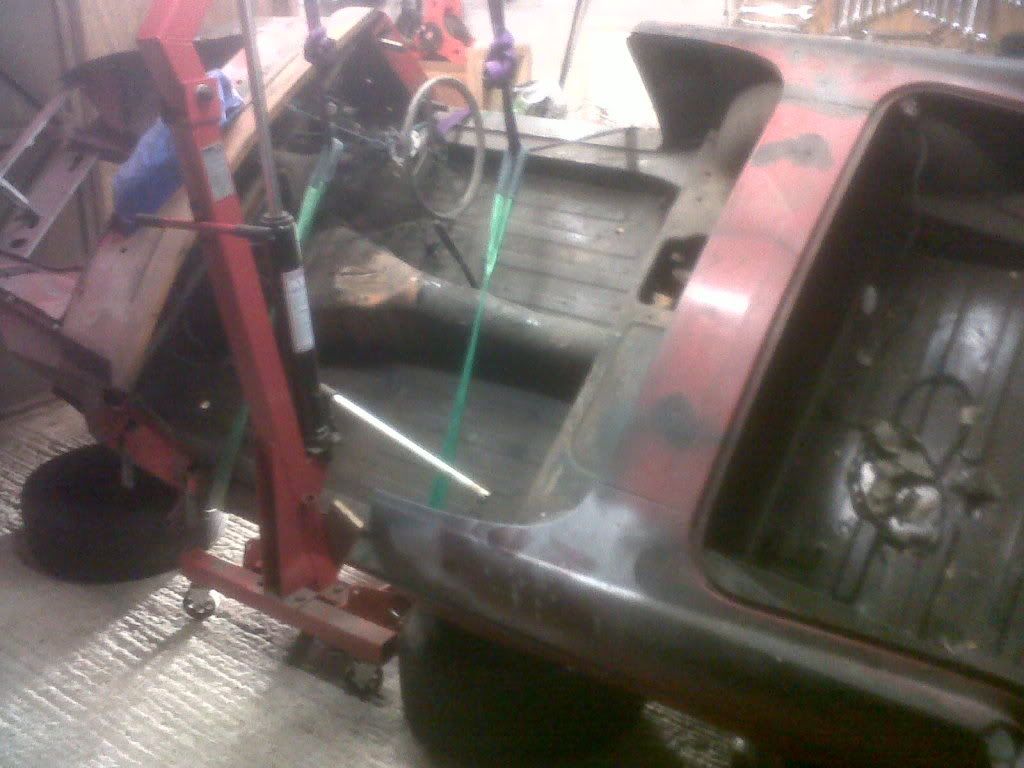
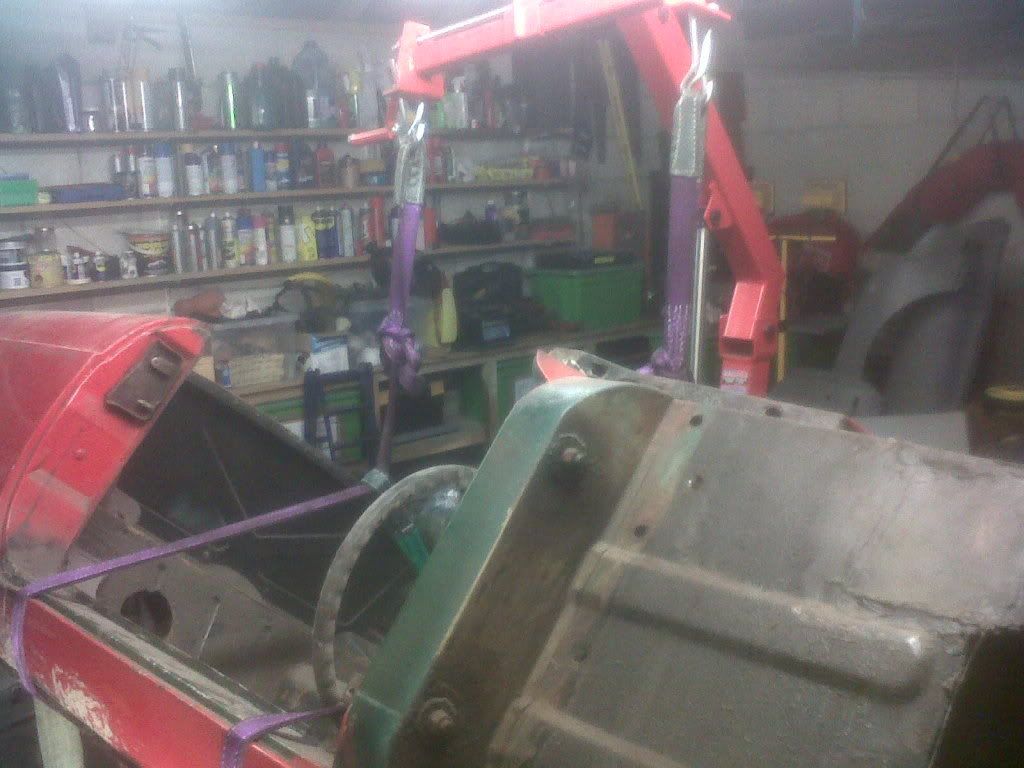
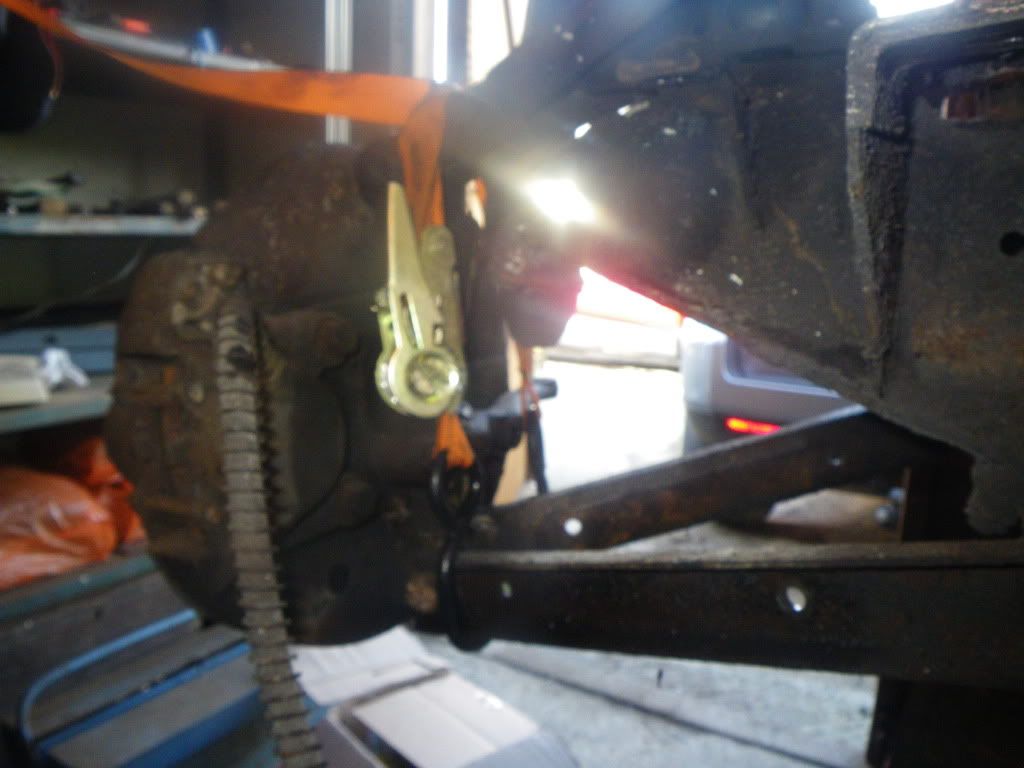
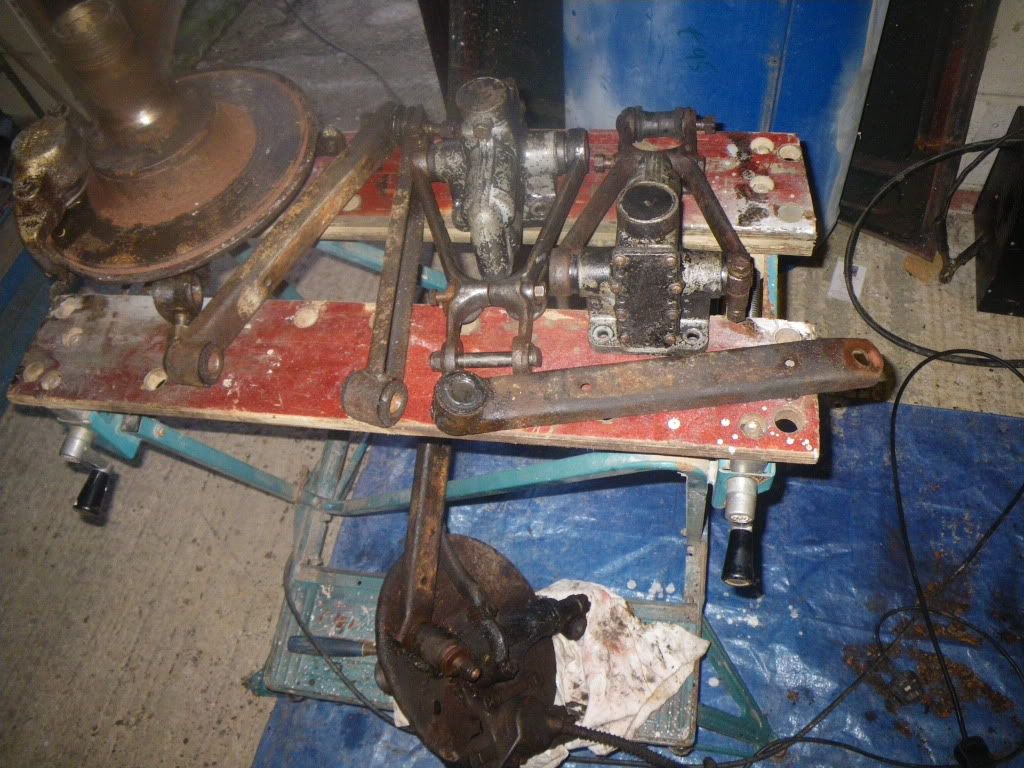
Then we dedcided it was time to stip everything underneath ready for the new lower front spring and uprated rear leaf springs and bushes. Firs tto go was front cross member with the discs suspension etc on it. Just 4 bolts and its out thankfully I had been dousing everytthing in WD40 for months in prep, got it on the work bench , time to pop the springs out -
New shorter ones ready to go in
Then started stripping the bits off
Once it was all off gave it a going over with a knotted brush
Move to the rear to get the rear koni's and leaf springs out
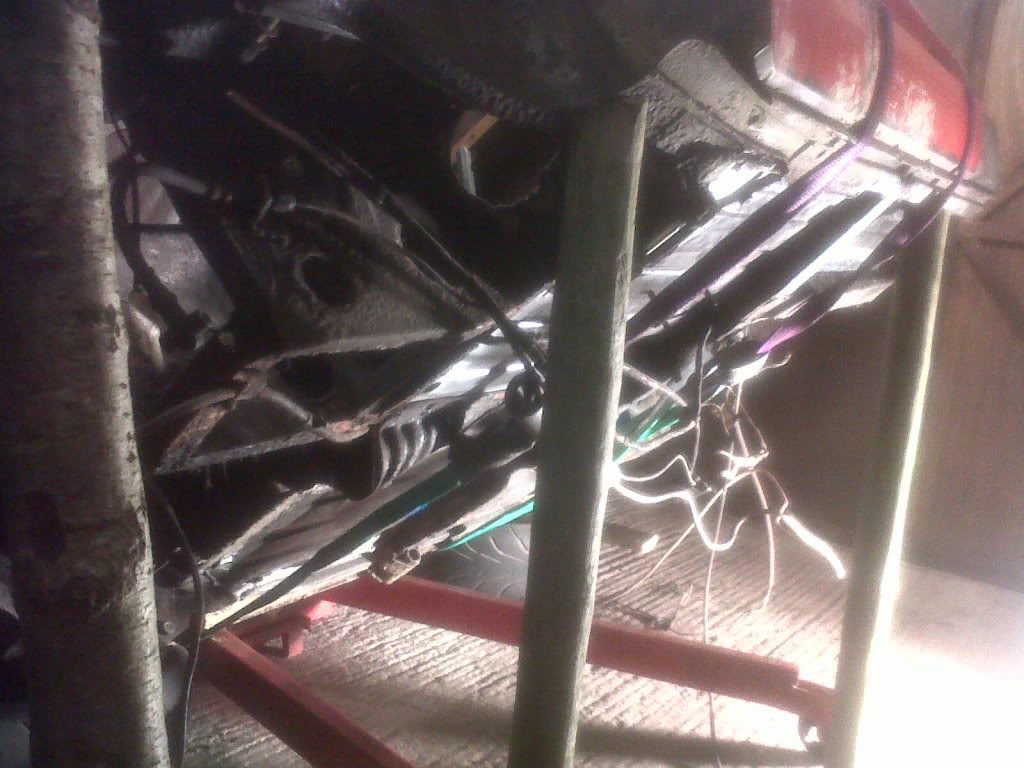
Time to get the rear axle out, again thanks to liberal WD it was all just easy spannering
So totally naked under there now (you can see the new boot panel on the right I fitted a while ago)
And finally out with the prop shaft
. We where going to get the engine out but had no straps for the new hoist. But all ready for scrapping off the old underseal,, POR 15 and then re -waxoyl. Funny how a "light resto" turns into a nut and bold rebuild!!