Page 65 of 139

Re: V6 into a RHD Chrysler Neon mk1

Posted: Sat Sep 08, 2012 6:20 pm
by Mitsuru
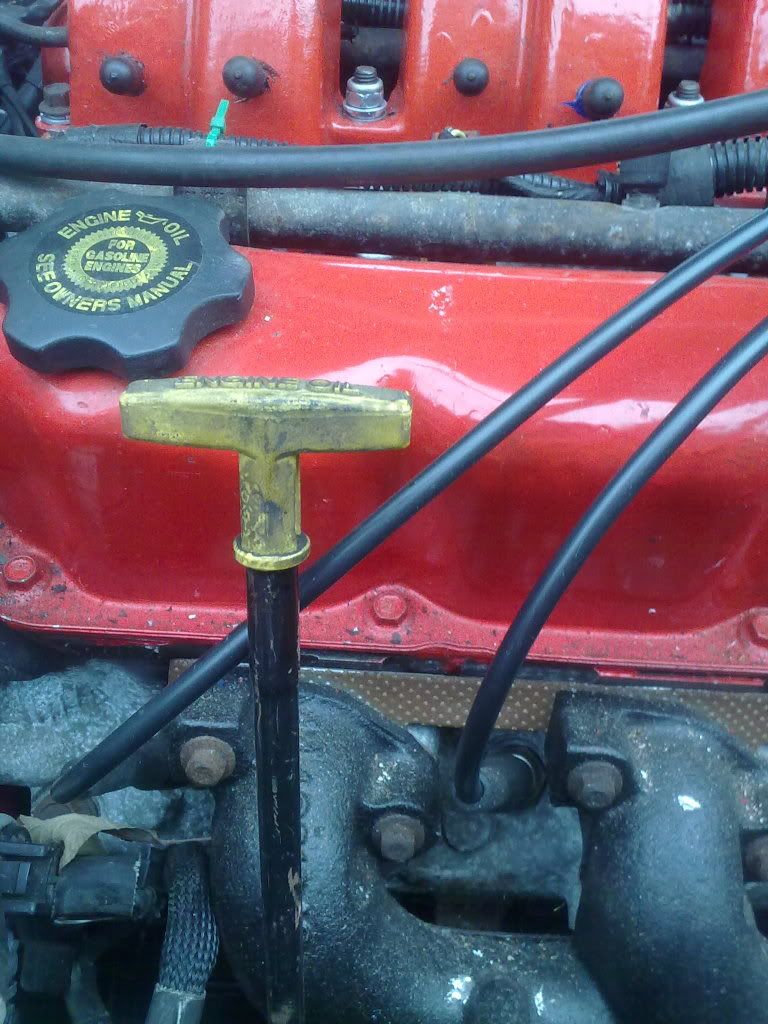
Right a couple of days ago I had enough of seeing this!!!
A broken engine oil dipstick.

Image

I did manage to find one on ebay but was a set of 2 one engine the
other transmission and the seller had it on offer at £20 plus £4.95
postage or make an offer. I made a realistic offer of £5.05 plus postage,
which they accepted. and the set arrived at lunch time. So one less
thing to nark me!

Image

When I closed the bonnet may fingers were covered in dirt off a film off
the car. I don't know where it came from!

Image

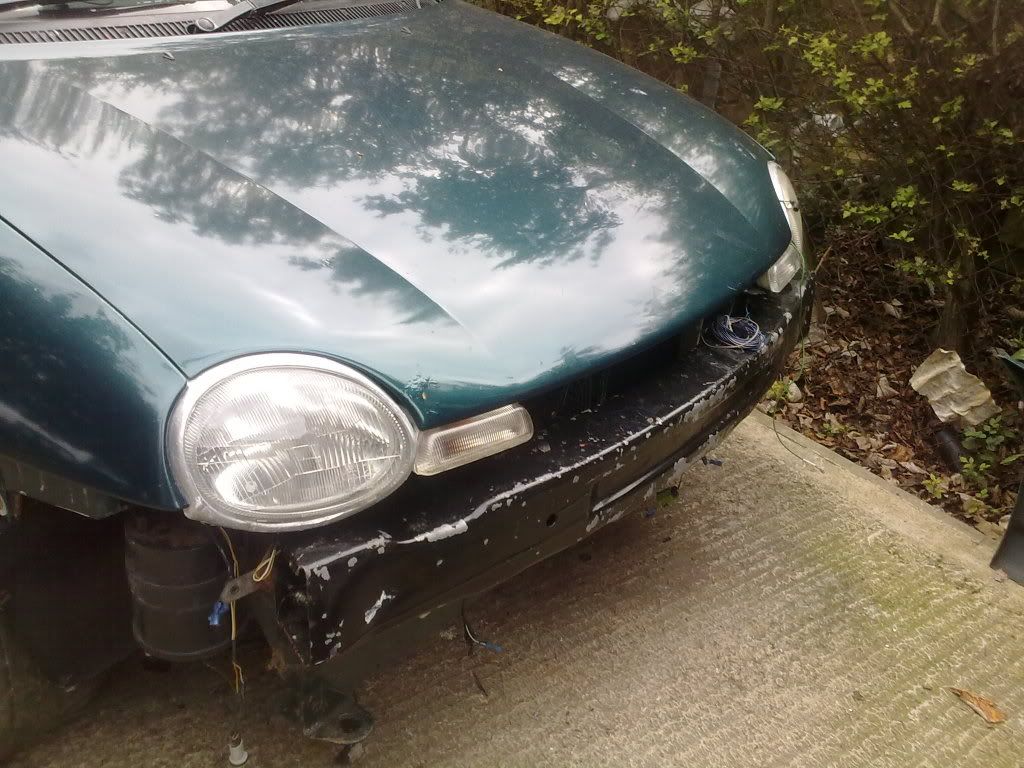
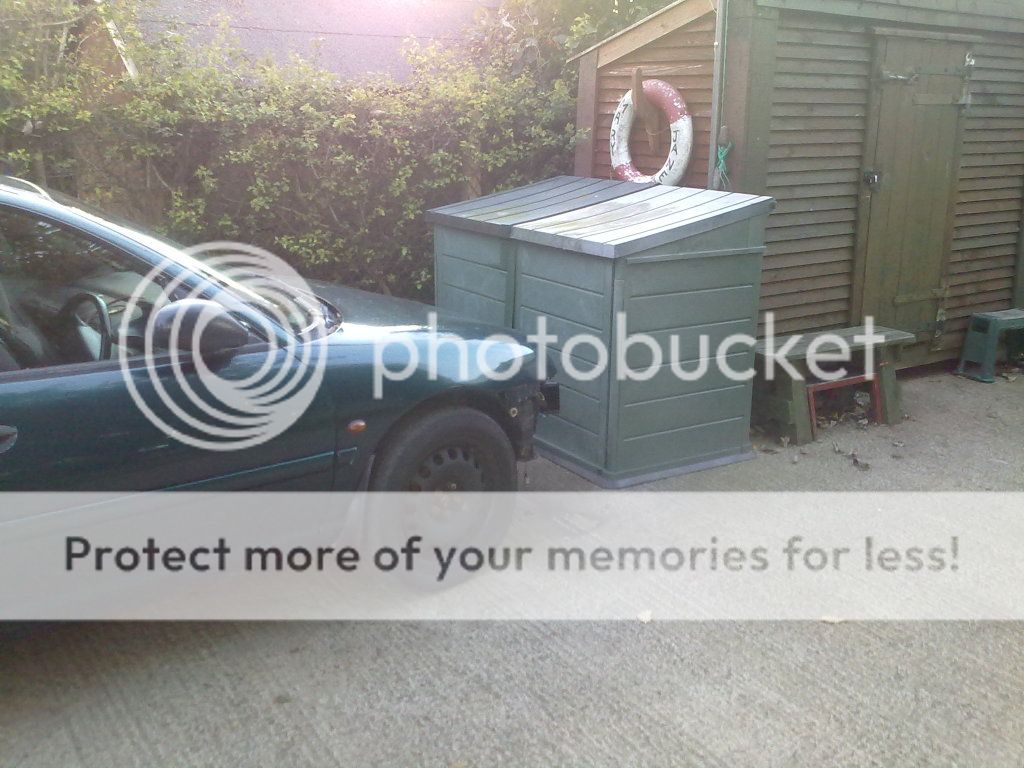
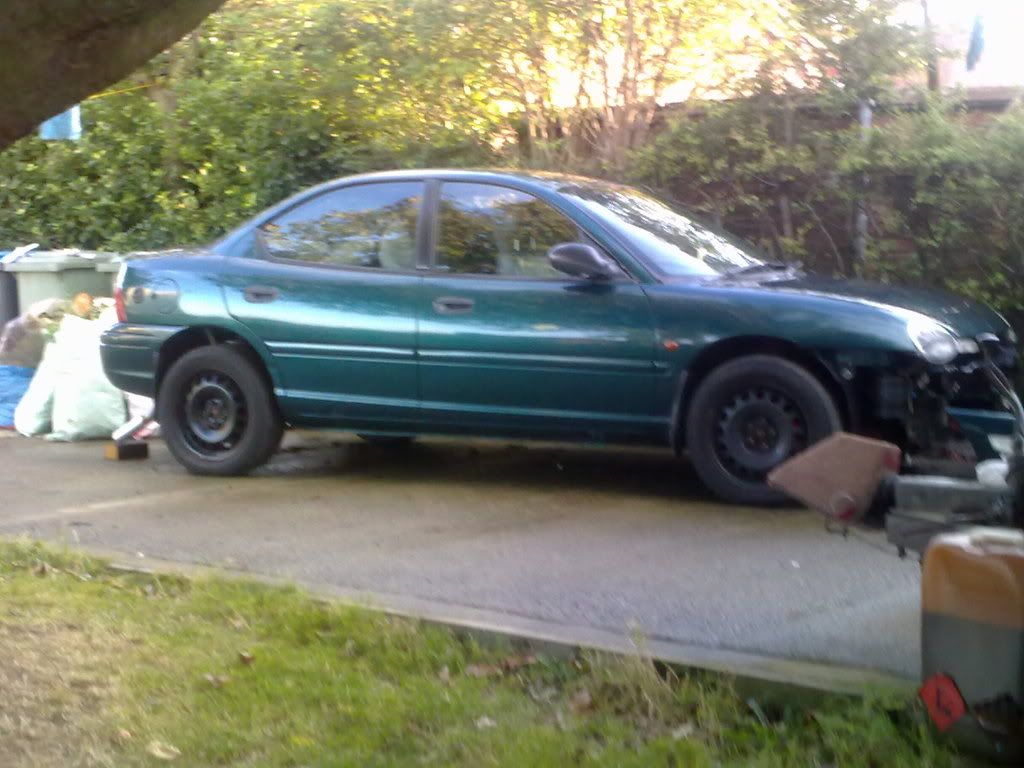
So the car had a shampoo but no set or blow dry :lol:

Image

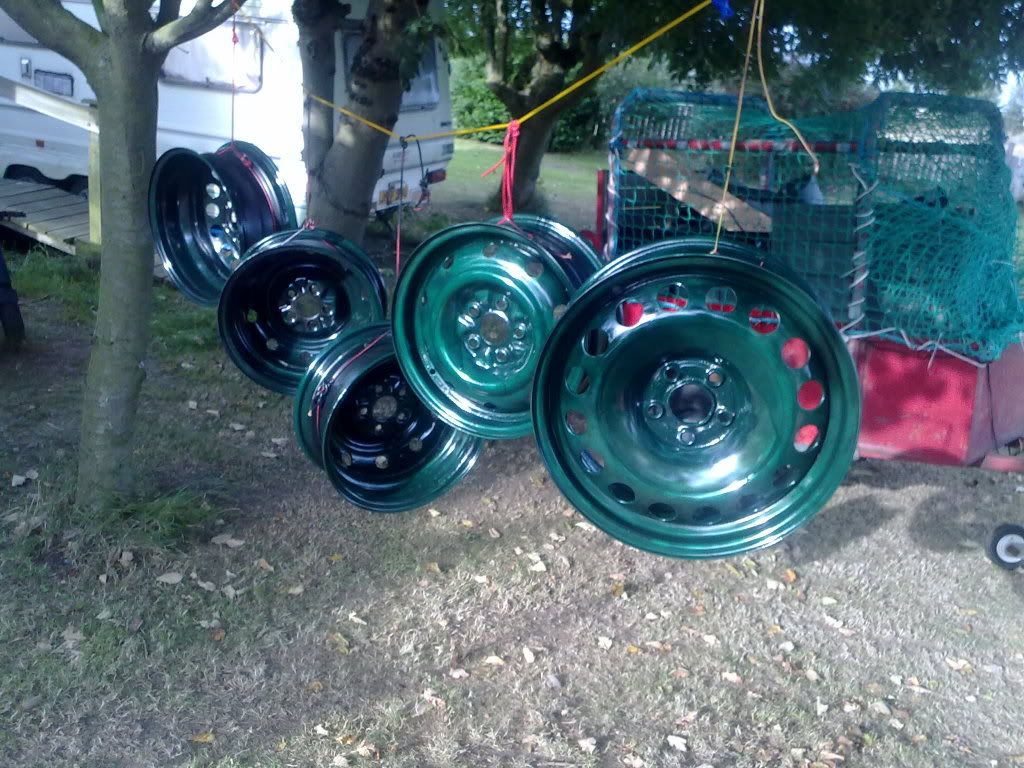
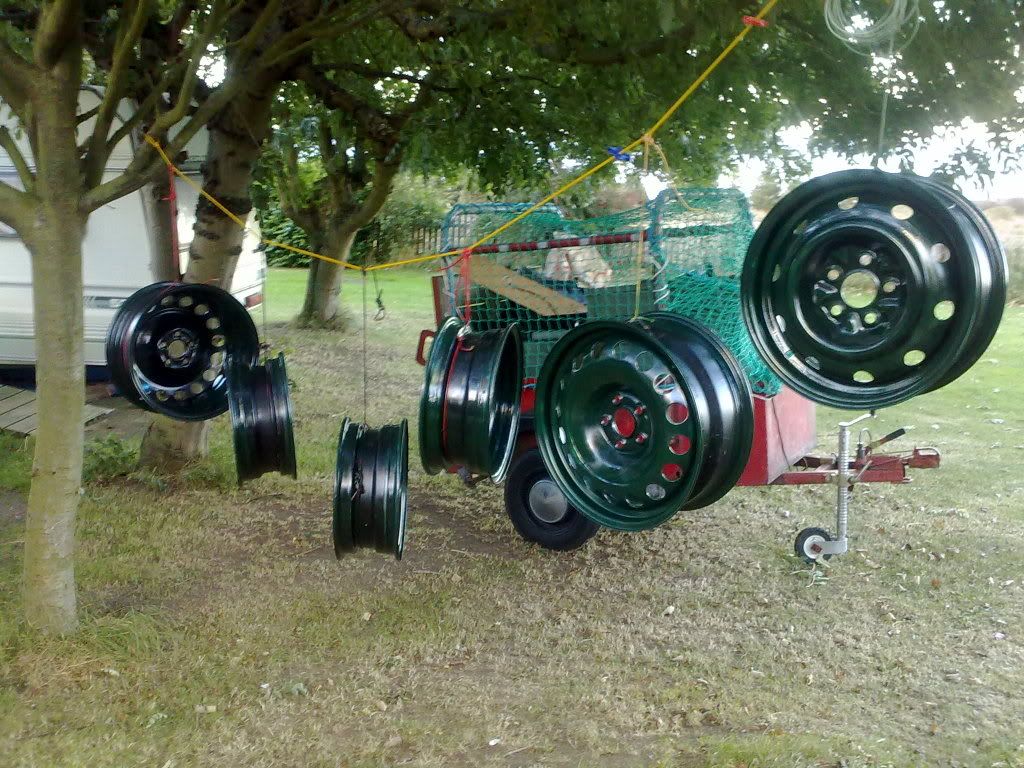
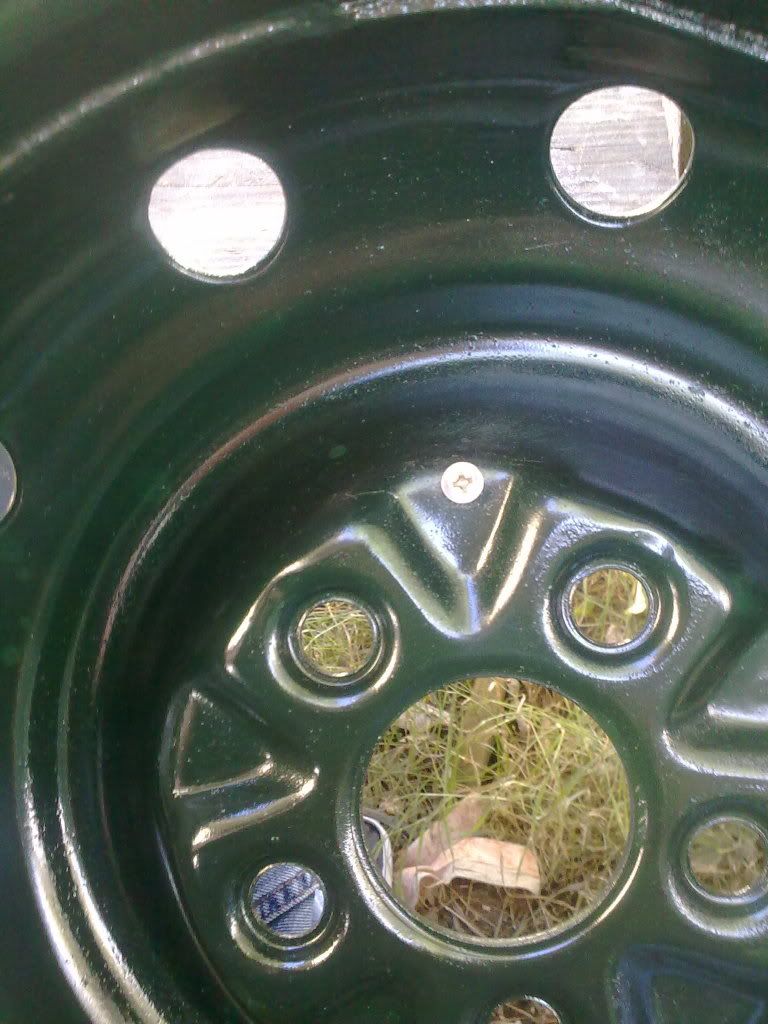
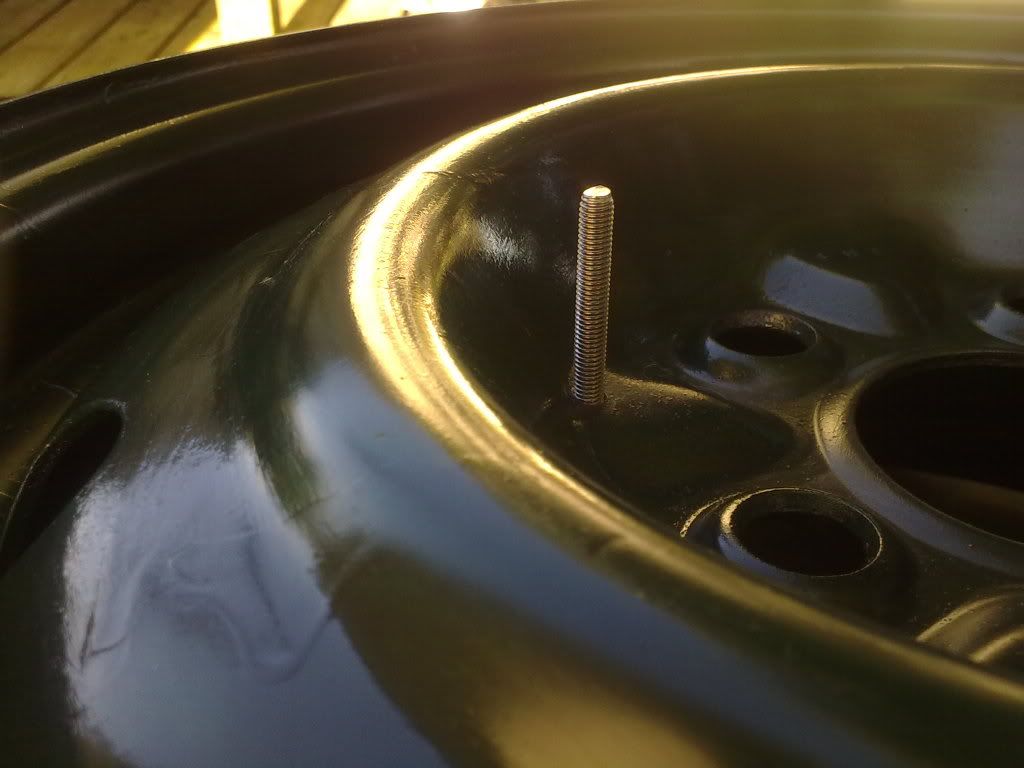
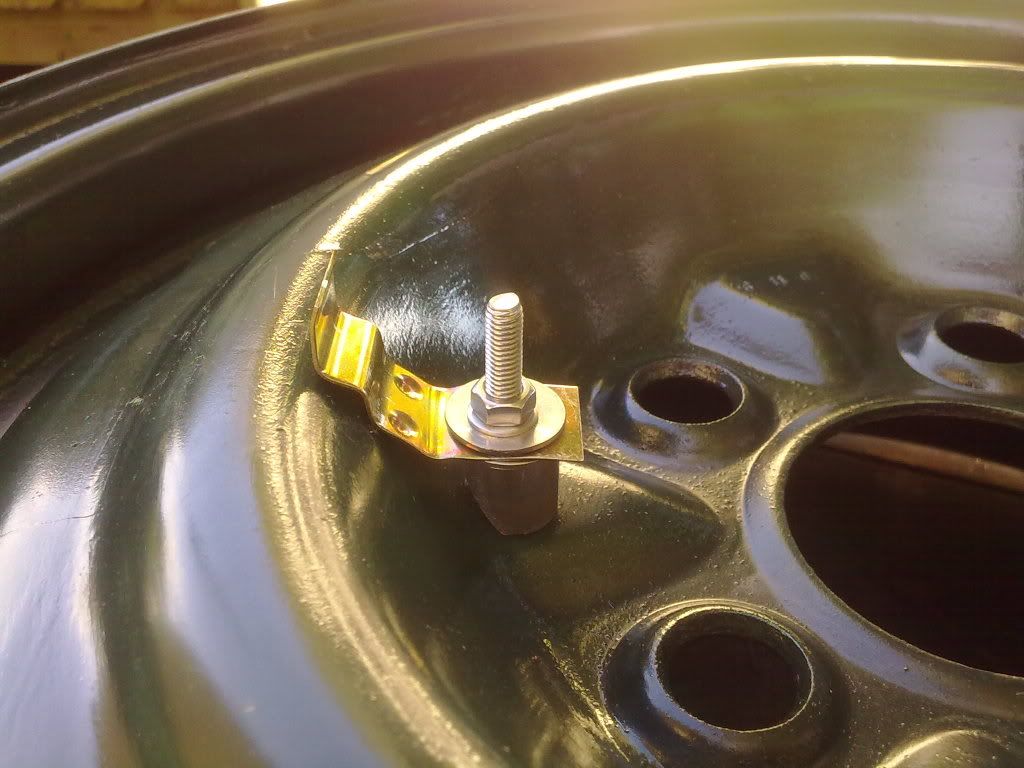
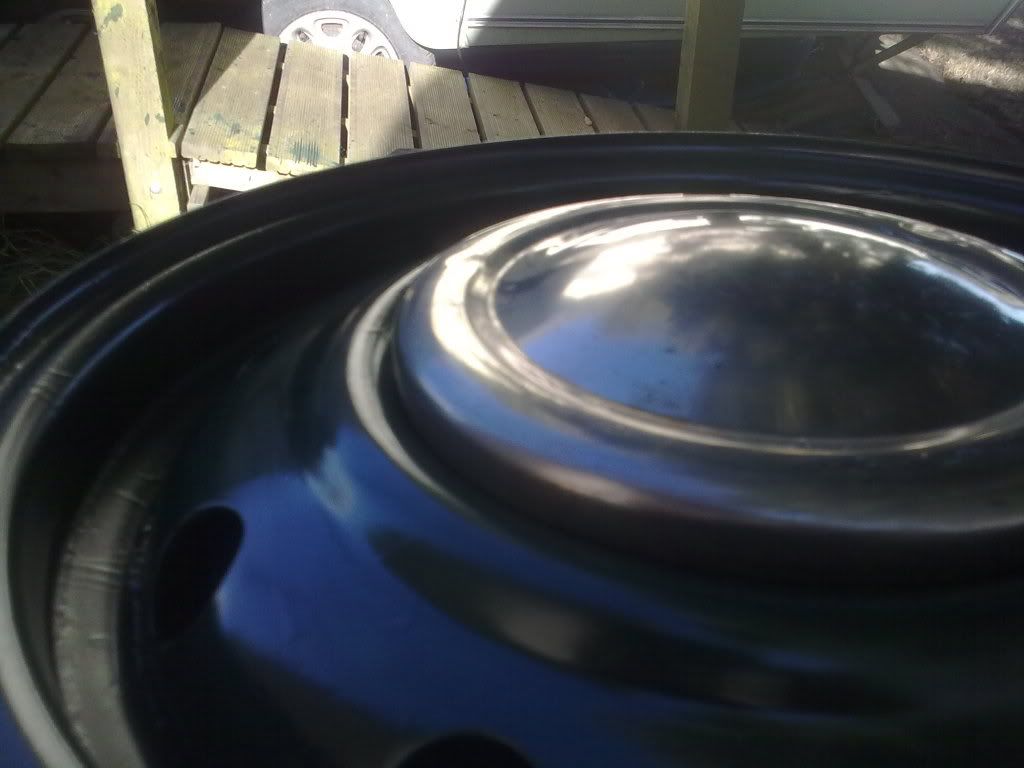
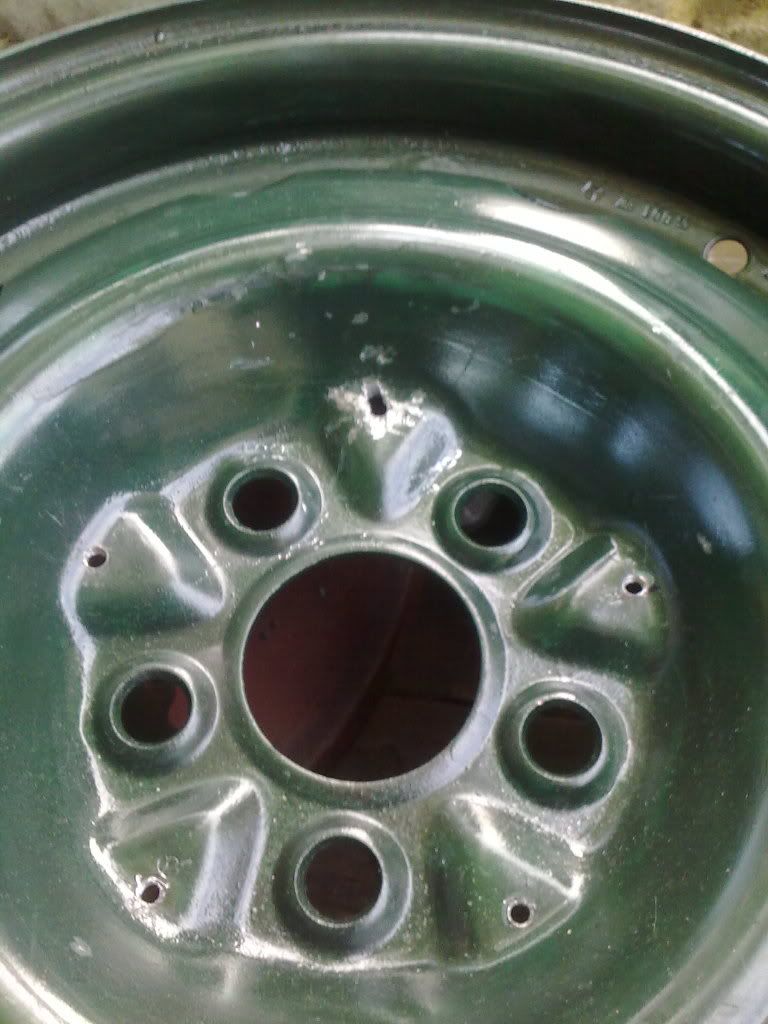
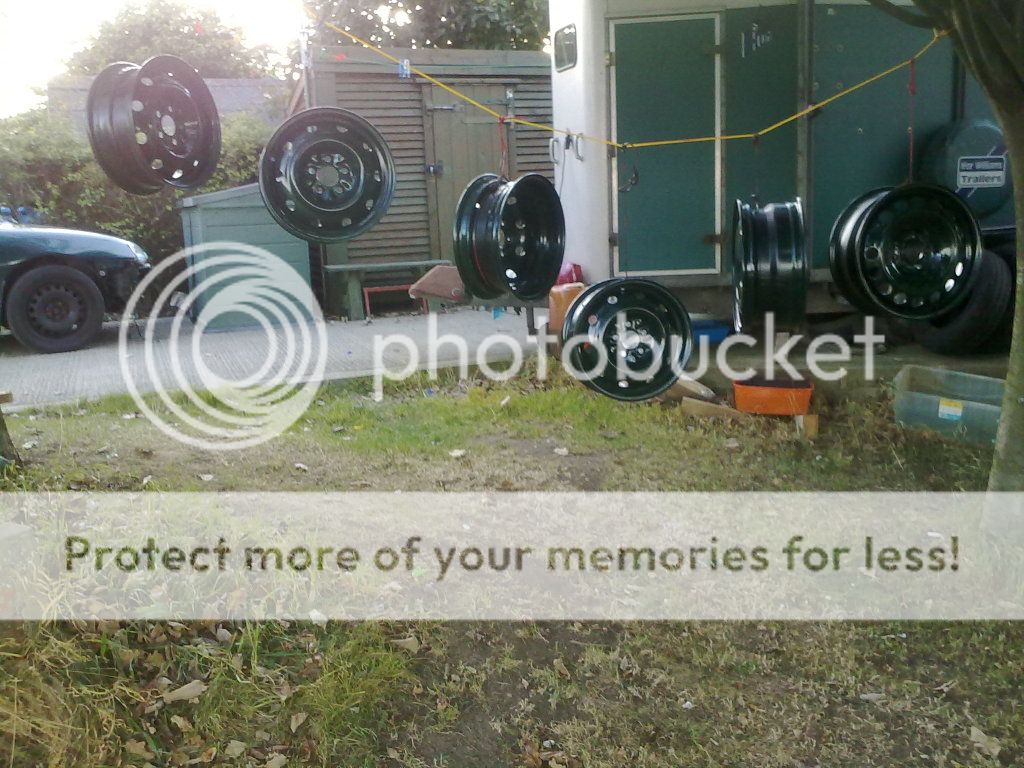
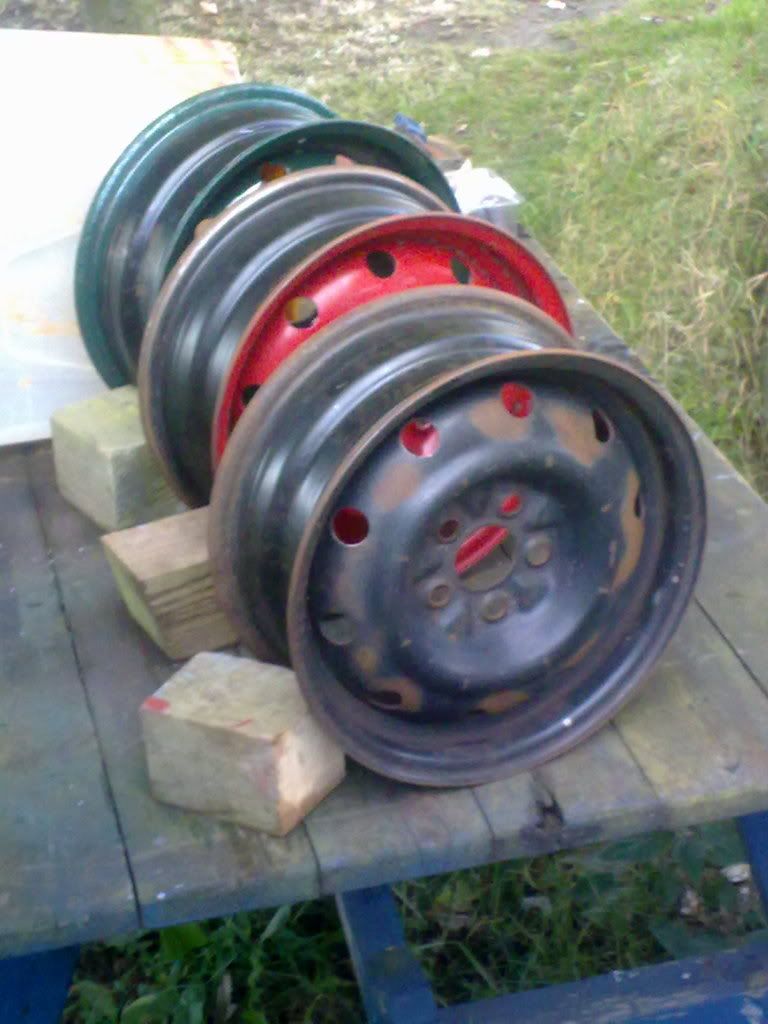
And the 3 steel wheels from the tool shed were brought out too. They had
a shampoo to get the big bits of dirt off before having 3 more progressively
aggressive washes and scrub downs, ready for sanding or sand blasting
before painting.

Image

The garage was closed so mother didn;t get to pick up the alloys and one
steel rims and the tyres. So that will be done on monday morning.

Re: V6 into a RHD Chrysler Neon mk1

Posted: Sun Sep 09, 2012 5:32 pm
by Mitsuru
After a fair few hours with the shot blaster and the wire brush
attachment on the grinder. Then I thinned down some dark green
paint and out with the spray gun!

Image

I thought it best to hang the rims from the washing ling so I got a
good al-round coat of paint on them, plus it was easier to turn
them round and save me getting up the eyes when turning them to
get everywhere.

But as I was working at an angle as I wanted to stay upwind of the
spray I was on a slope I kept failing towards them and kept getting
to close so I have runs on the rims. I will sort them out when I sand
and prep them for another coat.

Re: V6 into a RHD Chrysler Neon mk1

Posted: Tue Sep 11, 2012 2:22 am
by Mitsuru
Well I need to make a little space and as the alloy wheels are surplus
to requirements. That are now up for sale on the forums before I put
them up on ebay, so you guys get first look/buy.

http://www.practicallyclassics.co.uk/vi ... f=6&t=3699

Re: V6 into a RHD Chrysler Neon mk1

Posted: Fri Sep 14, 2012 7:17 pm
by Mitsuru
I tackled the 4th 14 inch steel rim, only to go through 2 grinders by
the time I had done only one side of the wheel. I had to use wire brush
attachments on the only mains electric drill I have. By the time I had
finished I think it's motor was starting to make a smell too as though it
to was on it's last legs!

Speaking of on it's last legs, mine gave way when I went to start painting.
Then I dropped the spray gun which had a loose paint canister, the brown
grass is now green and splatter marks up the side of the caravan.

I then ended up making the replacement batch of paint so thick it kept
clogging the spray gun.

Well all in all I eventually got the second coat on all four 14inch steel wheels
and the two 16 inch vw beetle wheels too.

Image

The guy who sold me the overhead console, manage to send me the plugs
with a couple of inches of wiring so I can get it connected up.

Re: V6 into a RHD Chrysler Neon mk1

Posted: Mon Sep 17, 2012 9:37 pm
by Mitsuru
Well after going around the car meet at Hartlepool (see thread below)

[urlhttp://practicallyclassics.phpbbhosts.co.uk/viewtopic.php?f=5&t=3713[/url]

I needed today to recover after pushing my body to it's limit, so the
only thing that was done was a trip into Hartlepool to get supplies and
get the tyres fixed on mother's Volvo sorted as I am sick of getting
them pumped up! (2 slow punctures)

I got some better hub cap clips which need less modifying then the ones
I got previously. They just need a little straightening out, as they will be
fitted to the curved wall rather than in-between the stud holes

Image

Re: V6 into a RHD Chrysler Neon mk1

Posted: Tue Sep 18, 2012 9:12 pm
by Mitsuru
I managed to get another coat on the wheels so no need for another
photo on this.

Note to self.

Must allow time for compressor to get back upto pressure so stop
painting every so often. otherwise it will not spray properly.

Must not make paint to thick it can not be sprayed.

Must make sure the breather hole on the paint reservoir does not get
blocked by paint, or it will stop the paint from being sucked into the
spray gun.


The weather has already started to change, it is getting colder. And
tomorrow should be dry, but after that it is forecast for a week of rain.

So I will try to get another coat of paint on the steel rims and get the
hub cap clips altered, and start working out how best to fit them.

Re: V6 into a RHD Chrysler Neon mk1

Posted: Wed Sep 19, 2012 8:13 pm
by Mitsuru
Okay after all that twisting and turning doing the steel rims yesterday
my body wouldn't allow me to do much. So I got one of the 14" rims
onto the bench to workout how best to fix the hub cap clips.

First placing the hub cap perfectly in place on the rim, I drew around it
with a eye liner pencil. I used this type of pencil because it has a soft
type of marking which because it wasn't the water resistant type is
easily wiped away and also doesn't damage the new paint.

Image

Image

After cutting and gring a bit of steel tubeing I put it together.

Image

Although there is only one clip installed I had to put the hub cap on, this
was to make sure the clip would not be too long for the hub cap, and there
would be no gap between the cap and the wheel. which it didn't!

Image

A shot of the components (from left to right)

Unmodified VW Golf mk1 early steel wheel centre cap clip.
http://www.ebay.co.uk/itm/271059311807? ... 1431.l2649

After a little modification a finished hub cap clip.

2 Stainless Steel Washers to sandwich the clip fixing hole (as it's a little to big)

Stainless steel nuts and bolts so they do rust solid and they don't need painting

One Spacer which will be angled on one part to cope with meeting the side and
base. The one I made for the mockup is a bit of old steel tube, but I will be
making the final ones out of some alloy bar.

Image

Image

I will also post this info in the separate thread which I did for the original question
so sorry for double posting on the forum. But it is better for people to find, and not
have to go through my v6 thread for the info.
http://practicallyclassics.phpbbhosts.c ... 144#p28144

Re: V6 into a RHD Chrysler Neon mk1

Posted: Wed Sep 19, 2012 9:21 pm
by JPB
I'm almost sure I just read that last post in another thread. Verbatim. Why? :?

Re: V6 into a RHD Chrysler Neon mk1

Posted: Fri Sep 21, 2012 9:41 pm
by Mitsuru
It is usually the last hole on the last wheel that usually gets screwed
up one way or another(Murphy or sods law what ever you want to call it)

But it was the first hole I decided to tap and dye the carbon steel bit,
shattered. So I had no spare bit and no smaller drill bits to drill it out.

A trip into town and a few quid spent on a proper set of yap and dye bits,
which are of higher standard steel than those you normally get in sets
sold to the general public.

Back at the bench the other three wheels were drilled and tapped with
ease. I drilled a hole next to smashed old bit and will deal with it in the
morning before I sand and pain the rims again.

Image

The wind had changed direction coming straight off the sea making it bitterly
cold. This has set my arthritis off making it harder to do stuff. Also it is now
blowing in the wrong direction, as if I had used the spray gun the car would
have gotten a coat of paint too.

Re: V6 into a RHD Chrysler Neon mk1

Posted: Sat Sep 22, 2012 8:36 pm
by Mitsuru
As dad wanted the neon moved so a small plastic storage unit could be
put in-front of it against the side of my tool shed(another wood store).

So as the wrong size tyres are on the car at them moment and they are
wedged on the bottom of the spring base the car can not just be simply
pushed out of the way.

So I dug out the winch, the long jump leads and removed the battery
from the car. I put some straps around two trees either side of the drive.
One had the winch base attached to it, while the other got the hook, the
cable went through the tow bar pin.

I connected the jump leads up on winch and stood behind at tree with
the other end of the jump leads and the battery(just in case). It did the
job a treat.

Image

The steel rims have had another 2 coats of green hammerite paint. And
in-between the coats I did a little trimming of the exhaust tail pipes.

Image

After trimming the tail pipes apart from the centre part of the tube, I used
the wire brush attachment on the drill to prep it for painting. Two rods
were put up the tail pipes and then put into the ground next to the bench.

Out came the tin of silver high heat paint, I used a brush for the end caps
of the tube of the back box as well as the hanging brackets. I tried to thin a
bit this paint and use it in the spray gun. This was a mistake, as it
congealed in the bottom of the can, and blocked the spray gun up well and
truly! so I used a another brush using what had thinned on the tail pipes.a

Image

A bungy cord was used to stop the back box swaying back and forth.

Image

Oh I didn't paint the intake pipe of the back box so it can be welded too.