On Monday I spent some time trying to put one plug back in!
It was for the solenoid coil packs on the gearbox. In the end I had
to resort to unbolting the battery tray and fusebox/TCU assembly.
Putting the assembly back together wasn't as easy as unbolting it!
An hour after I had started the reassembly, I had done my back in,
wrecked my shoulder and screwed my right knee up. And only got
two of the three main bolts back in the assembly which bolted the
frame to the engine bay. I quit before the frustration got so much
that I put the walking stick through the windscreen! (and I was
close to that stage!)
On Tuesday I thought it best to try and stay away from the front
end wiring and the battery tray area, and do some of the other fiddy
little jobs that needed doing. So I got a hack saw blade and a
cushion and layed on the ground at the back of the car and cut the
damaged and rusty bolt on the tow bar electrical socket(12n).
Once the bolt had been cut, the electrics of the socket inspected for
damage and making sure they were in order, I used stainless steel
nuts and bolts to avoid the same problem I had removing the original
ones. I just need to run a wire to power the can-bus bypass relay unit,
which will be done once the engine bay mess is sorted, and when there
is less junk in the car.
While I was looking for the stainless steel bolts to do the towbar socket,
I came across the blue rubber pipe adapter off the old CAI (Cold Air
Intake) off the off 4 pot. as well as the pipes I was working with for the
V6 throttle body to air filter.
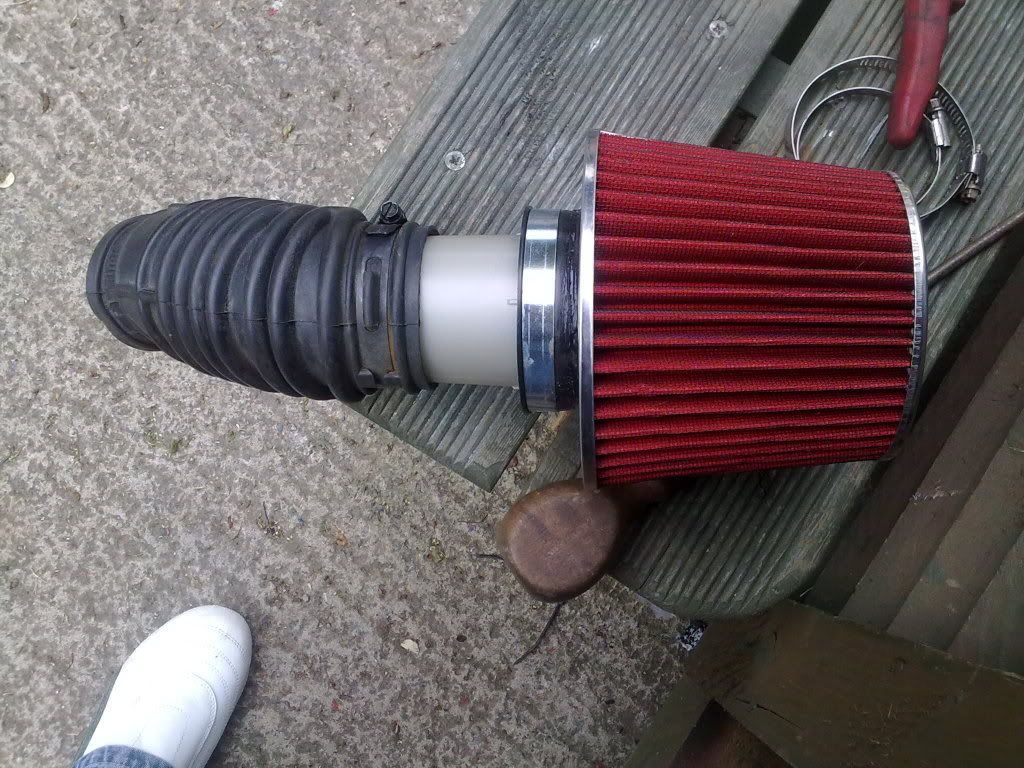
As there needed to be a bit of length on the pipe so that the filter was
able to get past the fusebox and TCU, and be able to drop down so it
could not rub onto the underside of the bonnet. The first picture is
without the blue adapter rubber ring, and doesn't look good, infact the
white is slightly transparent and the pipe is out of the guts of one of
the Voyager's air boxes, and was never ment to be seen.
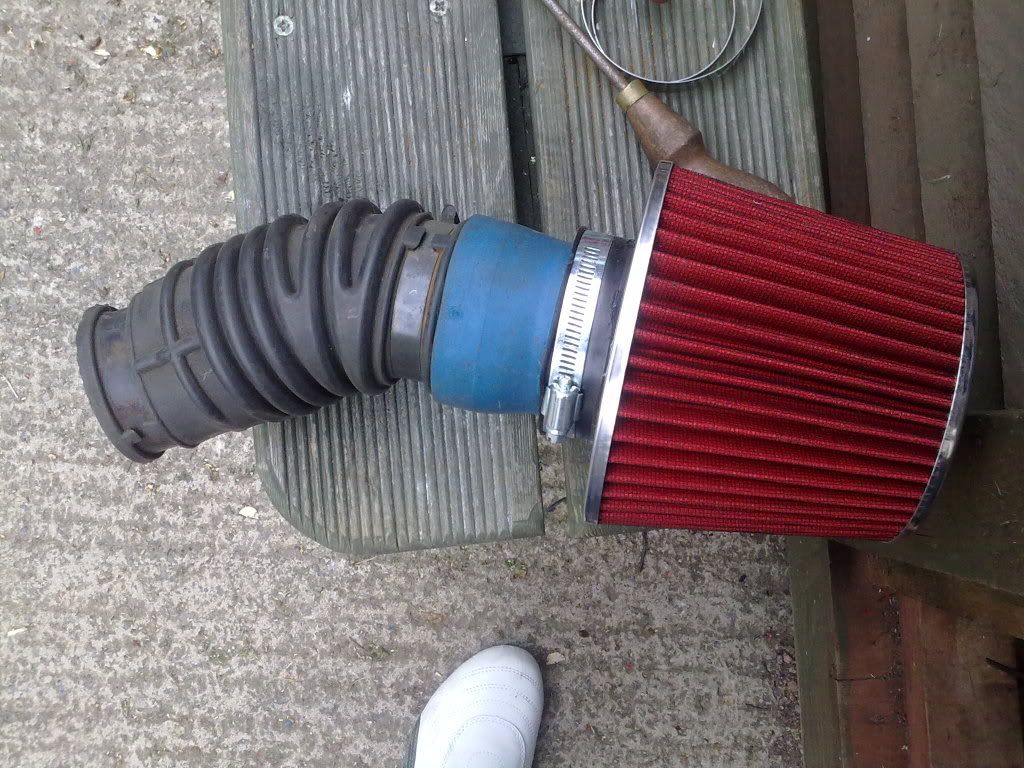
In the second picture you can see the difference with the blue adapter
ring just slid over the white pipe is only being used as decoration and
making it look neater.
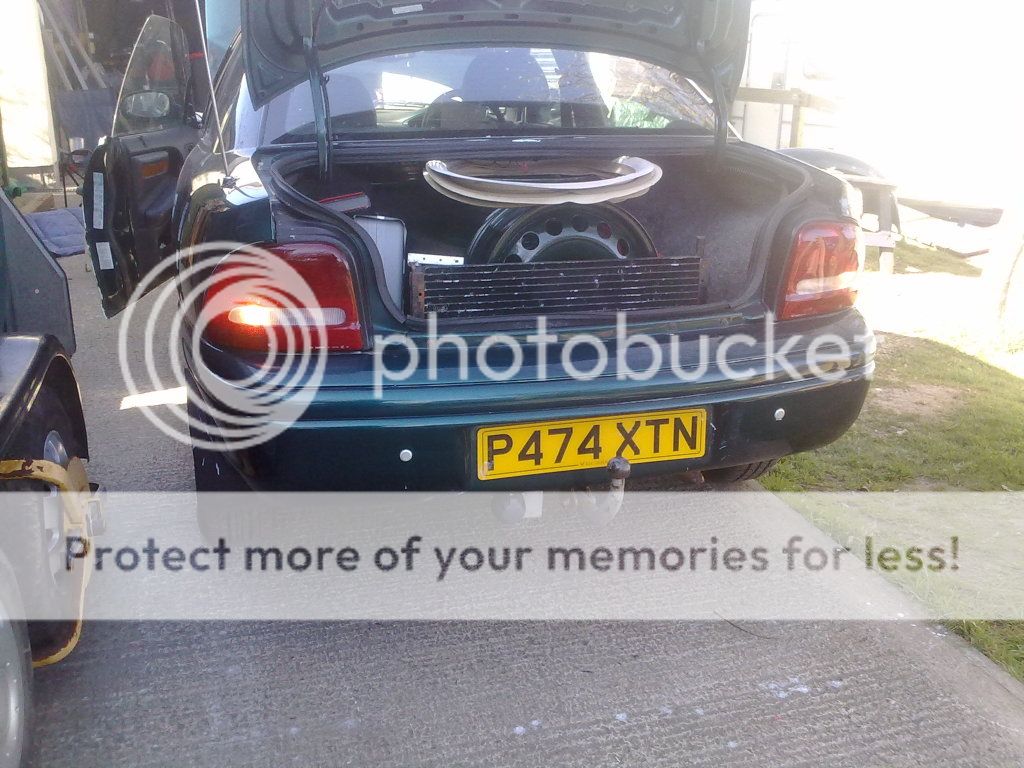
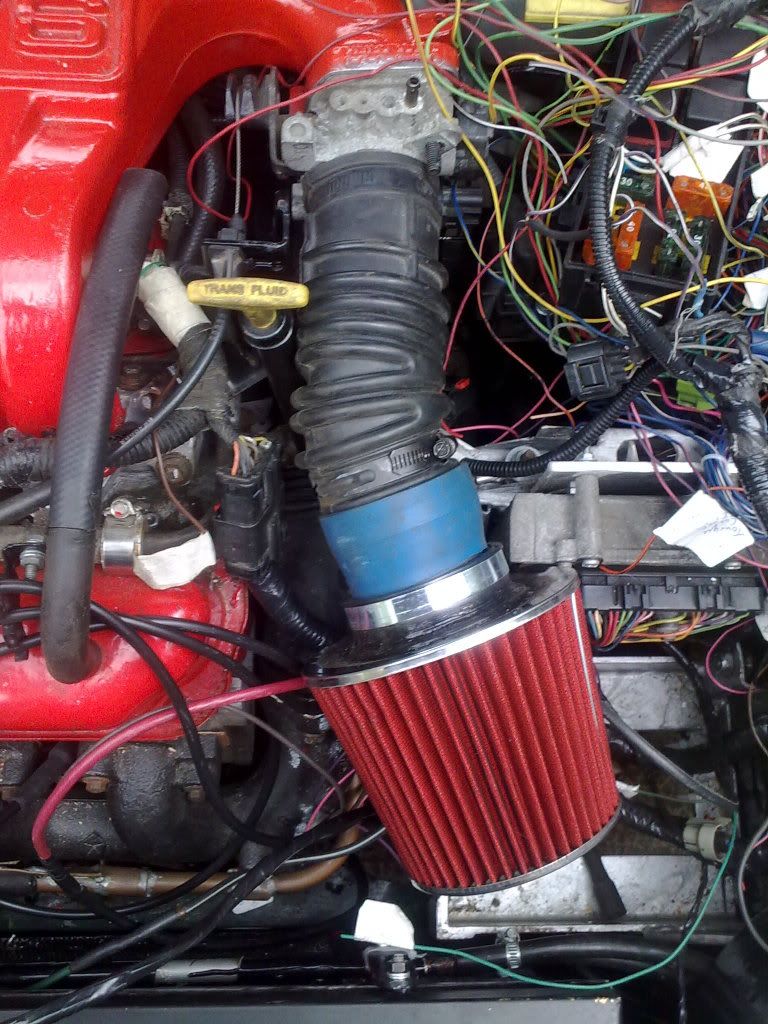
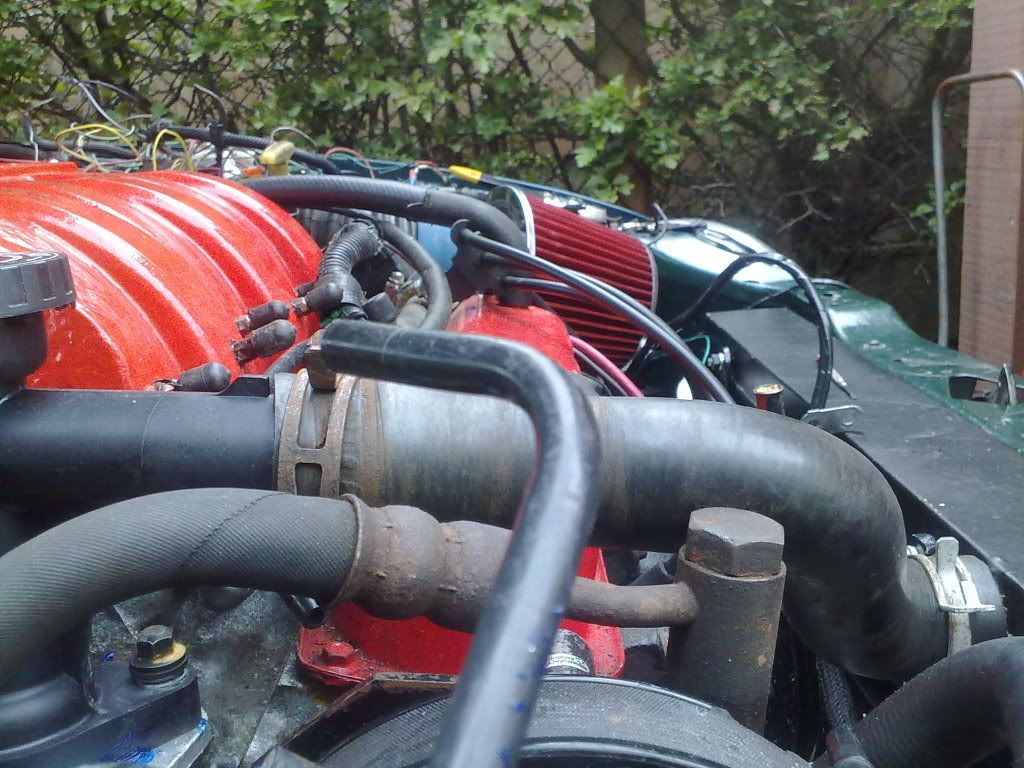
I popped the filter and pipe onto the car just to check that I hadn't
cocked up! (Now you see why I put the position of the battery lower
in the engine bay)

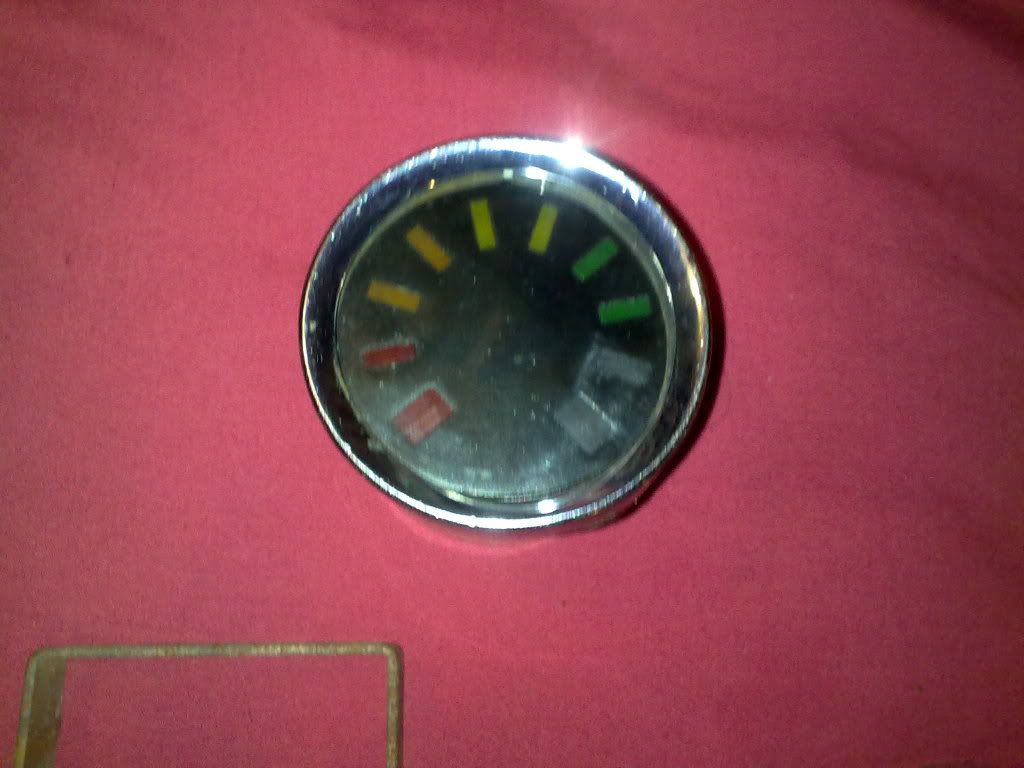
And while I was trying to find my glasses, I found where I had put the
air/fuel ratio gauge that I had been working on previously. I had taken
one of the plastic filler plates used on face of the gauge, and given it
a couple of coats of black satin spray paint.
The original dial face plate on the left, mine just needs some lettering
to finish it off, but even without the lettering, mine looks pritty close to
an old smiths gauge and by far a lot better and less tacky than the
original. What do you think?

Sorry for the delay in posting but I misplaced my mobile phone which
had taken the photos on. And only found it late at night.