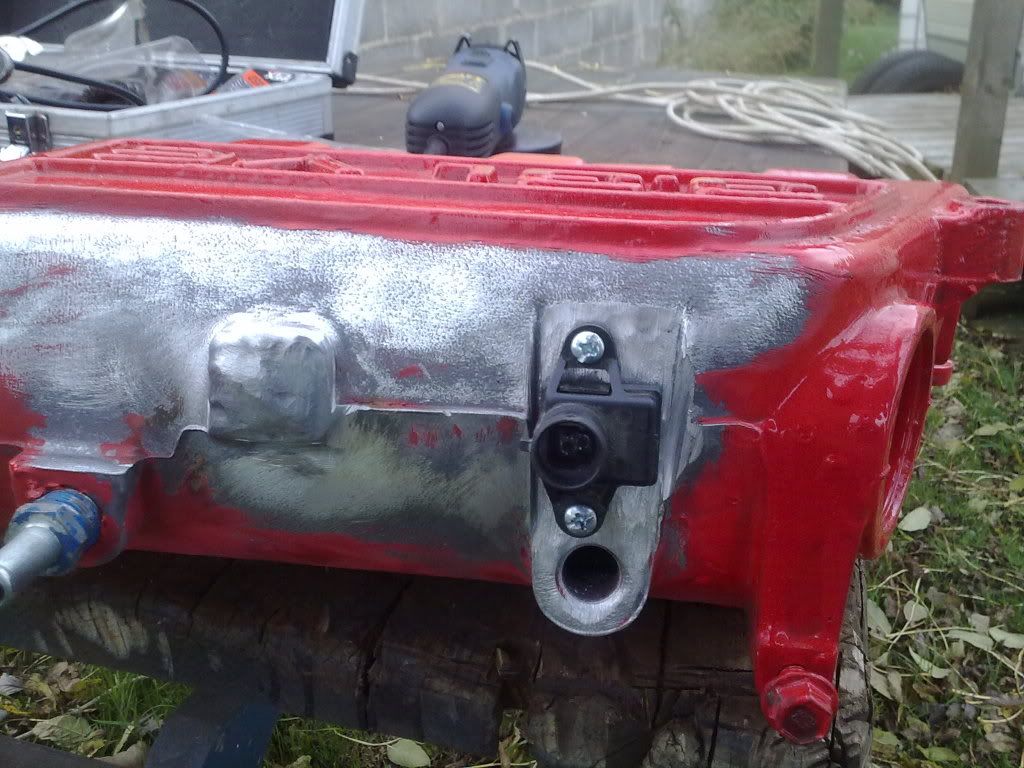
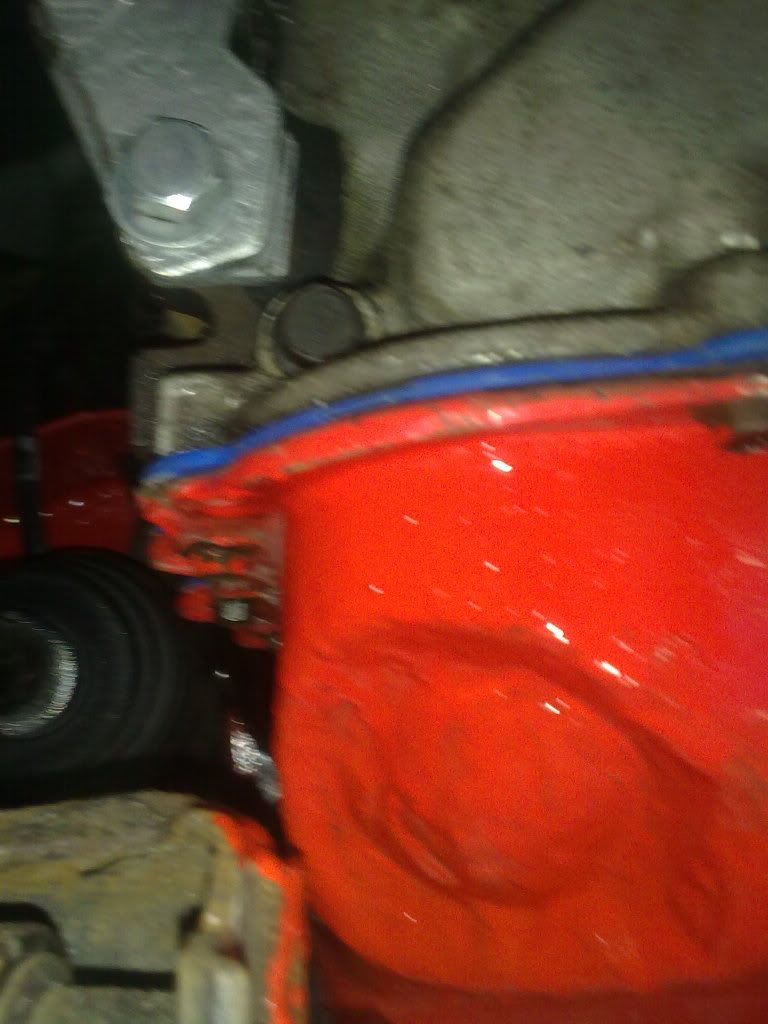
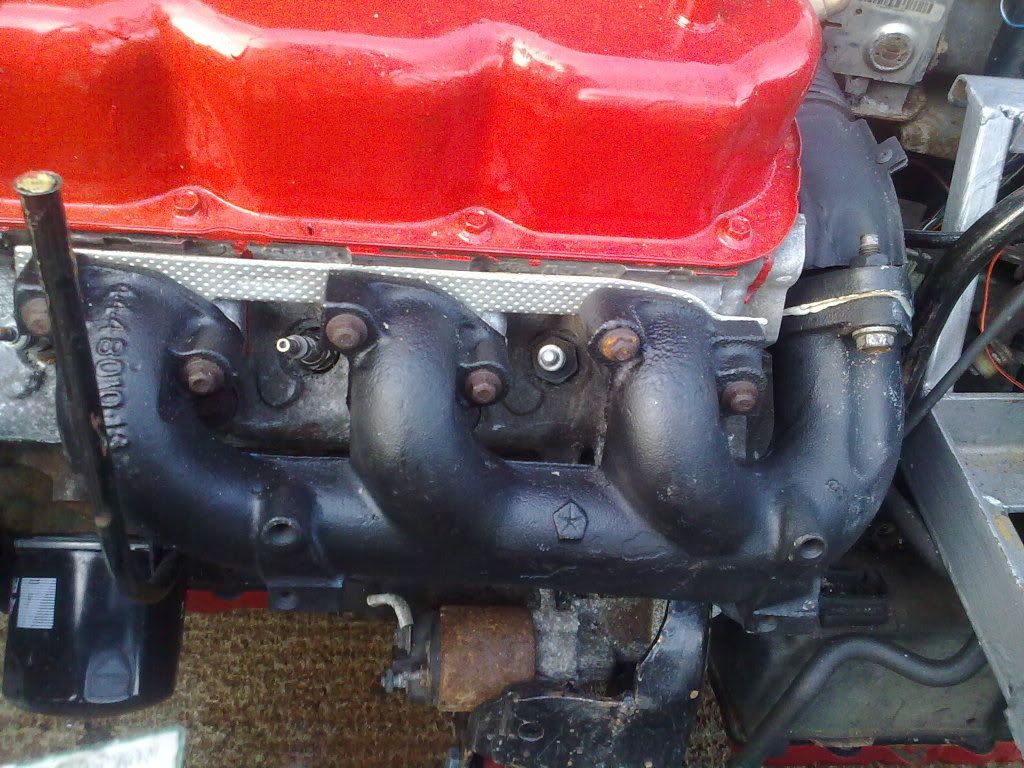
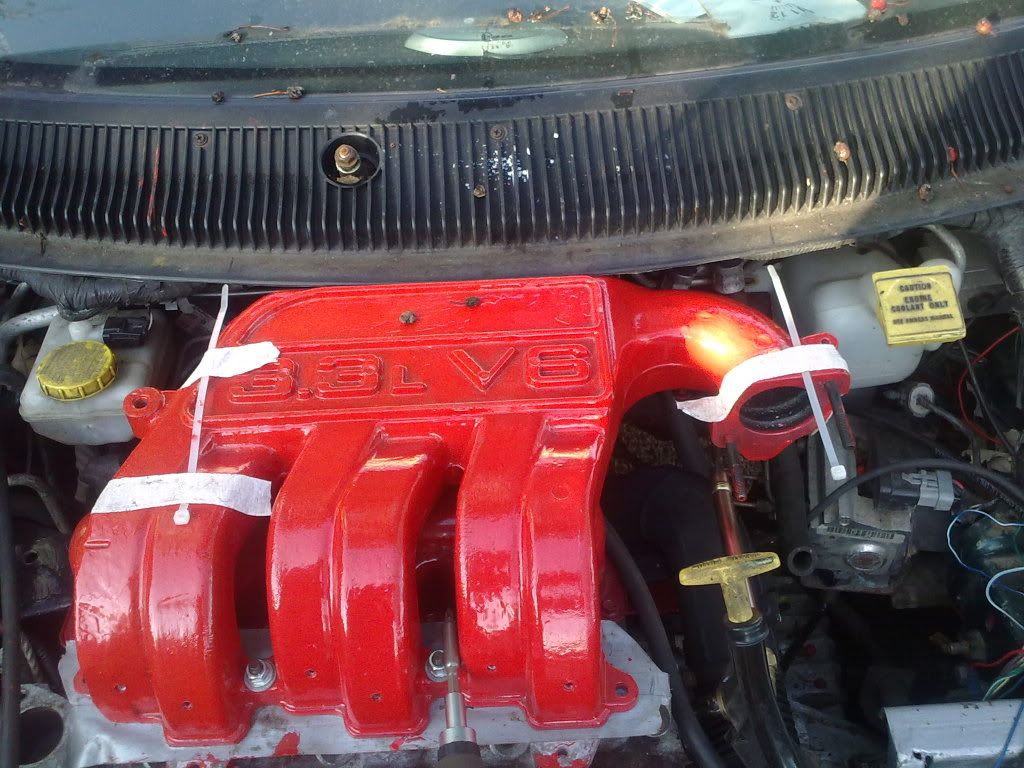
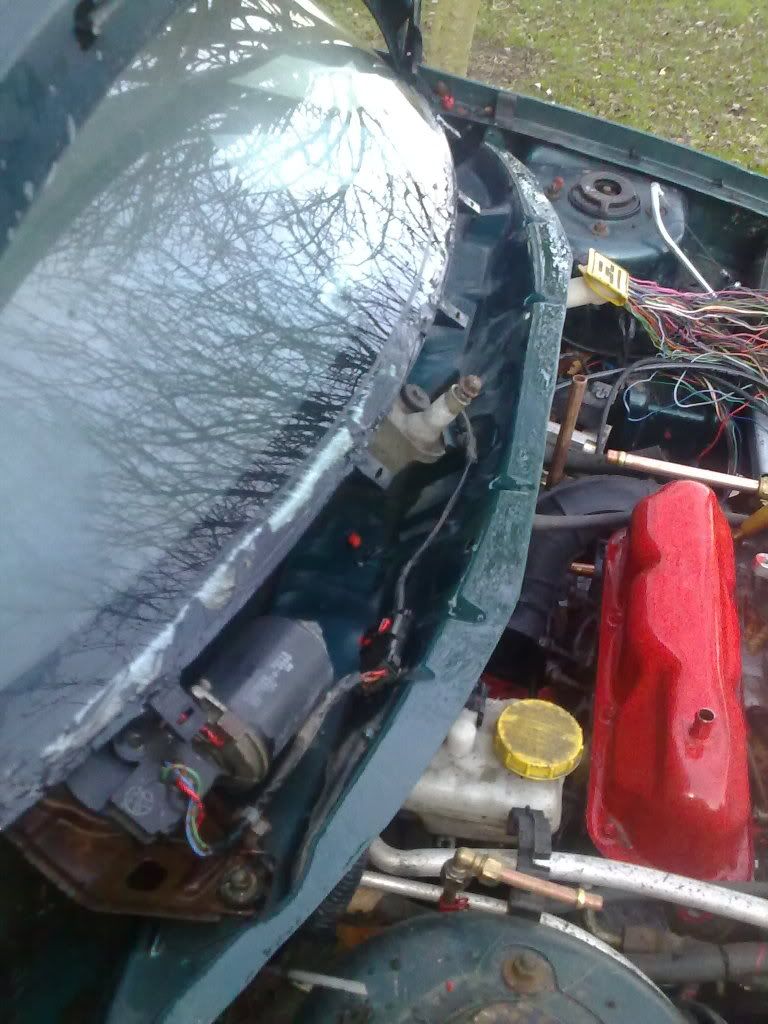
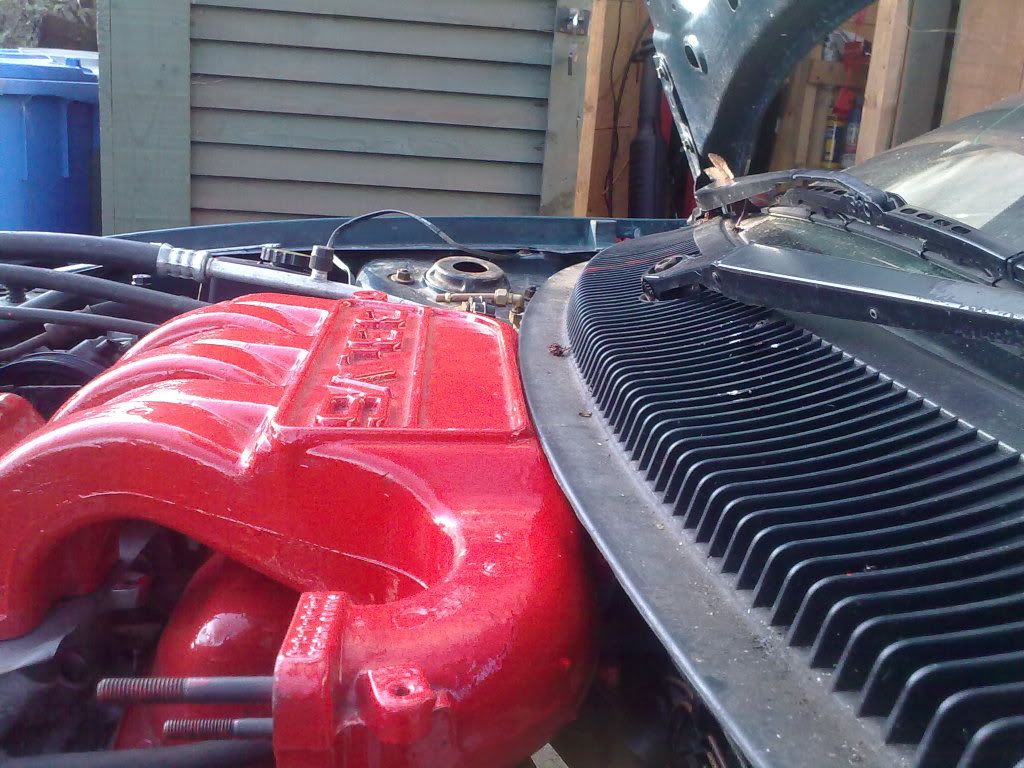
First thing to do was to put the intake manifold on to check for
clearances for that upper heater hose.
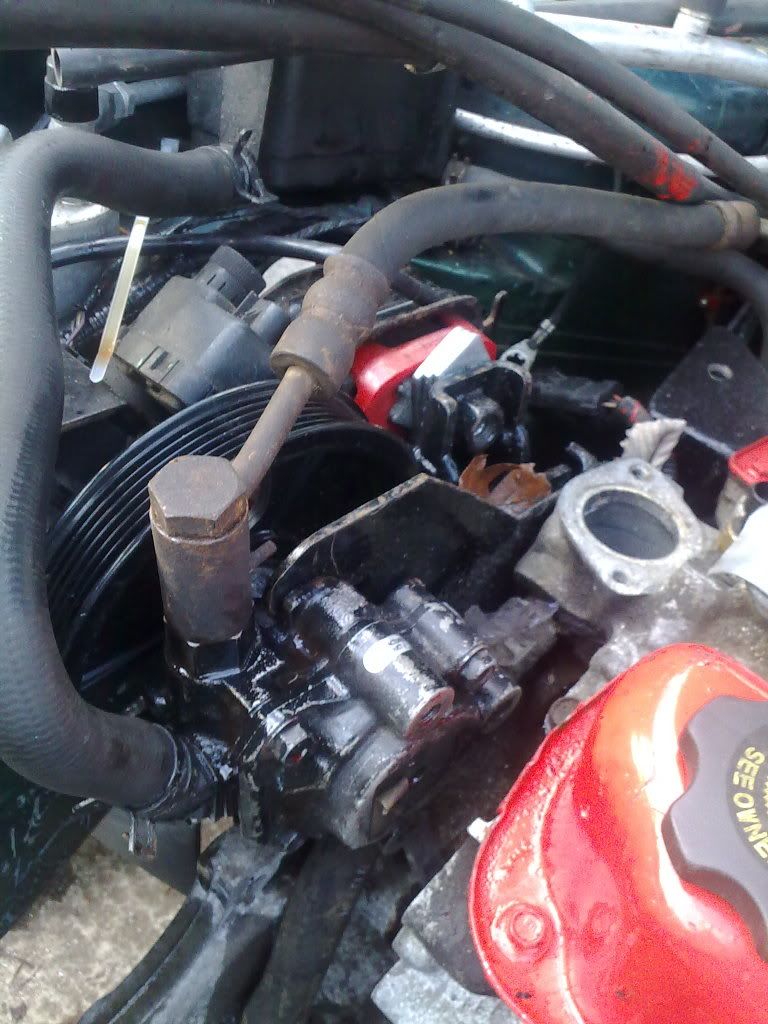
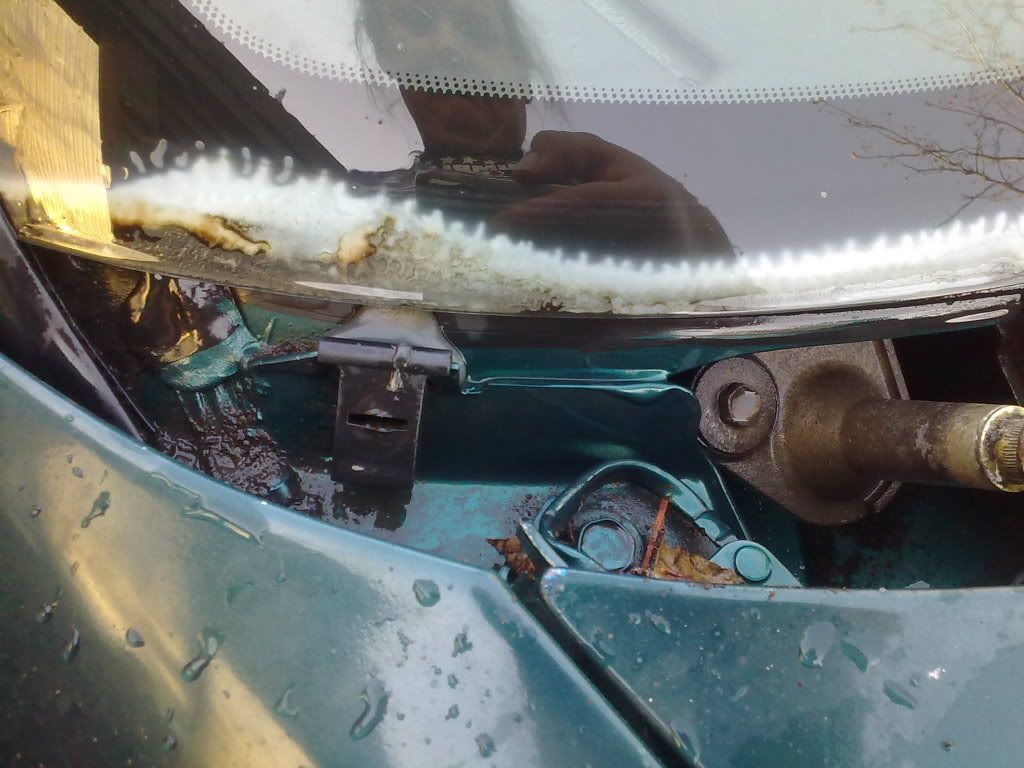
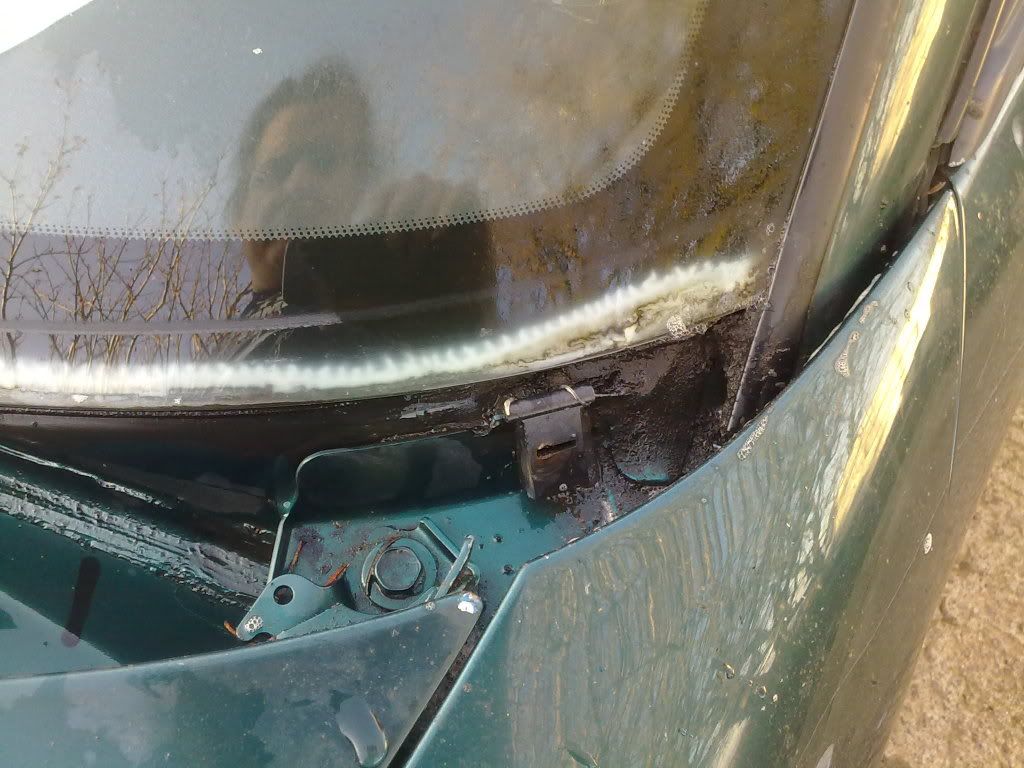
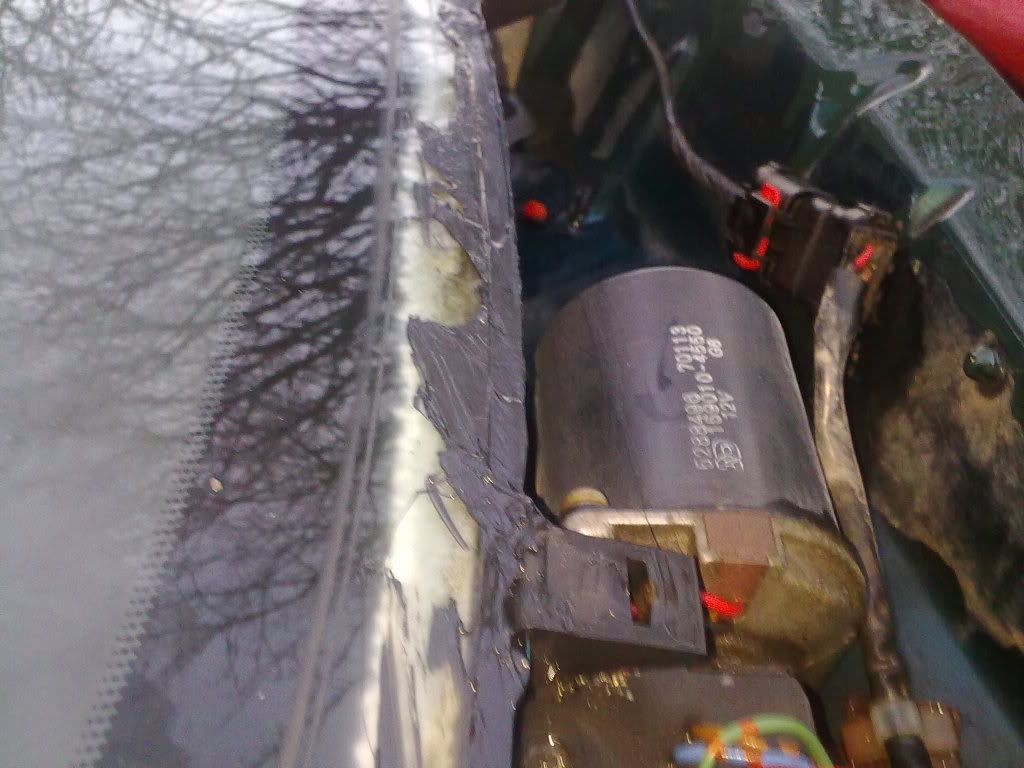
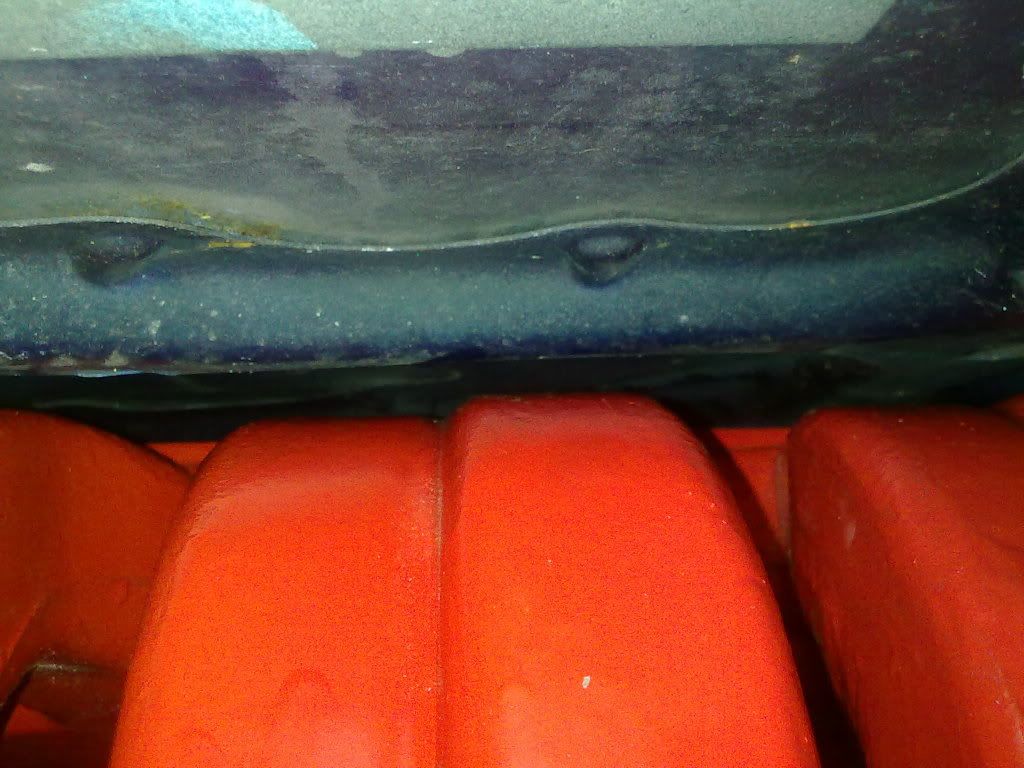
Previous photo.

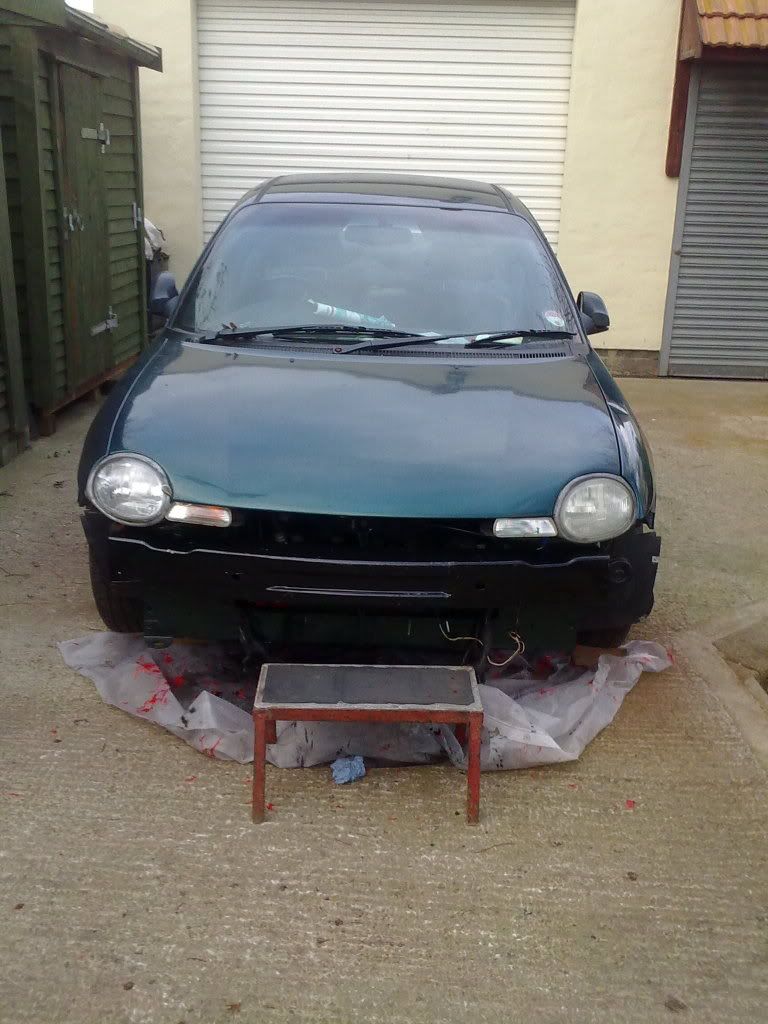
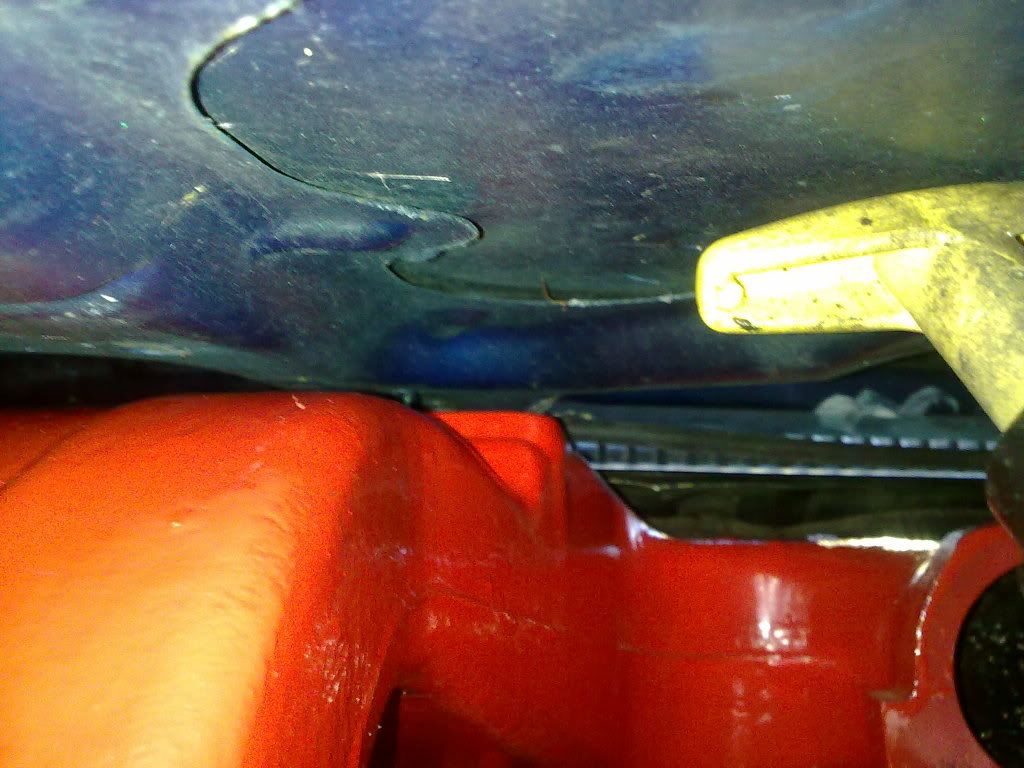
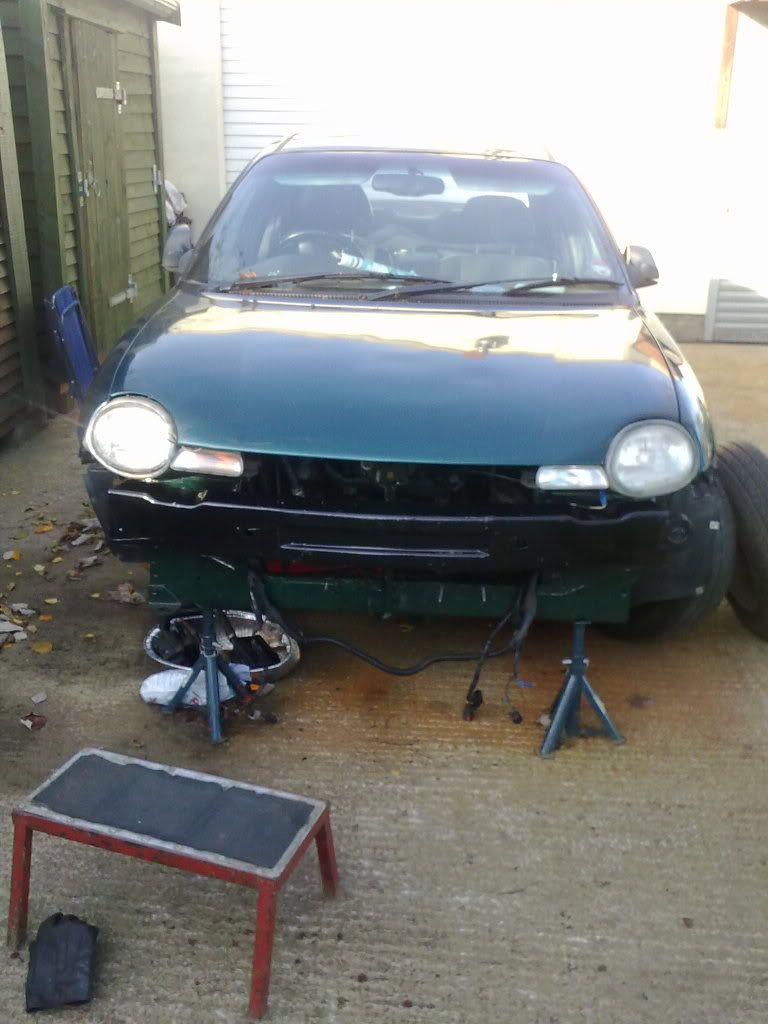
Current View!!
WHAT THE F**k! What happened to my clearance around the
back, and over the top?
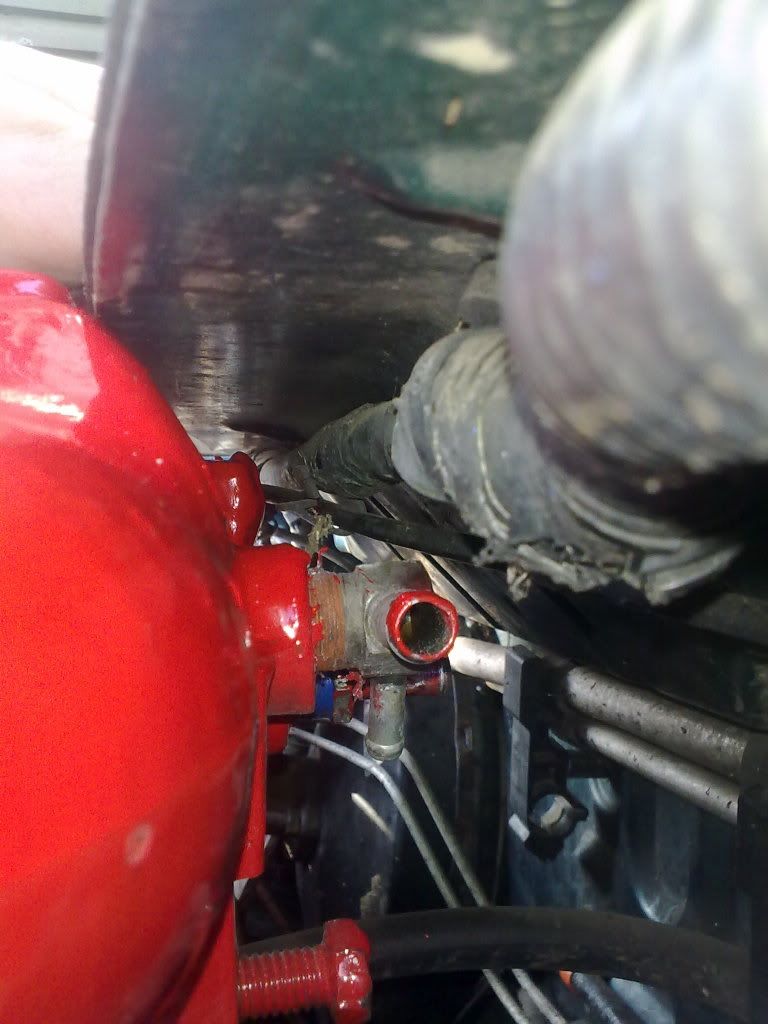
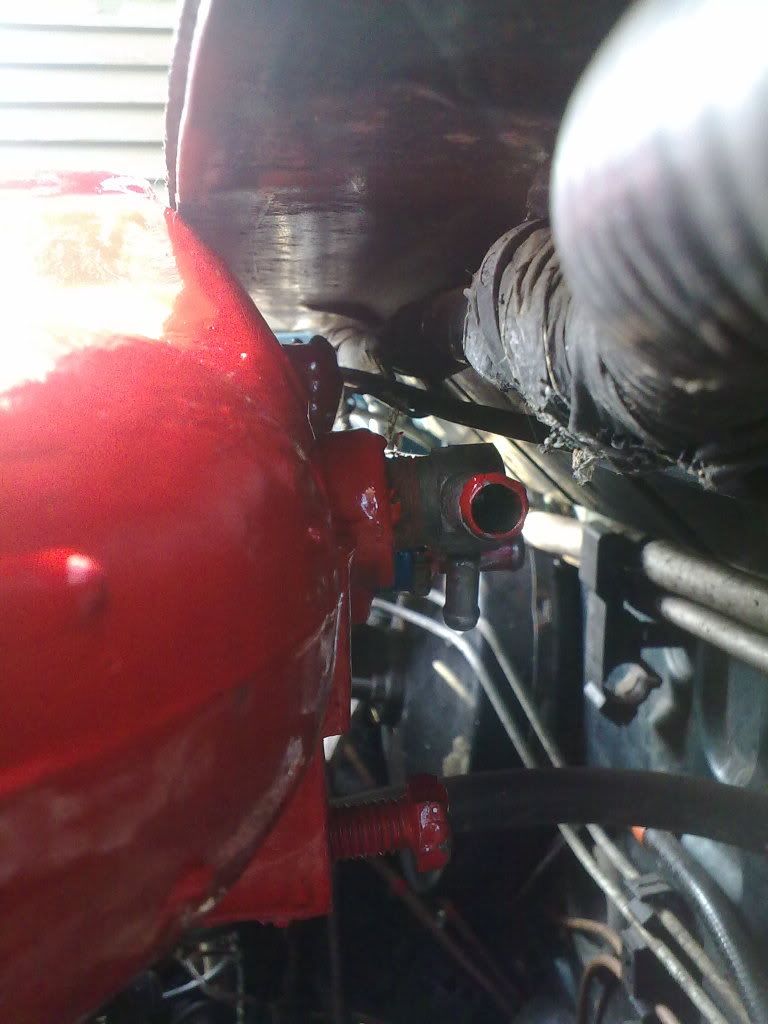
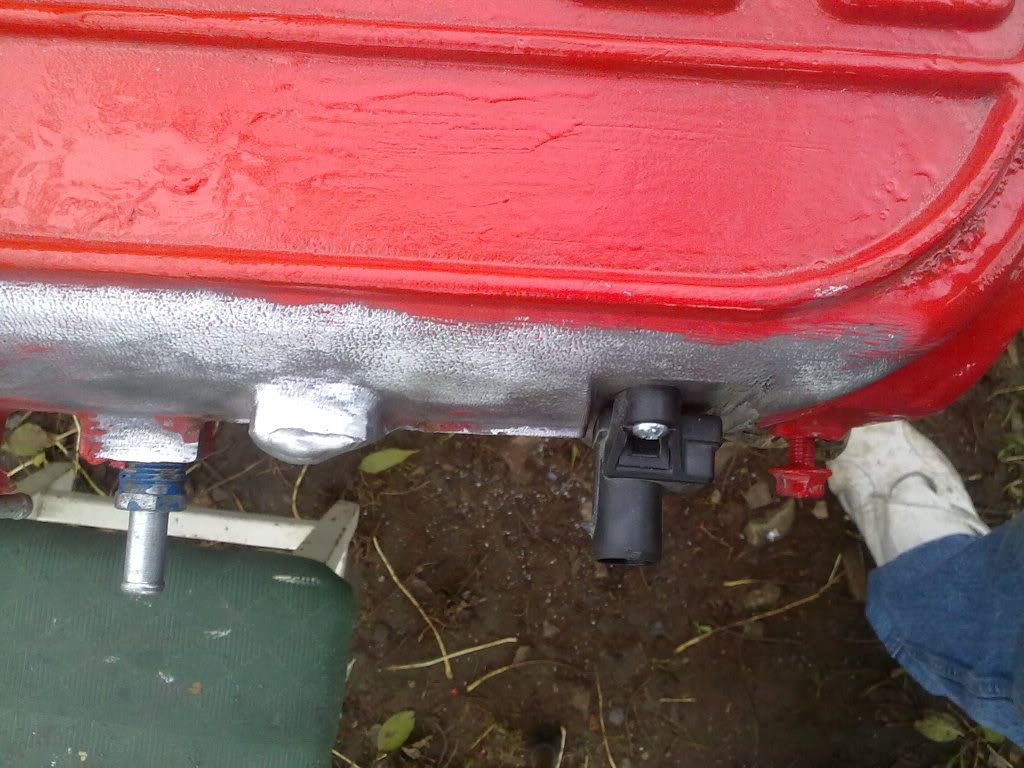
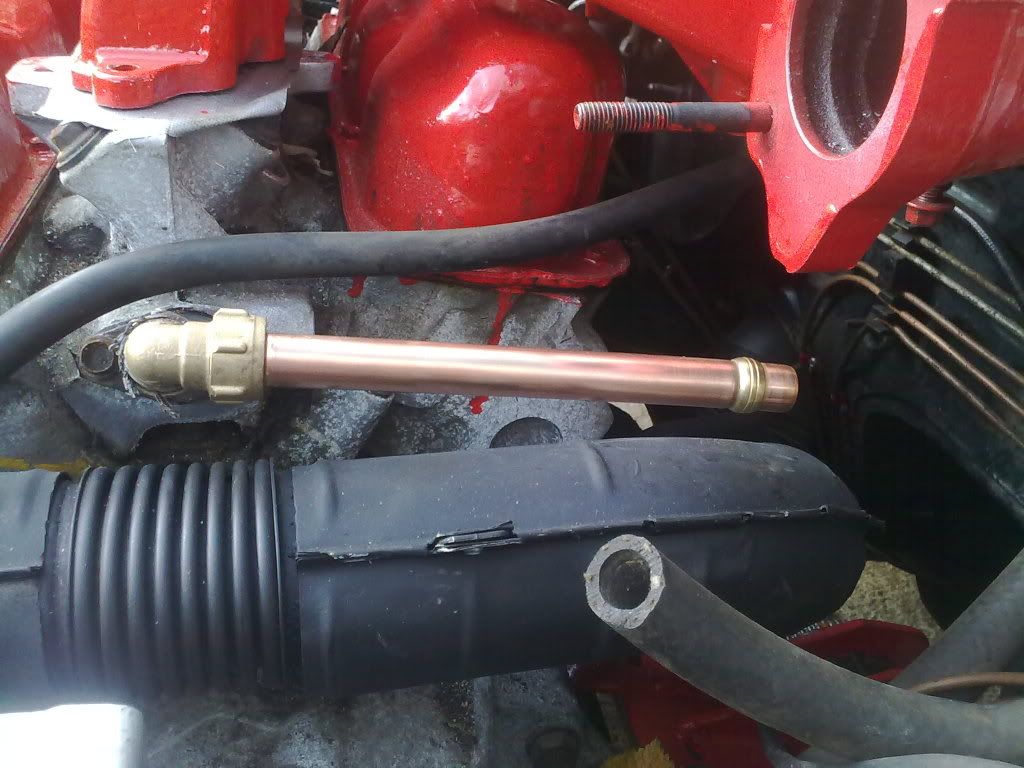
And the upper heater pipe looks okay with plenty of clearance.
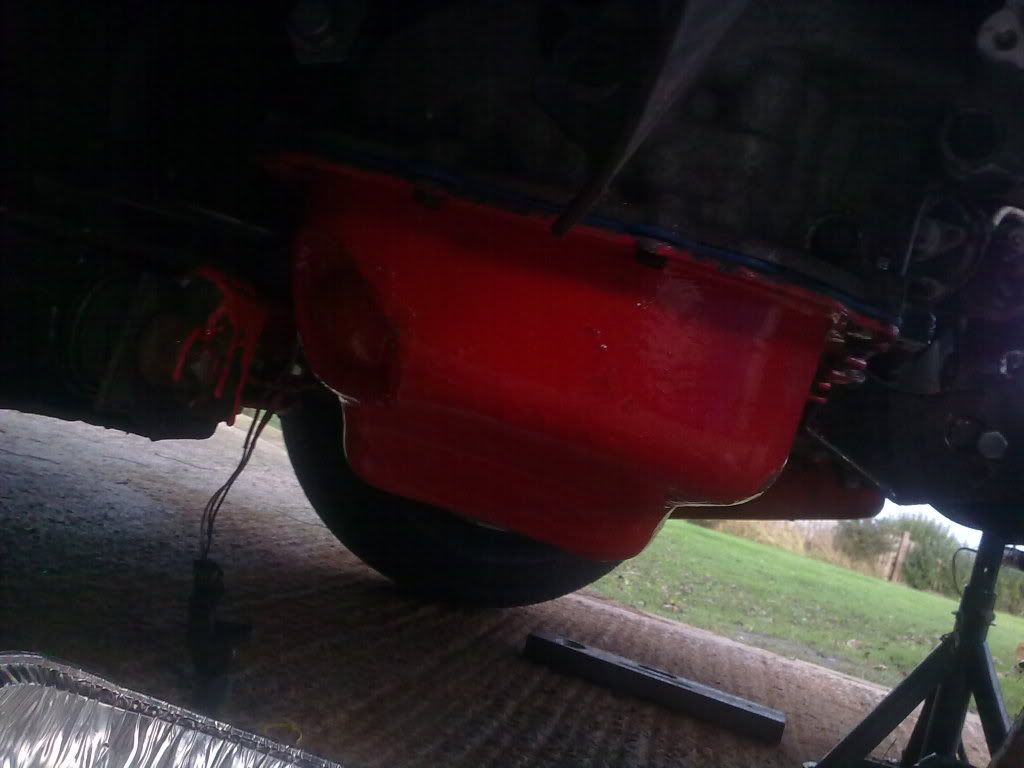
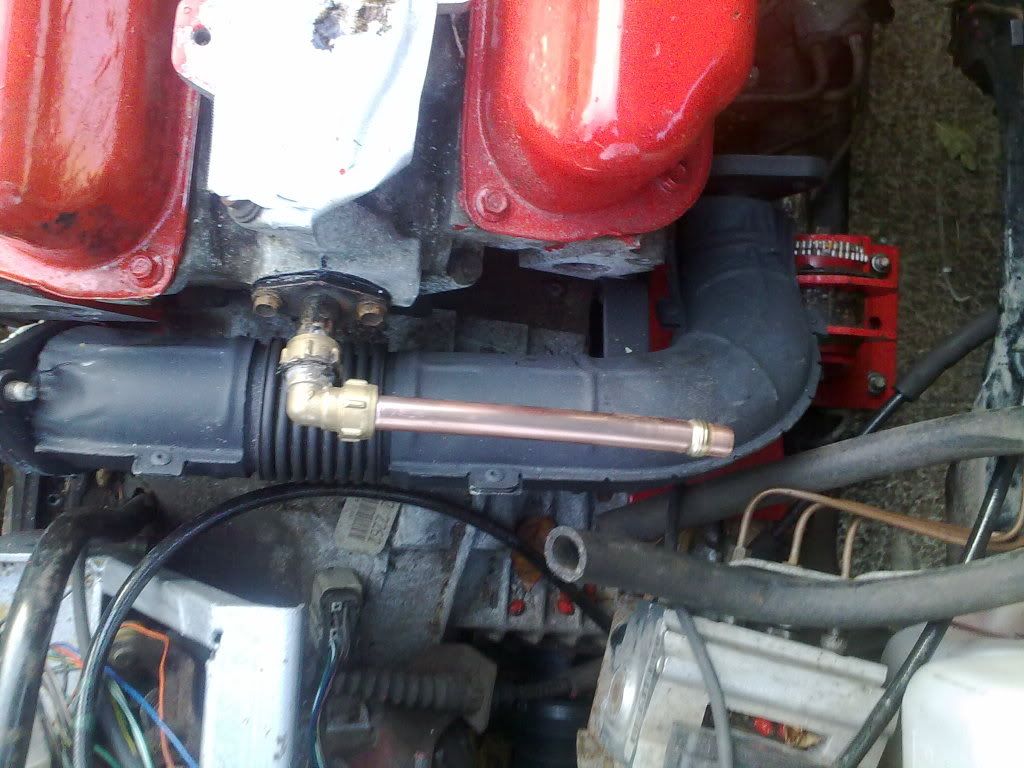
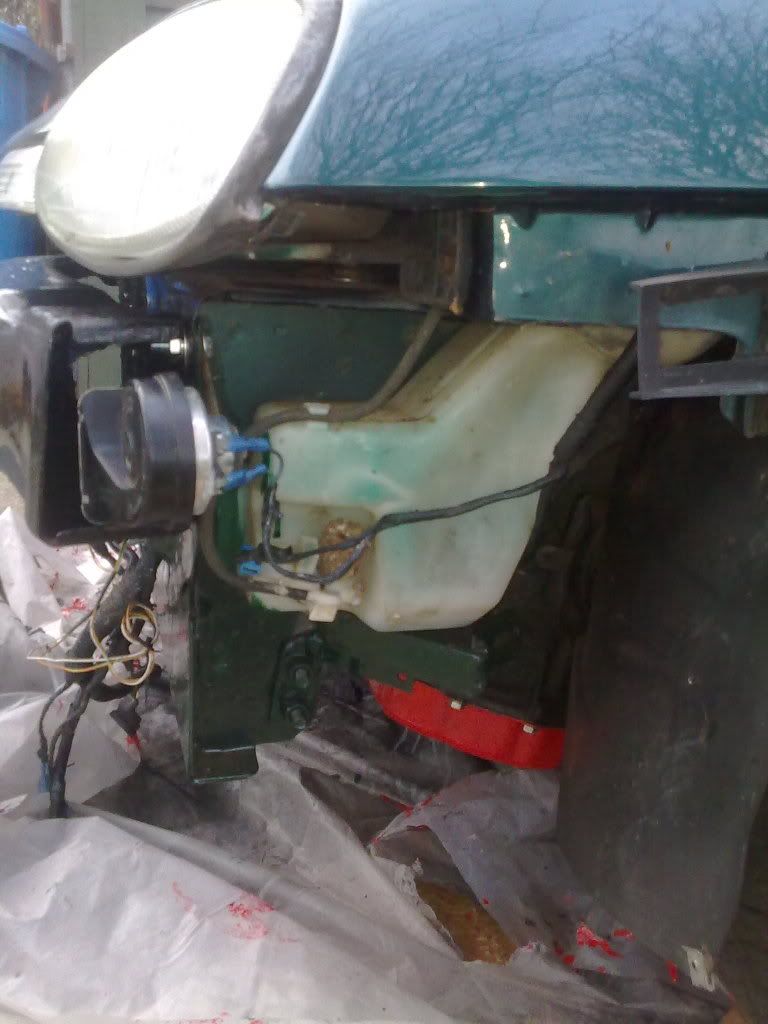
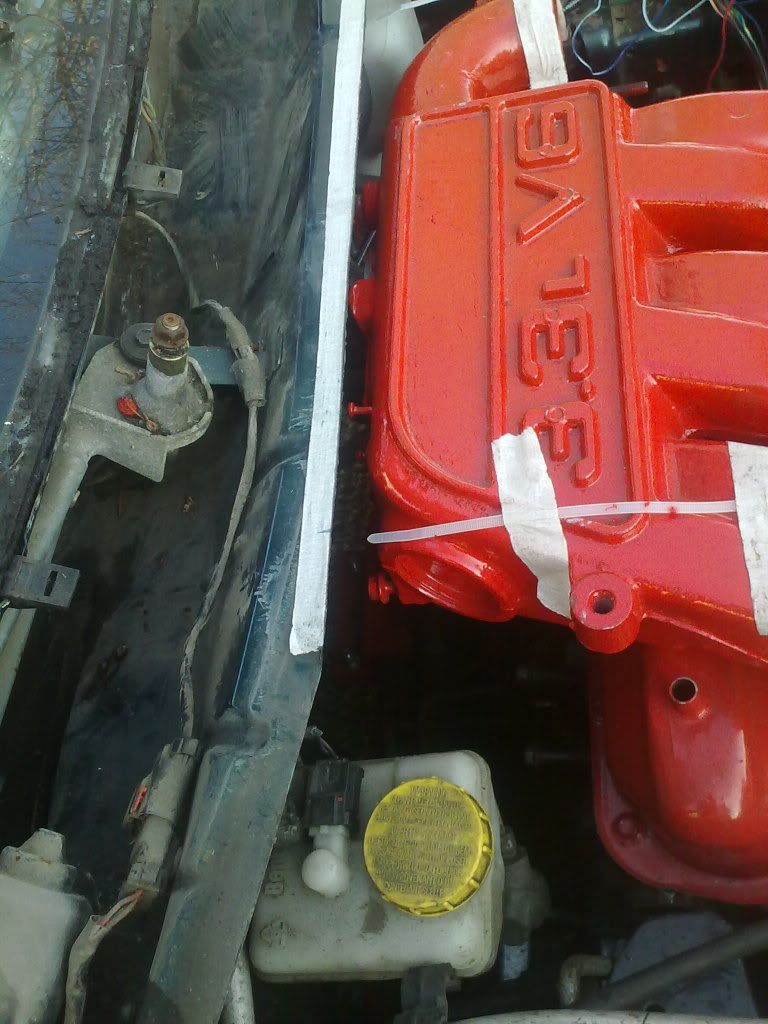
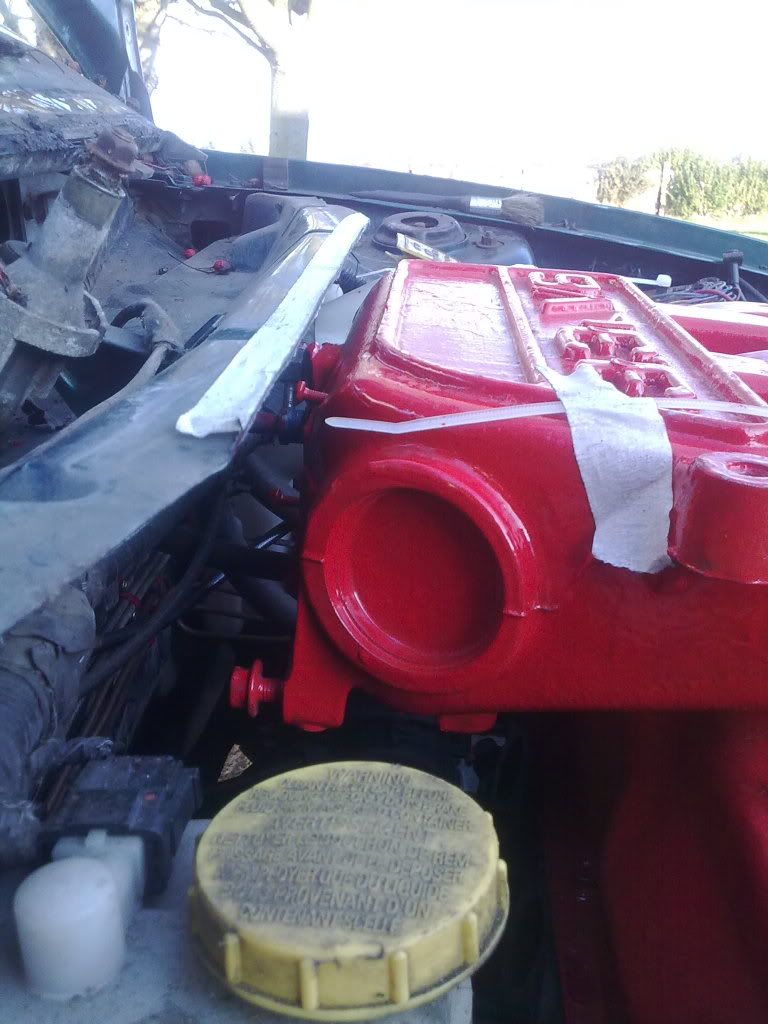
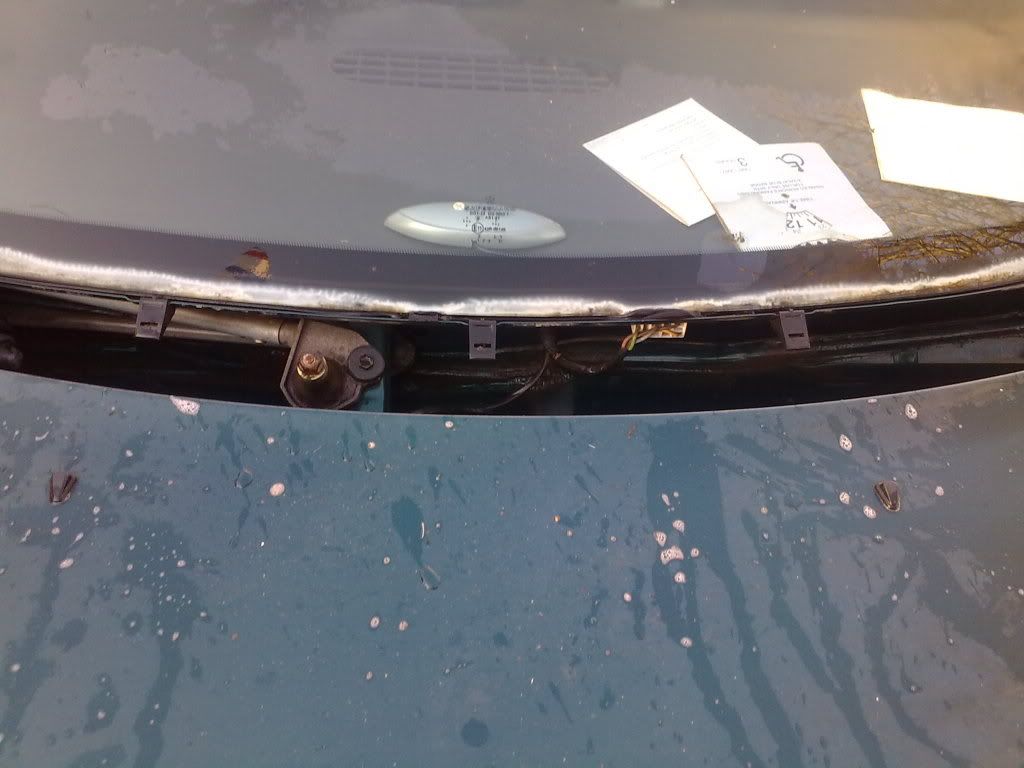
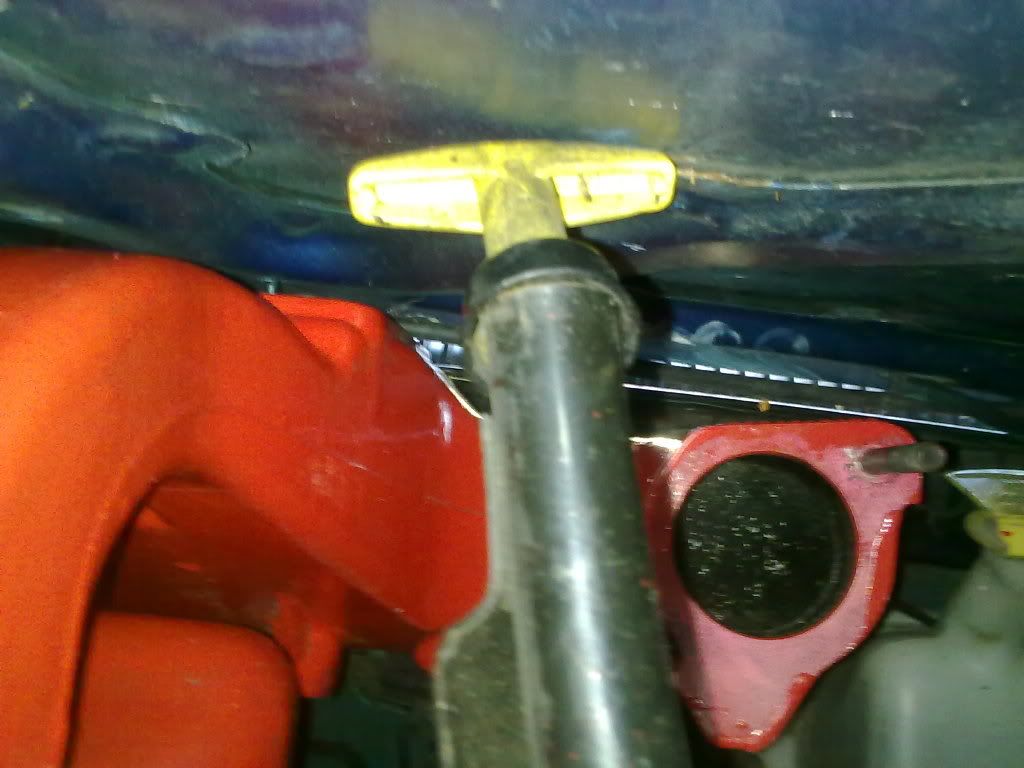
I closed the bonnet and as the radiator wasn't there, I put my
hand through the front to take a few more shots to check the
clearance with the bonnet and the manifold.
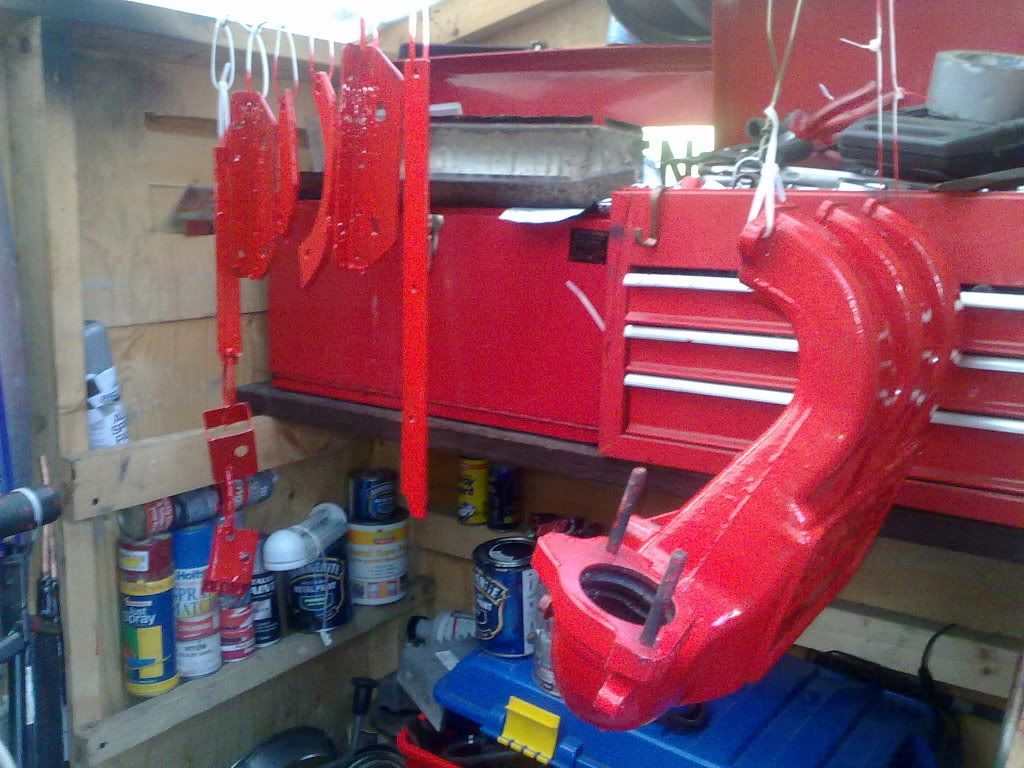
I did bolt up the Bumper Bar and left horn, this was done as
I kept tripping over it, so it was put somewhere safe on the
car!
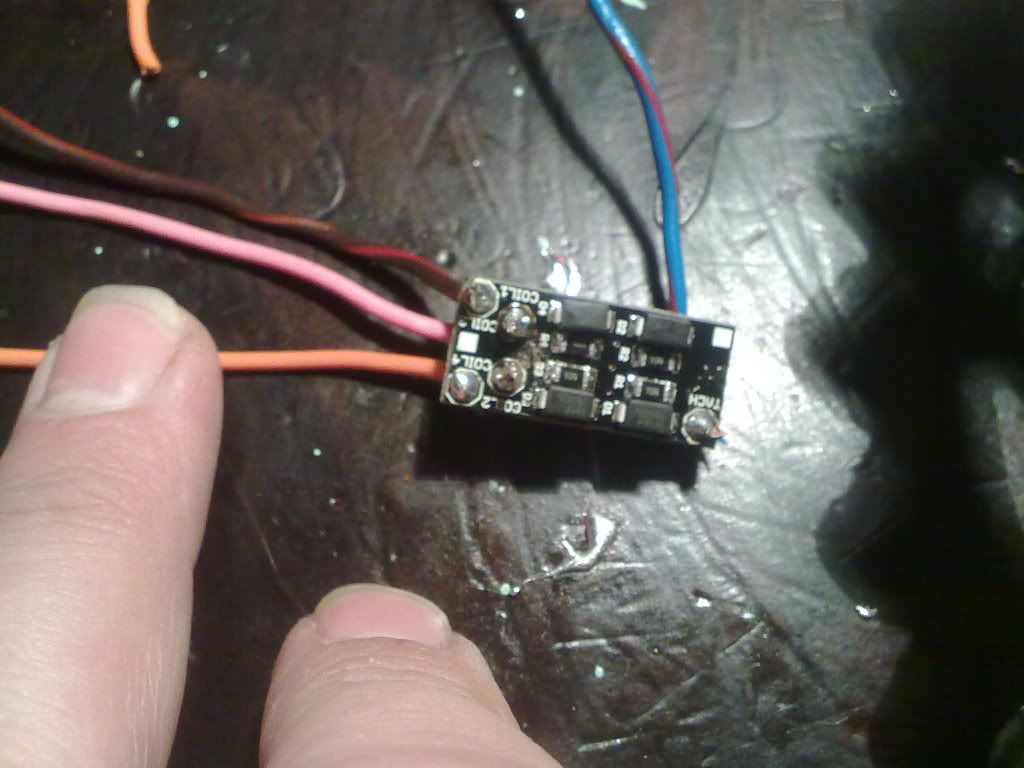
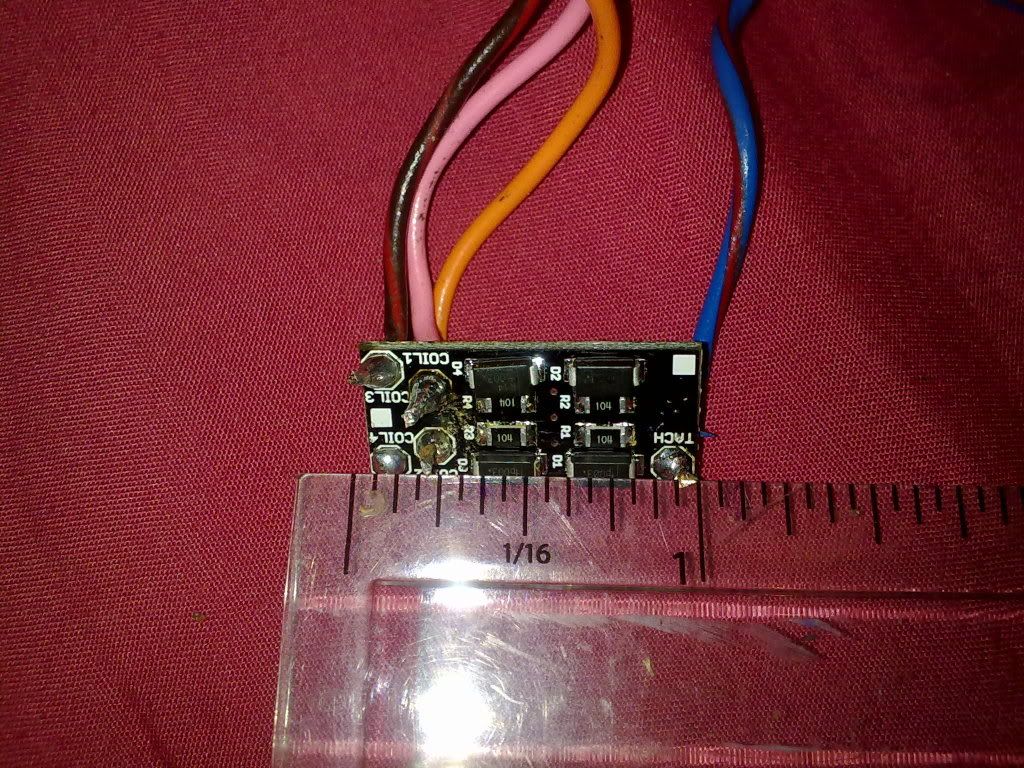
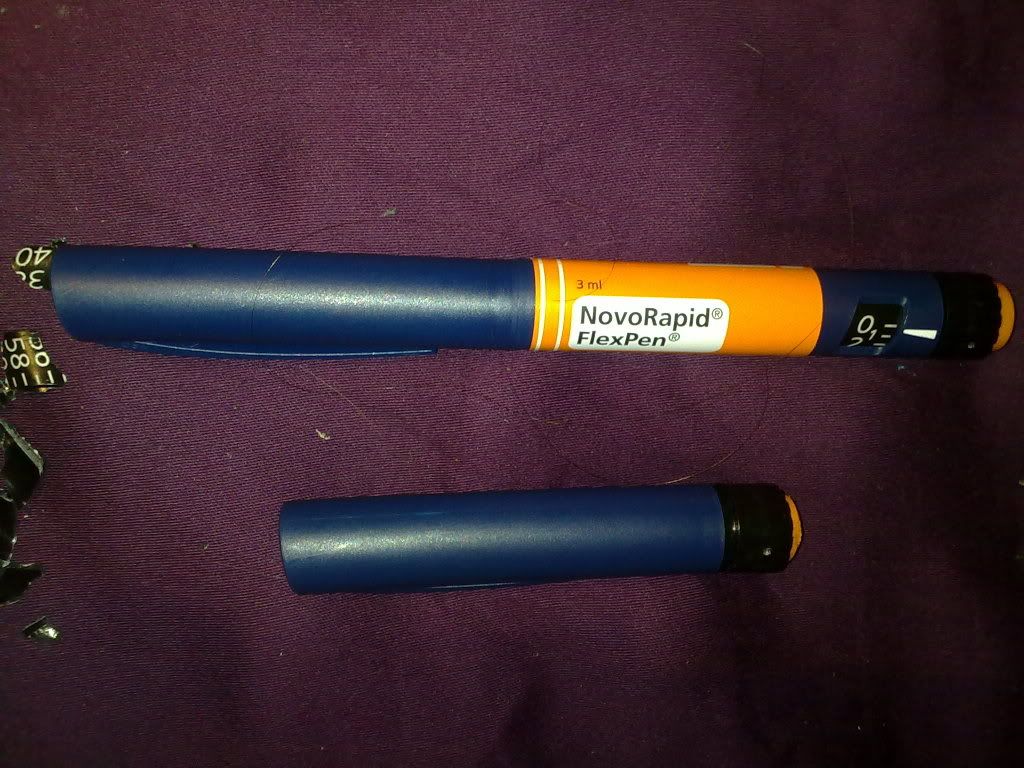
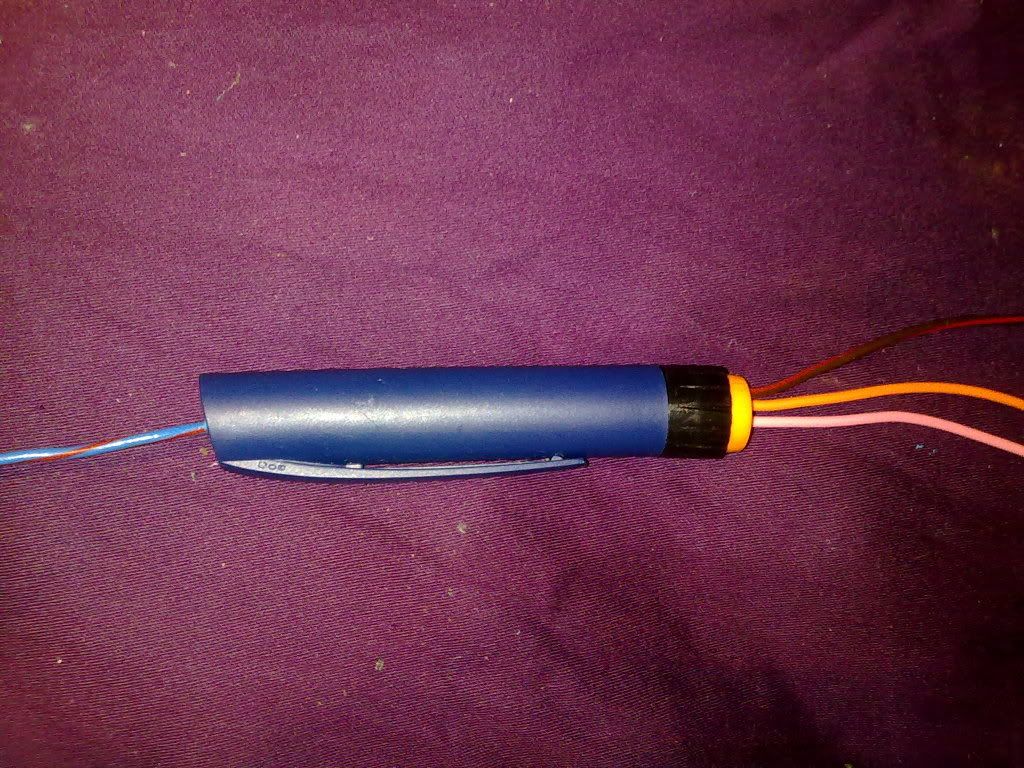
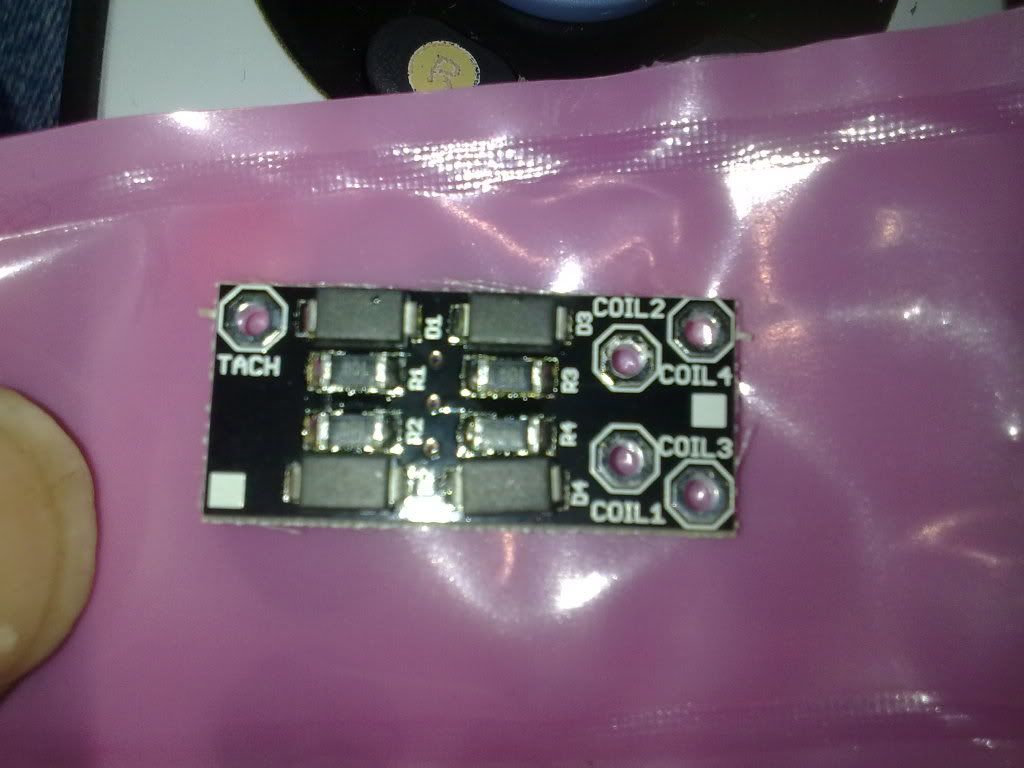
The tacho adapter arrived in a large envelope big enough to
hold A4 size paper work. Inside was a little pink packet with
it in. (on the Satellite TV remote control for scale)
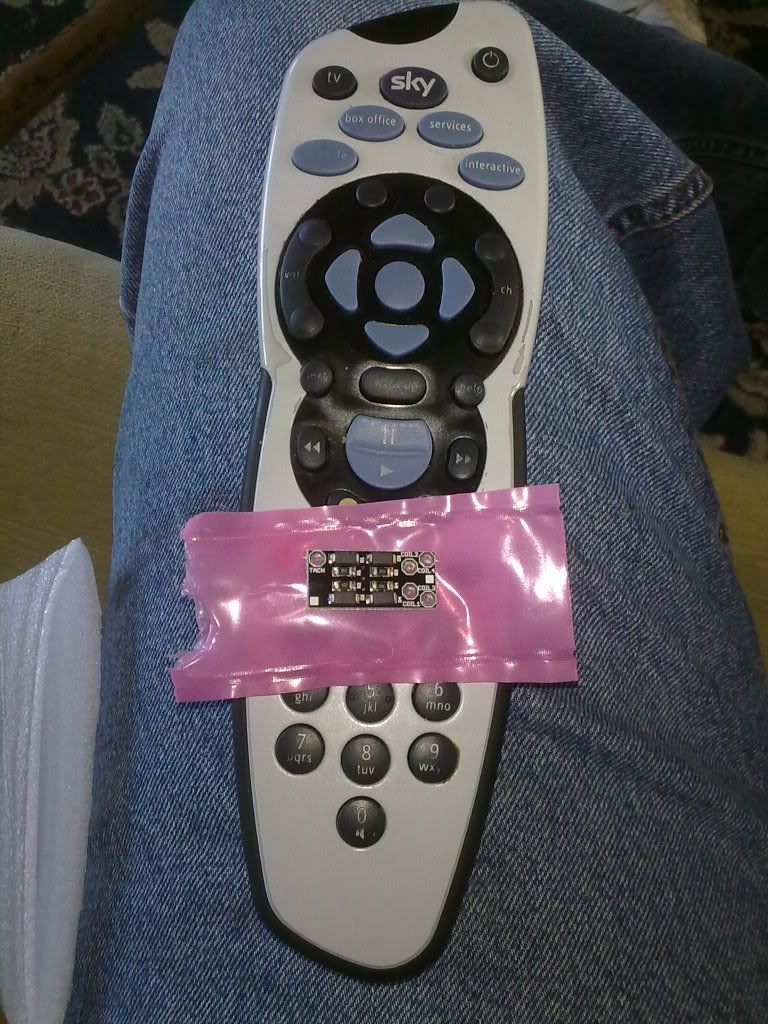
I put tha adapter back in it's packet as Dean popped over just
as I was about to start on my cuppa tea!
He removed the original rear right brake caliper and fitted the
spare rather than mess a bout with trying to get the well sezeed
bleeding nipple out, which had been rounded too!
As he had some time Dean listened to the video recording I took
when mother had me out and about in dad's discovery.
This video was recorded even though mother said not to!!!
As both parent's were at work an both our car insurances didn't
cover us to drive the Discovery out on the roads, the video was
able to give Dean an idea of where the problem might be and an
idea of how bad it was.
So Christine had her wheels fitted and was taken off the axle
stands, as these were needed to get the Discovery off it's wheels.
Within a few minutes from putting the jack under the Discovery,
Dean had found the problem, and it's BAD!!!!
The Discovery had been MOT'd earlier in the year and they were
told it needed a front right bearing doing. Dean did the bearing
and as he had tightened all the bits up and pulled everything
back into line the noise had gone. But it wasn't the wheel bearing,
but the front right prop shaft!
So the prop shaft could have gone at any time it was that bad!!!
So if something doesn't sound right get it checked or record it on
you're mobile phone and get somebody who does know what they
are doing to kindly listen to it!
(Might be an idea for those wanting help in their post for help to
have a video recoding of the offending noise etc to help others
suggest possible options or get a good laugh

)
Dean has said he will pop over and fit the replacement prop shaft
when I get one sorted. So until then everyone is using mother's
car till it is condemned which will be the minute Dean claps eyes
on it!!

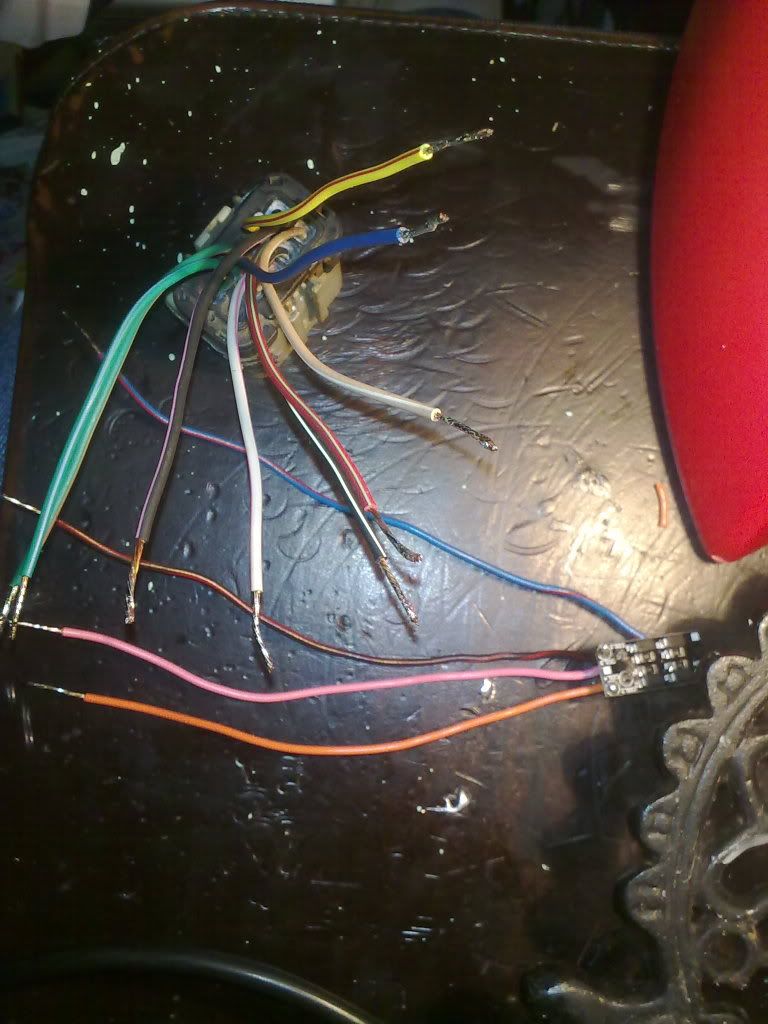
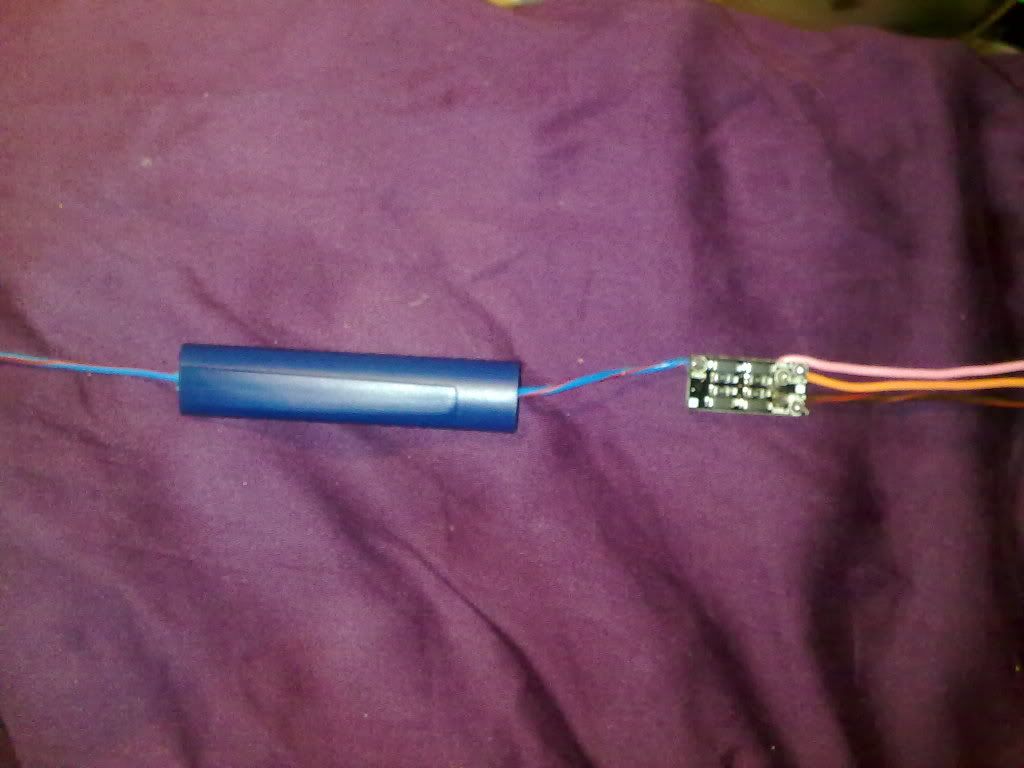
Later in the day, a little soldering and a few wires added.