Thanks For Your watching and support.
The reason for the documentation/loads of notes and pictures, is so that if I make a mistake,
people can spot it if I didn't. And I have a reference point of where I went wrong.
Also if I have to take the full dose of painkillers or med's, there is a diary of sorts with where I am
upto and what's left to do!
If anything happened to this old girl, be it on the road after the swap is done or if vandals/thieves
damage the car, then I have all the info of where, what, and by whom things got done, so the
insurance company can blow it out there behind that it wasn't done properly.
Then I or whoever can start the process again!
(Heaven forbid once is enough for me)
And today's work once the rain stopped and started up again,
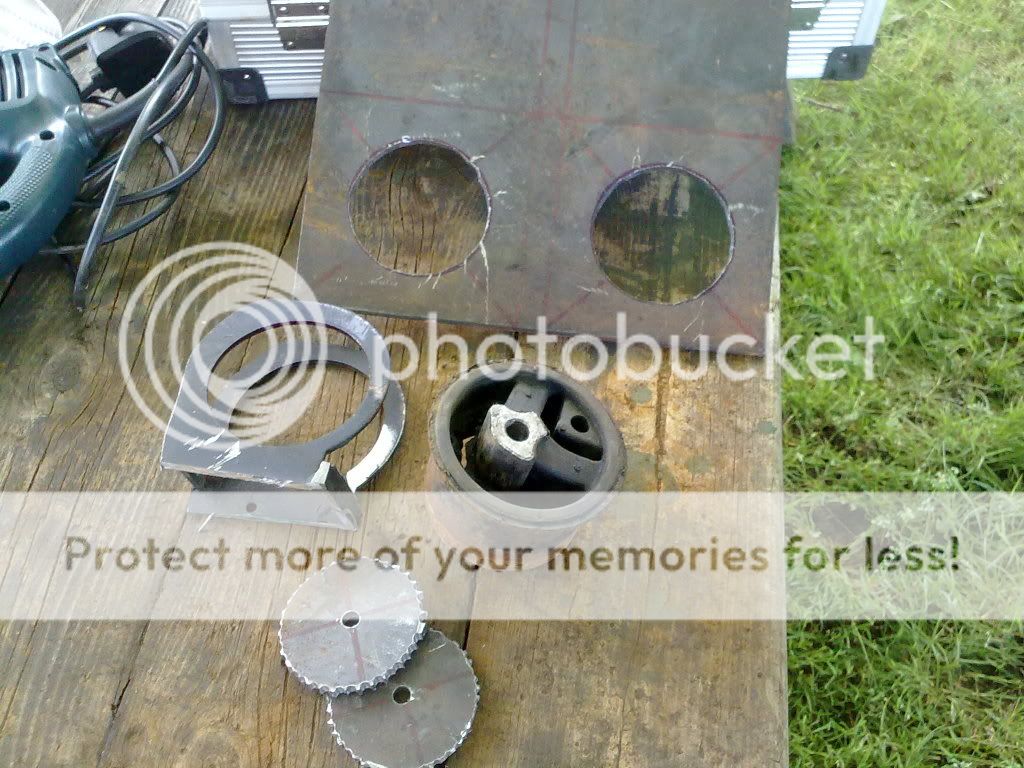
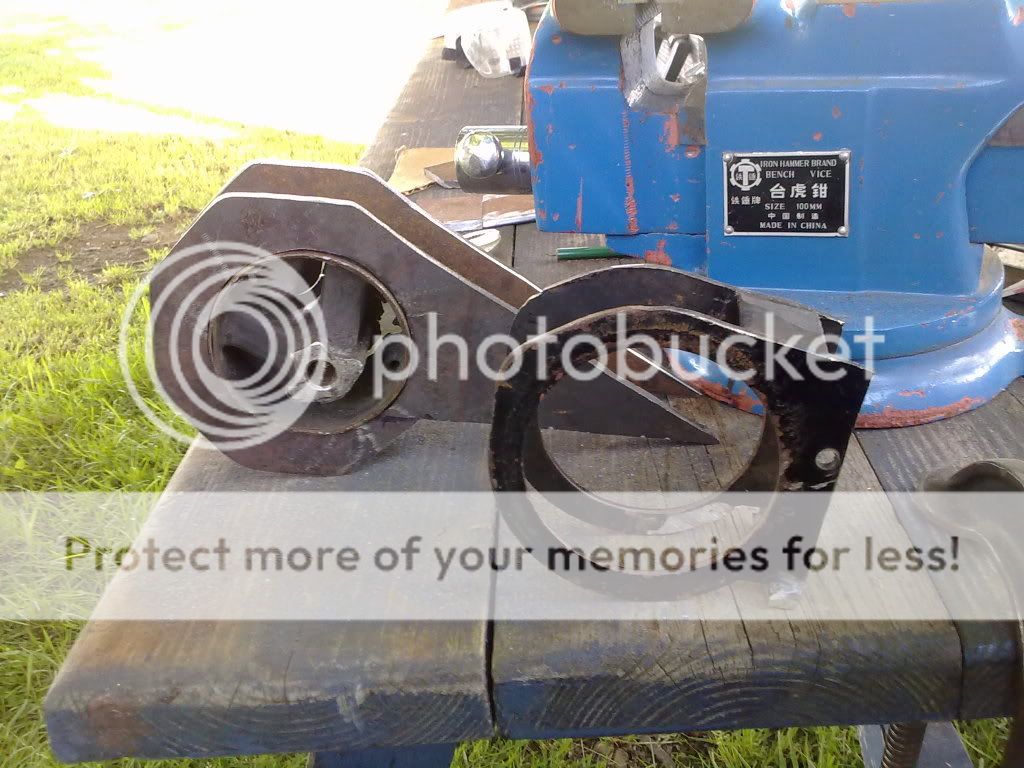
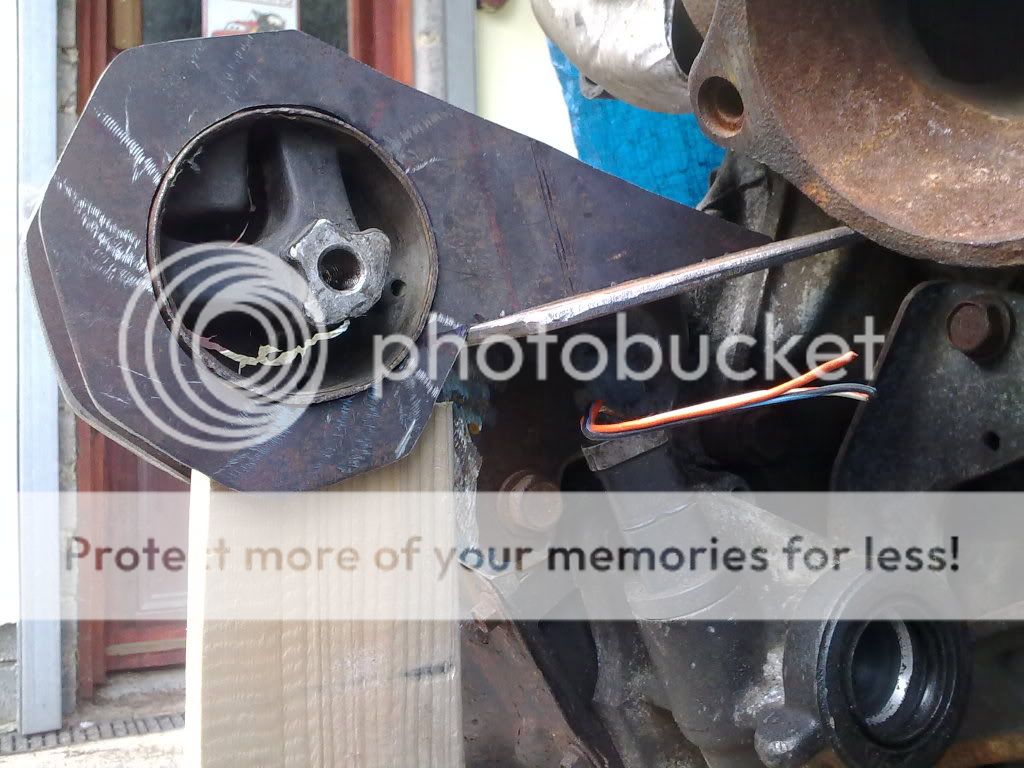
The Rear Engine/Transmission mount
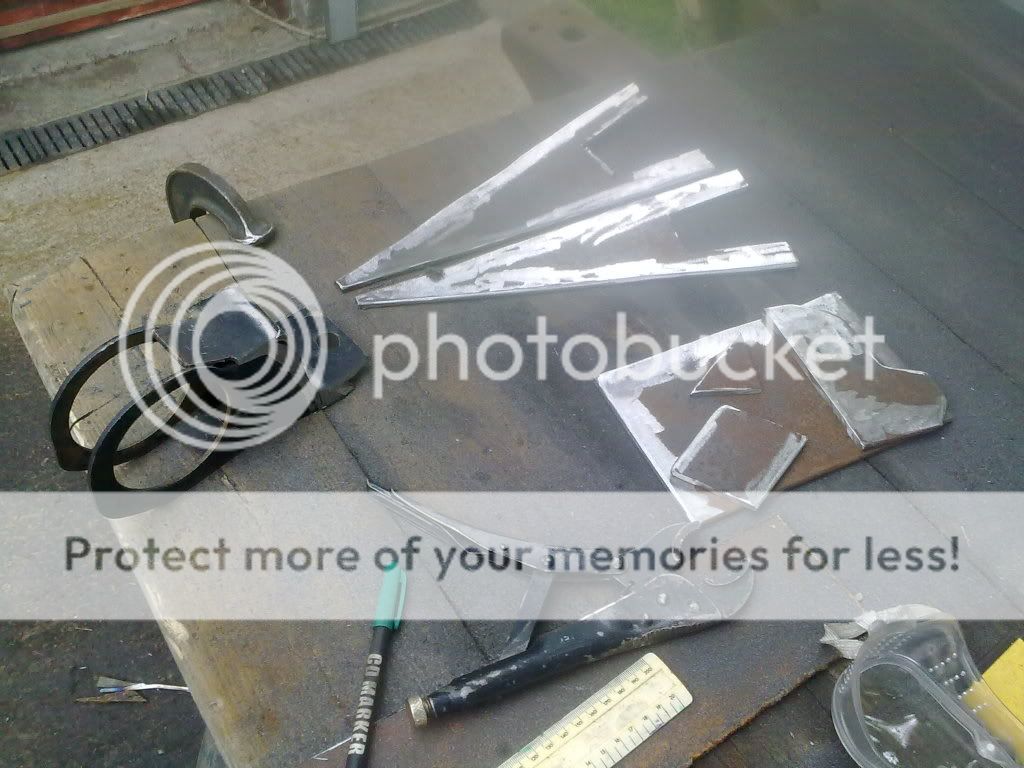
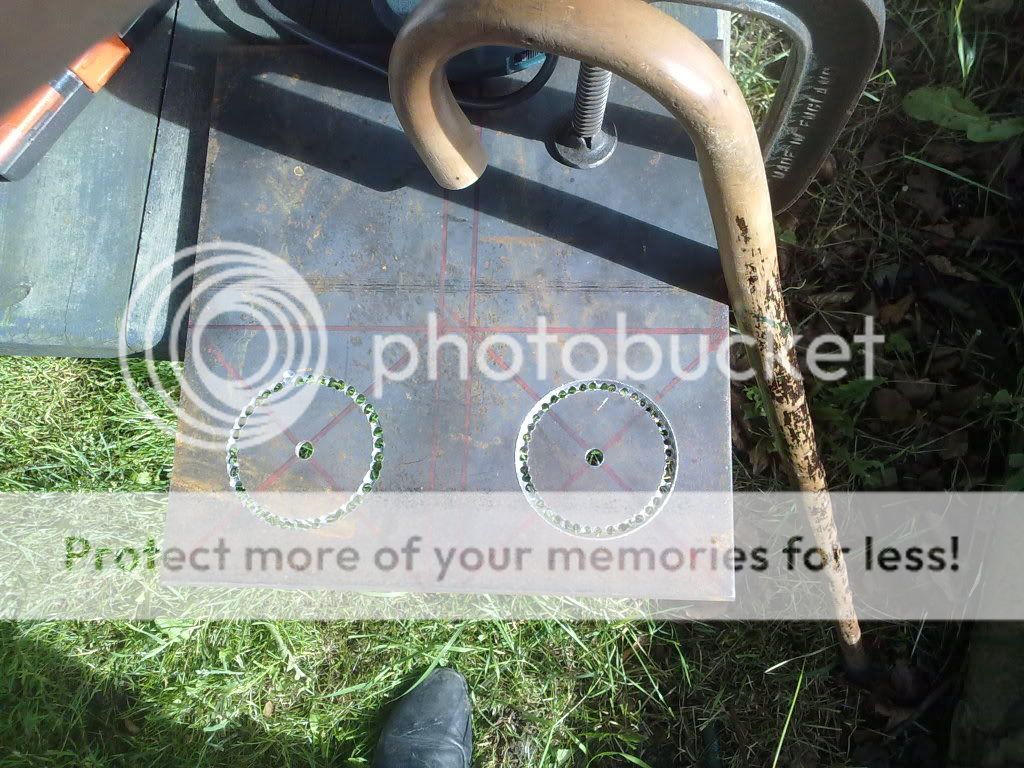
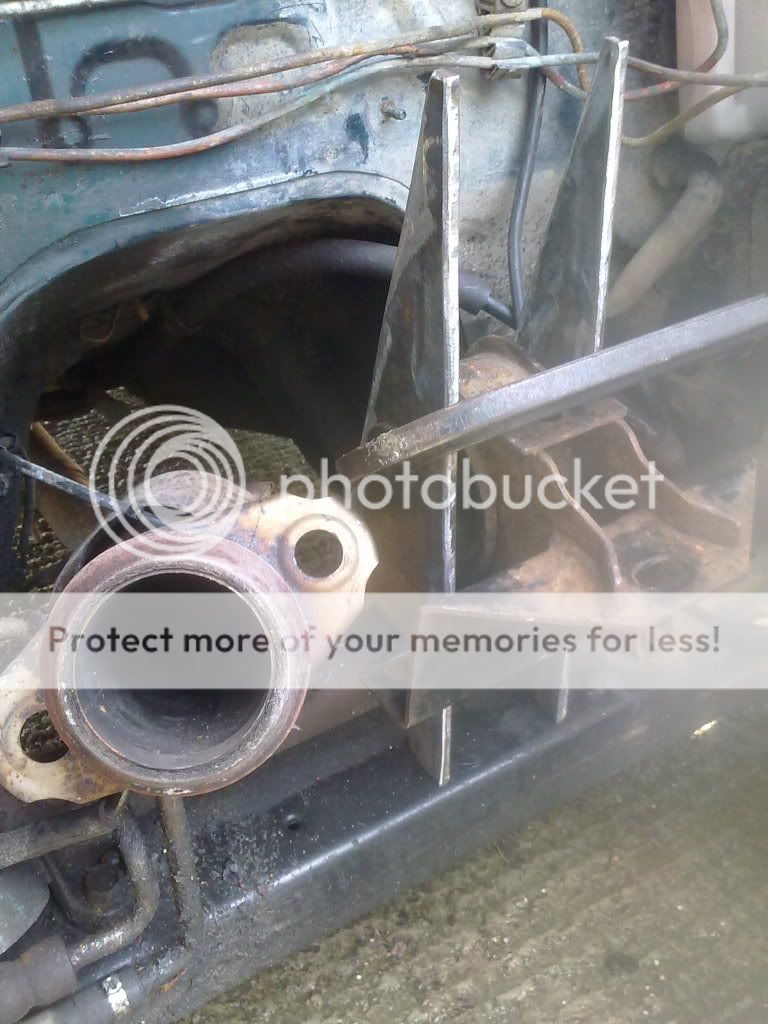
The triangles in the top of the picture are for the frame over the steering rack.
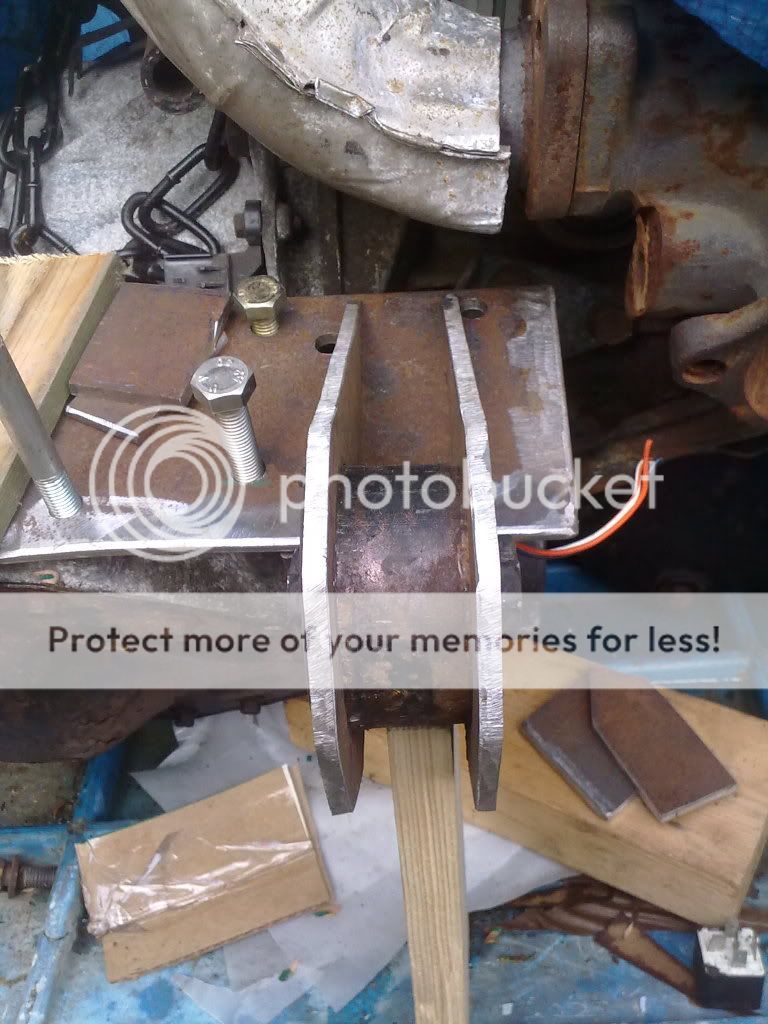
Below and to the right are the pieces for the bracket on the back of the transmission.
As I only want to make this once and can trim it down later, I have made the frame for going
on the rear subframe, and going over the steering rack as big as it is.
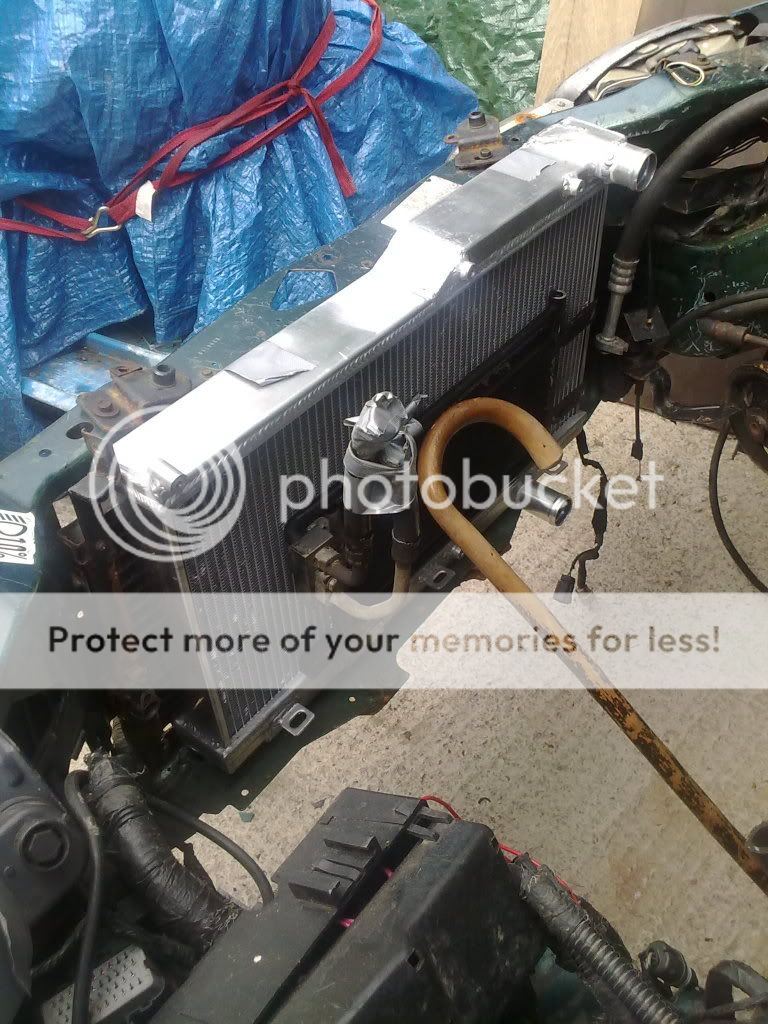
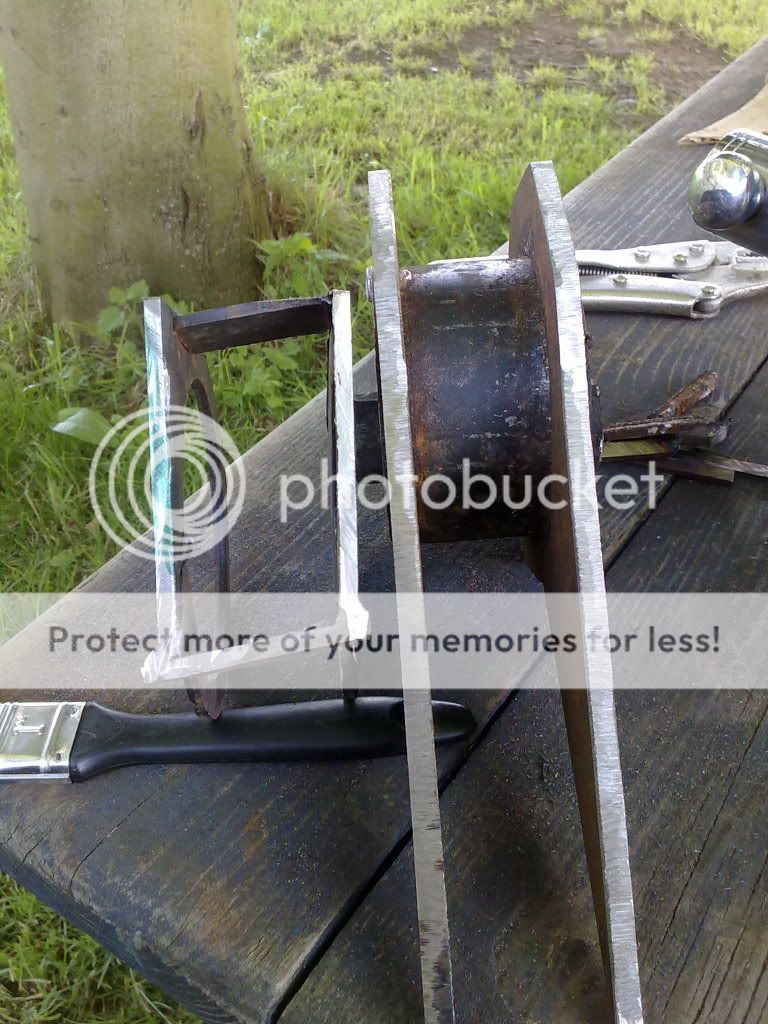
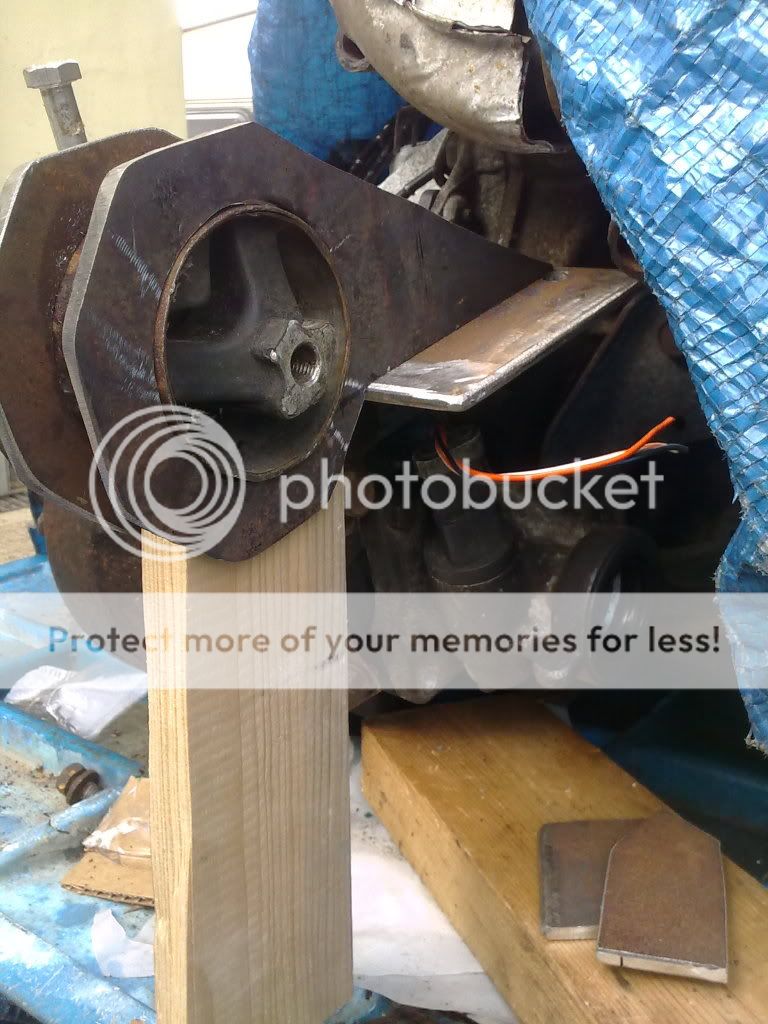
The Voyager Engine mount has been used in the following pictures to get an idea of scale,
and what there is to work with.
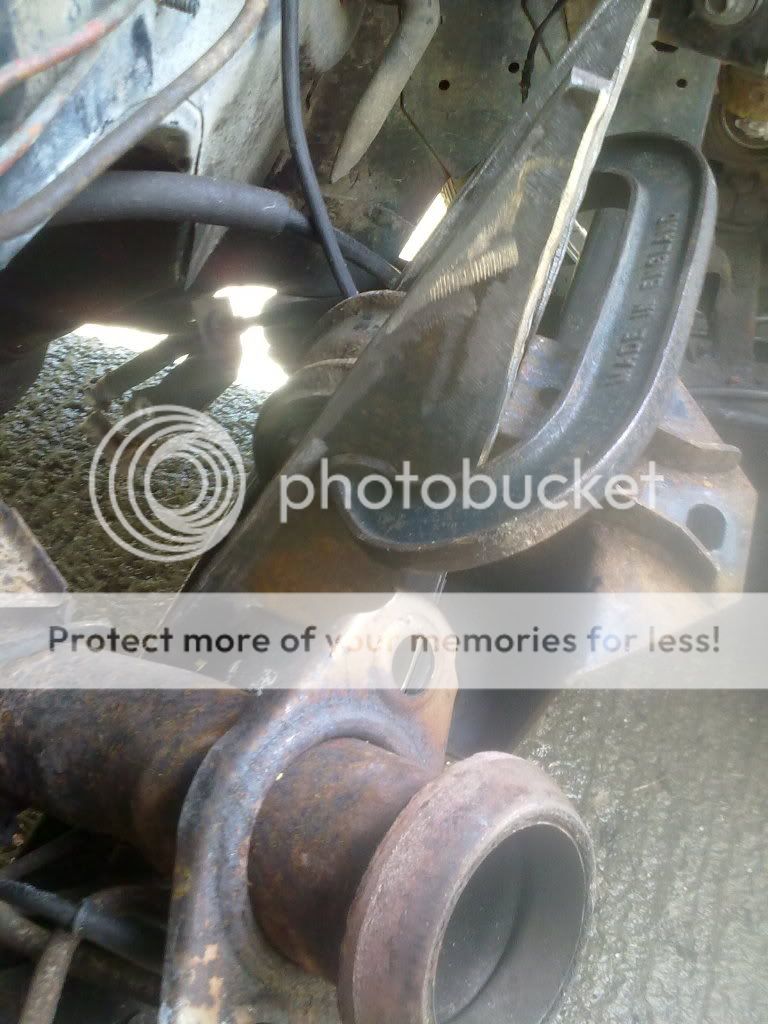
Whoops!!!!
I got the angle wrong!
I then trimmed it so it didn't tilt that way and had to make the hole over the steering rack a little
bigger with me trimming the foot of it. No Pictures of it after I trimmed it as rained again.
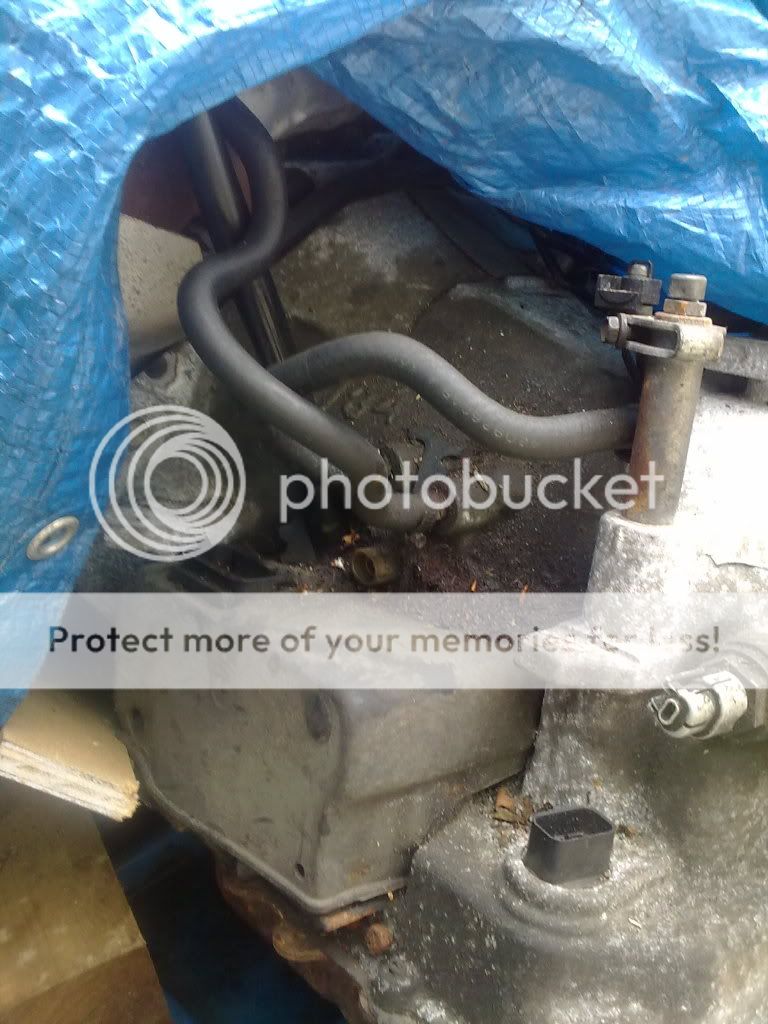
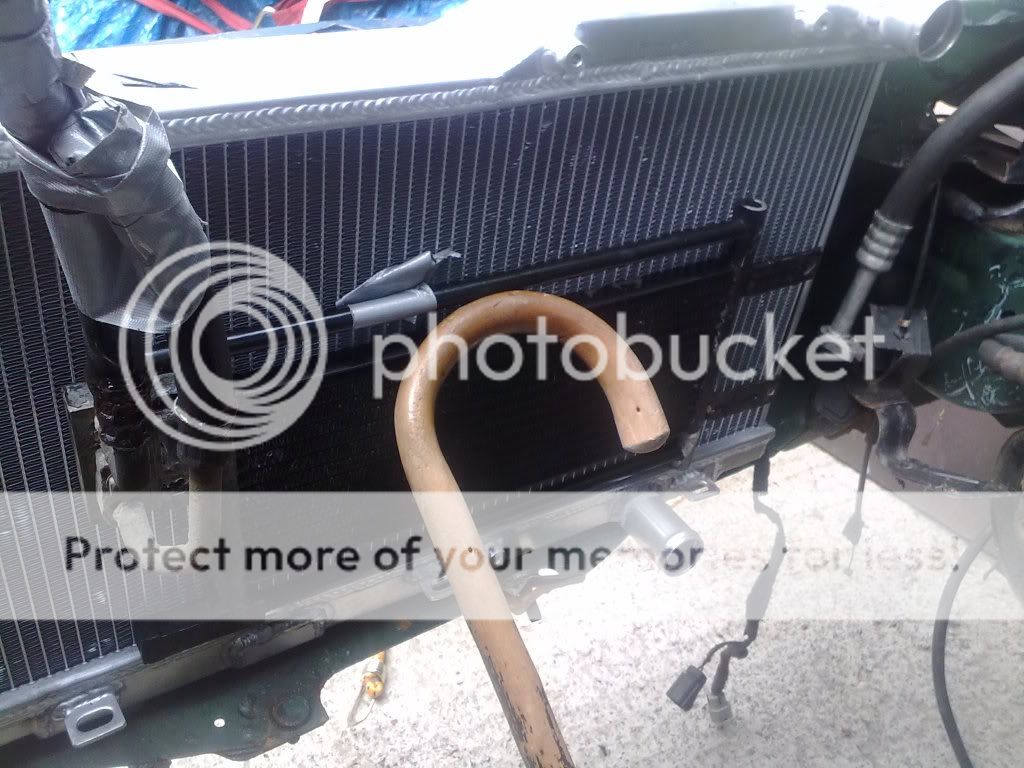
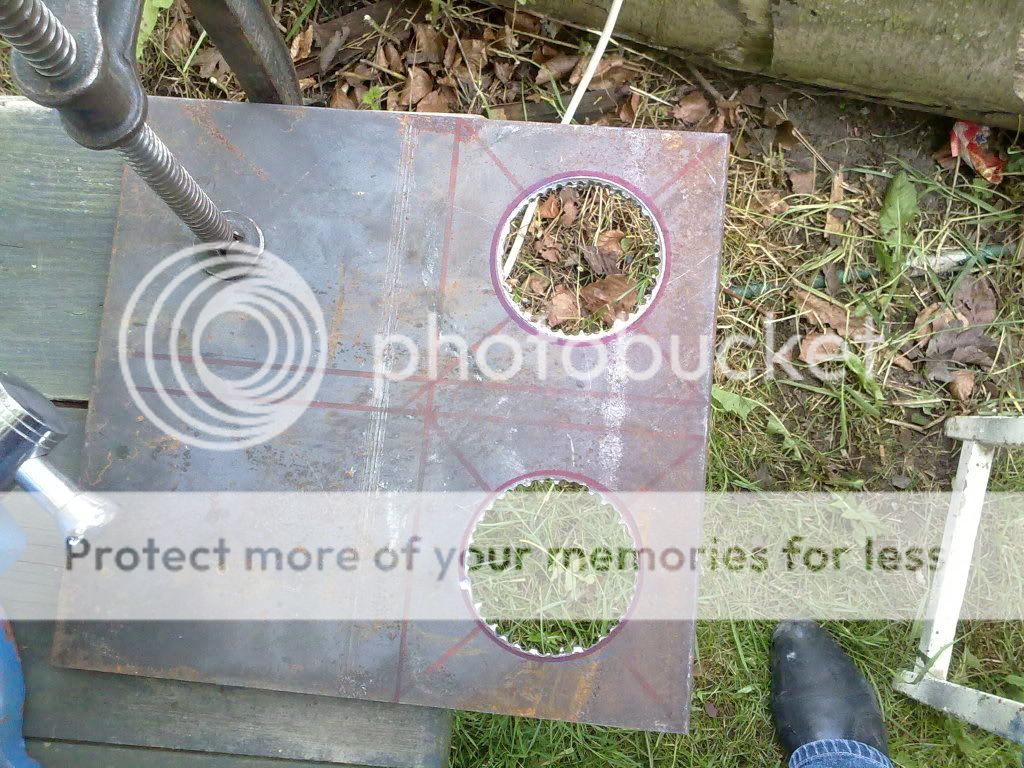
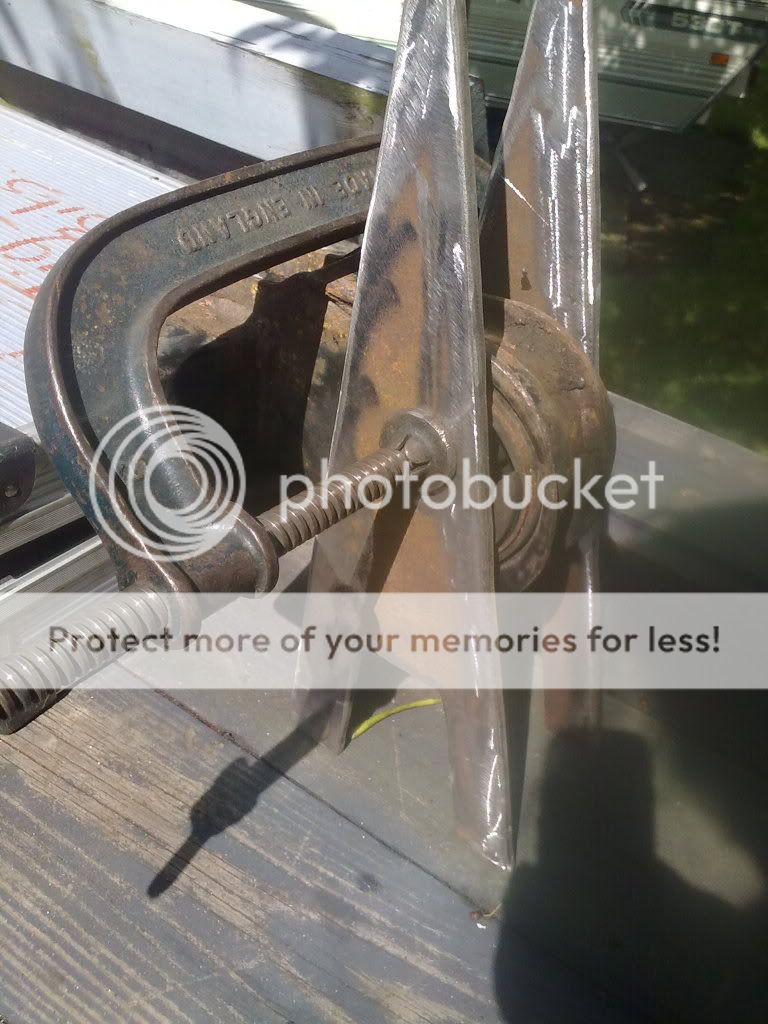
Please look at the top picture in this post.
You see the 2 large looped/holed black bit of metal?
Well it was going to be reused in part of the new bracket to hold
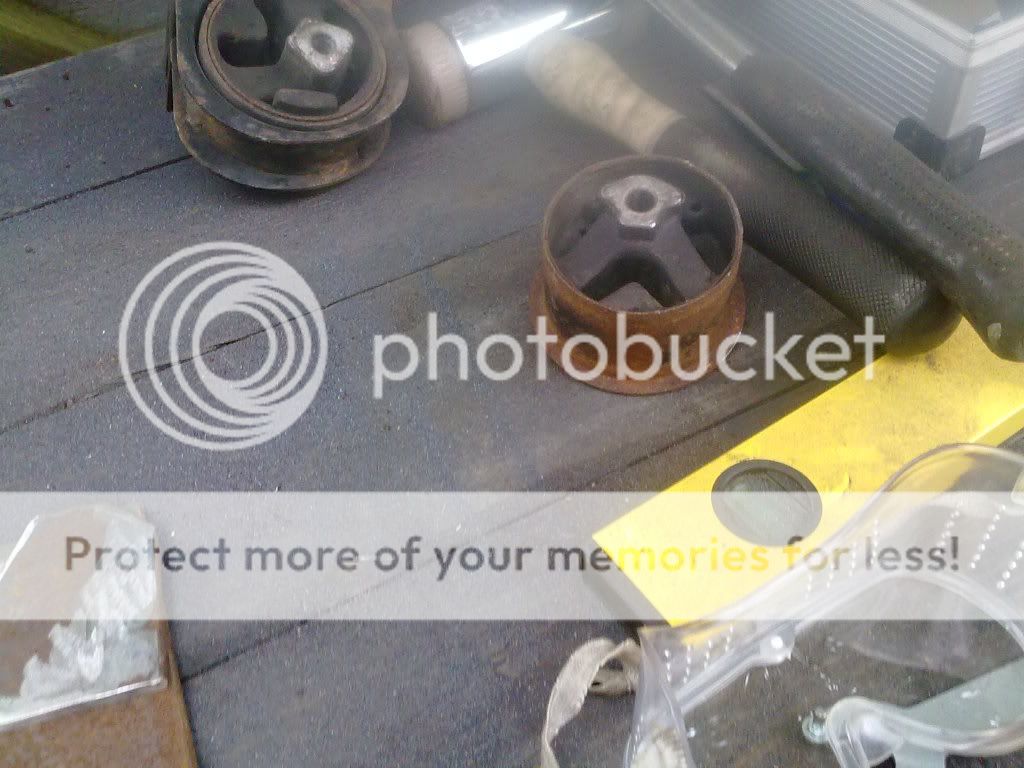
this mount insert which is just above the yellow spirit level in the above picture.
I think I will make my own bit to hold it as the metal is too thin for my liking.
Oh and for the record for all the parts of this bracket and frame I'm using 6mm plate.
I use the same 6mm for the new alternator brackets, the first lot were made with 4 or 5mm.