Going East - getting a UAZ 469 back on the road
Posted: Sat Oct 25, 2014 10:42 pm
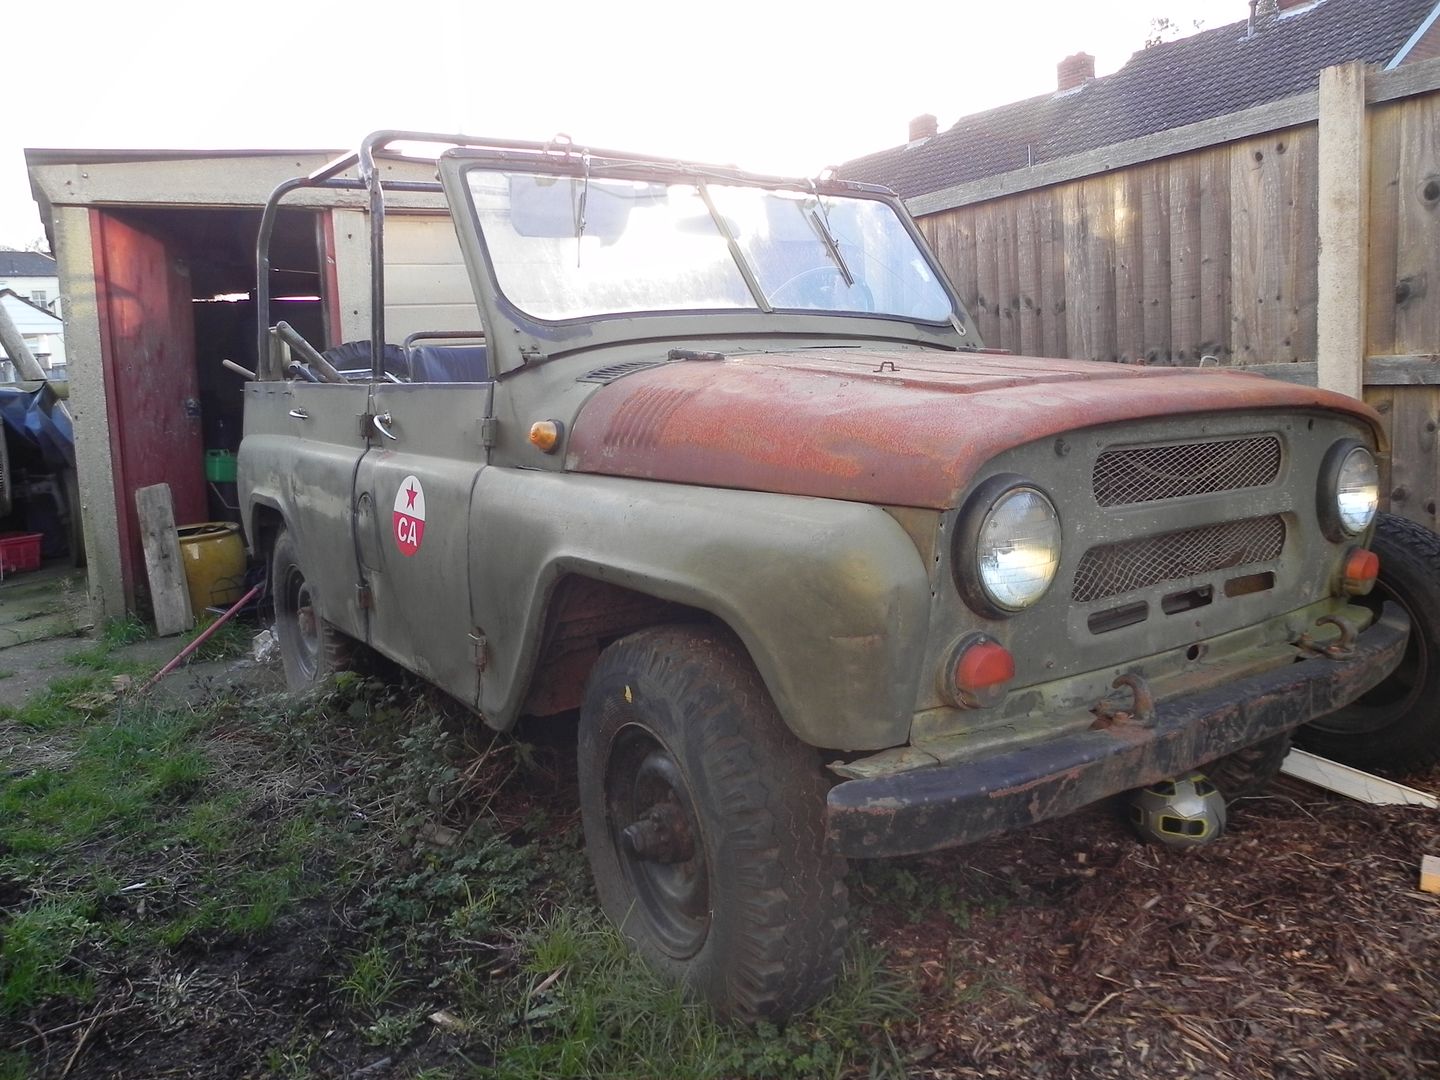
Sometime ago I bought a UAZ 469 from a friend who'd had it sitting in his garden doing nothing. - Delivery finally took place in June this year after the annual War and Peace Revival show down in Kent. This is how the old bus was as bought:
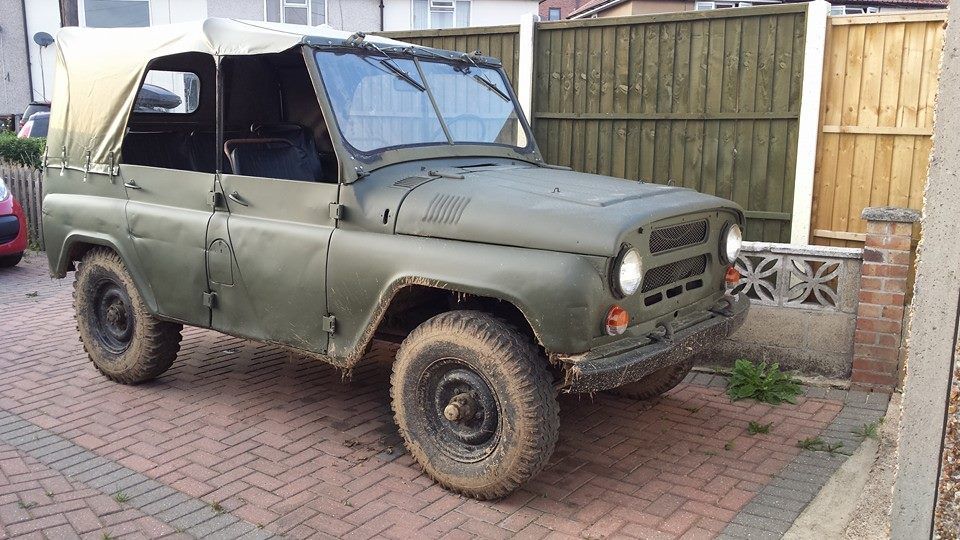
After a week of ploughing through the mud in Kent it was dropped off on my drive as in this photo:
Primary issue was a total lack of hydraulic brakes although the handbrake was quite effective Being an early model the brake master cylinder was under the floor, bolted to the chassis rail. Later ones were more conventional in having them up on the bulk head with the battery relocated to the other side of the engine bay. Once a cylinder was obtained it was easy enough to replace and bleed. That got brakes back.
Next issue was the non-runnng engine - it had been running down at the show so it wasn't a going to be a major fault and diagnosis revealed the fuel pump had ceased pumping!! It seems to be the Achilles heel of the marque so a new pump was ordered and fitted together with a repair kit. Once this was done the engine burst into life.
Some footage of the living engine : https://www.youtube.com/watch?v=U5JqpPzhsdw
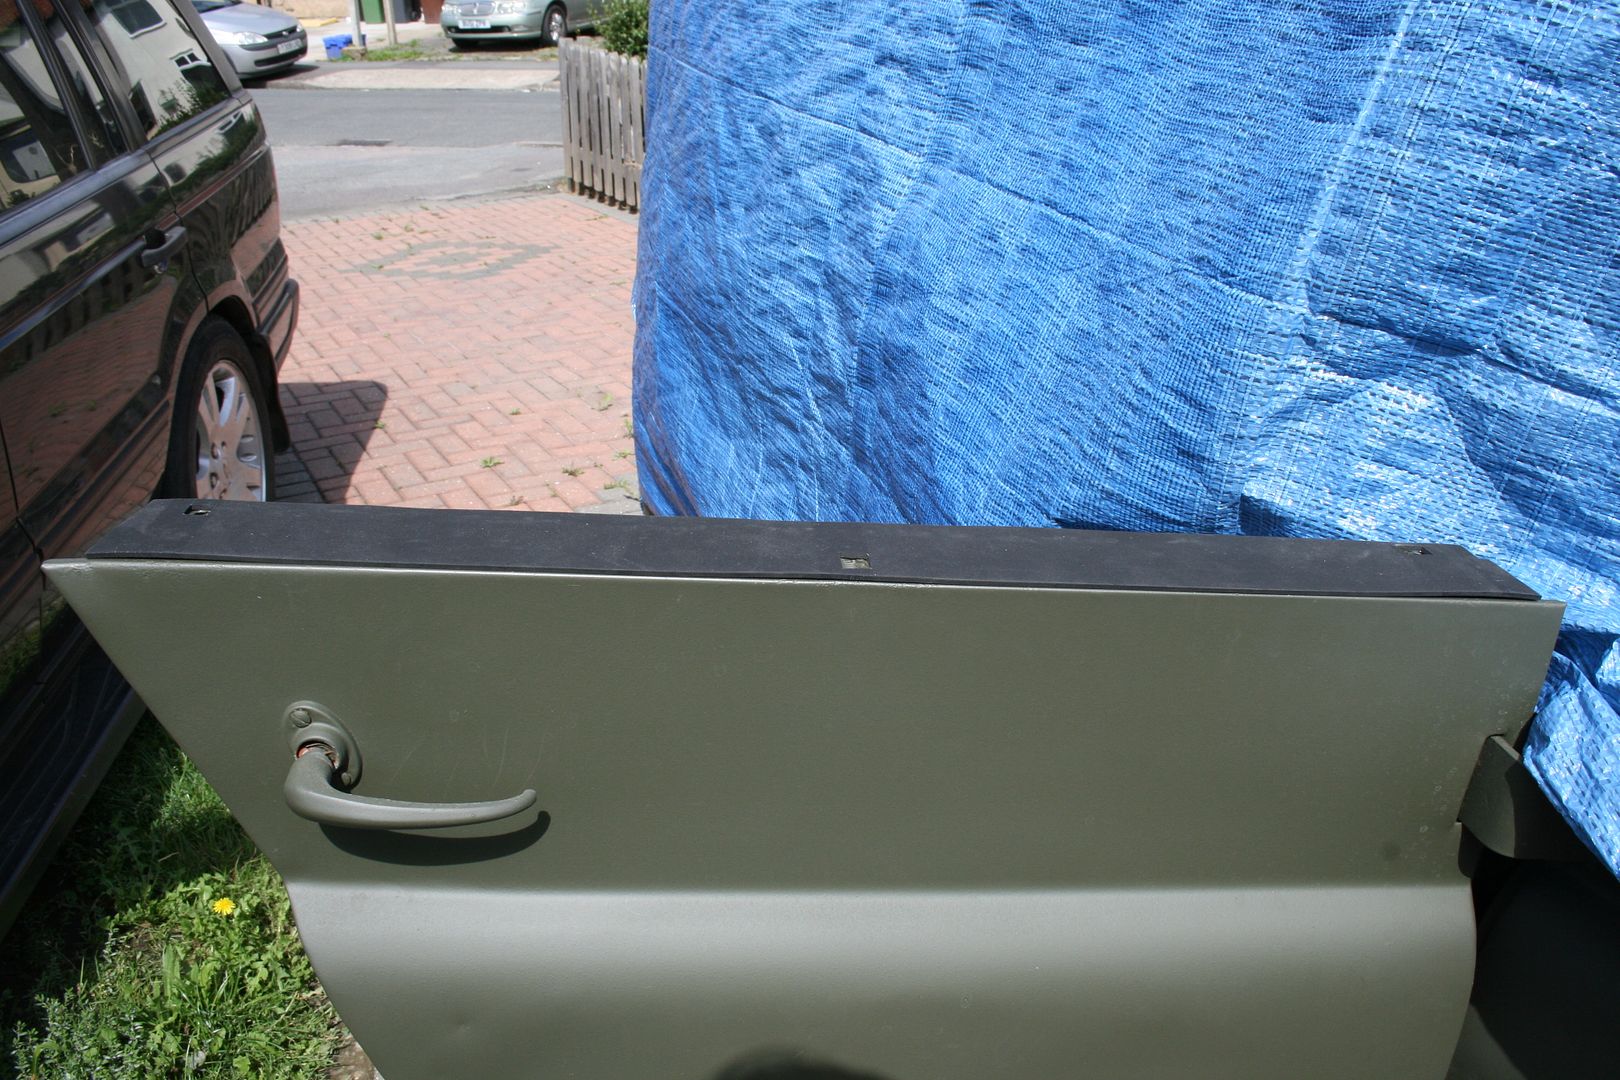
Next on the list with the possible advent of wet weather was the door tops. These bolt on to captive nuts in three places on each door. Problem I had was only door had all three nuts - the rest had rotted out leaving holes. There is also supposed to be a seal between the two sections as per a Landrovers - these were obviously missing so I made some up from thin rubber sheet and a morning work got me 4 door tops fitted:
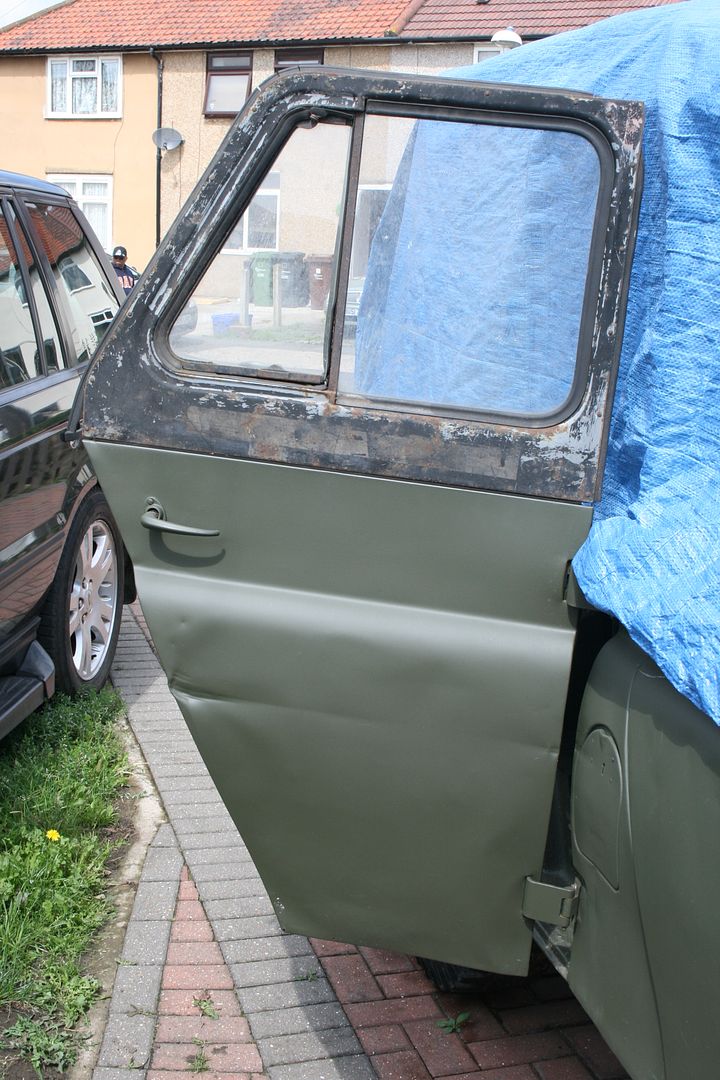
The other problem here is the doors are badly buckled so the tops lean out away from the vehicle rather than in. The design calls for the rubber trim seals around the tops to make a seal against the roof material/frame so an instant problem with waterproofing!! Fortunately the roof has a hook ad eye on what would be the B pillar so I pressed the door tops in and pulled the roof over. Can't open the doors from inside but is gives a degree of waterproofing. When it did start to rain I found water was pouring (literally) through the roof seams - a tube of PVA seam sealer cured this though and after the odd holes in the front scuttle were plugged with either bolts or rubber core plugs the interior remains relatively dry... Relatively being the operative word........ Still get puddles on the floor but it's no longer a swimming pool inside! Plans are to replace the door with new ones from a supplier in Poland - maybe even the door tops too with a new design that uses sliders akin to a Series Landie rather than the quarter lights on the existing ones.
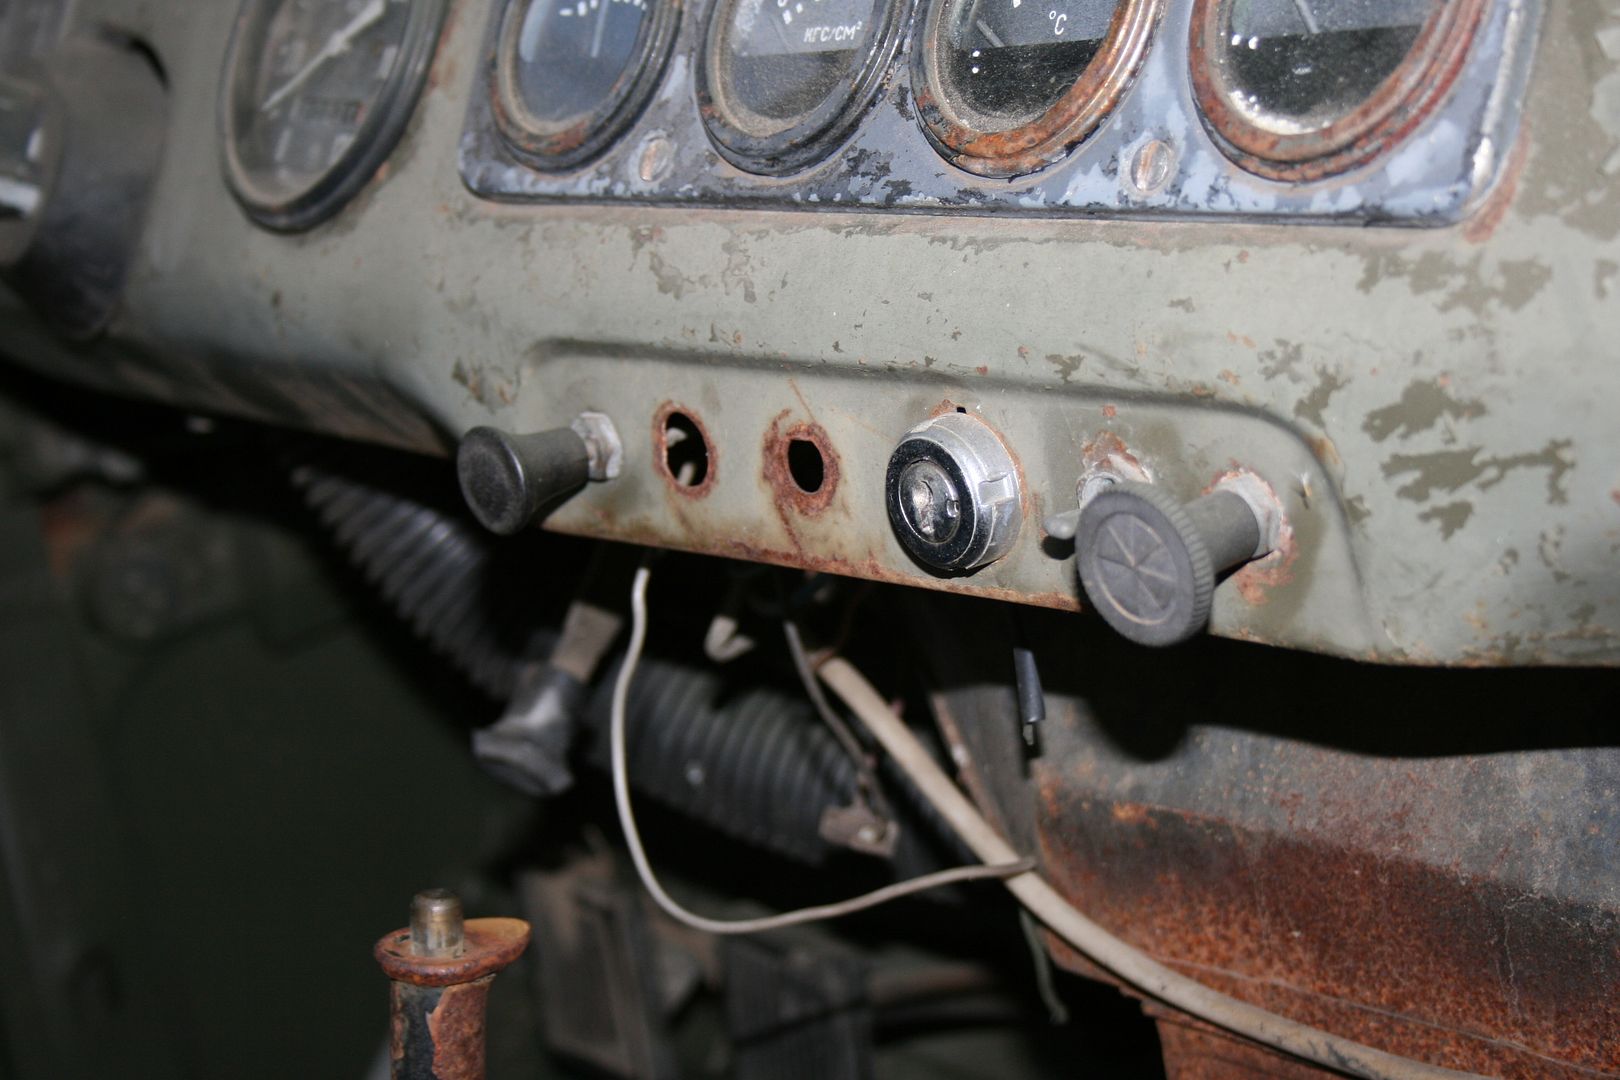
Once we had a dry(sih) interior the fun really started. None of the lights worked as intended and the dash had a few odd holes where switches were meant to be. Another days work tidied up the dash so that the great electrical hunt could begin.
Before
After
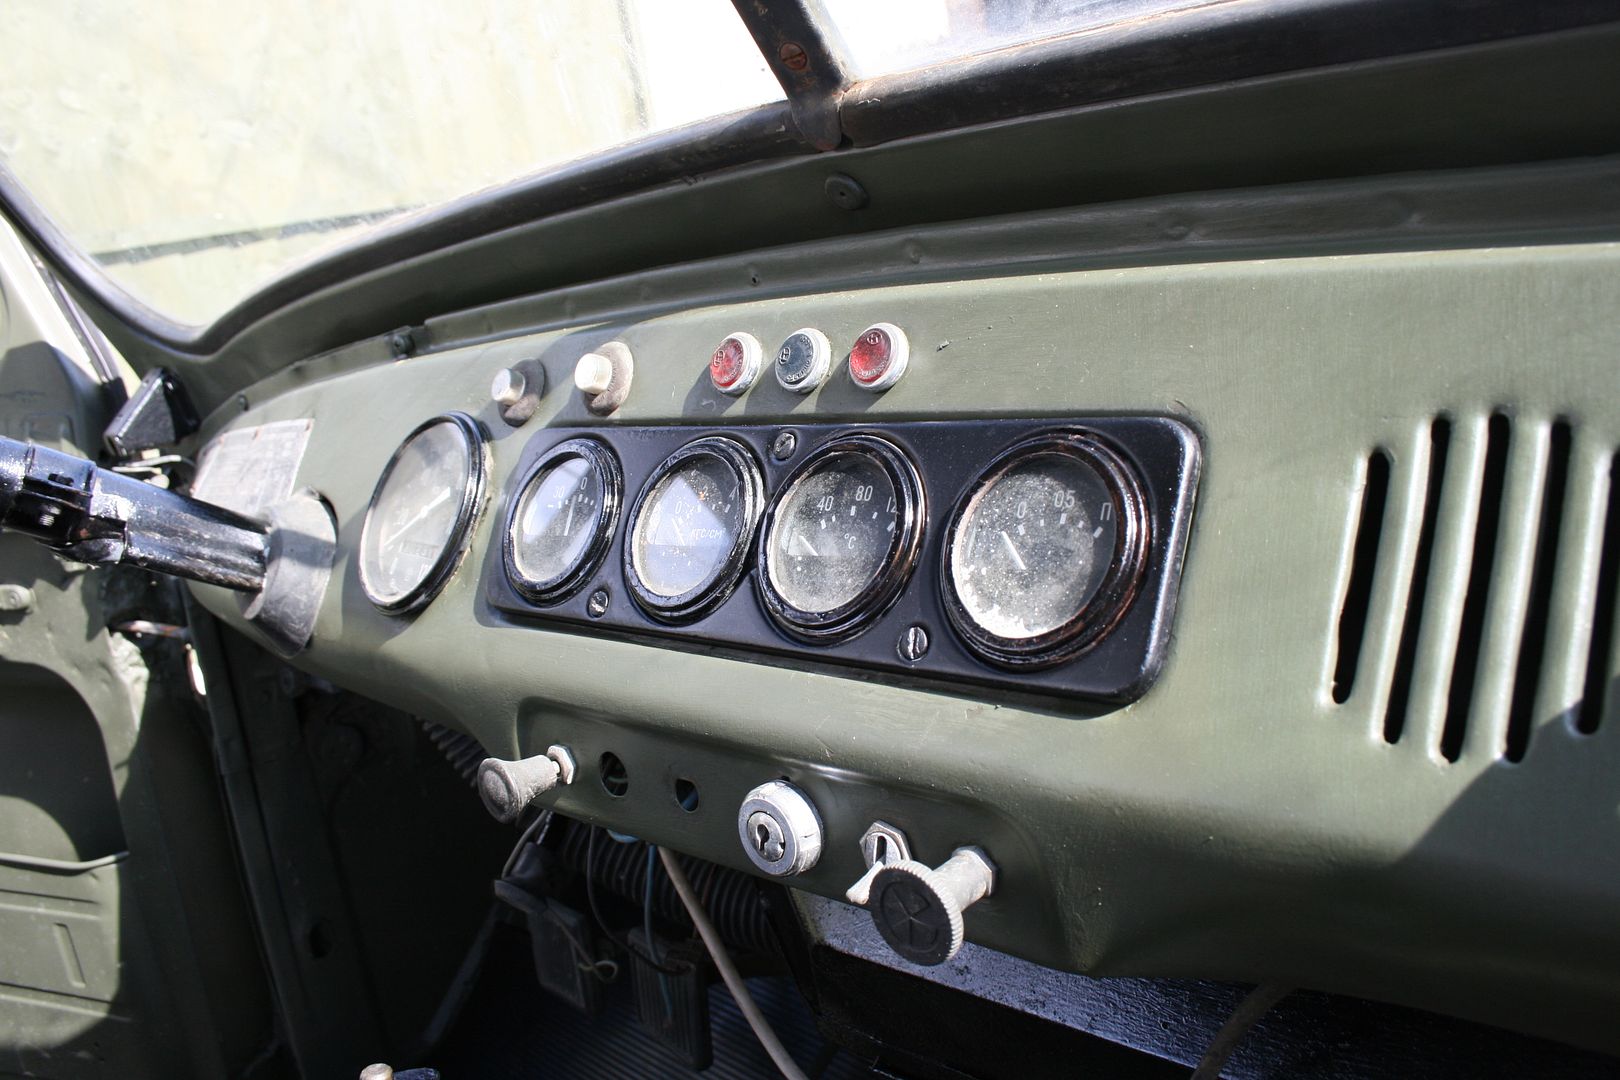
Much hard work with a Multimeter tracing circuits found the relevant wiring for the lights and a new light switch was ordered and delivered. Unfortunately it did not use a multi-plug so the next job was tracing the patch through the switch to find out where the head and side and panel lights connected to. After a few false starts - one of which saw smoke rise from the rheostat I did not know was there I got it figured and I had worked head/side/tail/brake lights, map reading light and a working dip switch. One "interesting" feature was the wiring on this vehicle bore no resemblance to any wiring diagram available for the 469 and the other "interesting" part was the fact the new rear light clusters looked identical - but were wired differently internally, I had to swap the clusters as the original design was the old 50's style lighting where the brake and indicators were double function - now frowned on I believe so it was an easy thing to swap to a later 3 bulb cluster and re-route the brake light feeds.
Working lights: https://www.youtube.com/watch?v=_lUXEgt-QDs
That brought me to the indicators. Oh what fun.... it took an age to realize that the indicator relay was the rather large box screwed to the wall of the drivers foot well. Once found the wiring for this was even more insane!! It didn't help that it has two multi-plugs, 1 x large and 1 x small and the small one was the brake feed that had been bypassed earlier... A long session with a multimeter traced most but not all of the cables and a prolonged dig up on the main loom revealed another large multi-plug. This stumped me for ages until discussing it on the Cold War Car group over on FB and a member there pointed out the second plug was for a hazard warning switch, kindly providing the pin-outs. I patched the multi-plugs onto the relay using fly leads and got nothing. Taking the relay apart revealed this amount of corrosion:
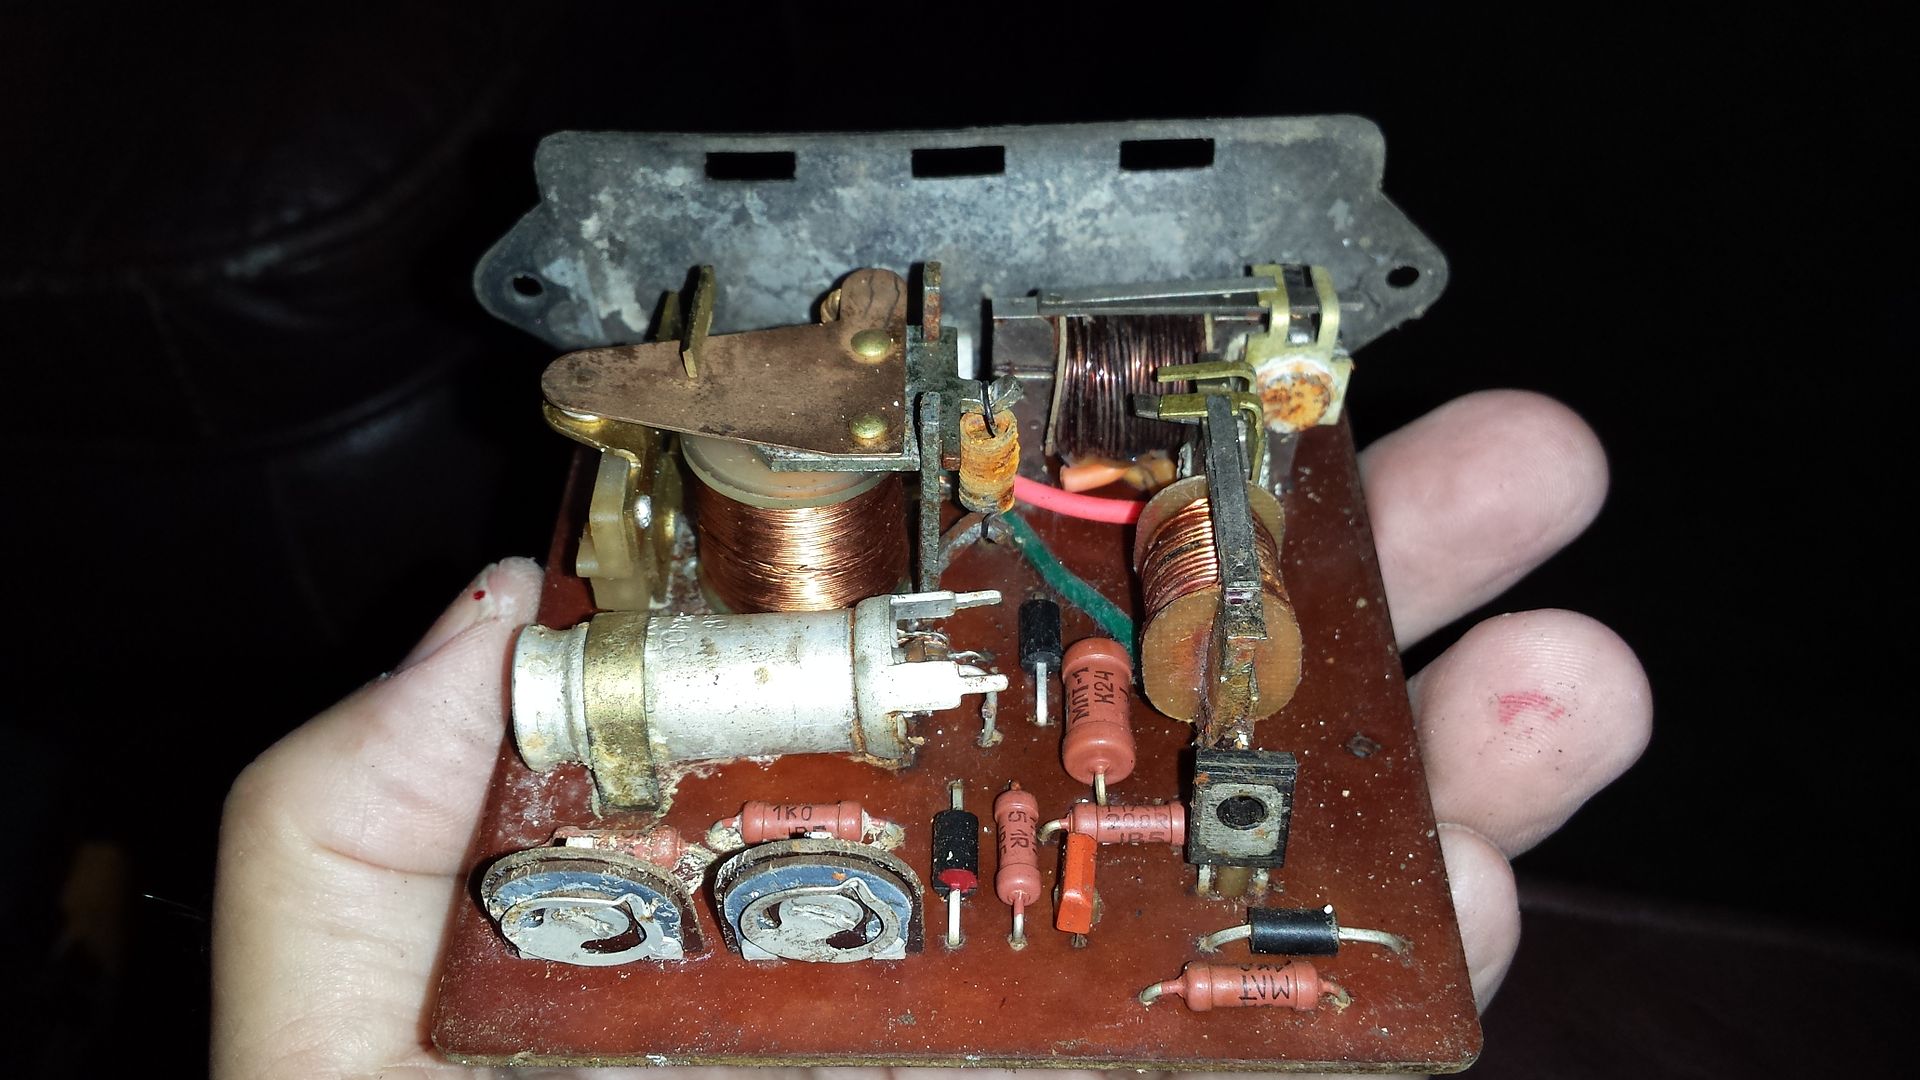
A new relay and the hazard switch were duly ordered from Russia and fitted on arrival - result was working indicators and hazards. That just leaves the side repeaters and the heater fan to sort out. Oh - and the spotlight - it keeps blowing a 35A fuse when turned on.
Working indicators: https://www.youtube.com/watch?v=QjyV0mhnve0
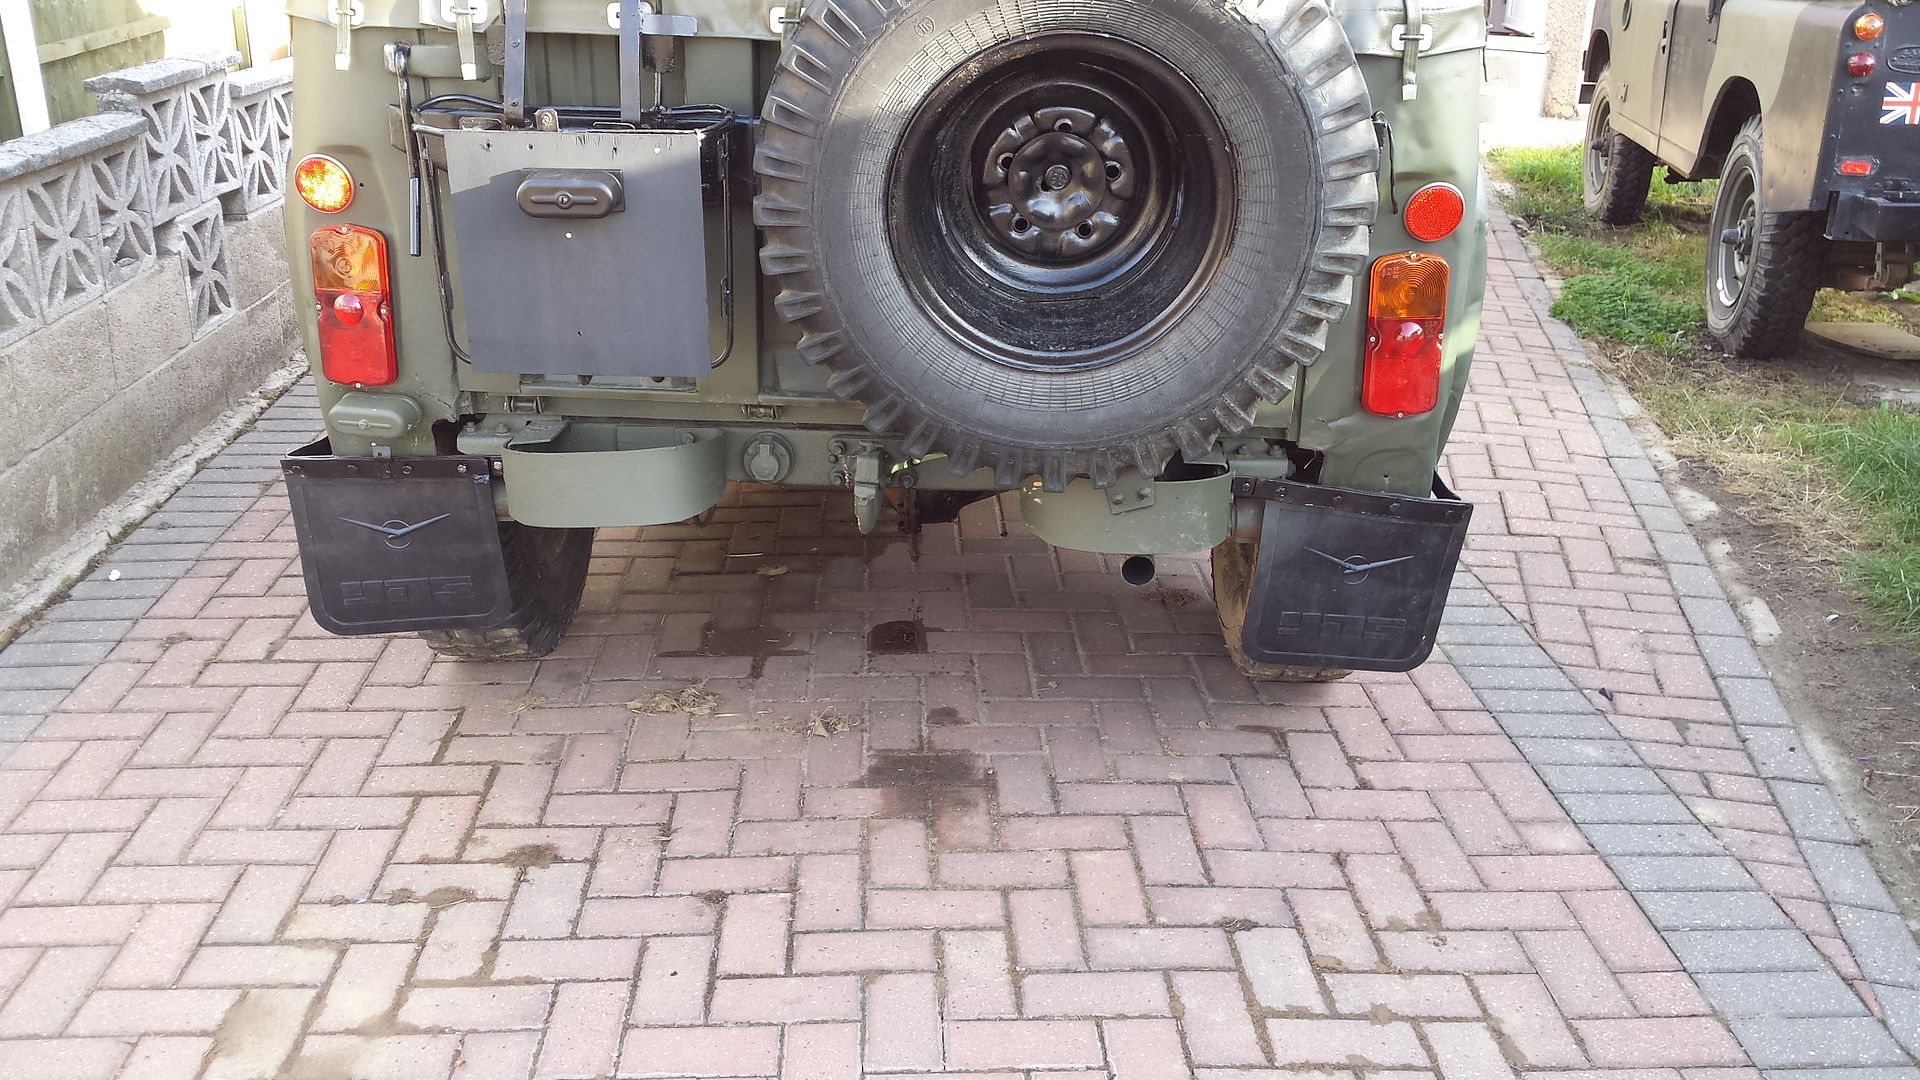
Externally a mounting plate was made from 3mm ply and secured to the jerry can holder on the back to take a UK size number plate - now I just have to sit back and wait for DVLA to do their thing and issue the paperwork so I can get the number plates made up.
Next jobs to do will be to fit the MPH overlay to the speedo head but before that can be refitted I am waiting for another delivery from Poland containing the bulb holders for the main beam warning light and the speedo illumination plus a couple of temperature sensors and a new warning light assembly. I have the oil pressure sensor and will fit that at the same time.
Unfortunately as of today I also need to repair the fuel pump - remember I said it was the Achilles heel of the 469?? Mine has stopped pumping again!!

After a week of ploughing through the mud in Kent it was dropped off on my drive as in this photo:

Primary issue was a total lack of hydraulic brakes although the handbrake was quite effective
Next issue was the non-runnng engine - it had been running down at the show so it wasn't a going to be a major fault and diagnosis revealed the fuel pump had ceased pumping!! It seems to be the Achilles heel of the marque so a new pump was ordered and fitted together with a repair kit. Once this was done the engine burst into life.
Some footage of the living engine : https://www.youtube.com/watch?v=U5JqpPzhsdw
Next on the list with the possible advent of wet weather was the door tops. These bolt on to captive nuts in three places on each door. Problem I had was only door had all three nuts - the rest had rotted out leaving holes. There is also supposed to be a seal between the two sections as per a Landrovers - these were obviously missing so I made some up from thin rubber sheet and a morning work got me 4 door tops fitted:


The other problem here is the doors are badly buckled so the tops lean out away from the vehicle rather than in. The design calls for the rubber trim seals around the tops to make a seal against the roof material/frame so an instant problem with waterproofing!! Fortunately the roof has a hook ad eye on what would be the B pillar so I pressed the door tops in and pulled the roof over. Can't open the doors from inside but is gives a degree of waterproofing. When it did start to rain I found water was pouring (literally) through the roof seams - a tube of PVA seam sealer cured this though and after the odd holes in the front scuttle were plugged with either bolts or rubber core plugs the interior remains relatively dry... Relatively being the operative word........ Still get puddles on the floor but it's no longer a swimming pool inside!
Once we had a dry(sih) interior the fun really started. None of the lights worked as intended and the dash had a few odd holes where switches were meant to be. Another days work tidied up the dash so that the great electrical hunt could begin.
Before

After

Much hard work with a Multimeter tracing circuits found the relevant wiring for the lights and a new light switch was ordered and delivered. Unfortunately it did not use a multi-plug so the next job was tracing the patch through the switch to find out where the head and side and panel lights connected to. After a few false starts - one of which saw smoke rise from the rheostat I did not know was there I got it figured and I had worked head/side/tail/brake lights, map reading light and a working dip switch. One "interesting" feature was the wiring on this vehicle bore no resemblance to any wiring diagram available for the 469 and the other "interesting" part was the fact the new rear light clusters looked identical - but were wired differently internally, I had to swap the clusters as the original design was the old 50's style lighting where the brake and indicators were double function - now frowned on I believe so it was an easy thing to swap to a later 3 bulb cluster and re-route the brake light feeds.
Working lights: https://www.youtube.com/watch?v=_lUXEgt-QDs
That brought me to the indicators. Oh what fun.... it took an age to realize that the indicator relay was the rather large box screwed to the wall of the drivers foot well. Once found the wiring for this was even more insane!! It didn't help that it has two multi-plugs, 1 x large and 1 x small and the small one was the brake feed that had been bypassed earlier... A long session with a multimeter traced most but not all of the cables and a prolonged dig up on the main loom revealed another large multi-plug. This stumped me for ages until discussing it on the Cold War Car group over on FB and a member there pointed out the second plug was for a hazard warning switch, kindly providing the pin-outs. I patched the multi-plugs onto the relay using fly leads and got nothing. Taking the relay apart revealed this amount of corrosion:

A new relay and the hazard switch were duly ordered from Russia and fitted on arrival - result was working indicators and hazards. That just leaves the side repeaters and the heater fan to sort out. Oh - and the spotlight - it keeps blowing a 35A fuse when turned on.
Working indicators: https://www.youtube.com/watch?v=QjyV0mhnve0
Externally a mounting plate was made from 3mm ply and secured to the jerry can holder on the back to take a UK size number plate - now I just have to sit back and wait for DVLA to do their thing and issue the paperwork so I can get the number plates made up.

Next jobs to do will be to fit the MPH overlay to the speedo head but before that can be refitted I am waiting for another delivery from Poland containing the bulb holders for the main beam warning light and the speedo illumination plus a couple of temperature sensors and a new warning light assembly. I have the oil pressure sensor and will fit that at the same time.
Unfortunately as of today I also need to repair the fuel pump - remember I said it was the Achilles heel of the 469?? Mine has stopped pumping again!!
