I parked it up a week ago in disgust, and there it can stay, effing piece of 12 year old "modern" junk.
So, I haven't got a car at the moment and am not currently in the mood to start chasing any other modern rubbish.
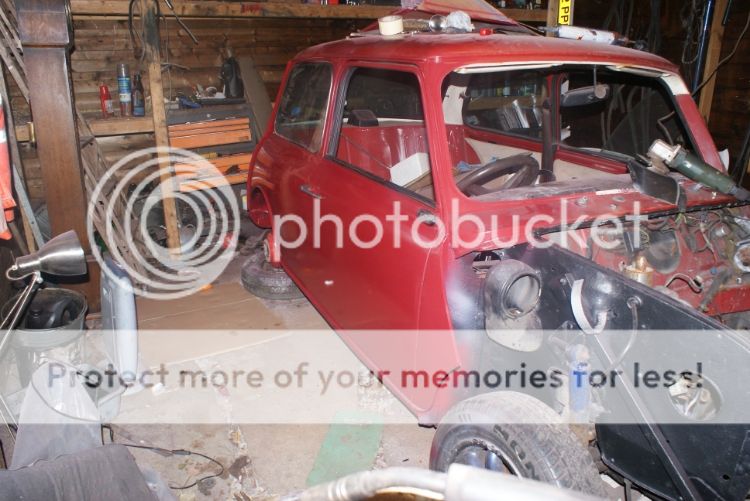
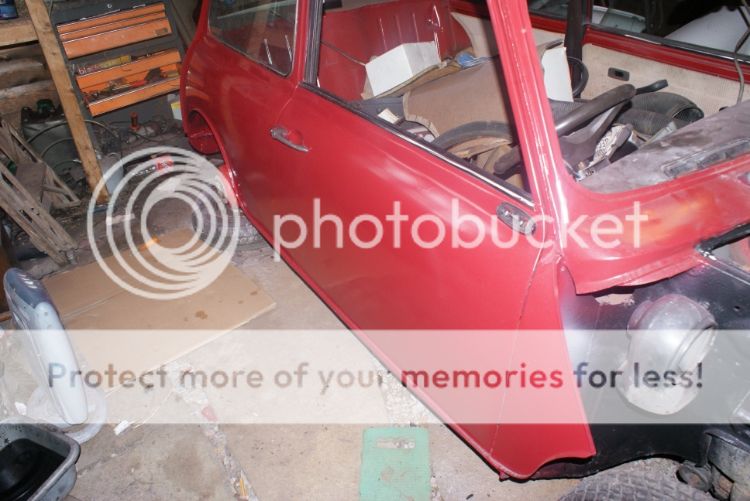
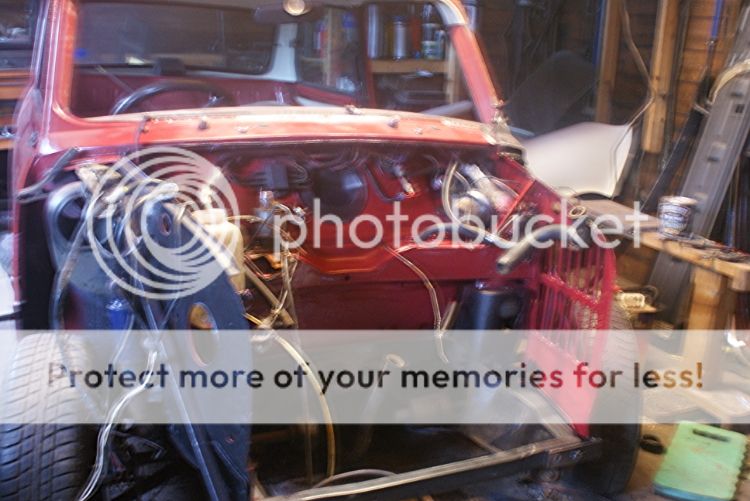
So, project "mini emergency" was born a week ago, hopefully in a few weeks I will be driving about in her, at least if I can find enough hours to get the thing done, the weather is going bad up here and me only have two wheeled transport should keep me motivated. The boys mini has been bunged outside under a sheet for now to give me space and so it is all systems go.
So....
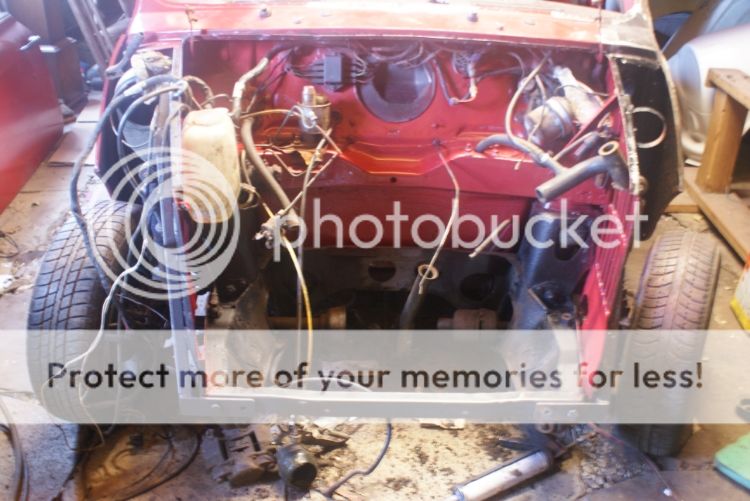
Last weeks work was
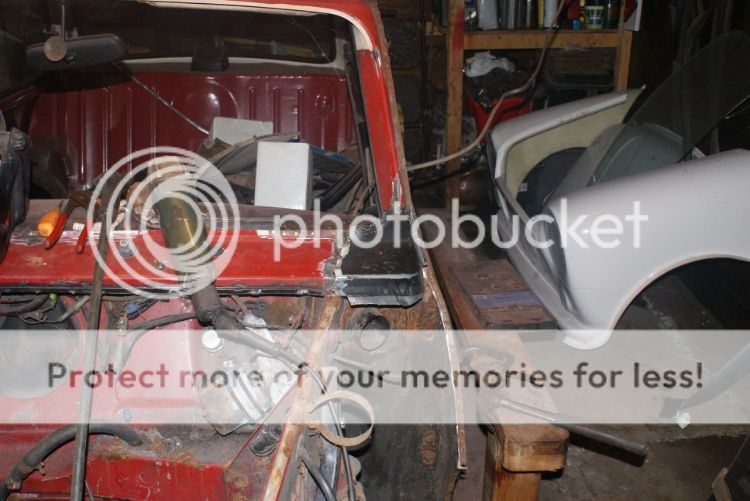
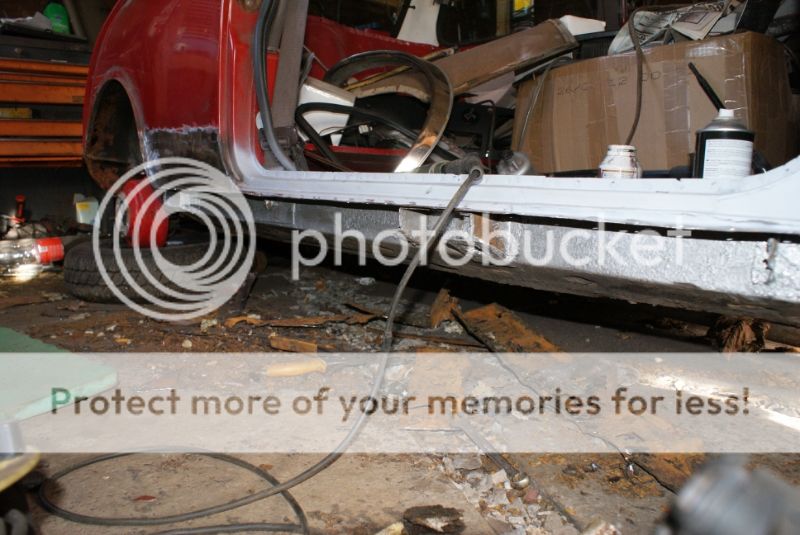
To fit the A panel and repair the door sill step, If I had time on my side I'd have bought a step but for the sake of finances and speed I have to work with what I have about.
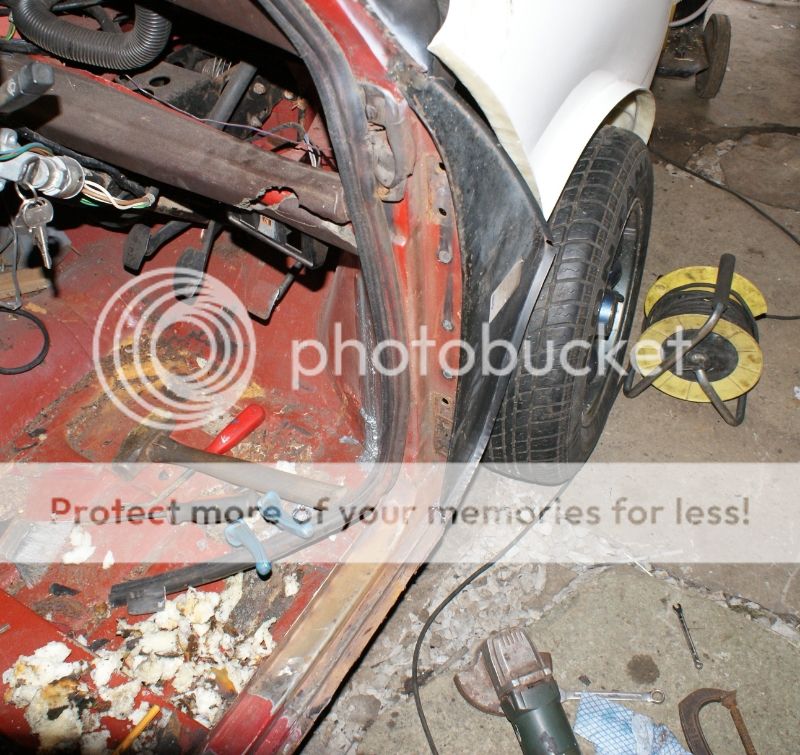
You can see some of the expanding foam some heathen has put in there in the past appearing in the footwell of the car...
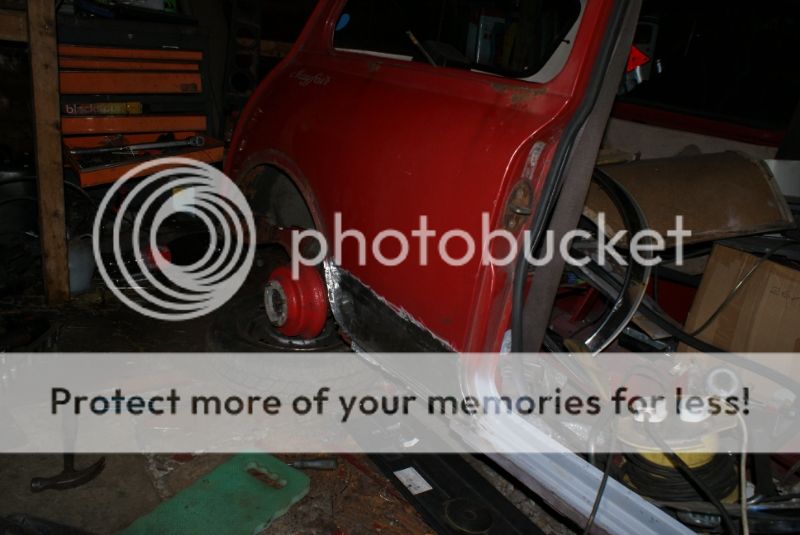
and more door step repairs


and cleaned up

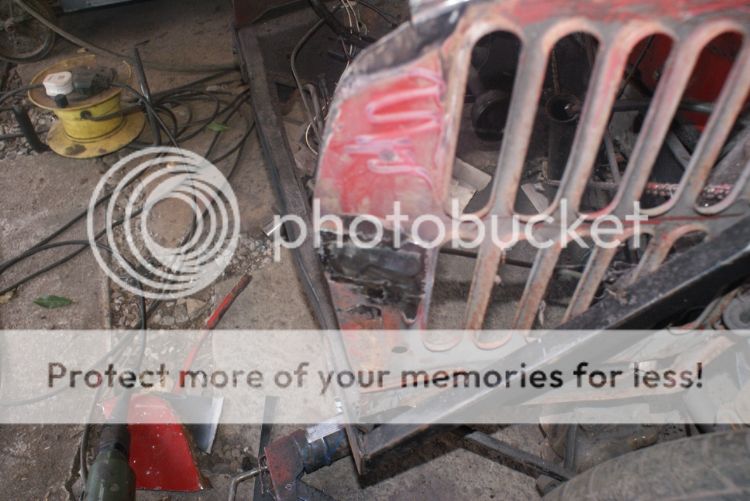
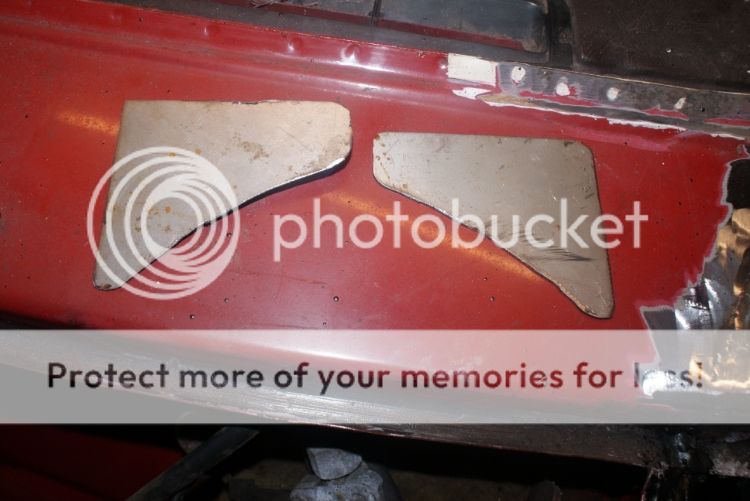
So it was time to get onto the back side panel that harboured not much more than filler at the bottom
That was cut away along with some sill in order to make some rudimentary repairs to the bracing round the subframe mount at the same time

With that done I made a repair section


Welded up one spot at a time but even then I got a small amount of distortion in the panel but not enough to be a problem so all well.

And so it was time to take off the oversill that had been fitted to repair the car at some point, this is what was below it
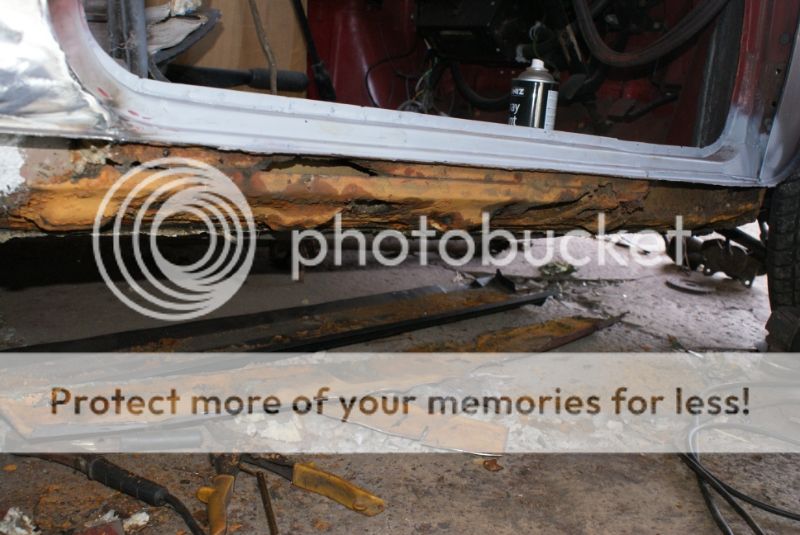
Despite the sill still being solid it was causing more harm than good like that.
The remnants of original sill, more expanding foam and all vestiges of the over sill were removed and things cleaned up a bit
as I have oversills but not the proper short items that allow ventilation I cut one down to make an "original"


The new sill was fitted with seam welds at the bottom where it it meets the inner sill and plug welds along the top where it meets the seam of the door step / back panel. I don't have a photo of that but it is on now. I'll try to get a photo of it when I remember.
Anyway, grot was present just below the rear side window so that was cut out

then new metal welded in and cleaned up

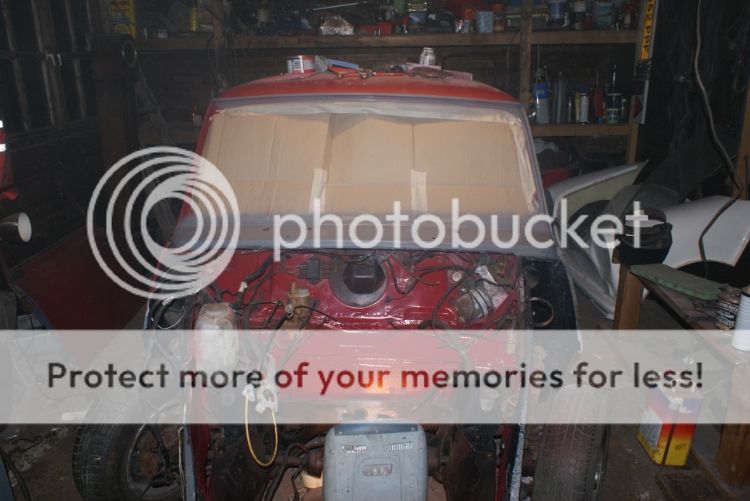
More to follow soon