Post pictures and stories about your cars both present and past. Also post up "blogs" on your restoration projects - the more pictures the better! Note: blog-type threads often get few replies, but are often read by many members, and provide interest and motivation to other enthusiasts so don't be disappointed if you don't get many replies.
-
kstrutt1
- Posts: 516
- Joined: Sat Oct 22, 2011 8:55 pm
- Location: essex
#41
Post
by kstrutt1 » Tue Oct 01, 2013 12:28 pm
Last edited by
kstrutt1 on Tue Oct 01, 2013 12:54 pm, edited 1 time in total.
-
kstrutt1
- Posts: 516
- Joined: Sat Oct 22, 2011 8:55 pm
- Location: essex
#42
Post
by kstrutt1 » Tue Oct 01, 2013 12:31 pm
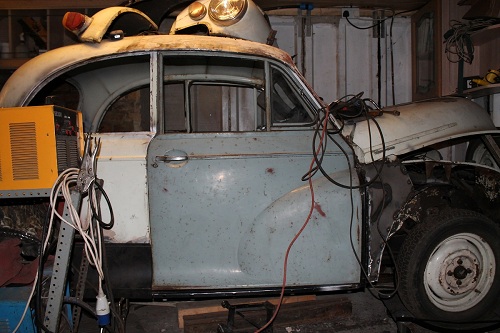
This is what the front end looks like and the same area with the rust cut out.

- minor rear window inside cut out.jpg (61.55 KiB) Viewed 2262 times
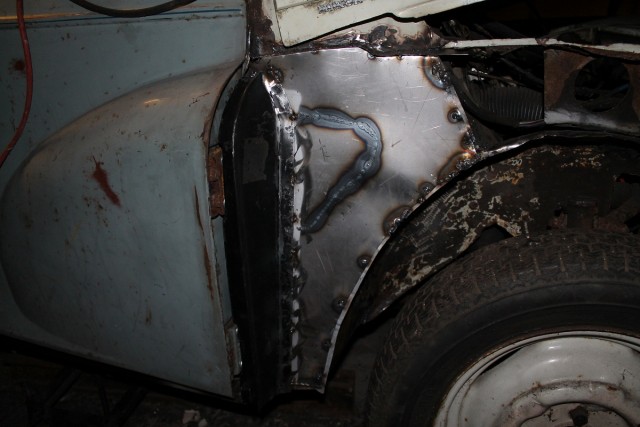
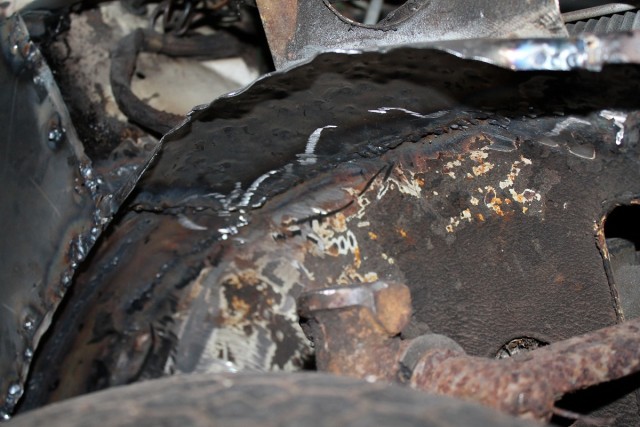
Finally I started on the gutter around the door, I removed the gutter then the L shaped panel which links it to the inner roof, this was all completely rotten, fortunatelly the roof skin is not to bad, a couple of small pin holes over the door and a section which will need replacing down the A post, For some reason the whole body seems to be covered in 3 or 4 mm of filler, I was expecting horrors but most of the metal under it seems fine, looks like someones idea of a restoration in the past.

- minor gutter.jpg (100.88 KiB) Viewed 2262 times

- minor gutter rust cut out.jpg (111.04 KiB) Viewed 2262 times
Next step will be to get the wiring out of the A pillar repair the last bit around the side window /B pilar and then fold some metal up and repair around the door
-
kstrutt1
- Posts: 516
- Joined: Sat Oct 22, 2011 8:55 pm
- Location: essex
-
kstrutt1
- Posts: 516
- Joined: Sat Oct 22, 2011 8:55 pm
- Location: essex
#45
Post
by kstrutt1 » Sun Oct 13, 2013 9:41 pm
We also started on the boot lid, the plan is to use a fiberglass skin I puchased cheaply and bond the steel inner from the original bootlid to it with PU, fortunatelly the inner was in pretty good shape, but the outer had rusted across the bottom, the top and at the seams around the edges, the pictures show the inner cut out and resting in place, it has also been painted now, ready to bond together.

- IMG_1284 (Small).JPG (61 KiB) Viewed 2234 times
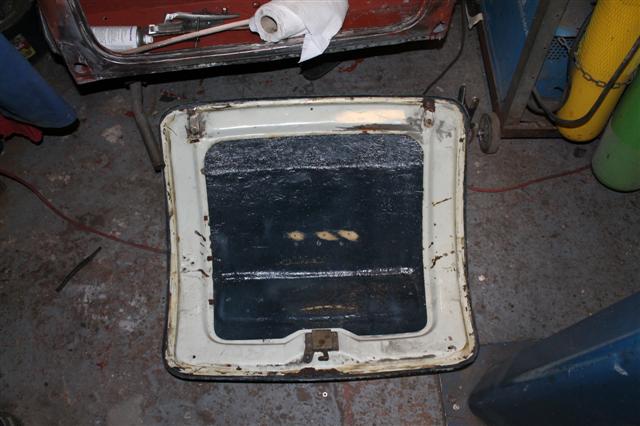
- IMG_1285 (Small).JPG (65.14 KiB) Viewed 2235 times
-
kstrutt1
- Posts: 516
- Joined: Sat Oct 22, 2011 8:55 pm
- Location: essex
#46
Post
by kstrutt1 » Sun Oct 13, 2013 9:53 pm
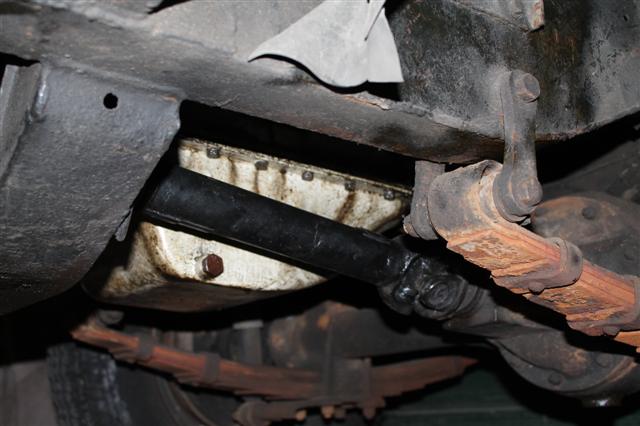
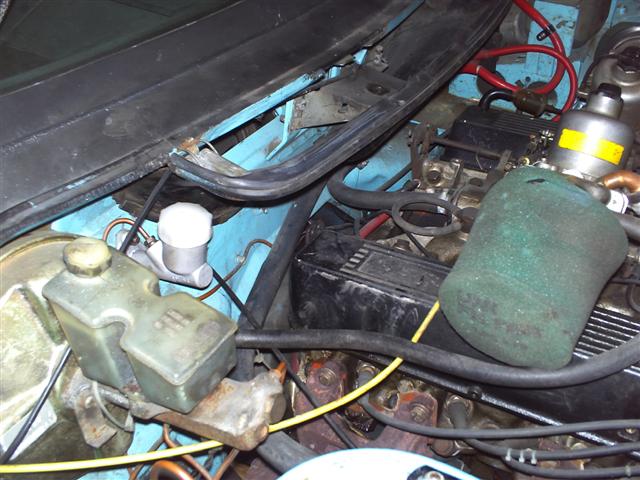
Also did a couple of jobs on the land rover, I fitted the new front propshaft (the original had very worn splines), no vibration now, and waxed a few areas of surface rust onthe chassis.
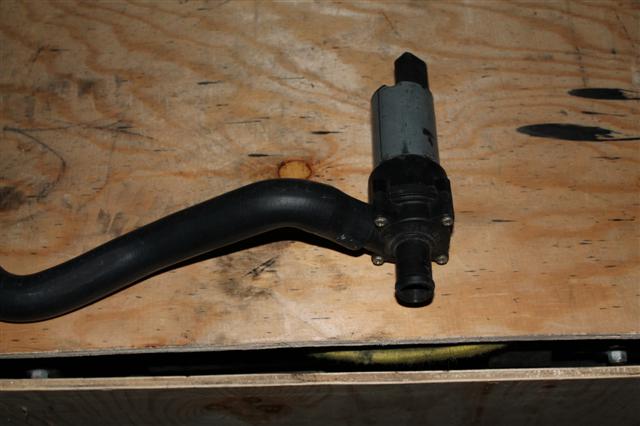
I also started to work out how I was going to fit a booster pump for the heater (Pump pictured), As I have LPG at slow engine speeds (most of my journey to work) the heater does not much flow, I plan to fit his into the feed before it T's off to the LPG mixer.
-
Attachments
-
- IMG_1280 (Small).JPG (61.9 KiB) Viewed 2233 times
-
- IMG_1283 (Small).JPG (56.23 KiB) Viewed 2233 times
-
kstrutt1
- Posts: 516
- Joined: Sat Oct 22, 2011 8:55 pm
- Location: essex
-
kstrutt1
- Posts: 516
- Joined: Sat Oct 22, 2011 8:55 pm
- Location: essex
#48
Post
by kstrutt1 » Fri Oct 25, 2013 8:36 pm
and a few more photos
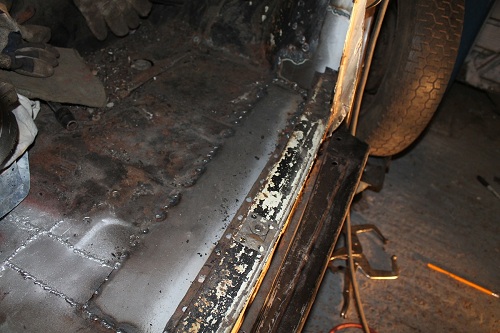
- minor floor front.jpg (89.46 KiB) Viewed 2216 times
- minor door fittted.jpg (90.66 KiB) Viewed 2216 times
There is not much more to do on this side now, a small repair to the boxing panel, the remainder of the A pillar, the lower rear wing and the remainder of the front wing, I hope to be able to turn it round and start on the other side over christmas, while I am moving it around we may get it on the ramp and clean up / paint all the underside areas already repaired as well.
-
kstrutt1
- Posts: 516
- Joined: Sat Oct 22, 2011 8:55 pm
- Location: essex
#49
Post
by kstrutt1 » Mon Nov 04, 2013 8:11 pm
Been away for a week, but there is some progress on the minor before we went, the door post is now on (needs final welding) and it's amazing how such a simple thing can seem a great step, just the action of being able to open the door without it it droping on your foot is satisfying.
Next steps are to fit the lower rear wing, finish the welding around the A pillar and then think about some sort of paint to protect it before I turn it around and start on the other side, plan is to try and get it on the ramp over xmas and clean up and paint the underside.
- mbimageCAJRI6HQ.jpg (58.13 KiB) Viewed 2191 times
- mbimageCAXIWFA7.jpg (74.78 KiB) Viewed 2191 times
.
For the others I was using the TR every day for about 5 weeks before the holiday and the Landie is now back home as well, now the weather has got colder it has got me thinking about further heater improvements, I have made the auxilary mounting brackets for the coolant pump and need to find some way to get warm air to the drivers footwell from the smiths round heater.(probably will, add somethng like the demist hoses).
-
kstrutt1
- Posts: 516
- Joined: Sat Oct 22, 2011 8:55 pm
- Location: essex
#50
Post
by kstrutt1 » Mon Nov 11, 2013 9:30 pm
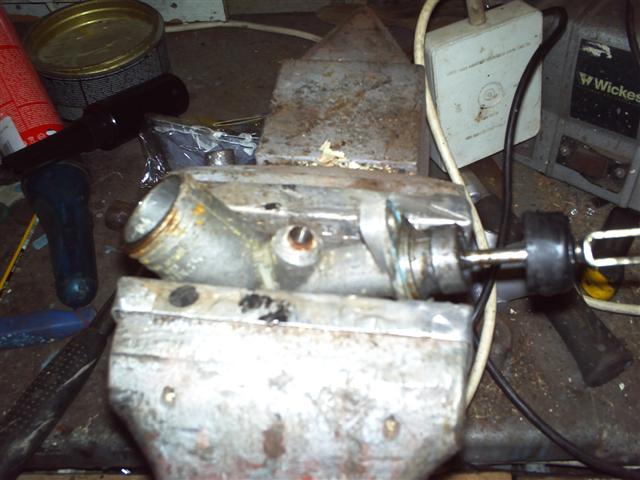
a bit of time over the weekend, I fitted a new master cylinder to the TR clutch, it has been leakin for ages, so time to fix it, it is a bit of a fiddle as it is held in by nuts and bolts but with my son's help we manged to get the bolts out and removed it. This was when I realised there was a probem, when I fitted the V8 I had changed from the original easily heat damaged plasic pipe to normal brake pipe and a flexi hose, despite the smaller bore this has always worked fine, this though meant there was an adaptor sleeve screwed in the cylinder I needed to get out,
- PICT0039 (Small).JPG (54.82 KiB) Viewed 2166 times
I couldn't turn it and heating the alloy up did not help, so I cut down the side with a hacksaw,
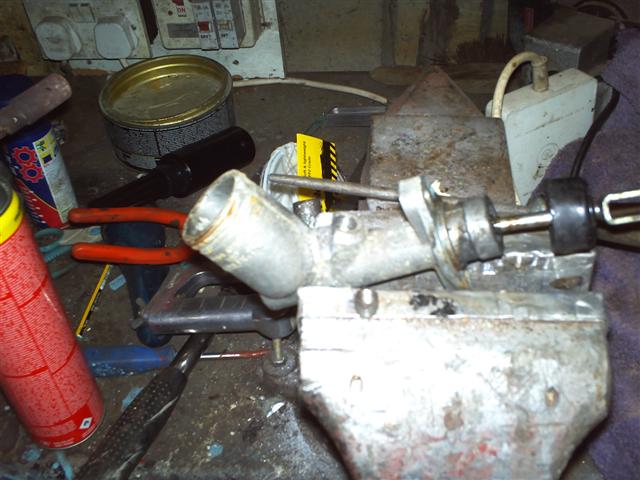
- PICT0040 (Small).JPG (59.47 KiB) Viewed 2166 times
which worked fine, once I had this out it was an easy matter to put it all back togther, then 20 or 30 poump and it self bleed as well, cluthc now works fine and is much lighter.
- PICT0042 (Small).JPG (69.45 KiB) Viewed 2166 times
Who is online
Users browsing this forum: No registered users and 5 guests