Alvis TA14 Mulliners Saloon Restoration
Re: Alvis TA14 Mulliners Restoration
Thanks, i'll give that a go!

Re: Alvis TA14 Mulliners Restoration
Getting there, but those are all at original size so even on this large, widescreen display they don't show in full, may I suggest that you select "large 1024" instead, which is perfect for most current monitors that typically display at 1366x768 or above. 
edited: Just looked again and you're one step ahead of me, perfect!
edited: Just looked again and you're one step ahead of me, perfect!
J
"Home is where you park it", so the saying goes. That may yet come true..
"Home is where you park it", so the saying goes. That may yet come true..
Re: Alvis TA14 Mulliners Restoration
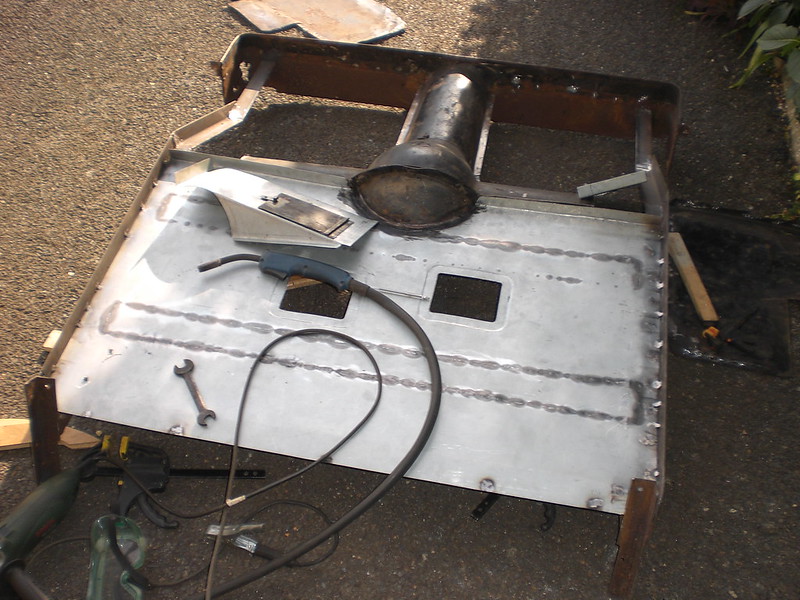
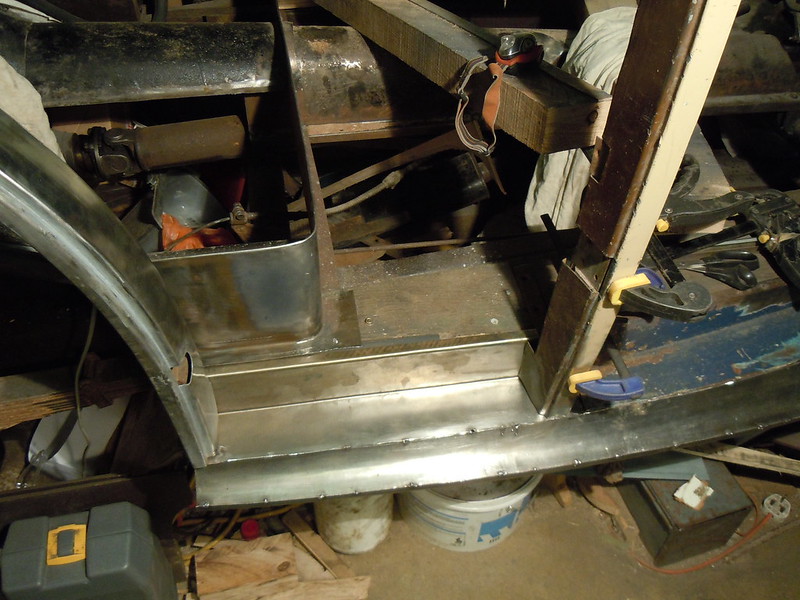
The messy welds on top of the boot pan were ground off as they looked too messy and I reattached it from below

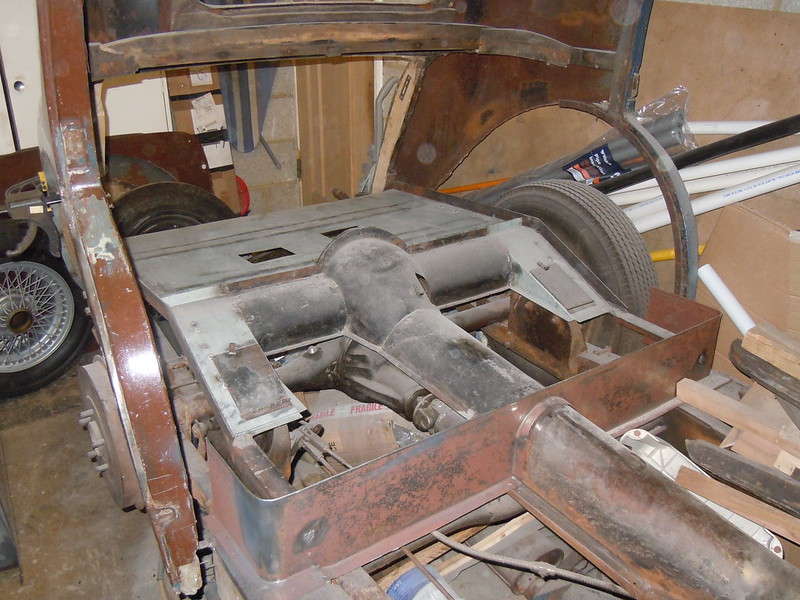
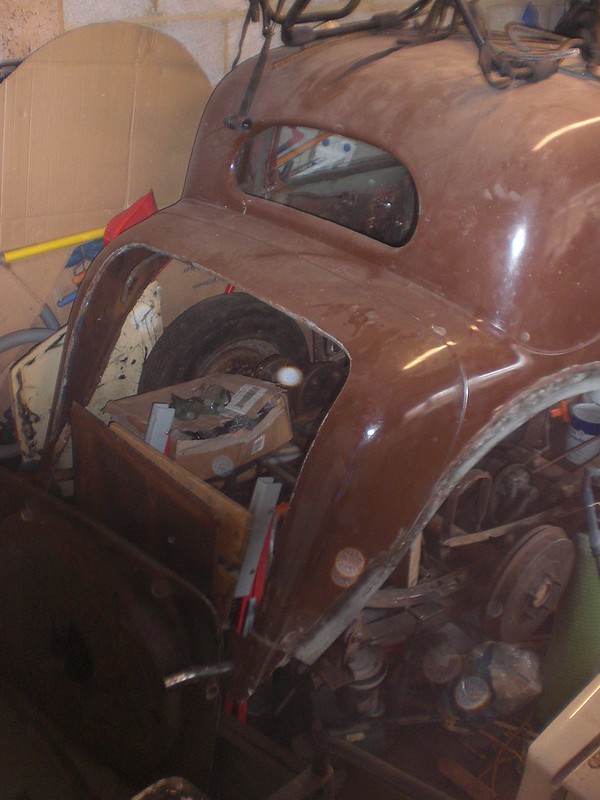
So finally the rear seat pan and boot are more or less finished, unfortunately the new front panel flash rusted before I got a chance to coat it so a bit of work there to clean it all back again! I tried to keep as much of the original car as possible but some bits just weren't practical.
Hopefully I'll find a moment soon to upload more photos as there a fair bit more to go
Re: Alvis TA14 Mulliners Restoration
Thanks John for the help, not sure why Flickr needs to make it so hard but hey ho. As you'll probably spot, I have not adequately supported the rear of the car before removing lots of it, A, because I didn't realise how bad it was and by the time I did most of it was gone and B, I hadn't thought about it until after, so when it all goes back together there will no doubt be an awful lot of fettling to get it to look and fit right but it should be alright in the end!
Re: Alvis TA14 Mulliners Restoration
Glad you got that sorted, it's fine once you get used to it and if you open your flickR photos in "edit" mode instead of "my photostream" you get fewer images per page and it's much easier to work with in that way. I thought about changing my 3000+ photos to photobucket hosting but they carry some very nasty adware which - while it can't hurt me - could be fatal for a Windows user, then there's the fact that photobucket doesn't let you navigate back to a forum page from one of its images if you should happen to click on the image. OK so they can be opened in a new tab but not everyone wants to do that.
But much, much more importantly than peeves about hosting services; that car. Wow! That's fantastic work you're doing and it represents exactly the sort of thing that I (and I suspect a few others on here) would love to see more of in magazines. I'll be lapping this thread right up!
But much, much more importantly than peeves about hosting services; that car. Wow! That's fantastic work you're doing and it represents exactly the sort of thing that I (and I suspect a few others on here) would love to see more of in magazines. I'll be lapping this thread right up!
J
"Home is where you park it", so the saying goes. That may yet come true..
"Home is where you park it", so the saying goes. That may yet come true..
-
tractorman
- Posts: 1399
- Joined: Mon Feb 21, 2011 11:22 am
- Location: Wigton, Cumbria
Re: Alvis TA14 Mulliners Restoration
Glad to see you back, I look forward to more pics and the eventual restored car. My grandfather (who was killed in 1946) had a passion for Alvis and, when he eventually got one just before WW2, he only had it for three or four years. My mother (about 18 at the time) was using it as a Civil Defence ambulance and went through a hedge and down a hill in a blackout - and wrote the car off!
I notice that, when you started the thread, you were quite young. All I can say is that, in three or four years, you have become a very proficient sheet metal worker. Many of us would be happy to get results that were half as good as yours! As a boring old fart, all I can say is that there is still hope for the future of car restoration!
I notice that, when you started the thread, you were quite young. All I can say is that, in three or four years, you have become a very proficient sheet metal worker. Many of us would be happy to get results that were half as good as yours! As a boring old fart, all I can say is that there is still hope for the future of car restoration!
Re: Alvis TA14 Mulliners Restoration
Those who know Alvis seem to speak highly of them, I must admit, i'd have liked to go for one of the more prestigious marks but my budget didn't allow for it! Hopefully with a few subtle modifications and perhaps dare I say it, more of a focus on longevity and detail, it will help to show the TA14 at it's best when complete  .
.
The metal work has been a very complex and rewarding part of the build and to be honest has taken up the majority of the time spent so far learning and making repairs. I've only recently bought a decent book on it which I wish i'd done long ago and have made do so far by watching youtube. One of the best ones to watch has been 'Lazze metal shaping's videos'. I've also invested in a few tools including an old portable english wheel and a shrinker/stretcher which has been invaluable! I would have liked to have got a few larger items but budget and space has been a constant problem! You might be able to tell that the whole project so far has been done in a single garage with the car parked within an inch of the wall on one side... not ideal.
I also tried one of those american shrinking wheels but couldn't get the hang of it. A couple of things have been made twice, the sills took two go's to get right, the first taking 20 hours and the second 30! The inner wheel arch also took countless hours, I don't even know how many any more and was done in one go, it is a little more curved than the original but it's better than paying the £1500 I was quoted to have a new one made!
Anyway, I will try and upload a few more images, hopefully the best is yet to come
Re: Alvis TA14 Mulliners Restoration
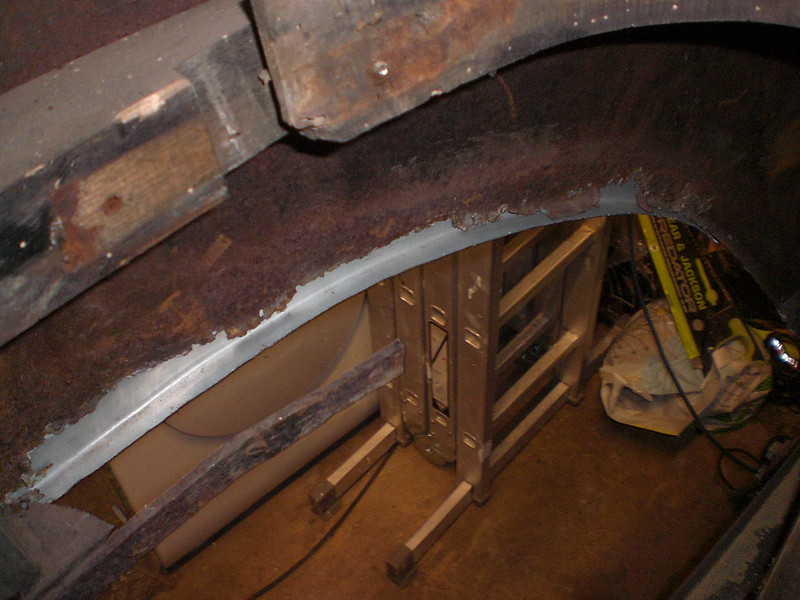
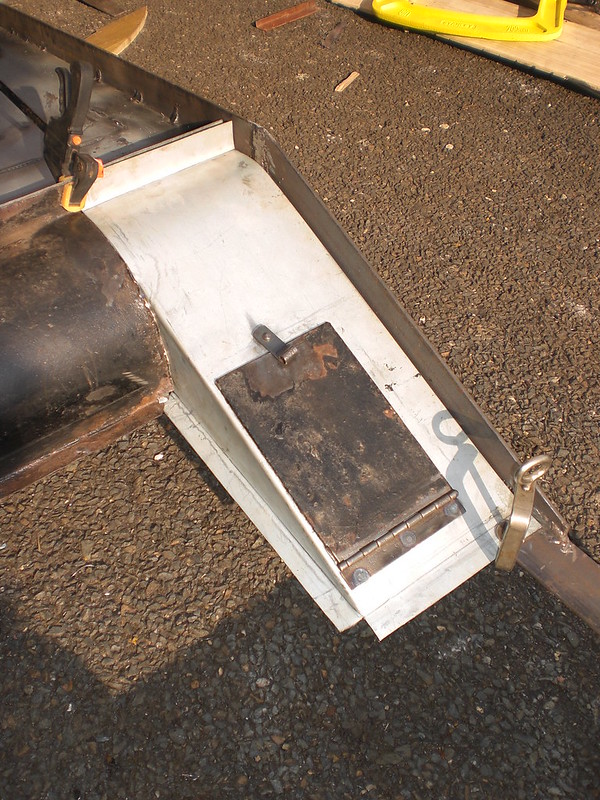
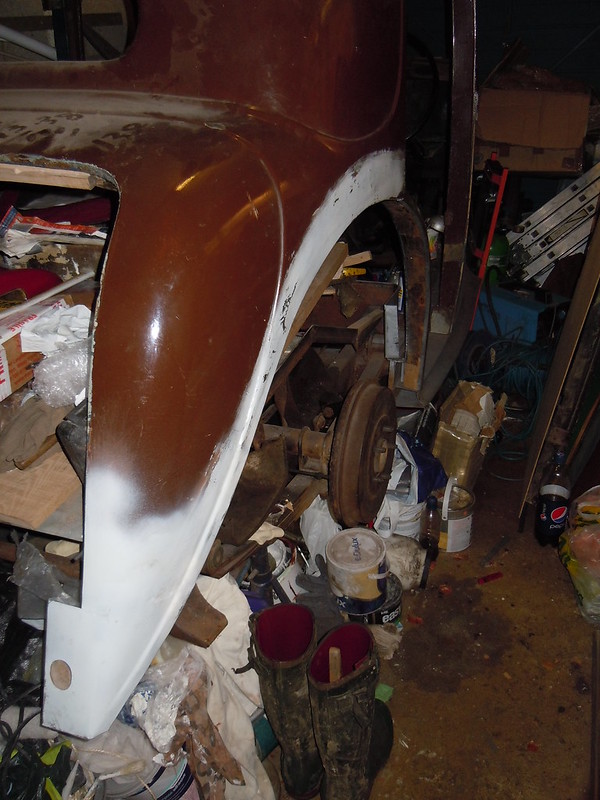
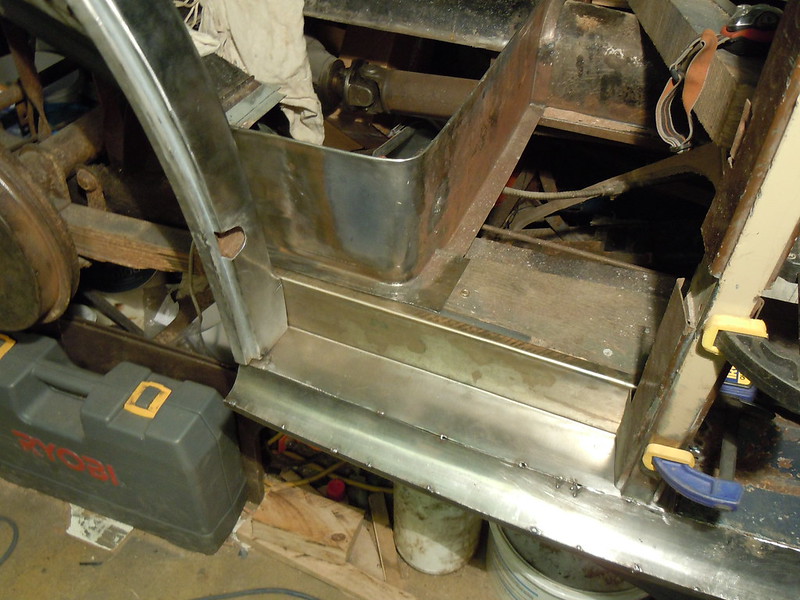
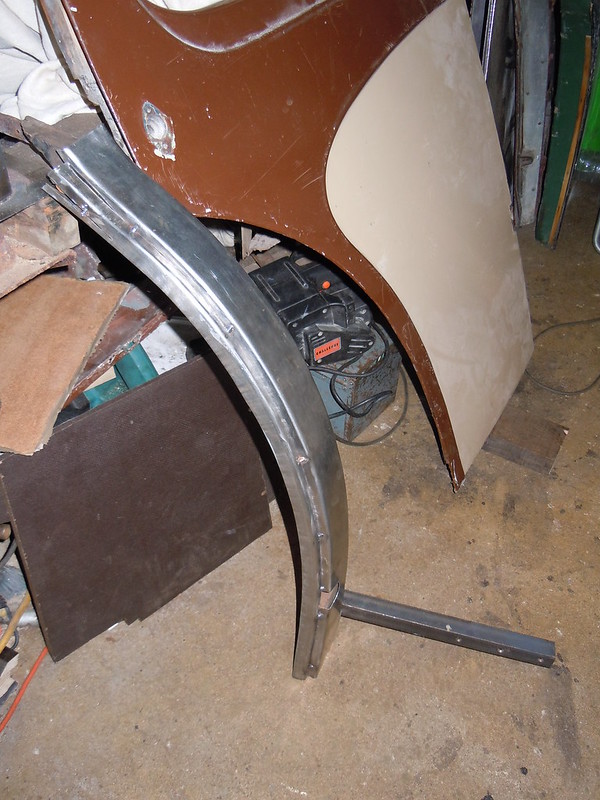
The image above shows the new section being test fitted from the inside before the old was cut out. These early repairs were before I bought a shrinker/stretcher so I had to make wooden forms from bits of oak veneered flooring and clamp and hammer form them, it works well but takes much longer to get crisp edges

So far what you see has just had a quick going over with a spray can to protect it temporarily, i've since started to do some lead loading to the areas that needed it
Last edited by Mash on Sat Feb 01, 2014 5:04 pm, edited 1 time in total.
Re: Alvis TA14 Mulliners Restoration
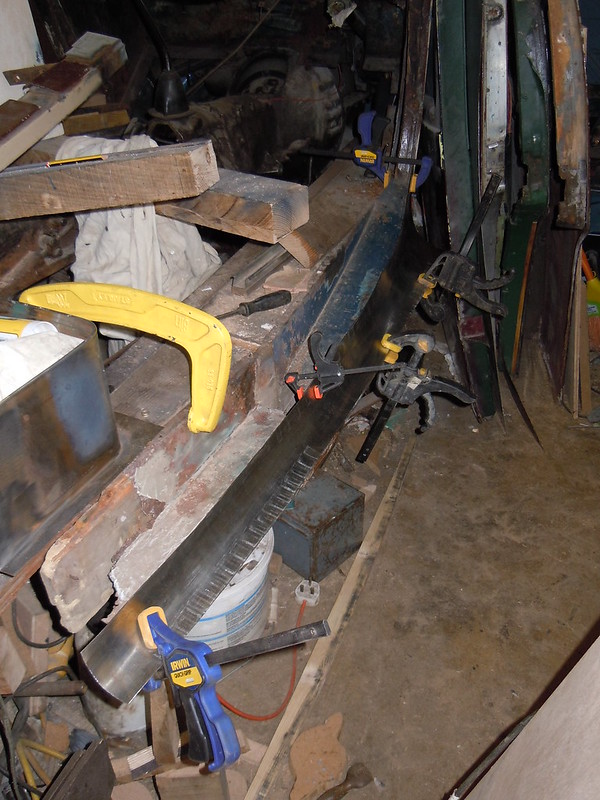
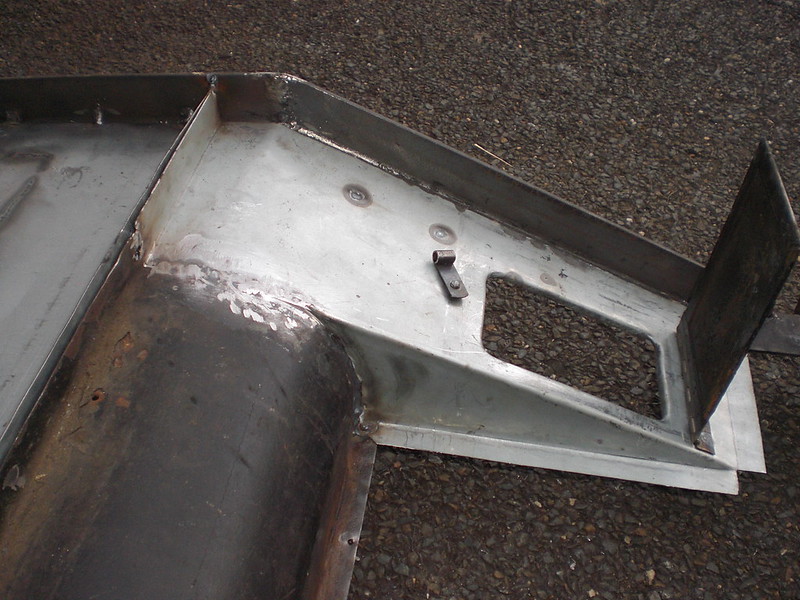
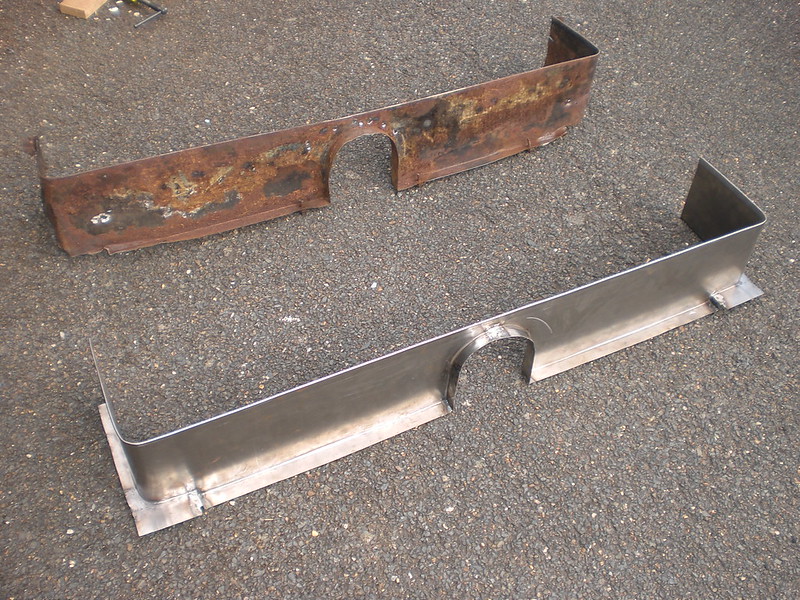
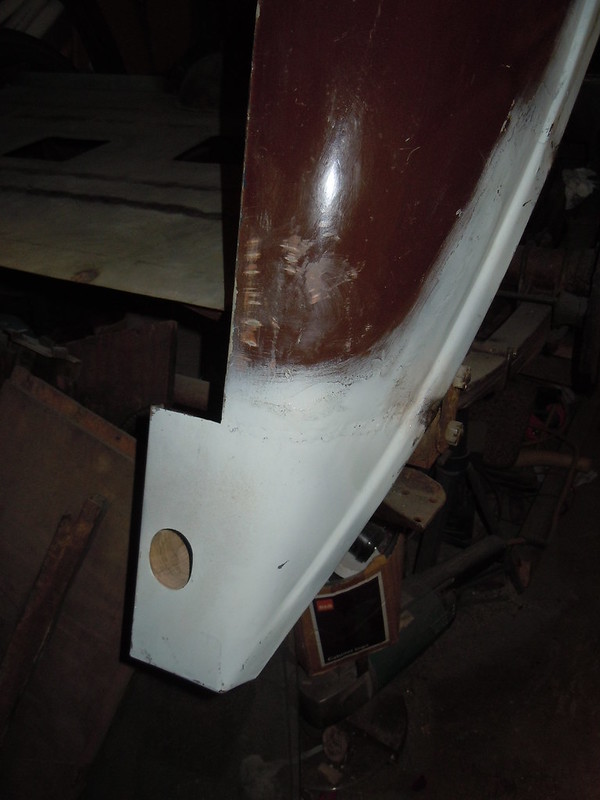
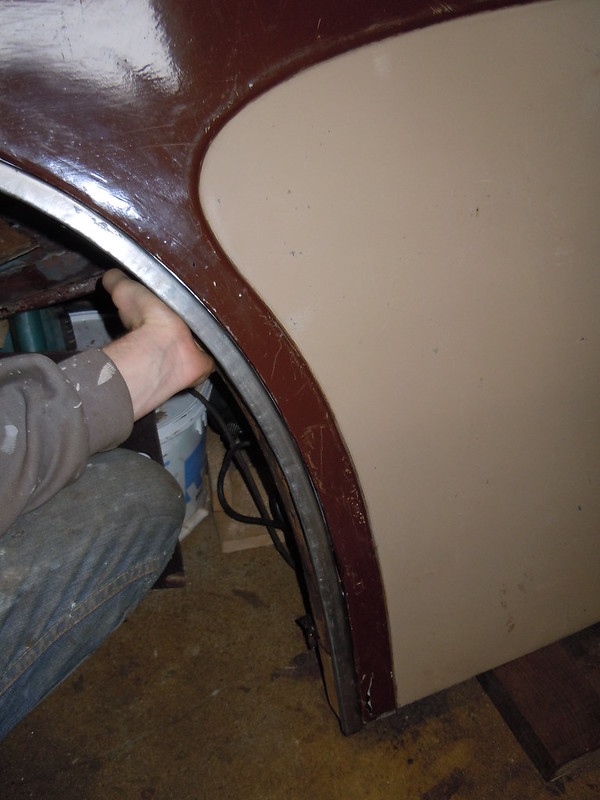
This is the second attempt at making the sill, it was almost impossible without a stretcher as it is a compound curve with a reverse curve going against the other (hard to explain!)

I've since finished the sill more or less, so will have to take some more photos
Re: Alvis TA14 Mulliners Restoration
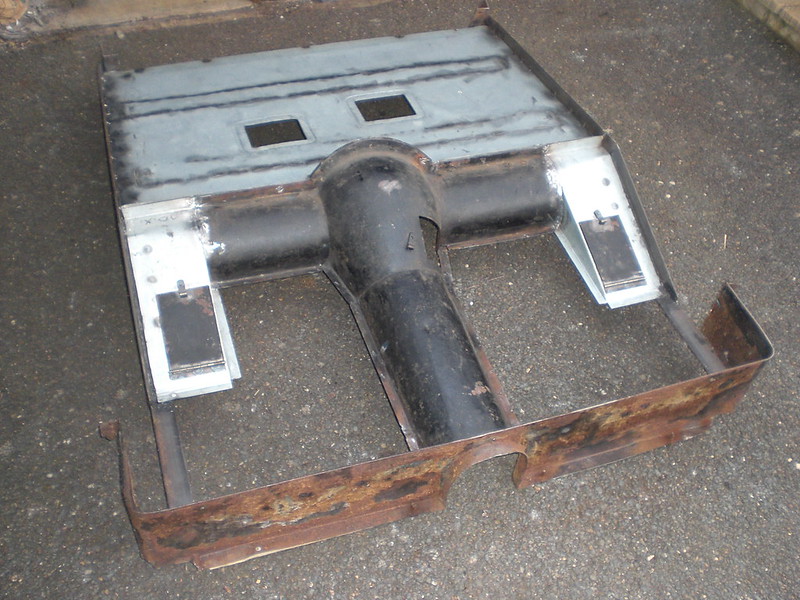
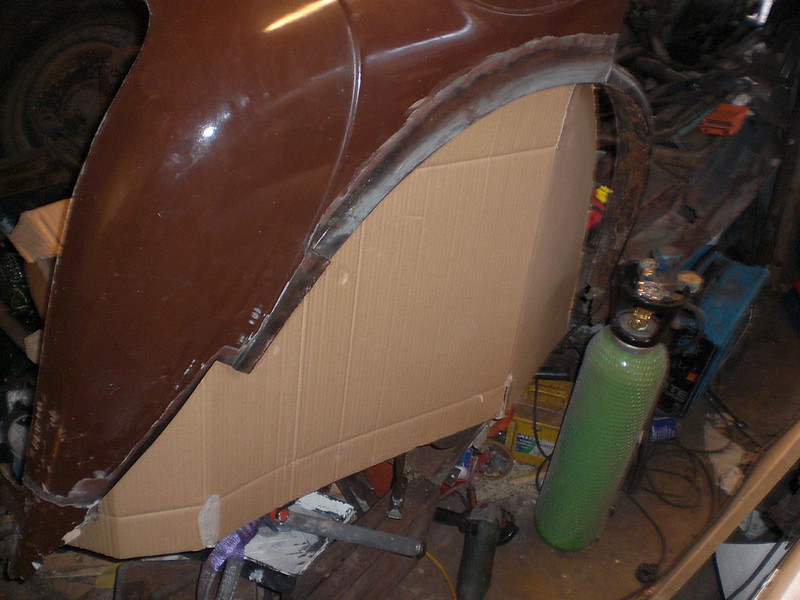
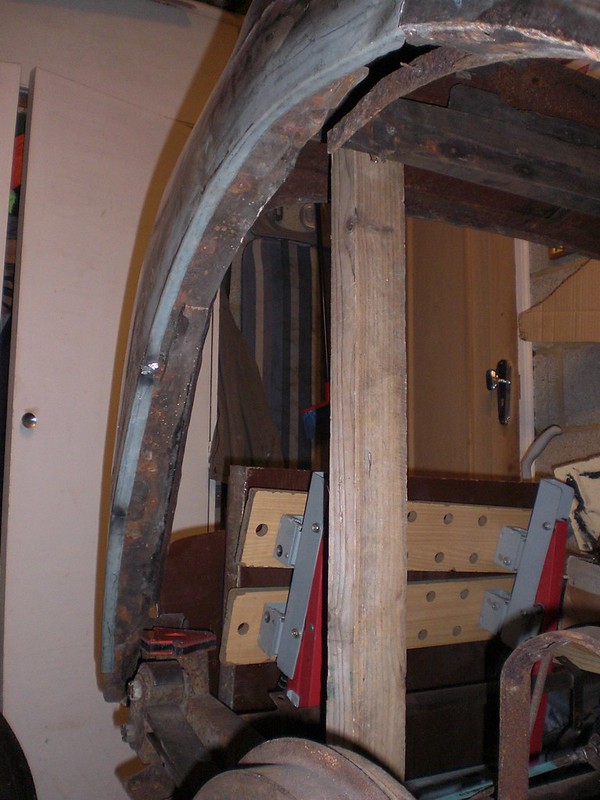
The front of the rear door frame where it goes over the wheel arch (possibly not the technical name) was very rotten
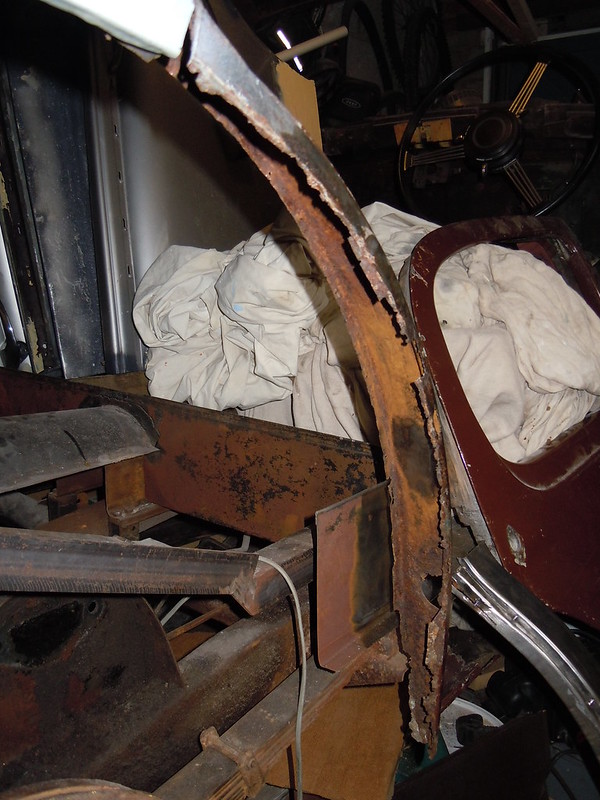
I had initially hoped to save it with a couple of patch repairs but as I was beginning to feel more confident at metal working and more rust kept appearing it became obvious I would be looking at rust bubbles appearing within no time under the new paint work if I left it.
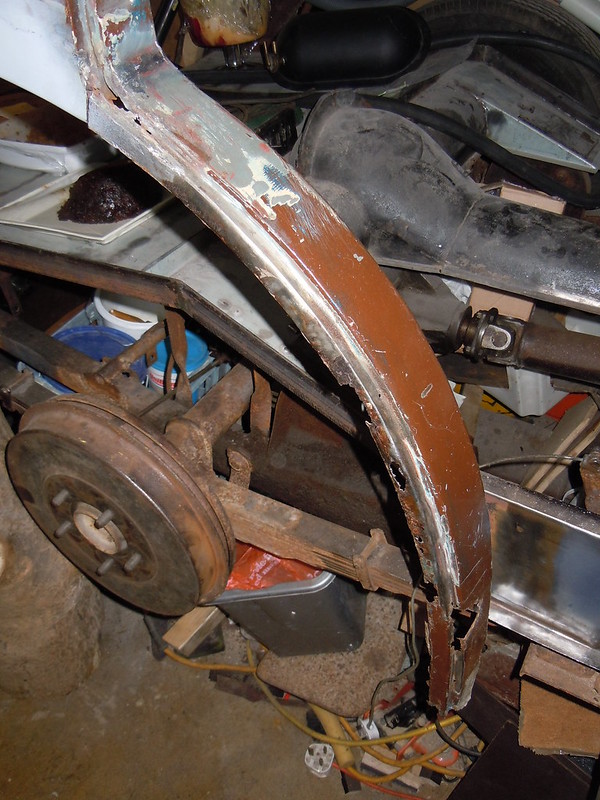
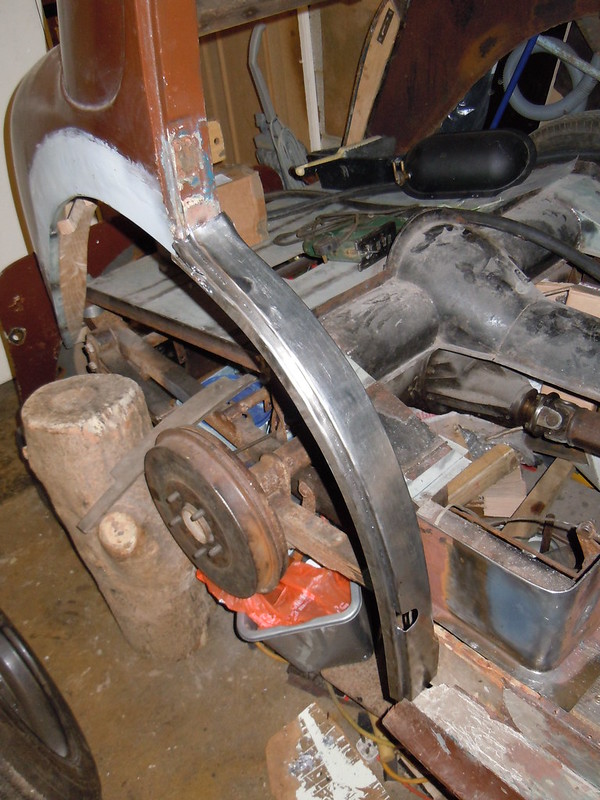
The new piece is made from two panels welding at the inside corner, a mixture of techniques were used to achieve it and there was not ONE flat straight surface on the whole piece, I honestly thought it would never look right or fit at the original.
I had initially hoped to save it with a couple of patch repairs but as I was beginning to feel more confident at metal working and more rust kept appearing it became obvious I would be looking at rust bubbles appearing within no time under the new paint work if I left it.
The new piece is made from two panels welding at the inside corner, a mixture of techniques were used to achieve it and there was not ONE flat straight surface on the whole piece, I honestly thought it would never look right or fit at the original.
Who is online
Users browsing this forum: No registered users and 11 guests