30 March
I had to rebuild the guts of the dual gauge unit so it was what is required using bits from a few other gages. With the gauges not being used in a long time the first use with the car volytage the smell of burning and smoke rose from the elements of the bimetallic strip heaters.
I then took some LED replacements for wedge fitment bulbs to canalised them to work in the back of the unit without the need to replace it that often and the old bulb would have sewed the readings as the bulb holder is now further in.
Another of the bulbs will be used in the single gauges either side of the dual centre gauge. Only one of the gauges fitted. Modifying the dials of the single gauges to match the centre will have to be done a different way, possibly as a vinyl overlay.
The cowl doesn't fit quite right and the white plastic structure broke too easily. I will need to get replacements.But the overall idea does work.
I will replace the word 'FUEL' with 'LPG'.
Transmission Oil Temp or 'T Oil Temp' above the 'LPG' unfortunately I don't know where to connect up to obtain gearbox oil pressure on this automatic box Or I would have had that instead. But I can always swap out the temp gauge for that later.
Engine Oil Temp and Pressure either side.


14 April ·
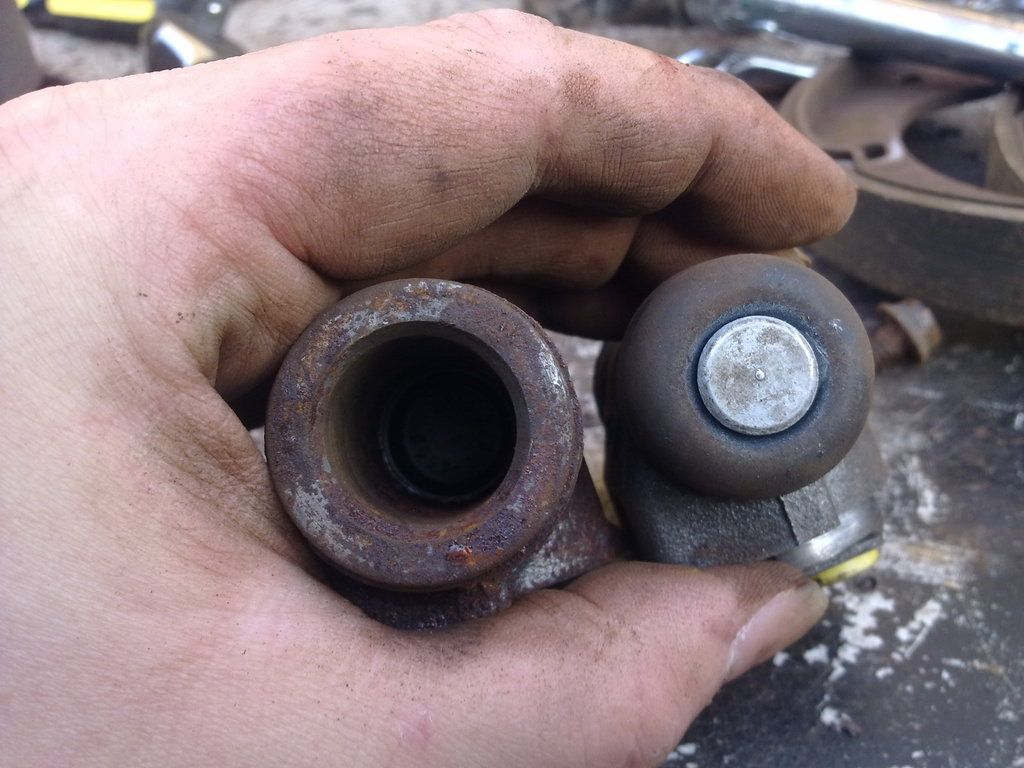
Two bits of the jigsaw arrived in the puzzle that is the wiring loom of the car! Oil Pressure sender unit and the adapter, the temp sensor I already had.
Just waiting on the replacement yazaki temp gauge after realising the one I had was too far gone. Just need the good weather to get these fitted' which should let me see problems as they are happening rather than after it all has blown up when the idiot light comes on the dash board.

18 April
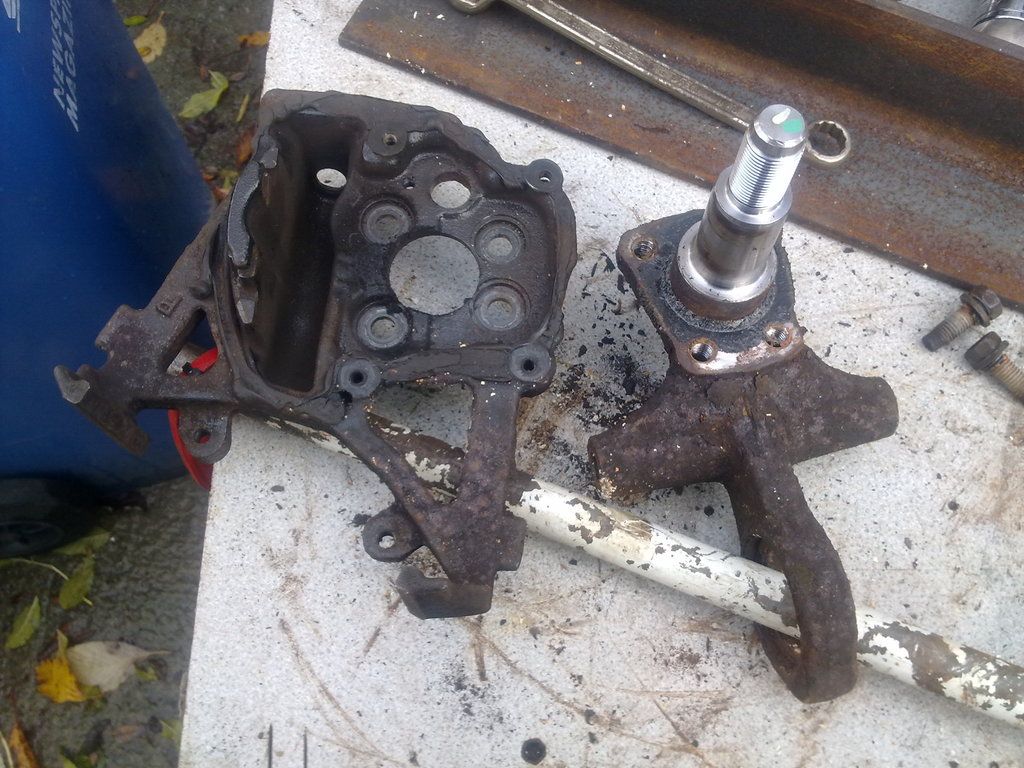
I made the mistake by thinking I could put a double gauge in instead of one of the centre dash vents. So had cut one to fit a unit. As I can not fibre a replacement dash panel I must therefore attempt to repair it.
Photo 1, shows what needs putting back together.
Photo 2, shows the Mitsubishi dash gauge pod being repaired yes with fibre glass. not very well done but just enough to reinforce that damaged section.
Photos 3 & 4 show the centre Vents being wrapped in fibre glass to put them back together and reinforce them so it doesn't fall apart with vibrations.
Photo 5 the fiber glass resin had ran onto the front this has been removed but centre vent holes need sanding clean.
Photo 6, showing the rear of the panel and the levelling of the fibreglass reinforcement and sanding off any sharp edges.
Photo 7, the vent holes and surround sanded with 270 then 320 grit sandpaper. then wiped down with white spirits dried then plastic bumper polish to help put back the shine and protection so it looked right.
Photo 8, I still need to do a little work on the pins that the vent swivel on and a further screw or bolt to stop vents rotating further than it should.


Please note I haven't used fibreglass in over 15 years sp I was not sure how it would react to the dash plastic even though I have seen and heard of others using it on Neon dash panels.
Help wise apart from someone giving me their F'ing cold my health was slowly improving, now I have a coughing fit and set my back off! Weather getting warmer so will maje a start on the enginebay electrics soon I hope!
But it will take a few dats just to figuire out where and what I have gotten up to!