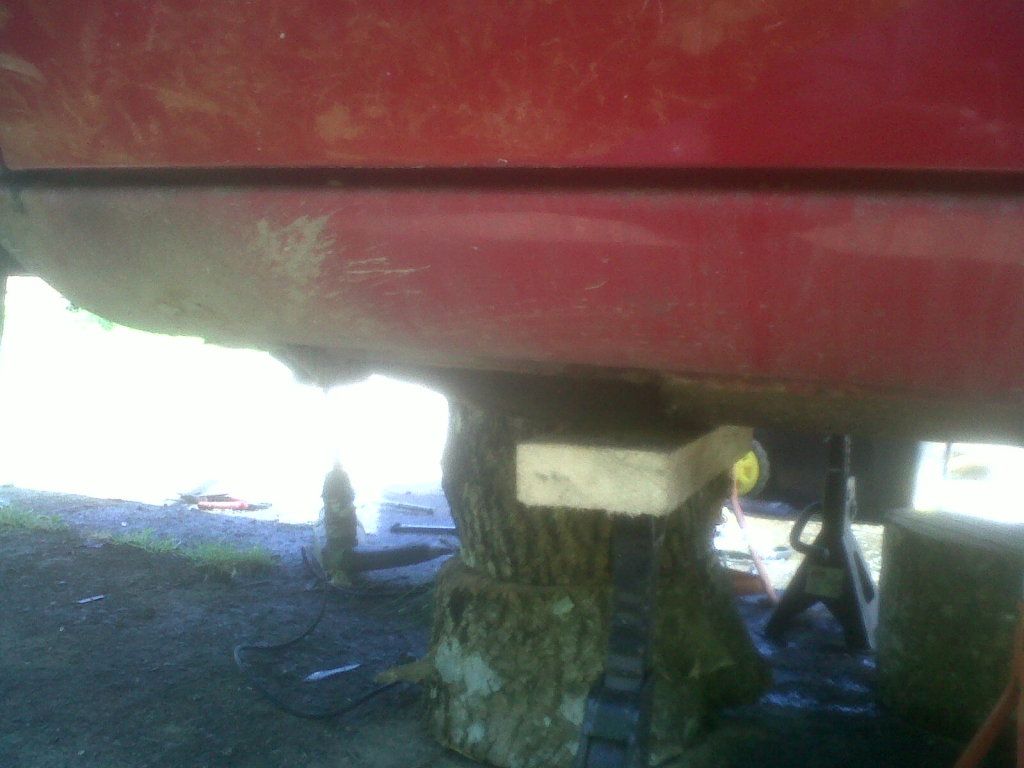
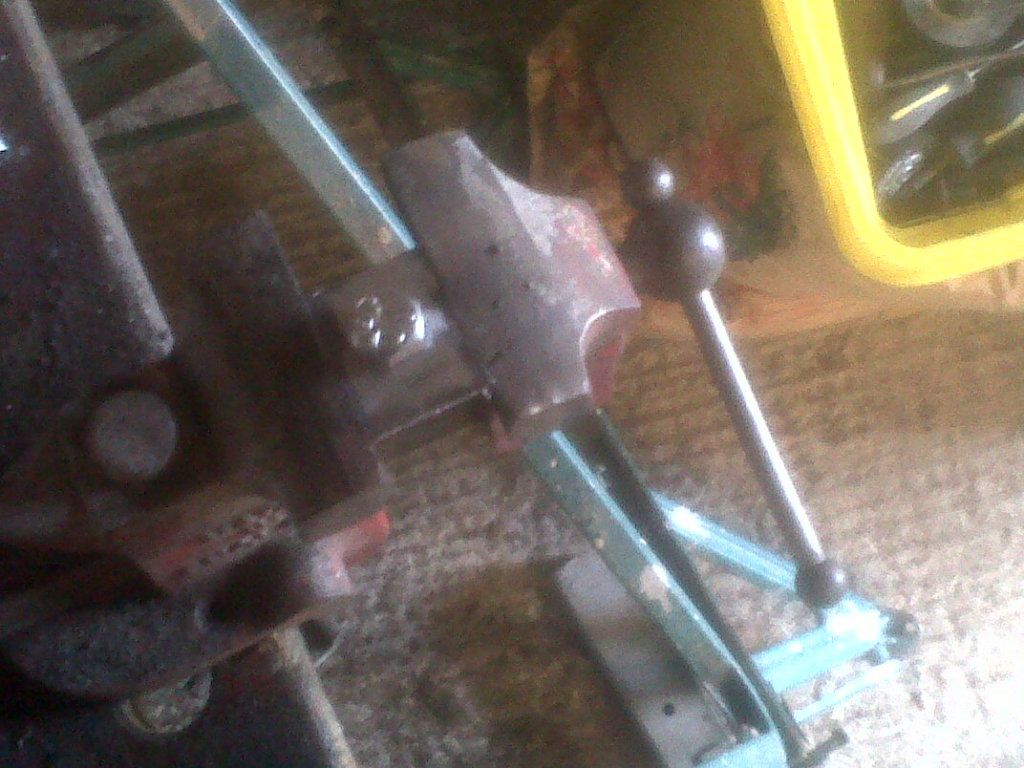
Well as the weather was good I decided to pop in office and check everything was ok and then sneaked back home to make some more progress on the 75.
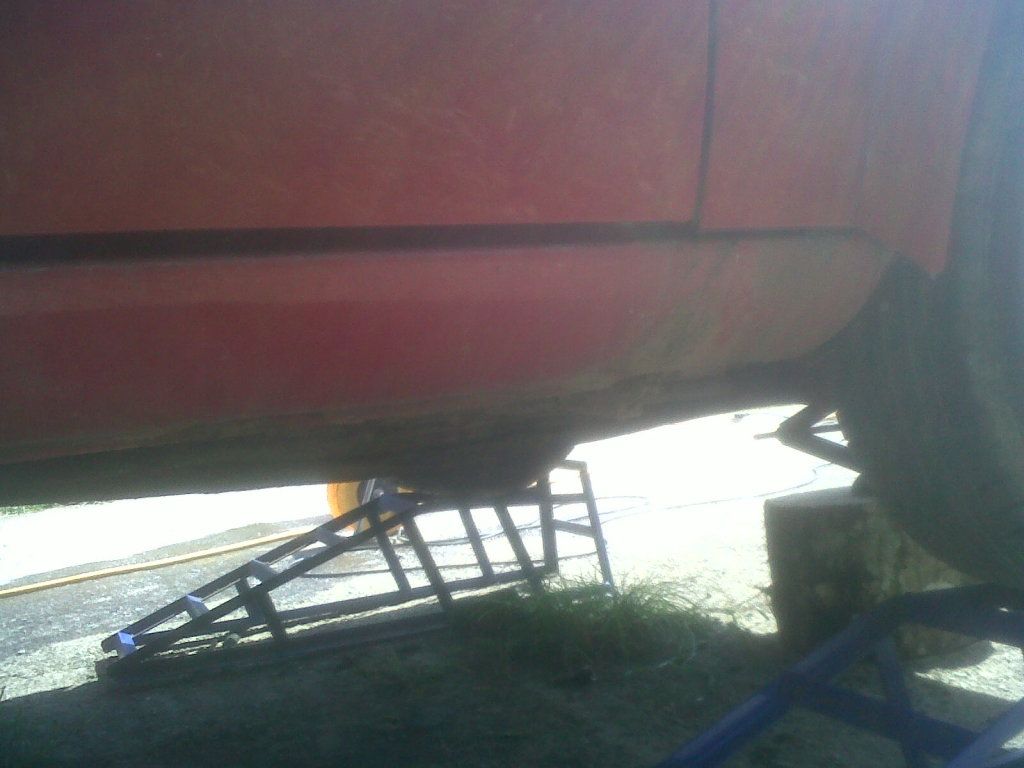
I had made the decision to make the most of it being up in the air and off the road and the fact that Im waiting on some parts to complete the work underneath.
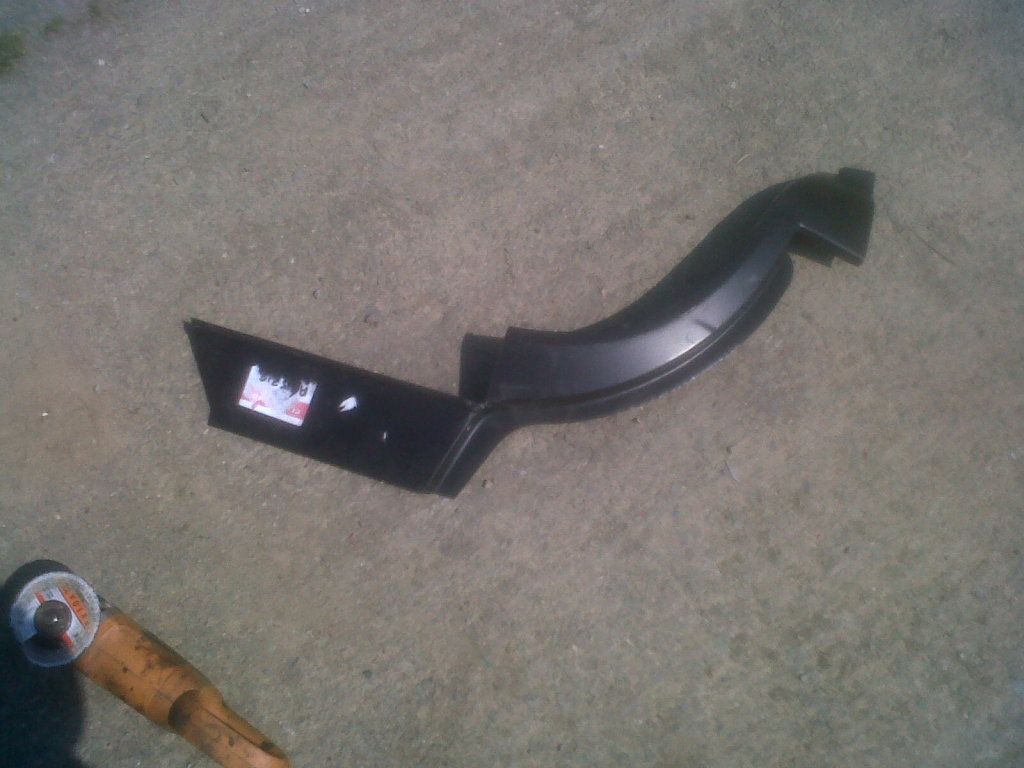
I knew the arches where rotten under the bodylit as Alex Jupe had sent me photos when he did some work on it before, but I told him to leave it as I would sort. Well 2 years later I though I should get on with it! I already had 2 new rear arches all packed up in the garage I bought for the black LHD 75 I have.
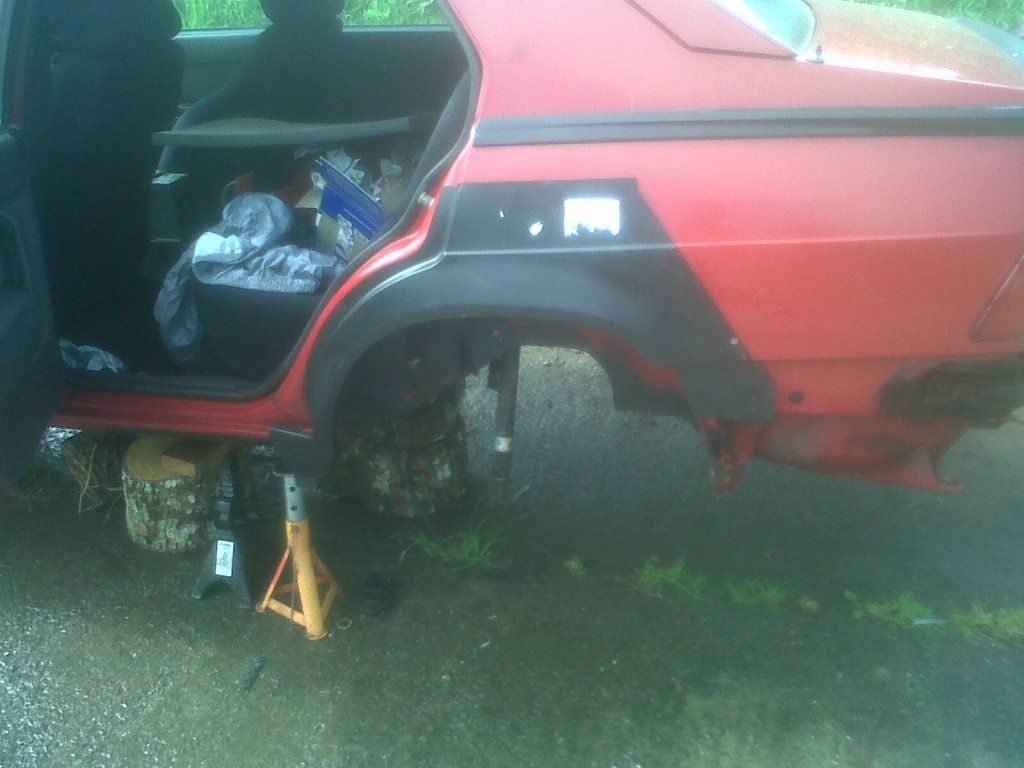
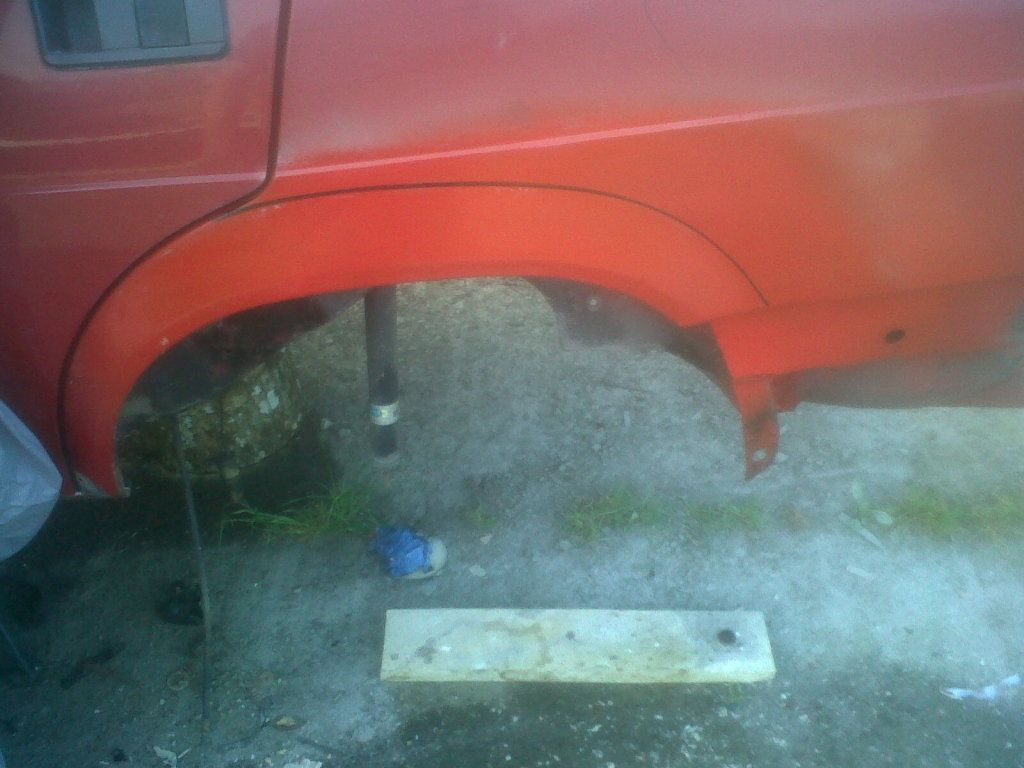
So I undid all the screws and fittings holding the side skirts and drilled out the rivets holding the arch covers. The bolts snapped on the bumper fittings and one fitting came off the bumper so more fiddling needed there. The rear bumper still did not want to come off tho as sealant had been used along the supporting bar that the bumpers sits on. But just took a bit of heaving and was off.
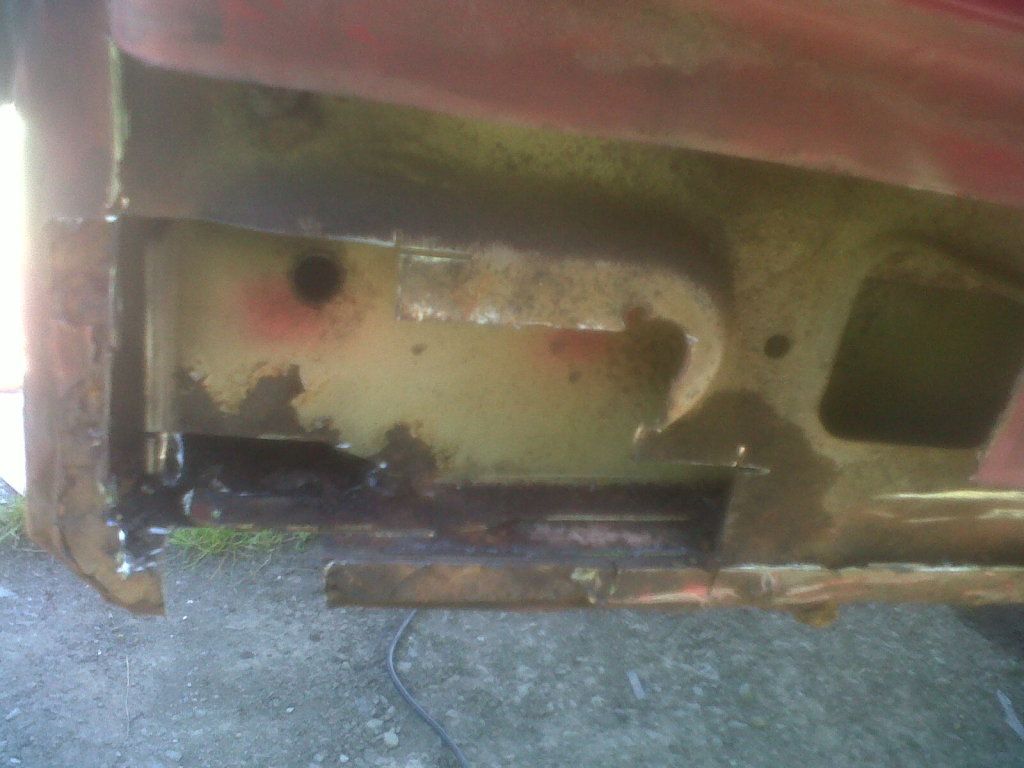
Once it was all off I power cleaned everything to get a better look.
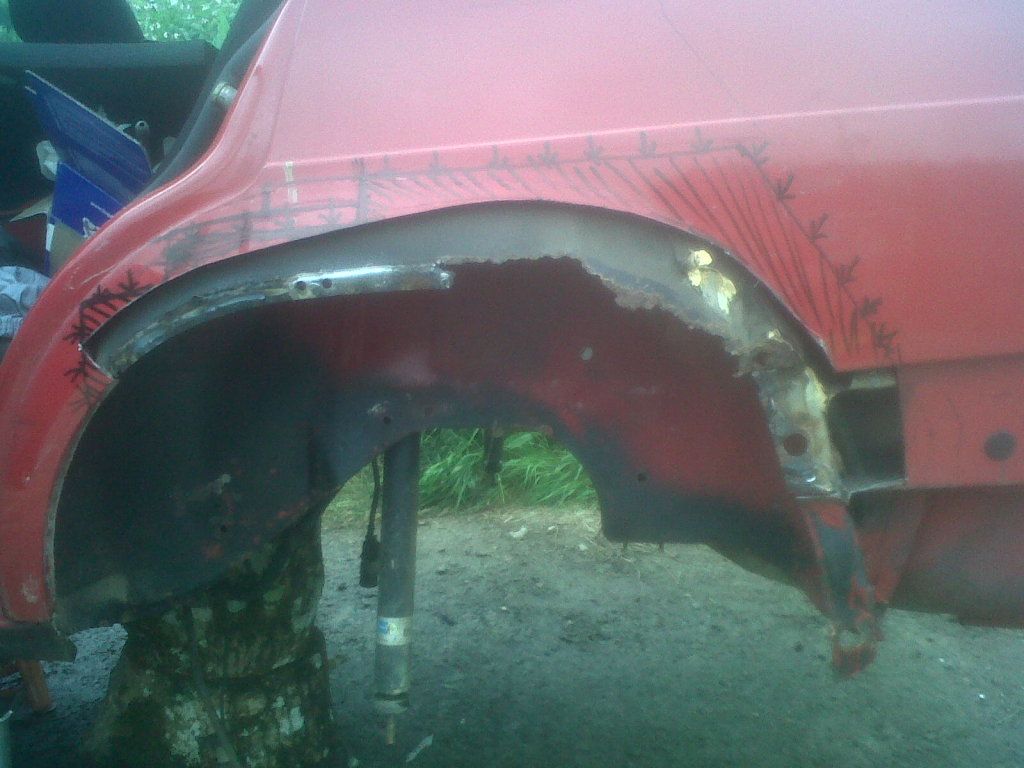
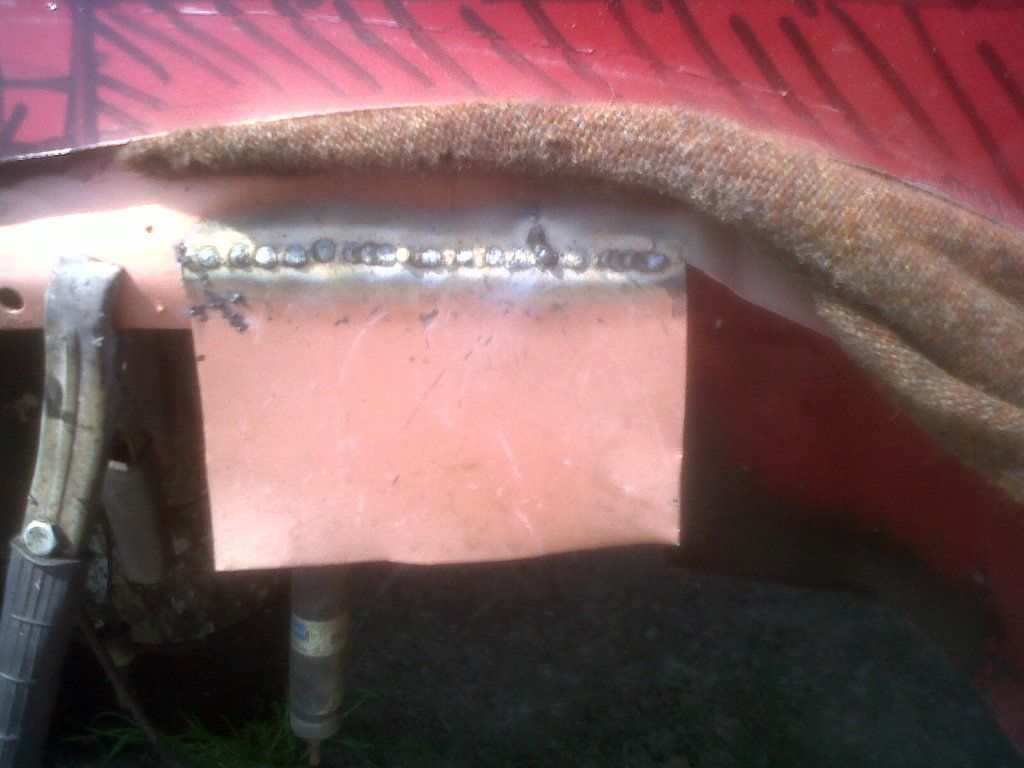
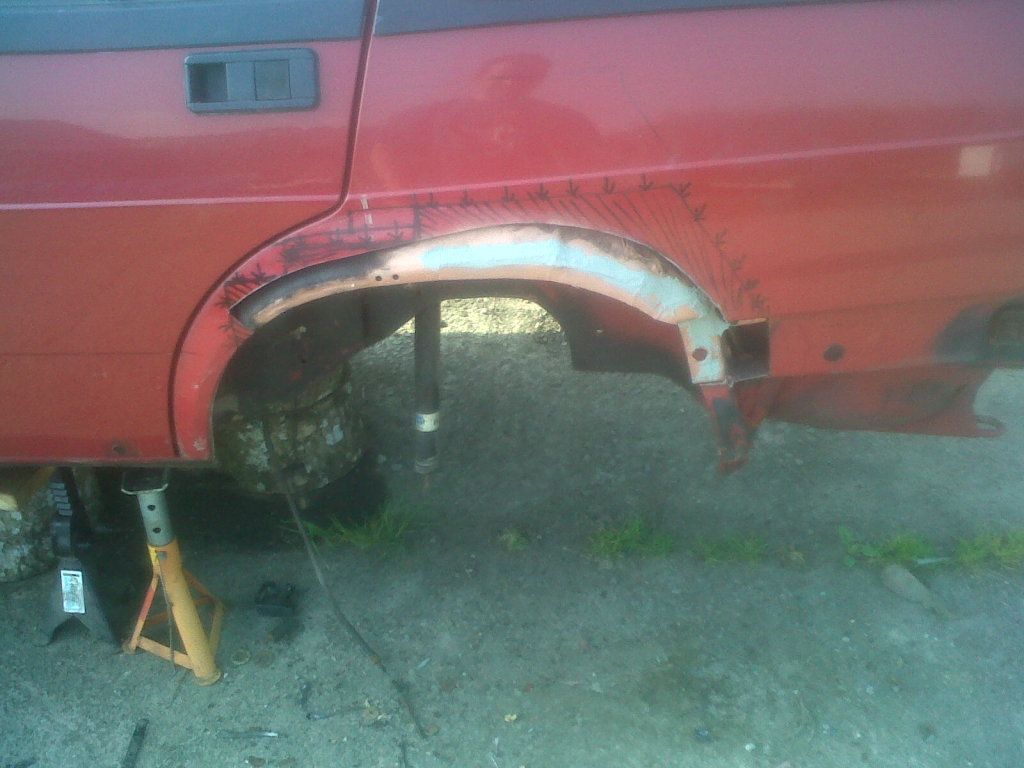
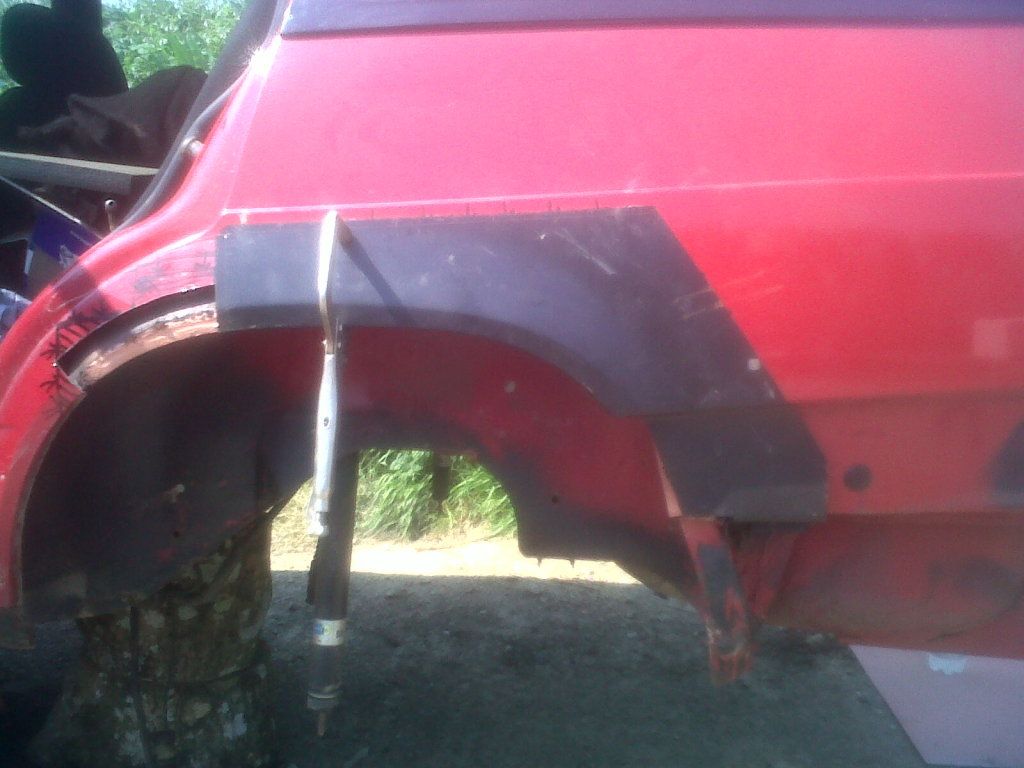
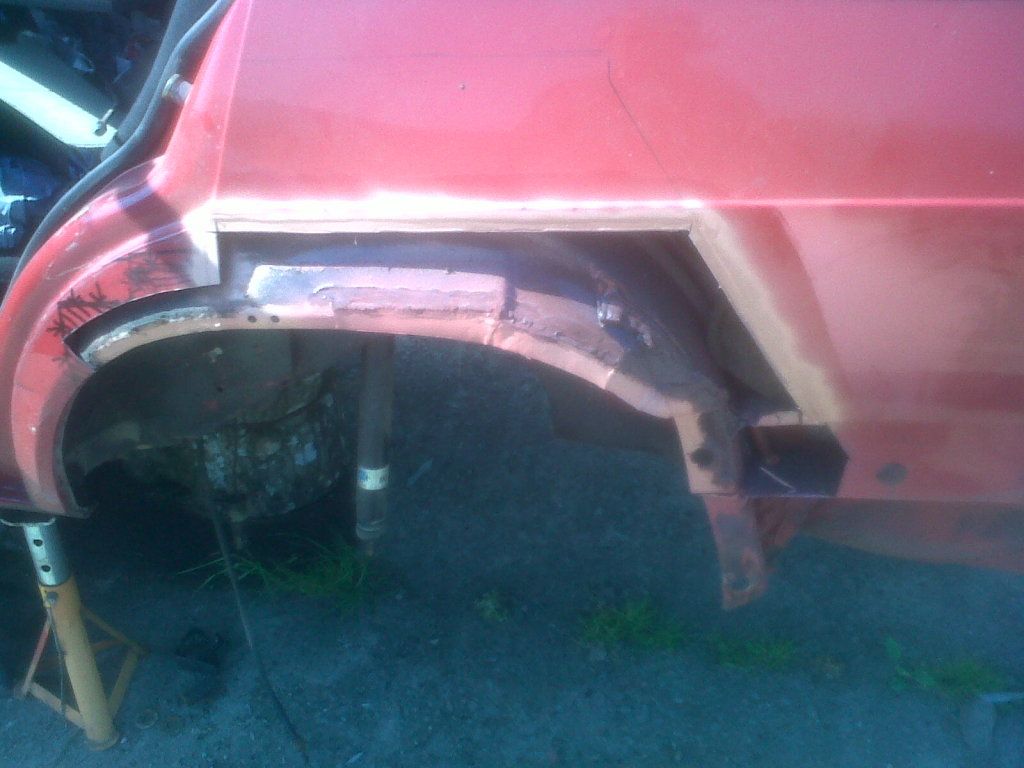
So the passenger arch is completely fried on the rear half with the inner arch also needing repair.
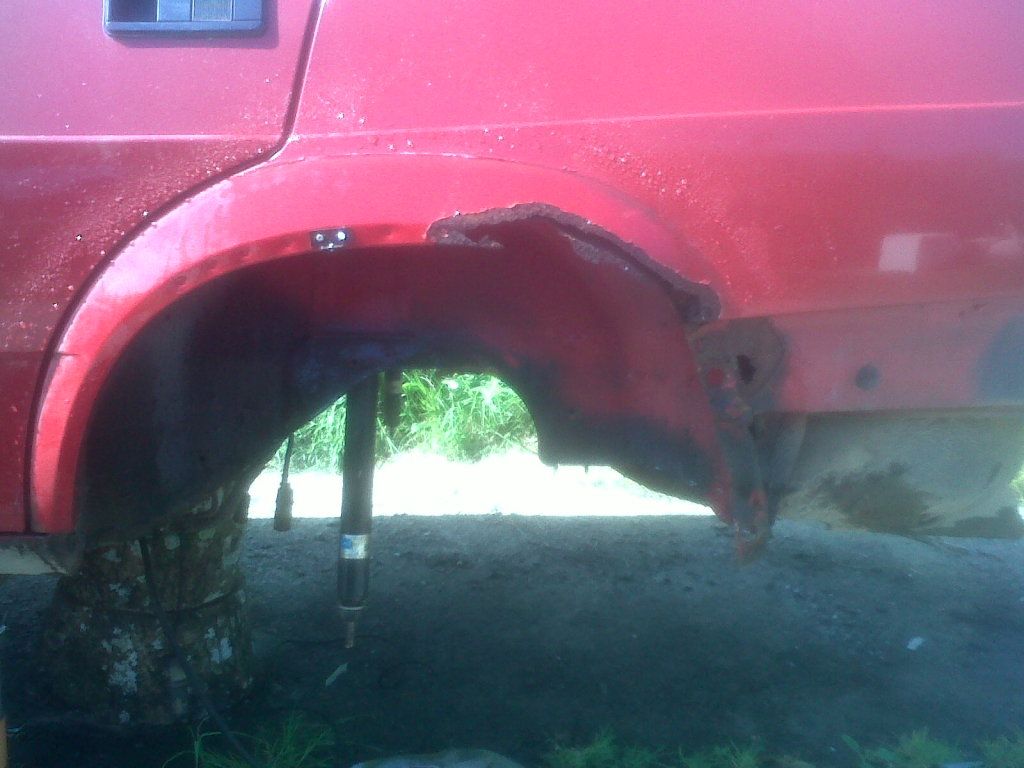
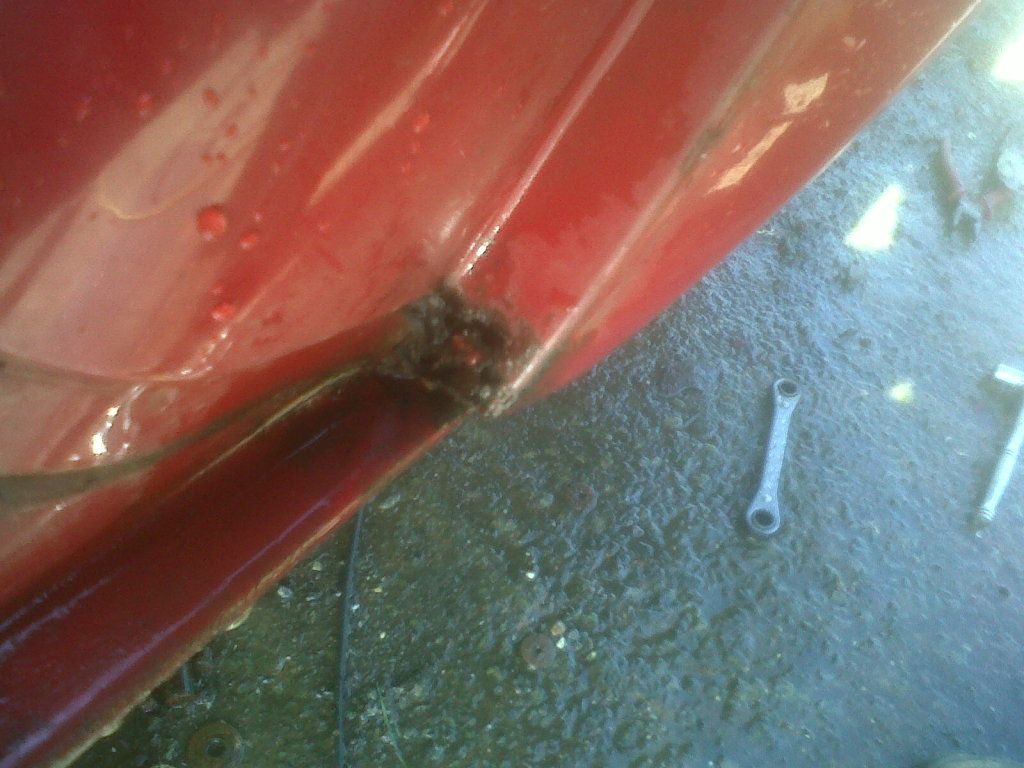
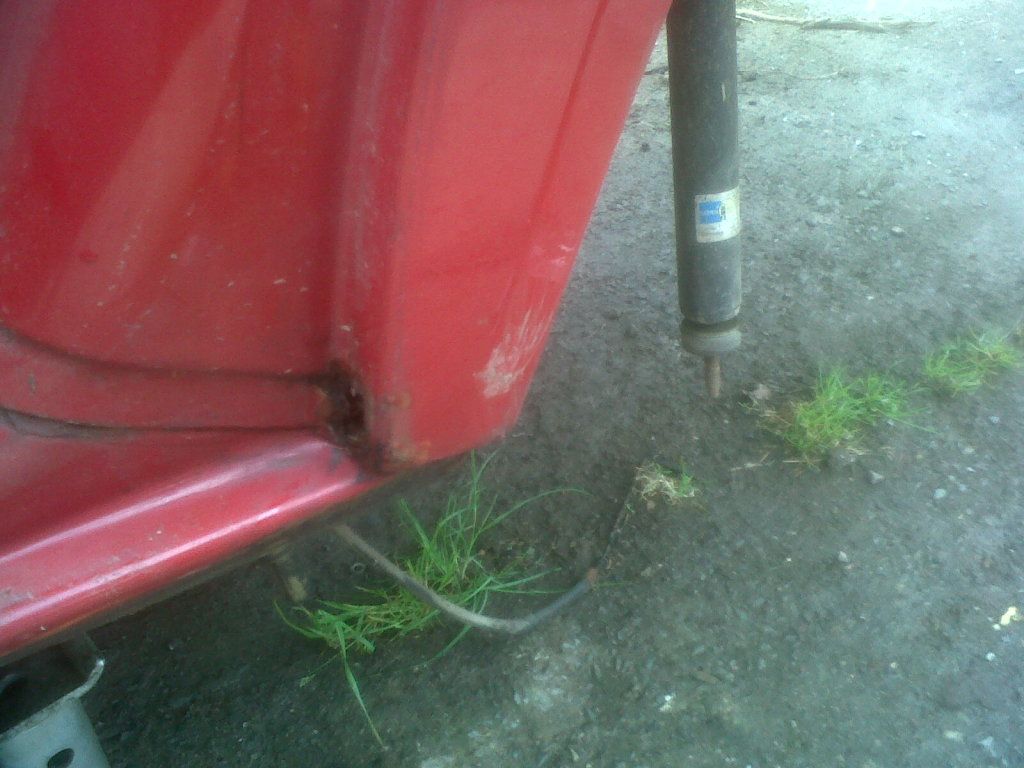
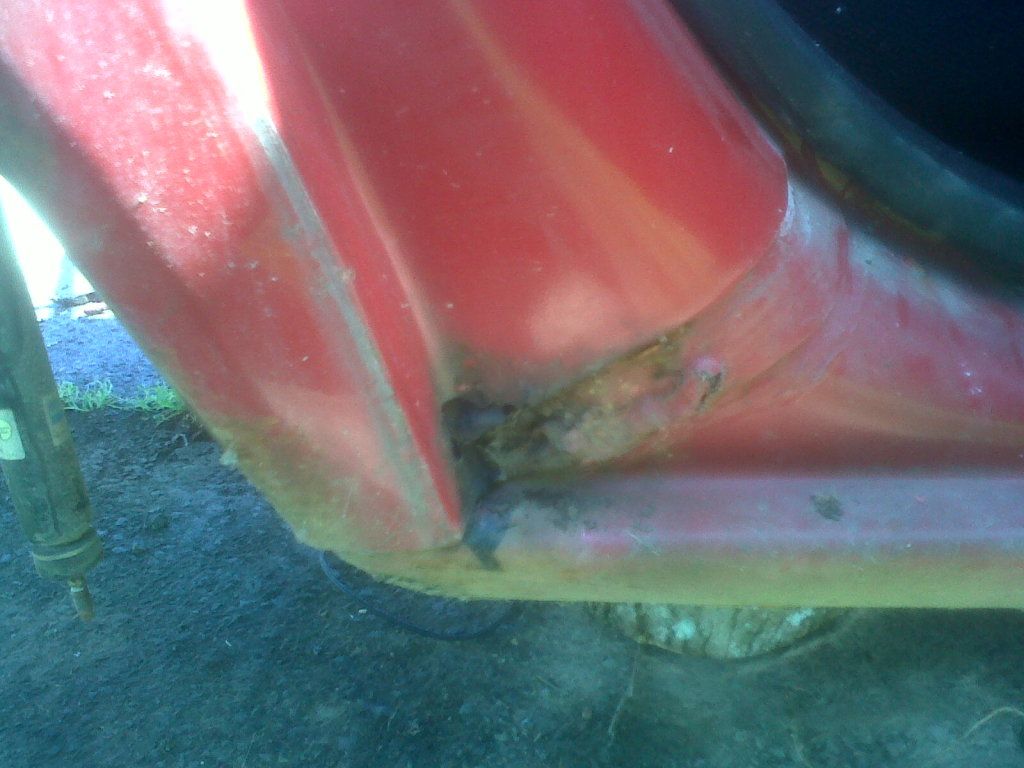
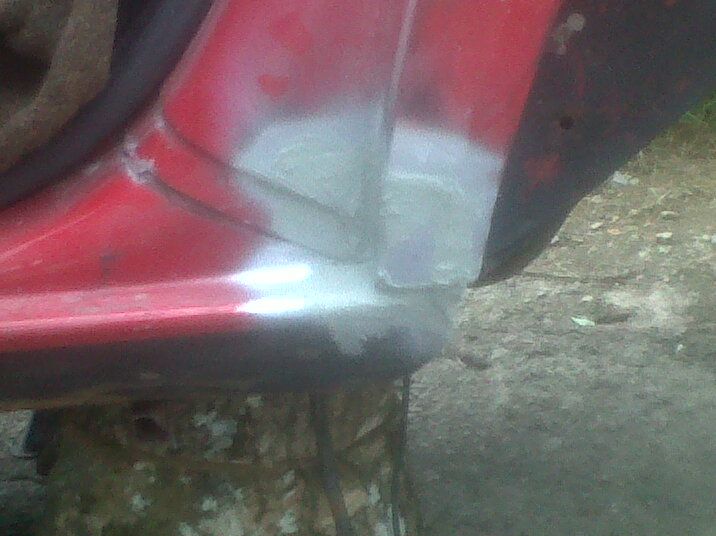
There is also a little at the leading edge of the rear wheel arch at the bottom of the door opening
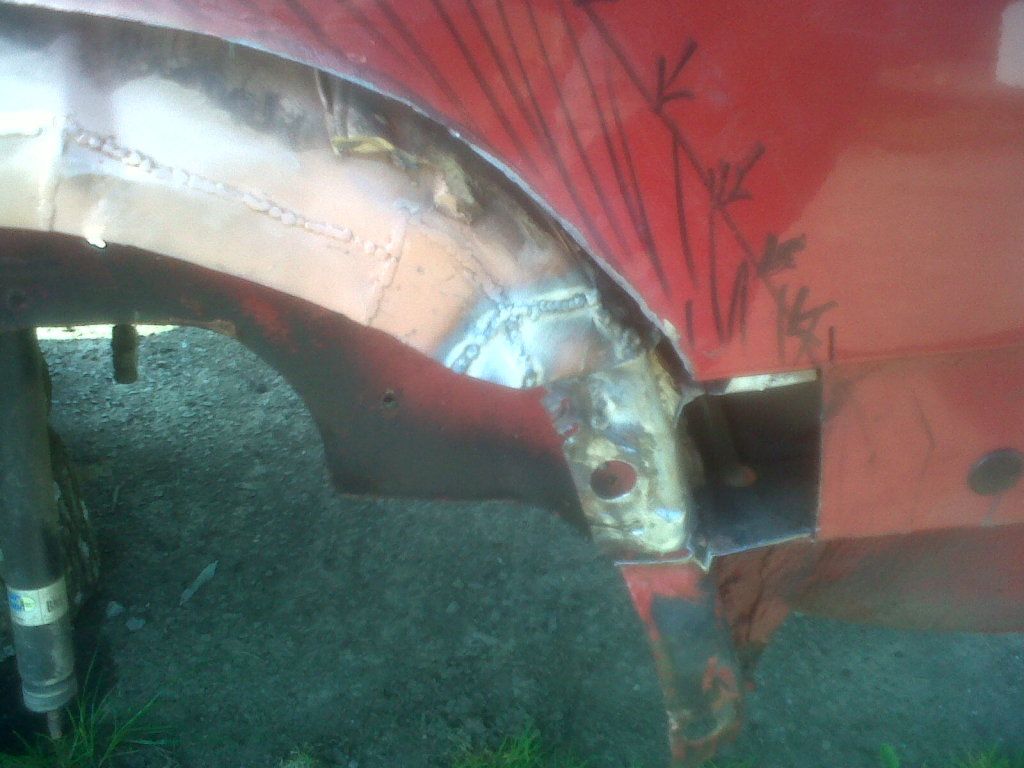
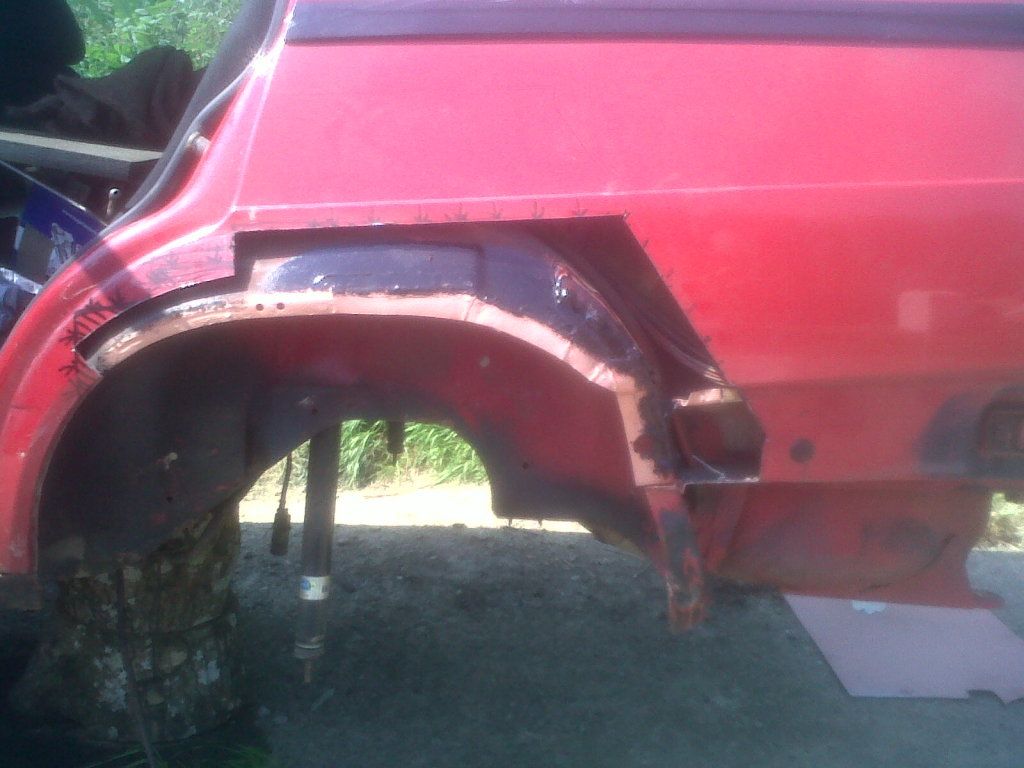
So I start cutting well within the line of where the new panel fits to have a look how far the rot goes back
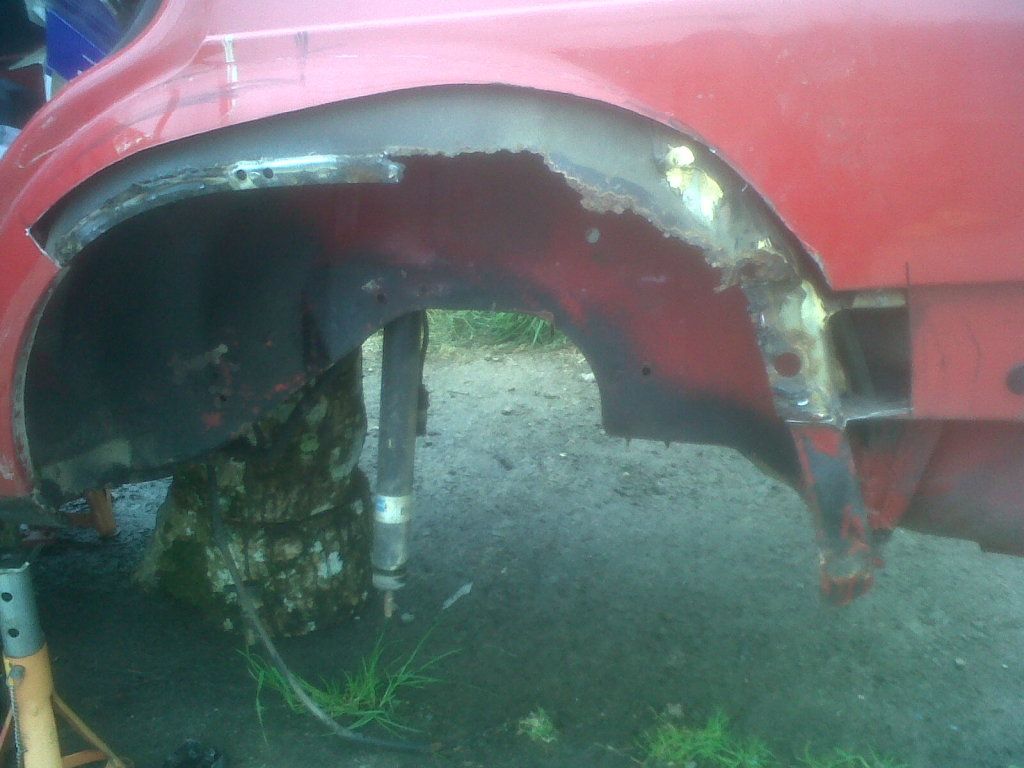
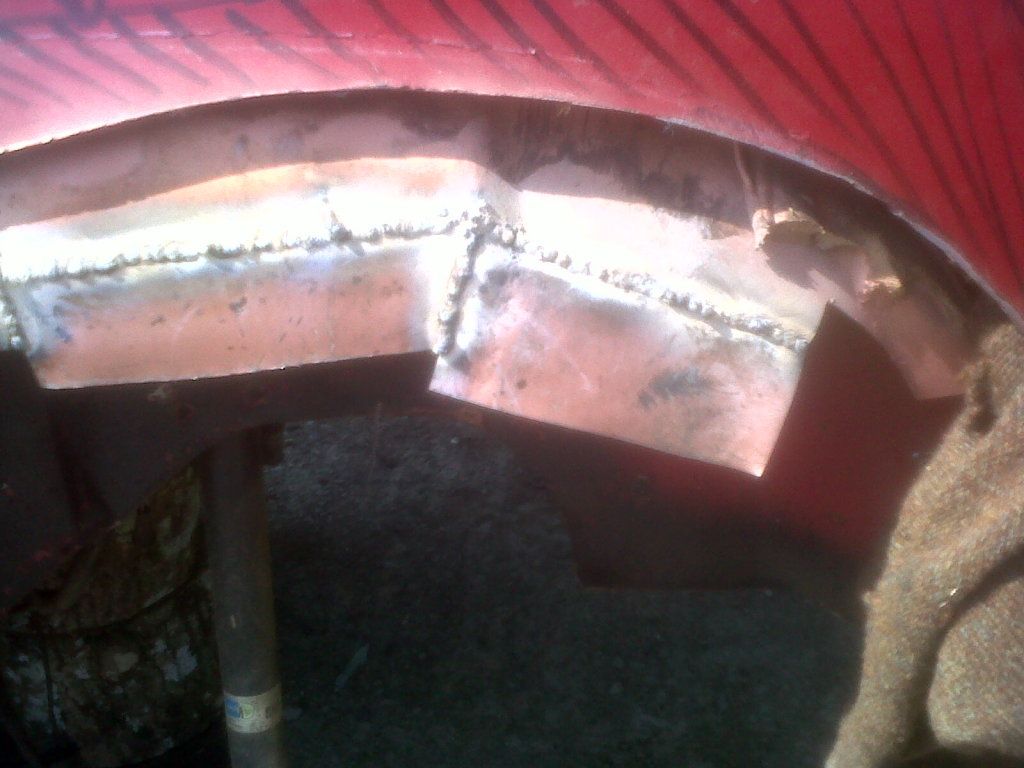
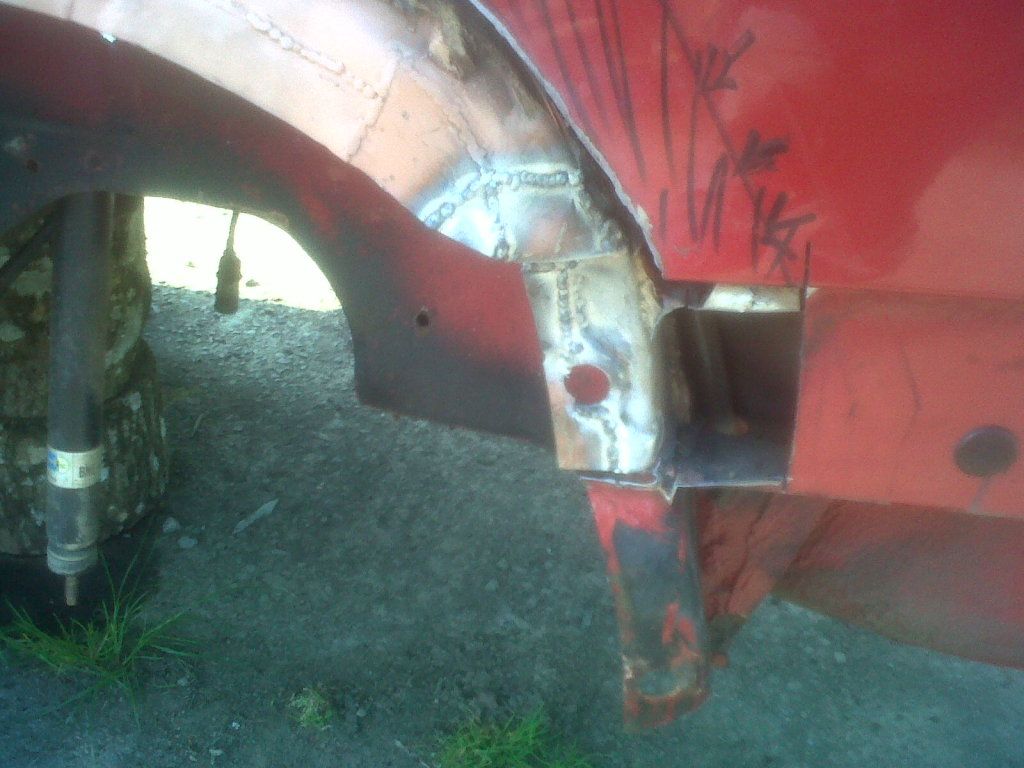
Lot of fab work needed in bottom corner
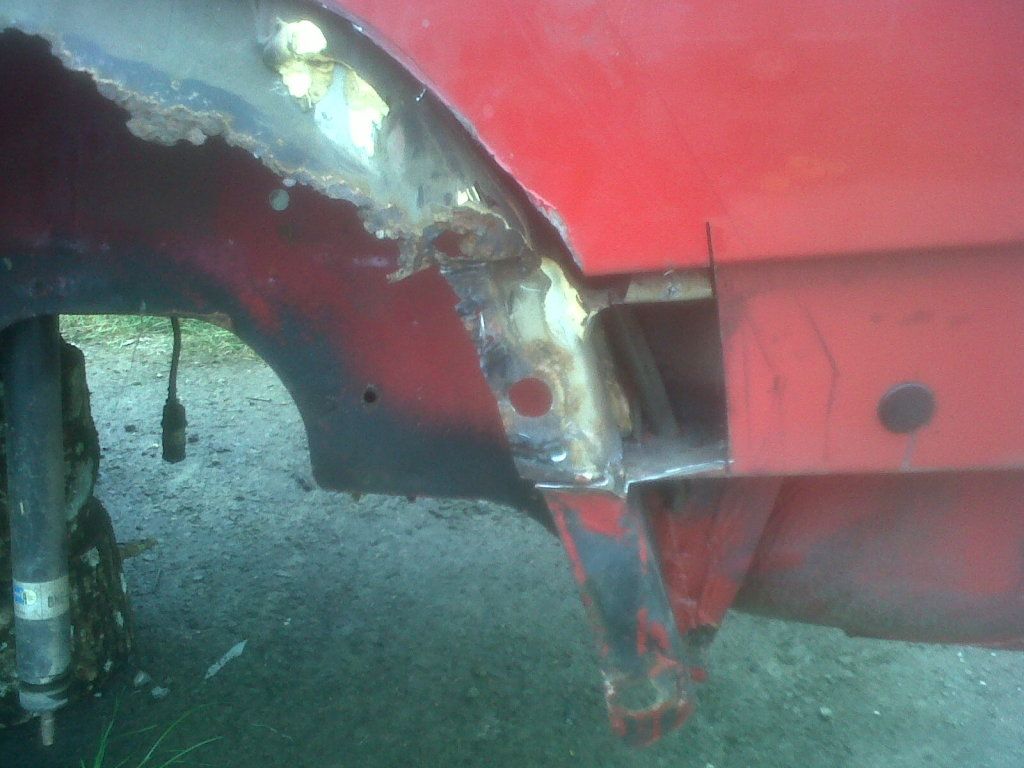
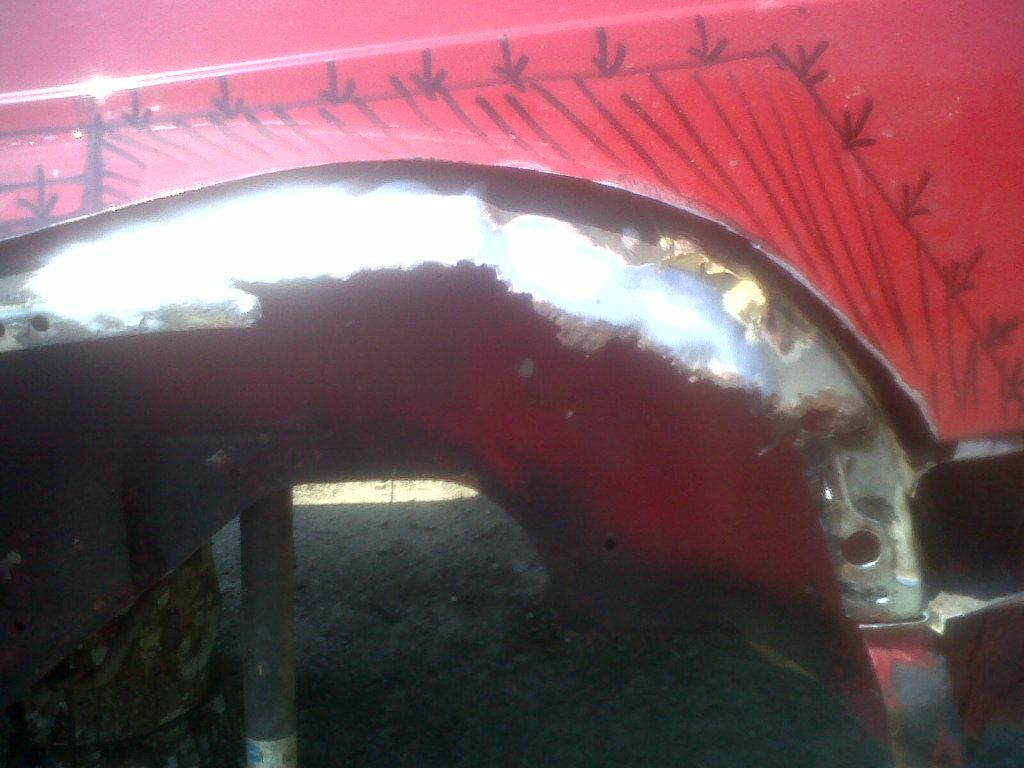
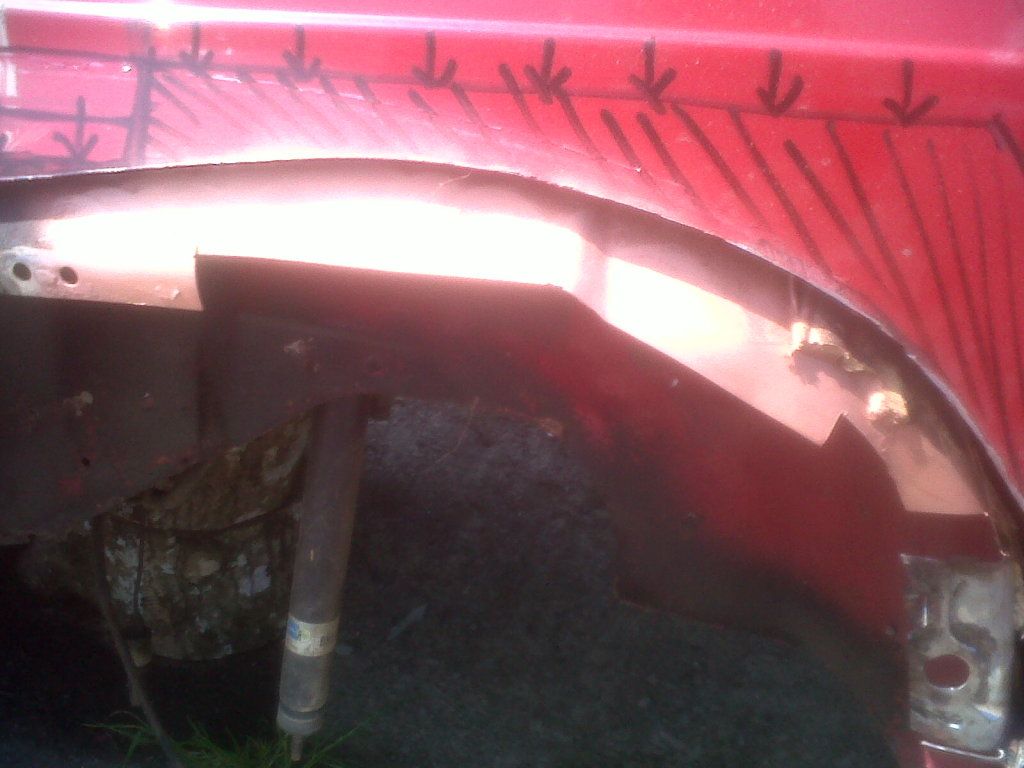
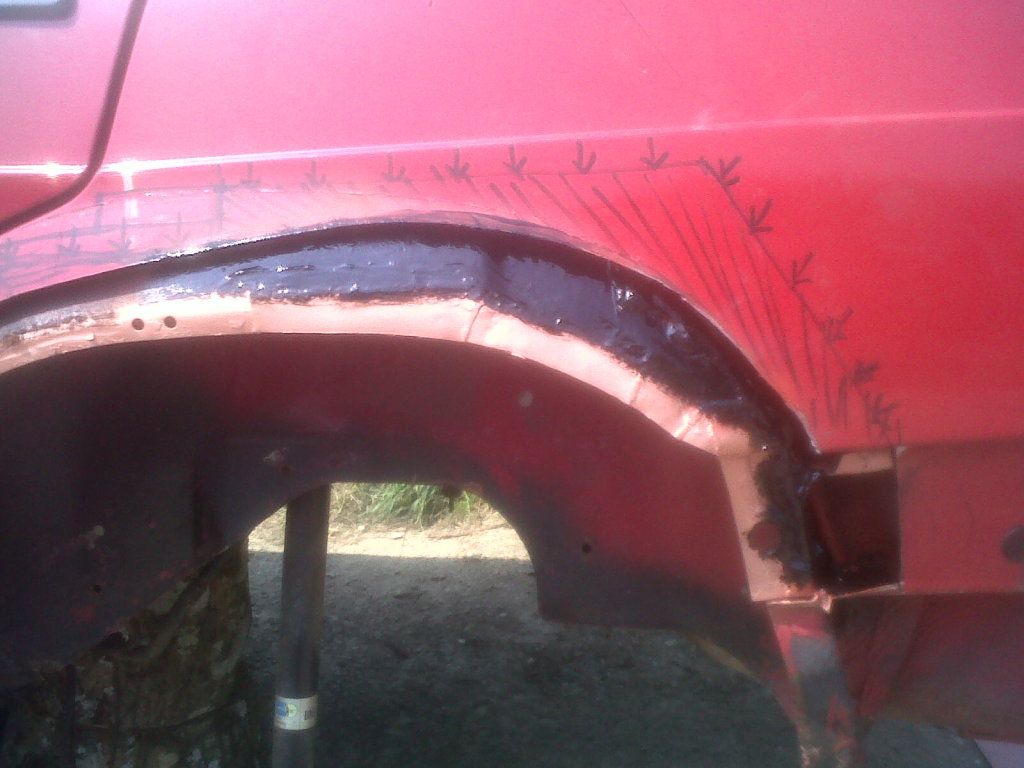
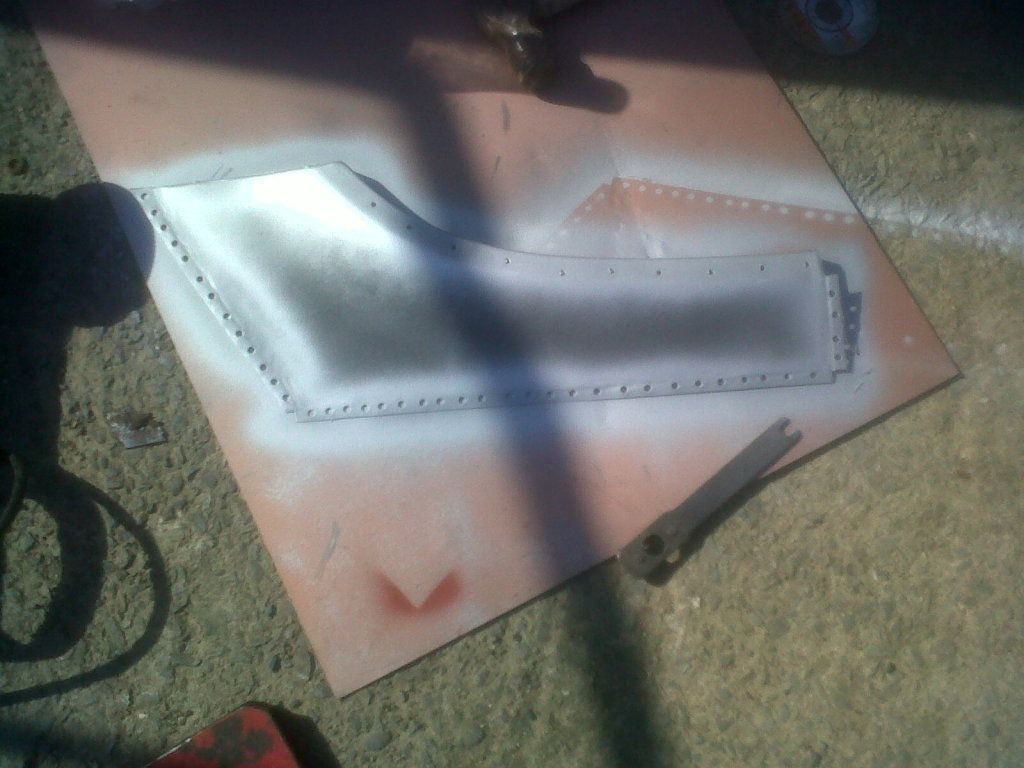
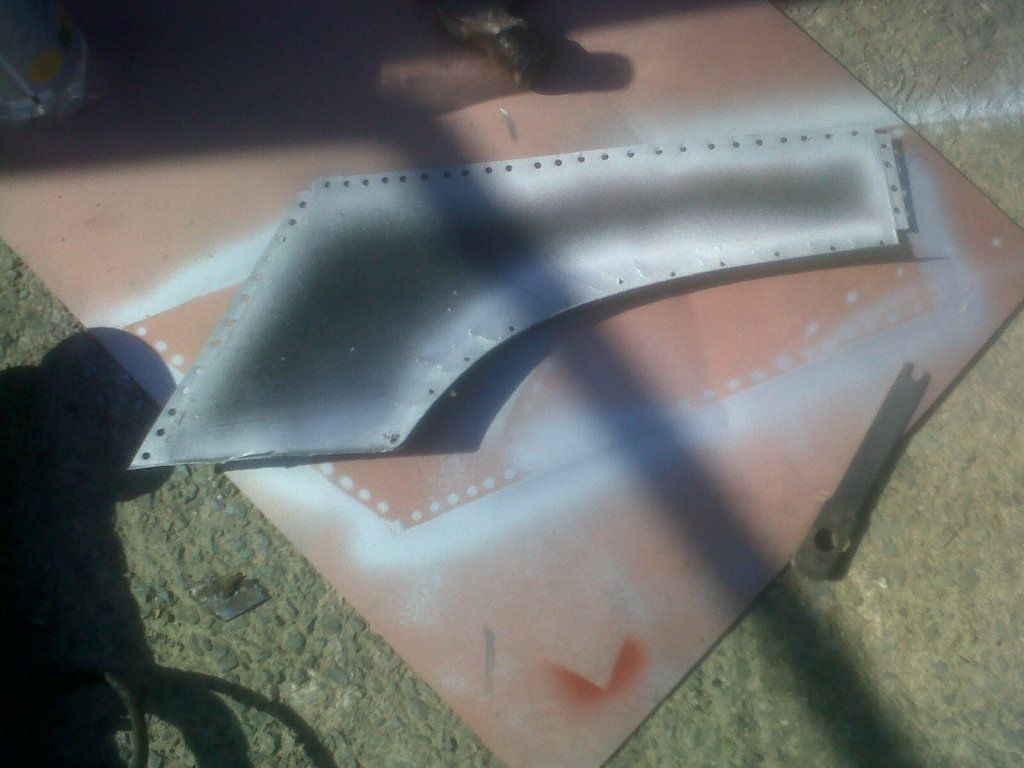
With only a small amount of rot on lower front corner I'll do the arch in two sections and keep the as much of the good original metal a pssobile and avoid cutting intot he door recess.
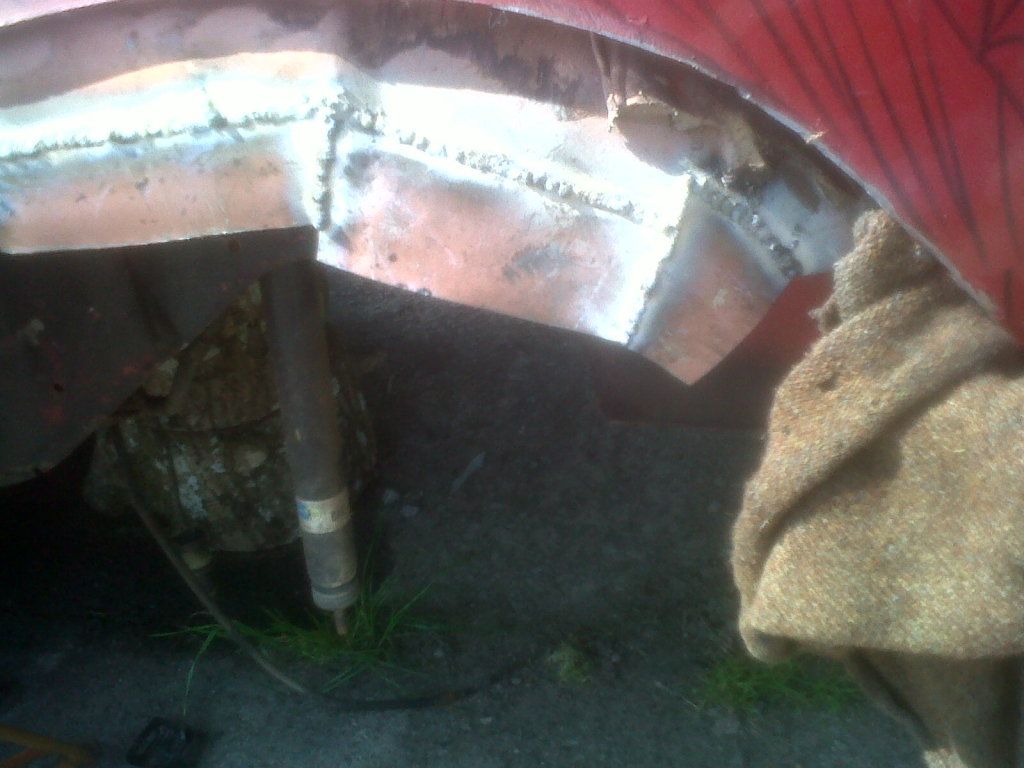
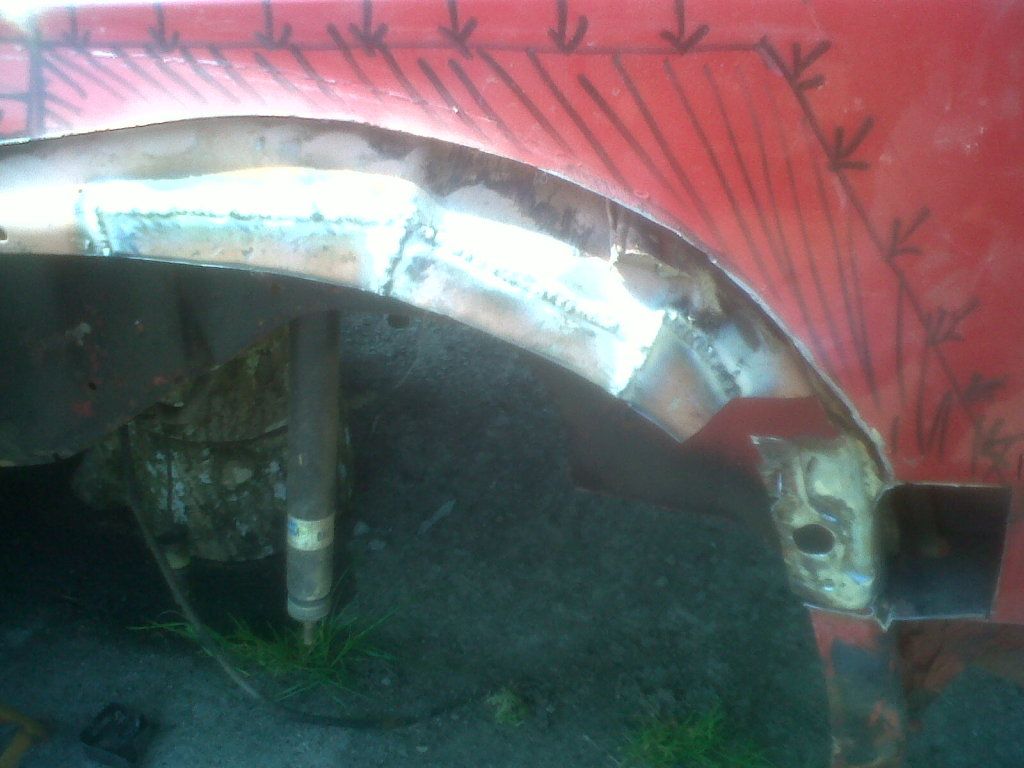
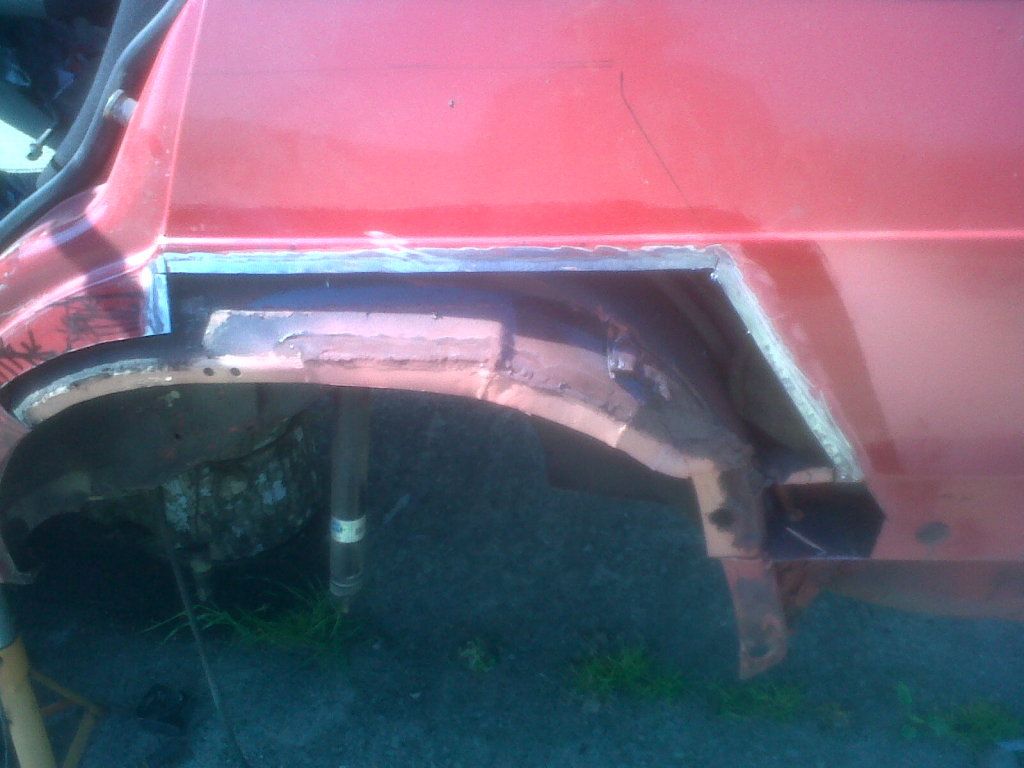
I marked up where I am cutting. I plan on cutting in as many straight sections as I can so I can joggle the edge easily and get it sitting flush and plug weld.
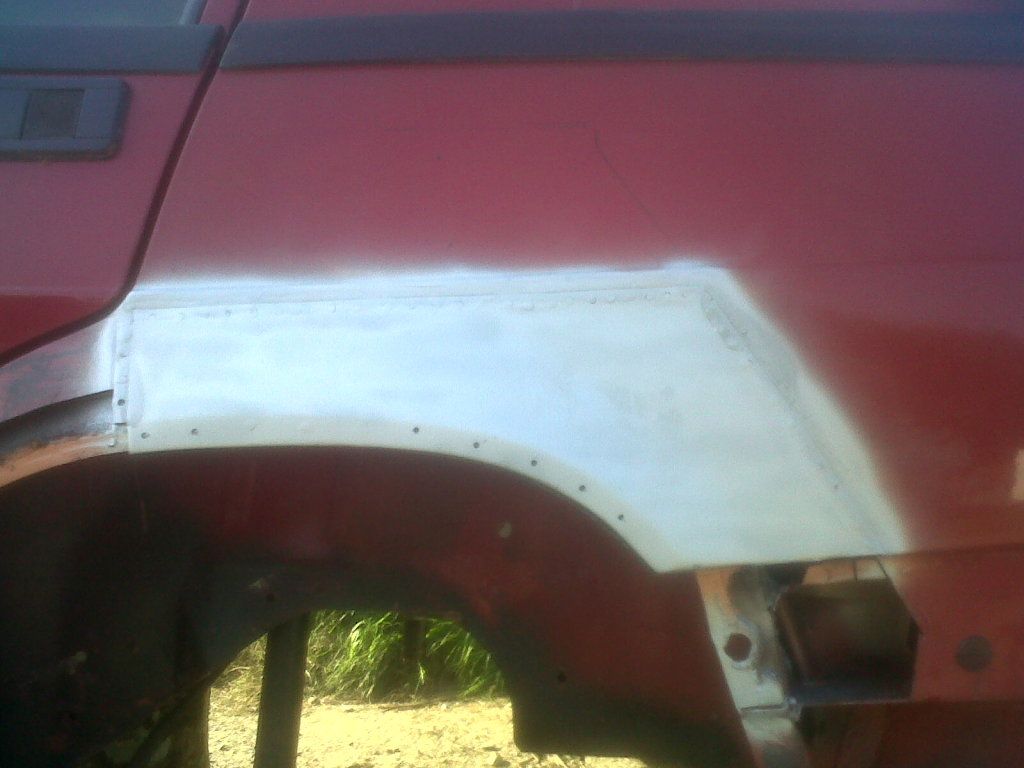
Onto the driver arch
Only a small amount of rot on arch itself.

Alot more on the front edge tho by door so alot of fabbing also needed here
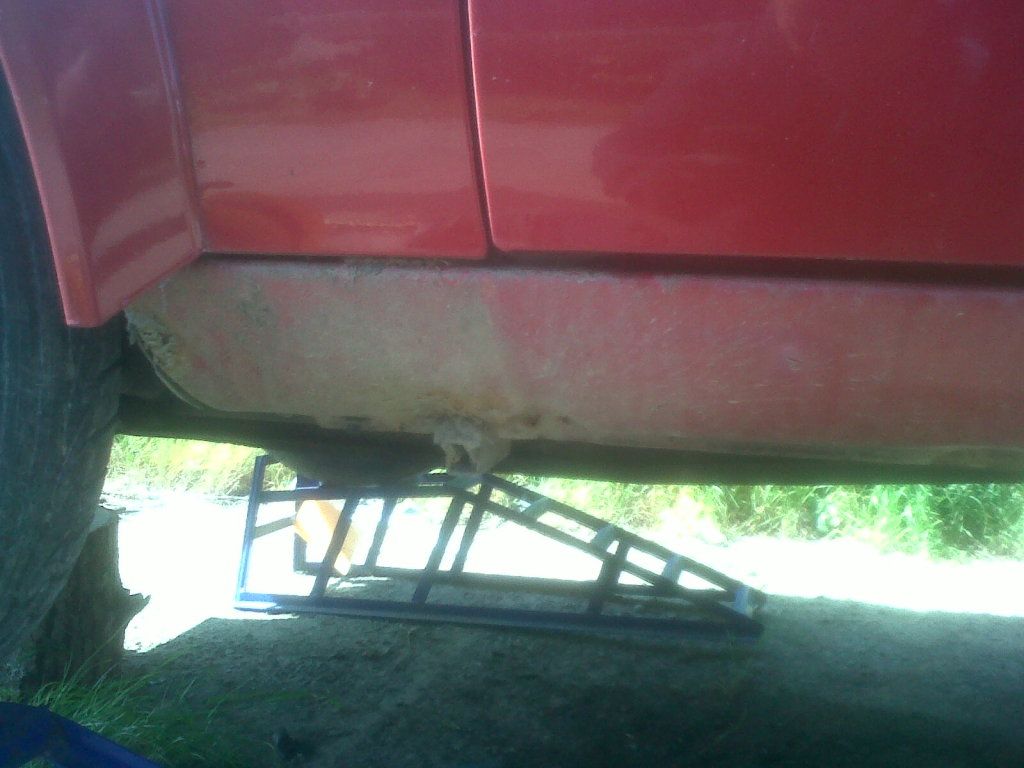
Sills look good with just a bit of surface rust. I plan to wire brush, kurust and stone chip these along with jacking points
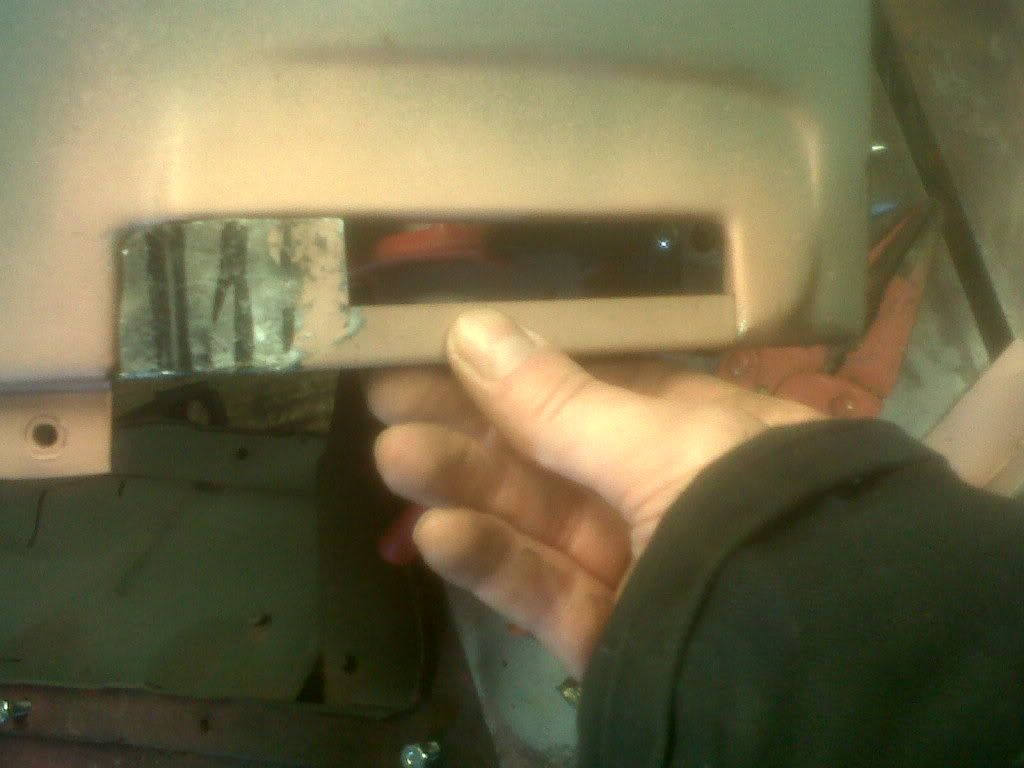
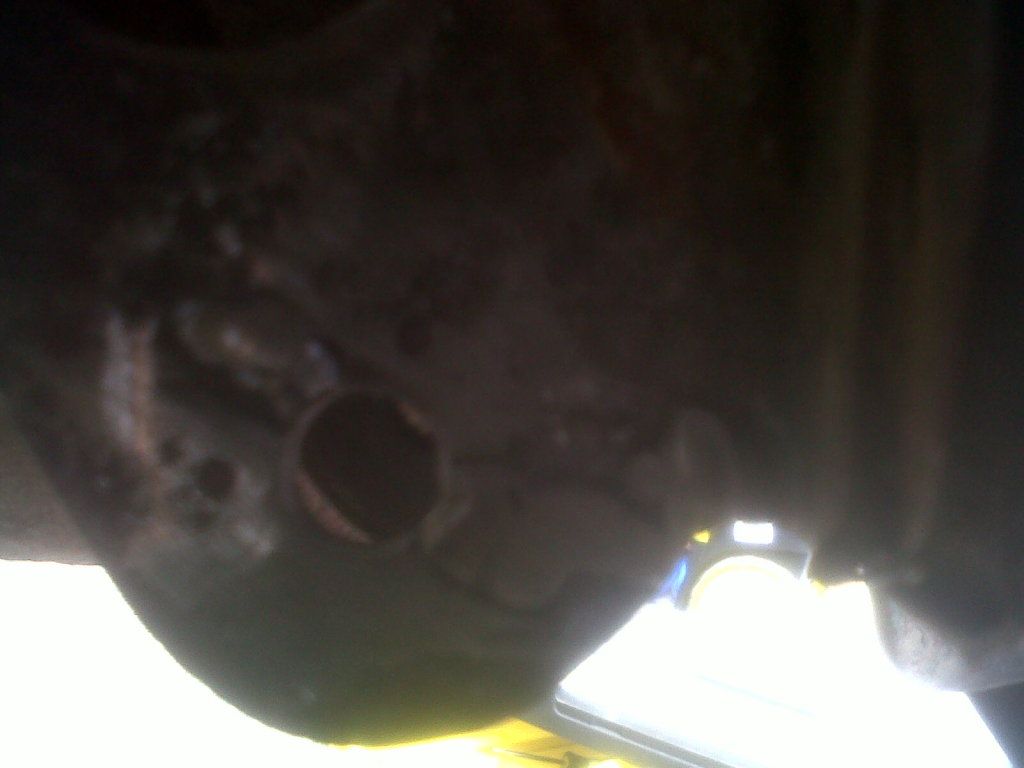
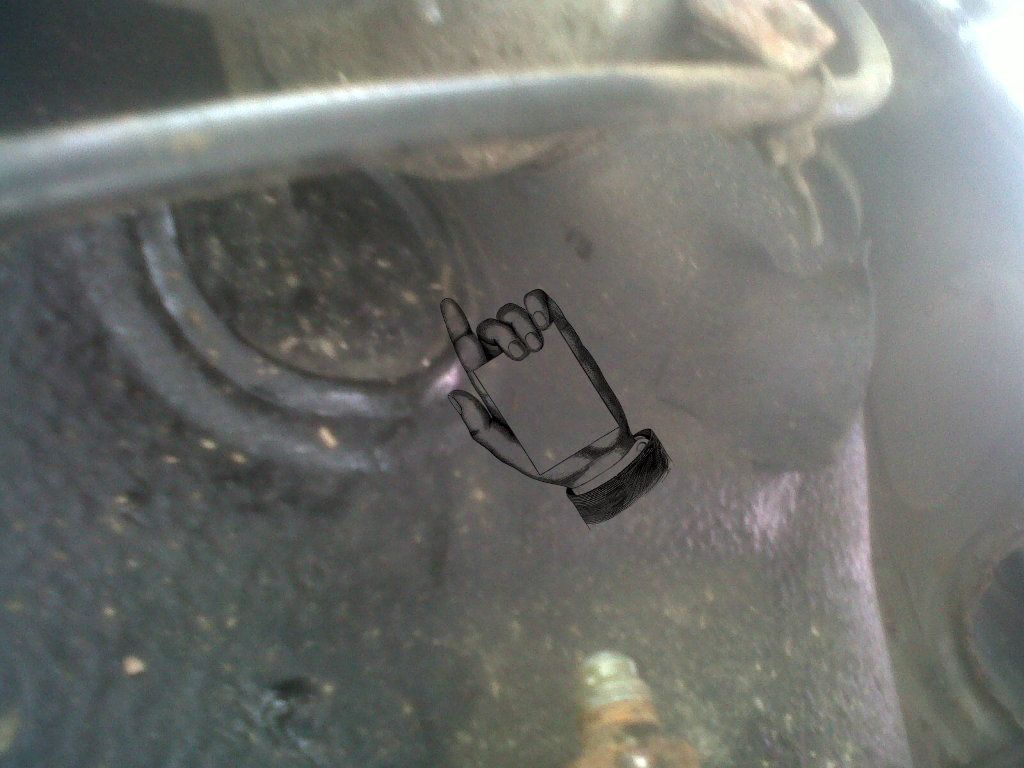
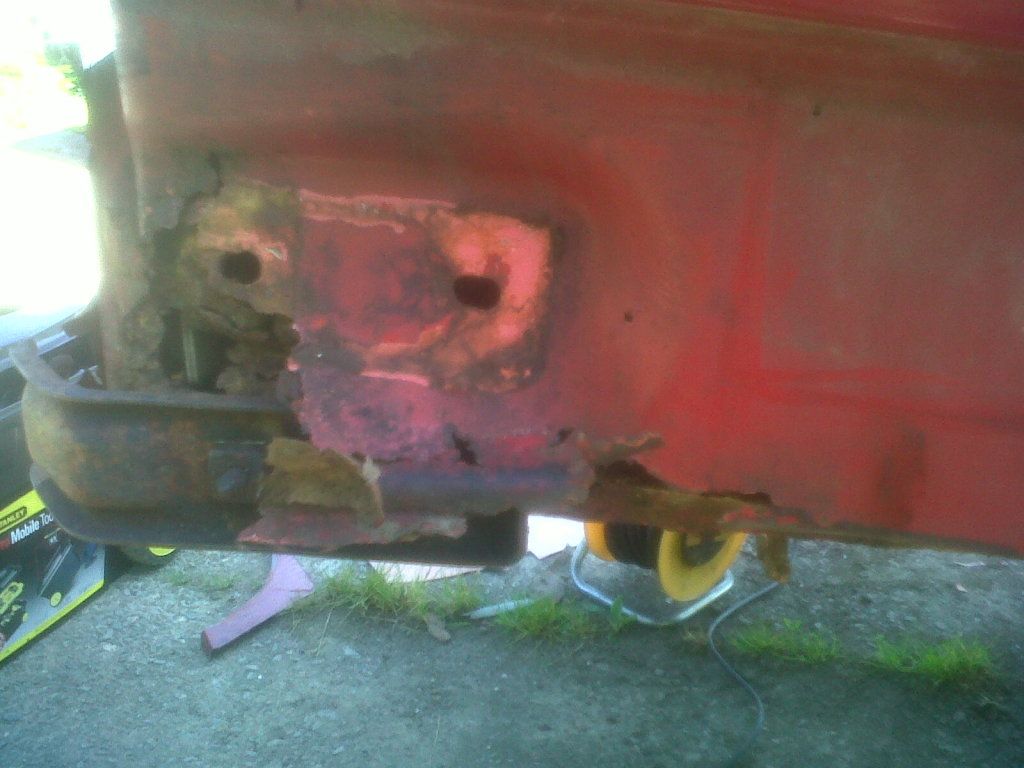
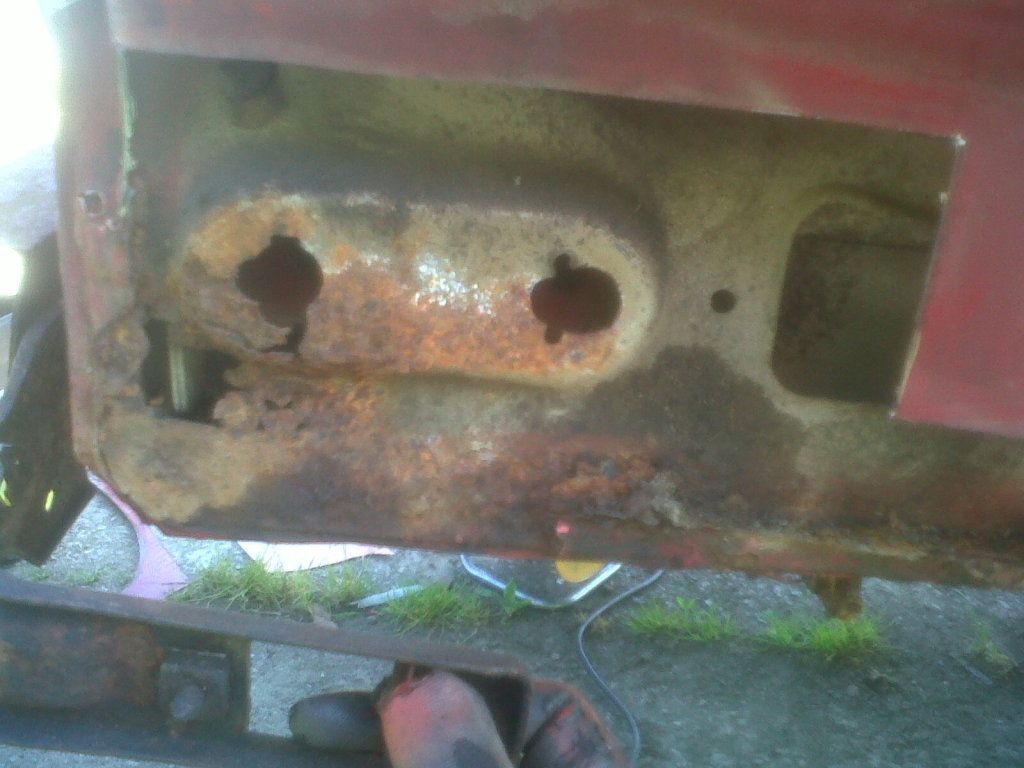
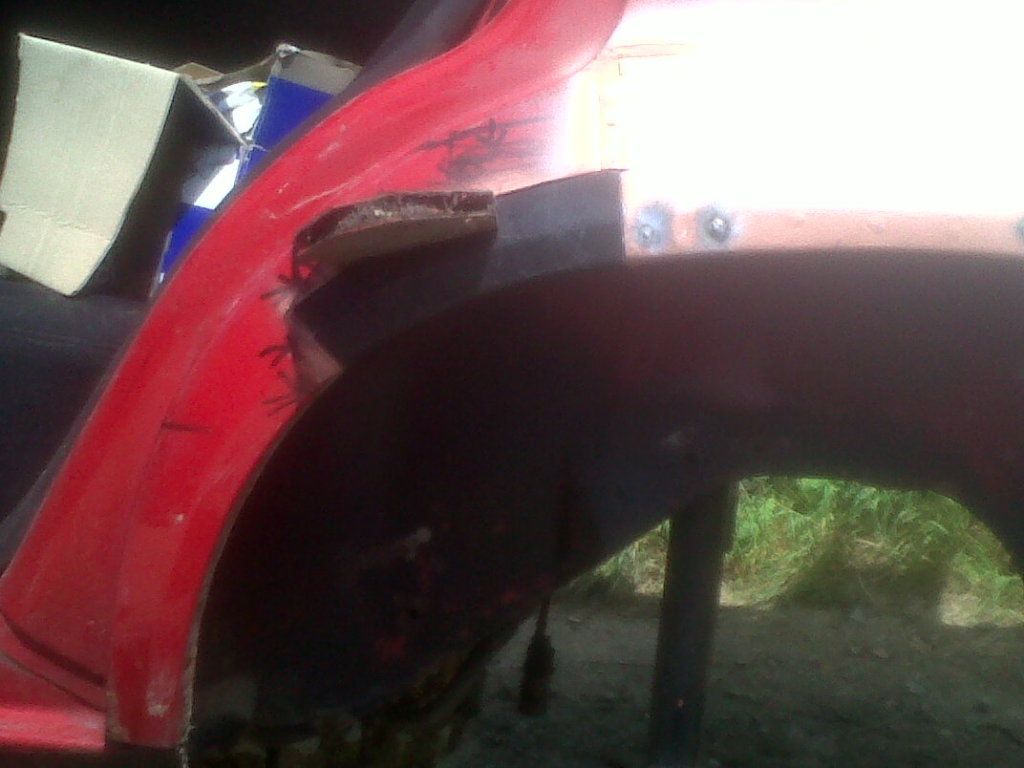
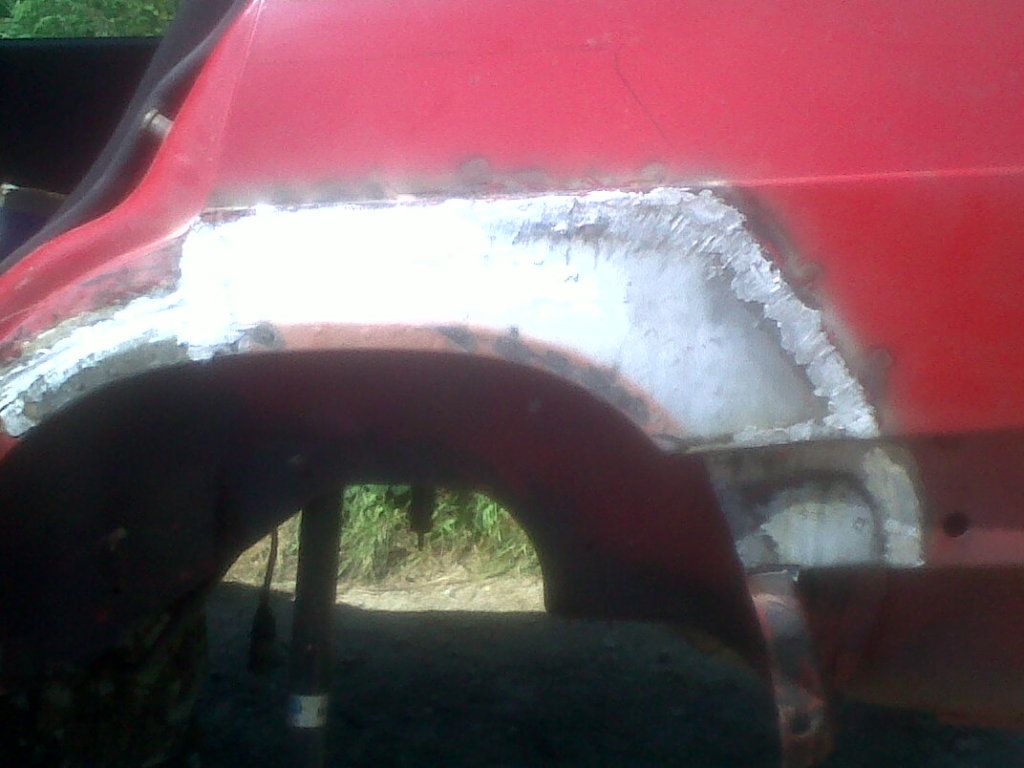
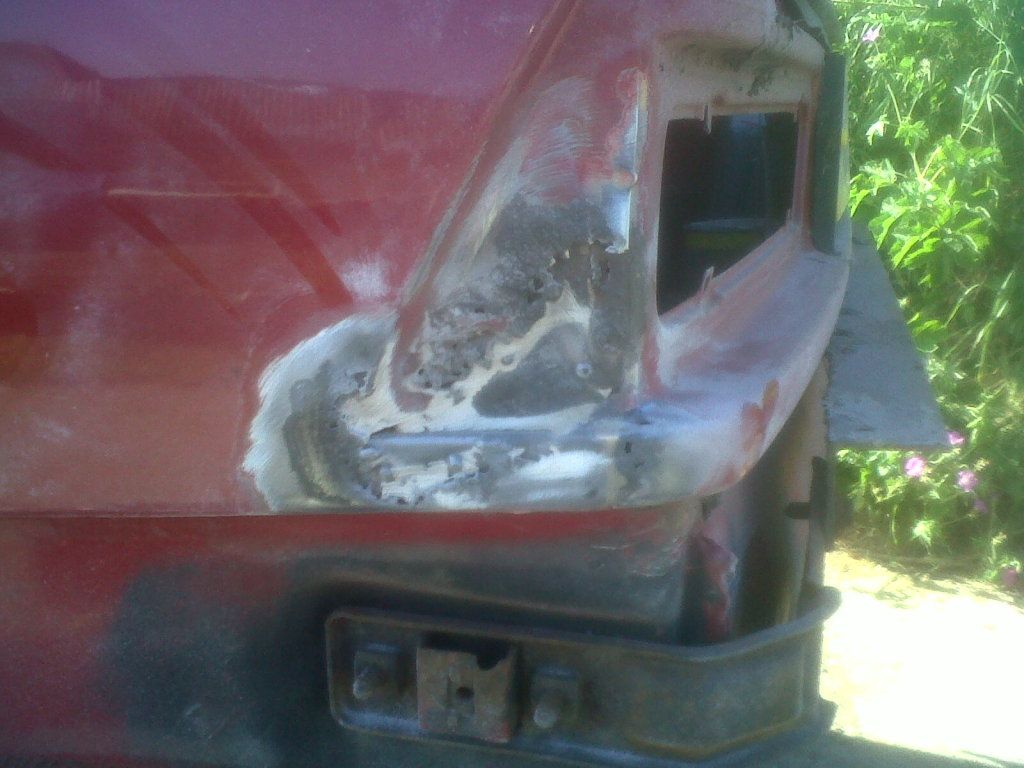
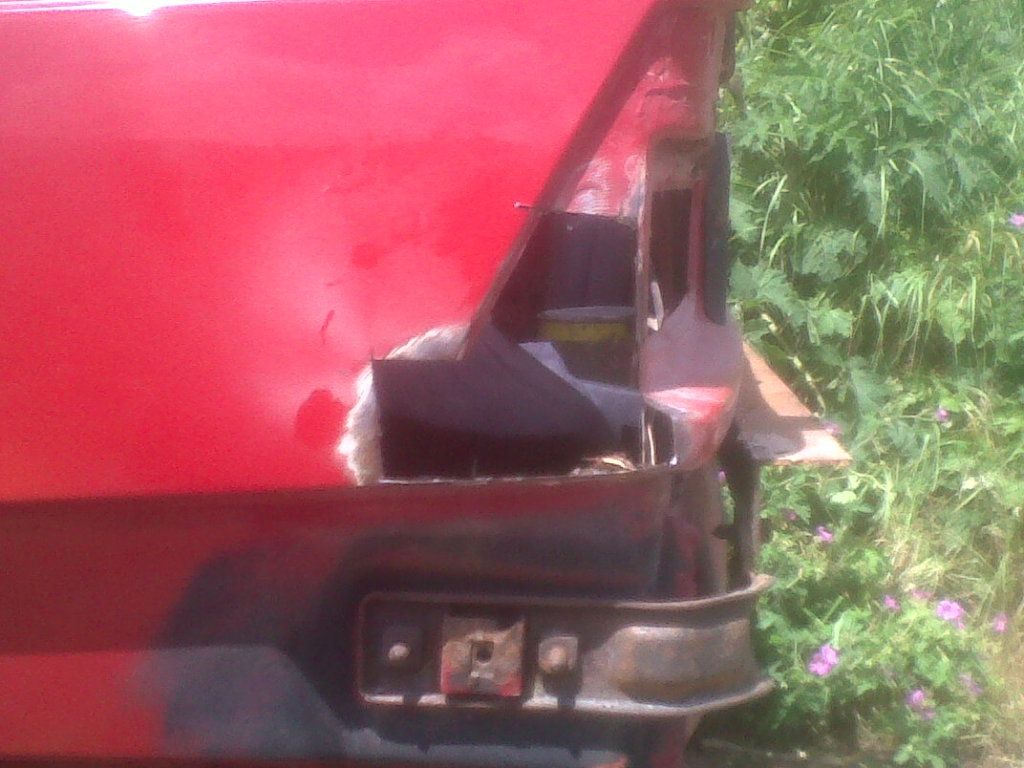
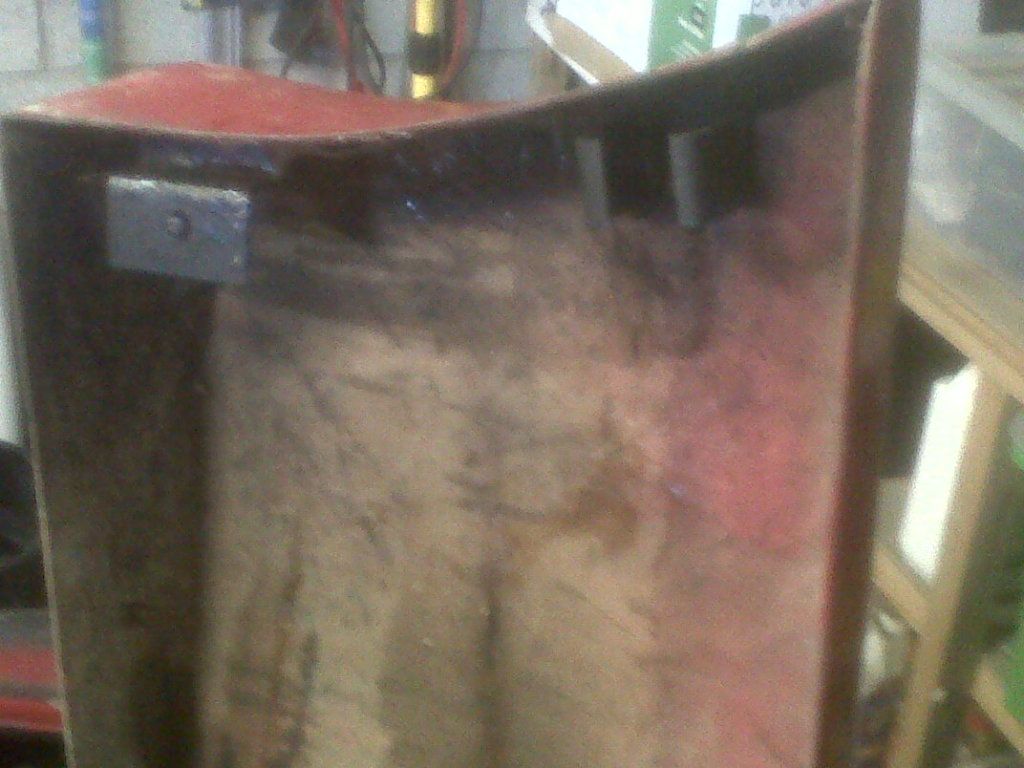
With the bumper off I had a look at the rear end and found a major bodge on the driver rear corner. I was looking for rot under the rear lights and there was some bubbling so I whipped the light cluster out. I could see wavy paint and bubbling all over the shop. Rust and filler!
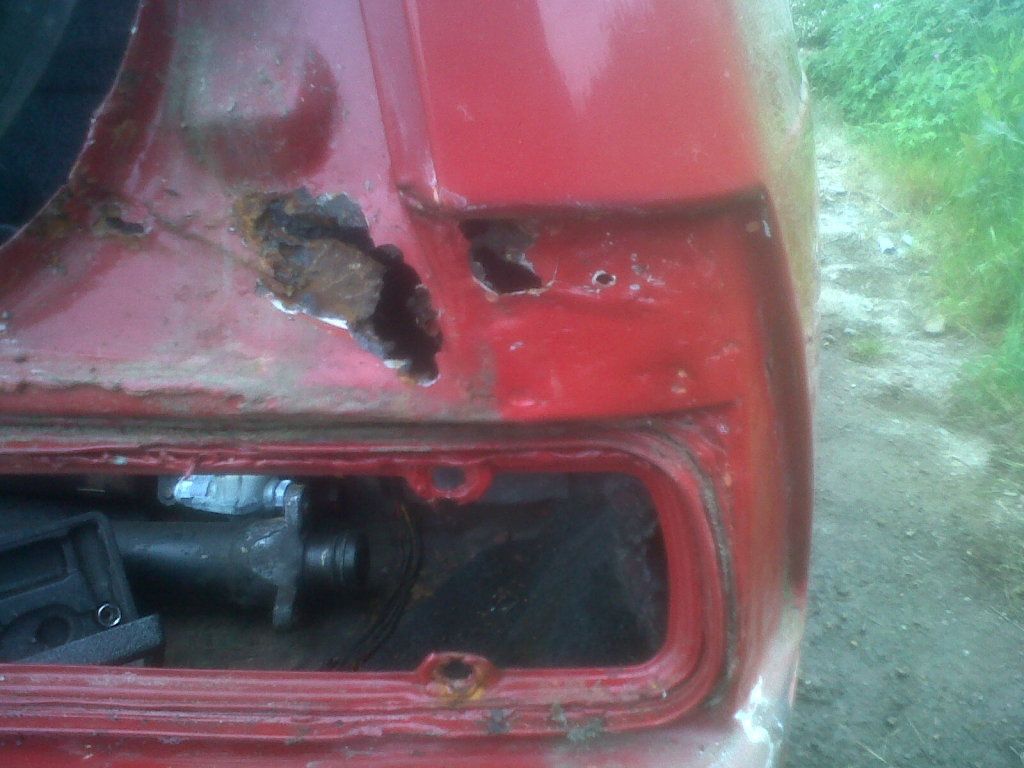
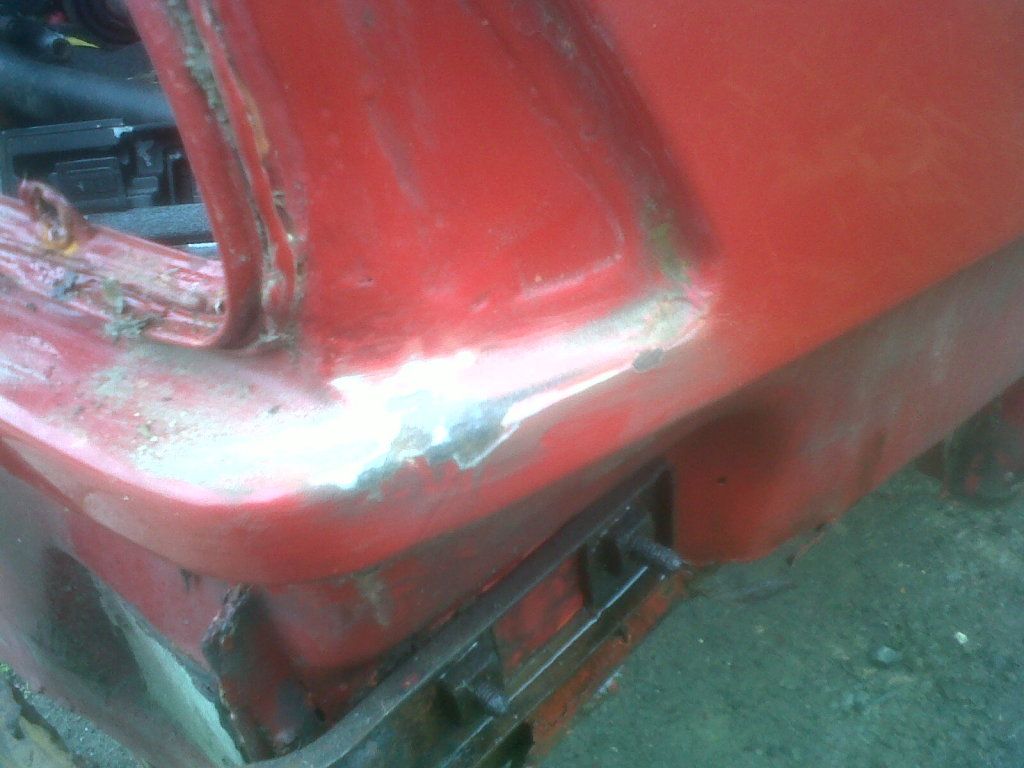
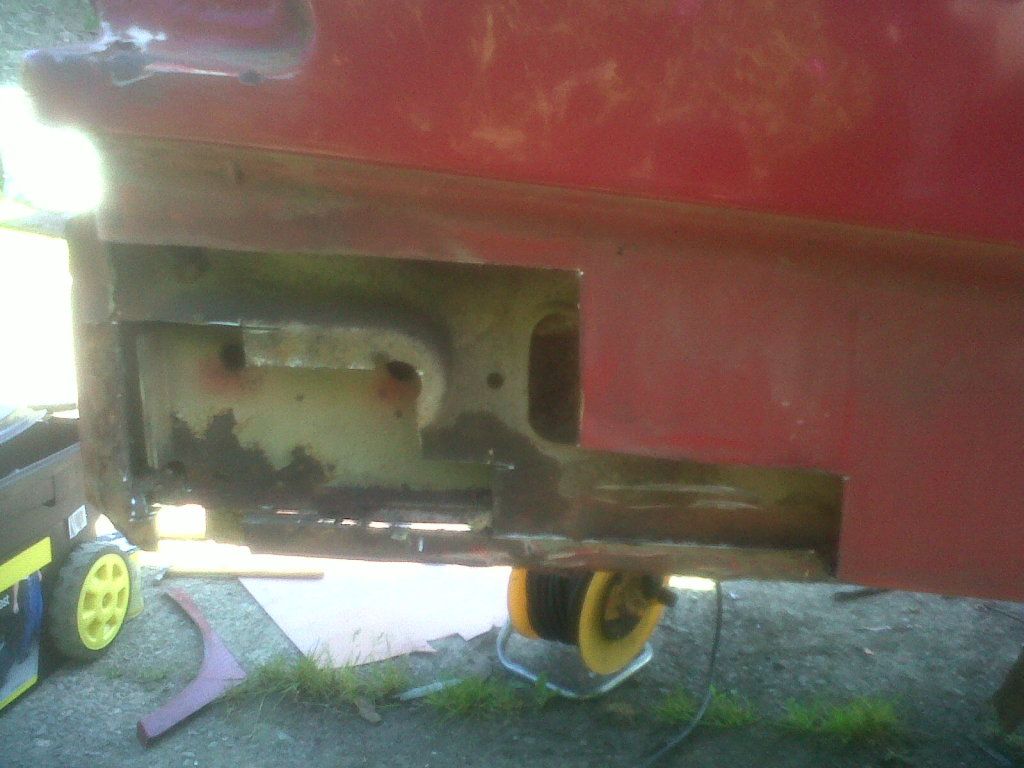
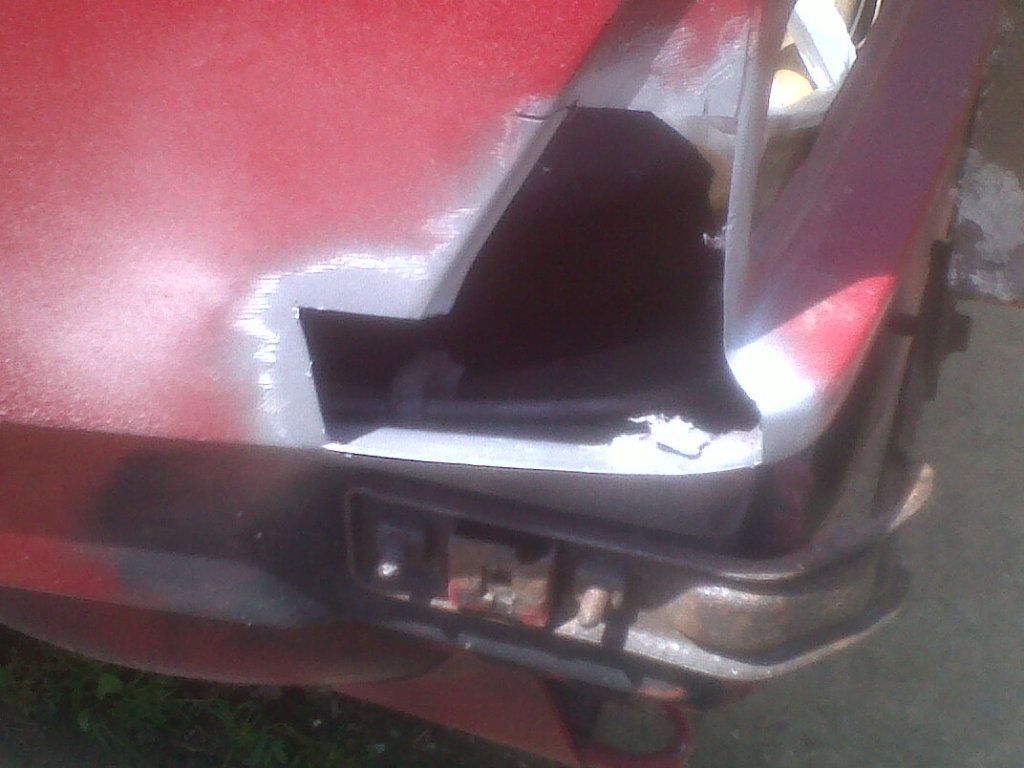
Pretty much this whole corner has to go, so if anyone knows of car that is being parted out tha tis solid here plese le tme know otherwise I am going to have to fab this also, luckly its mostly flat surfaces.
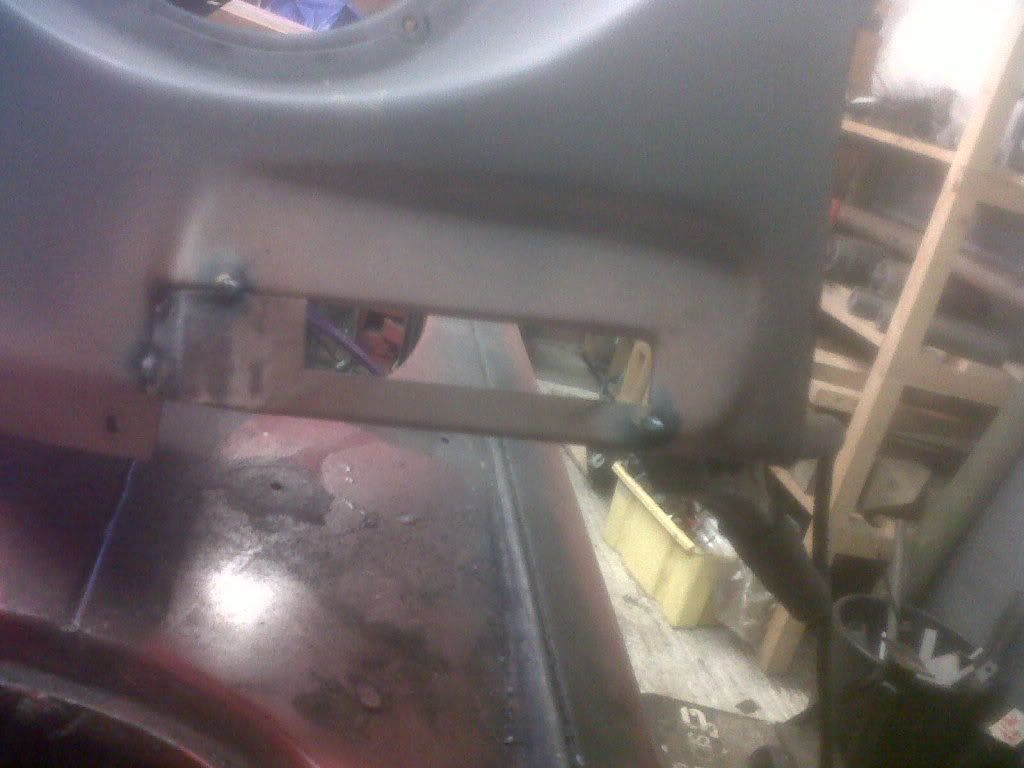
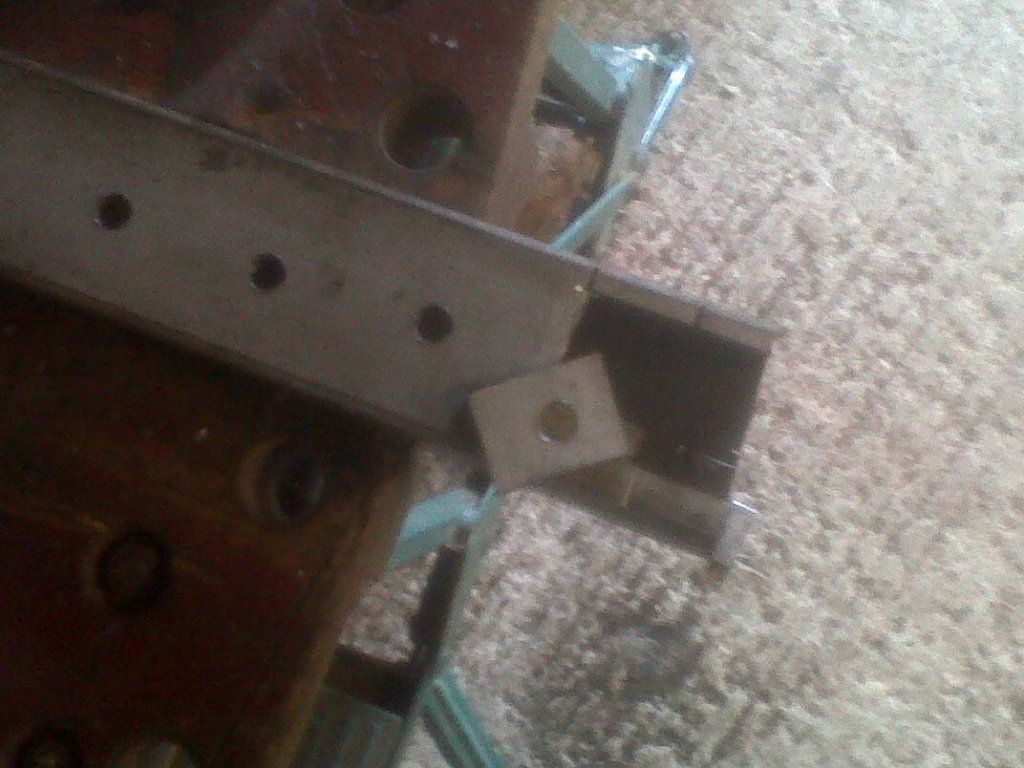
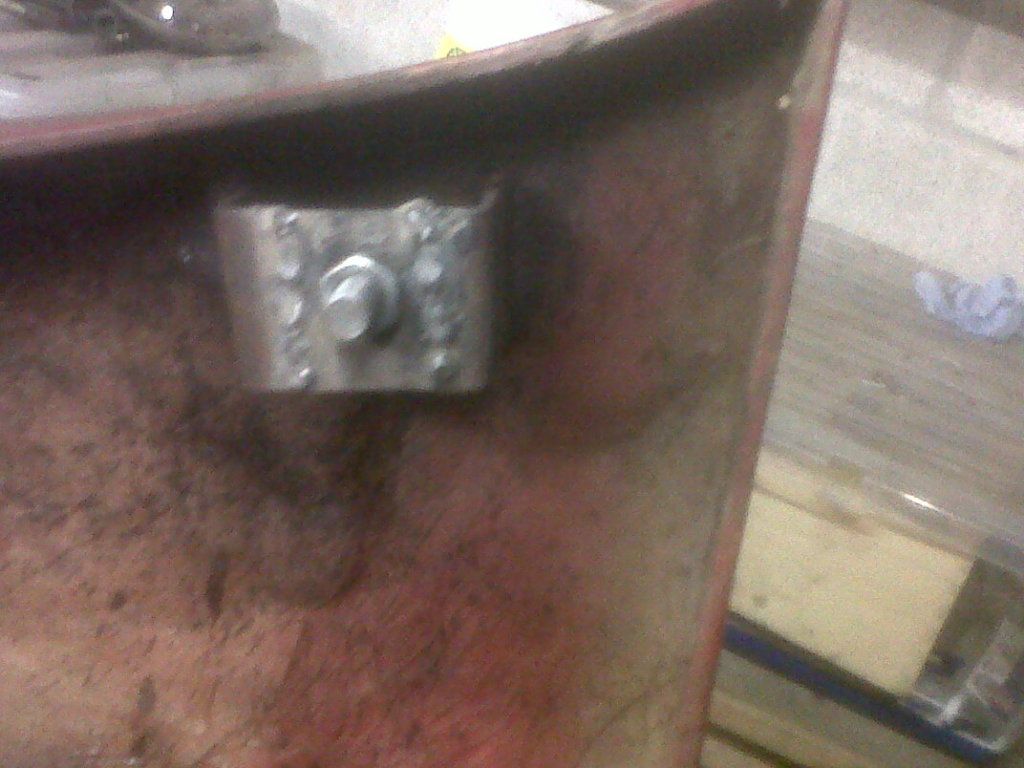
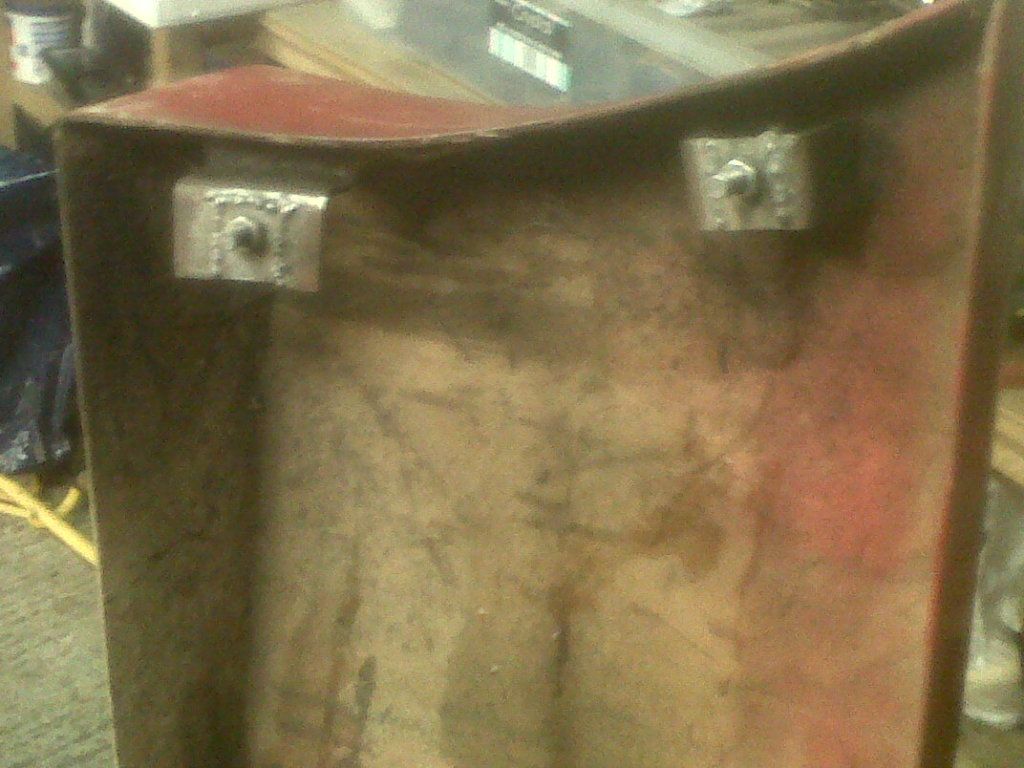
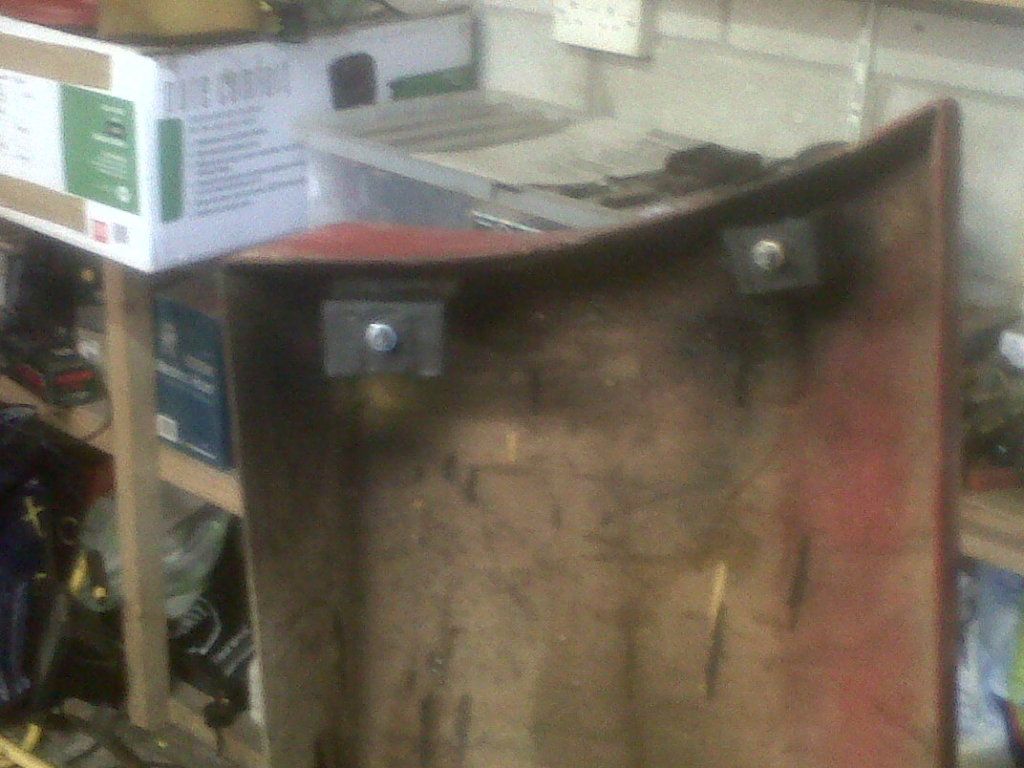
Also major rot by bumper brackets on the very bottom corner. Again this has to all be cut out and fabbed, but its all straight surfaces again so should not be too hard.
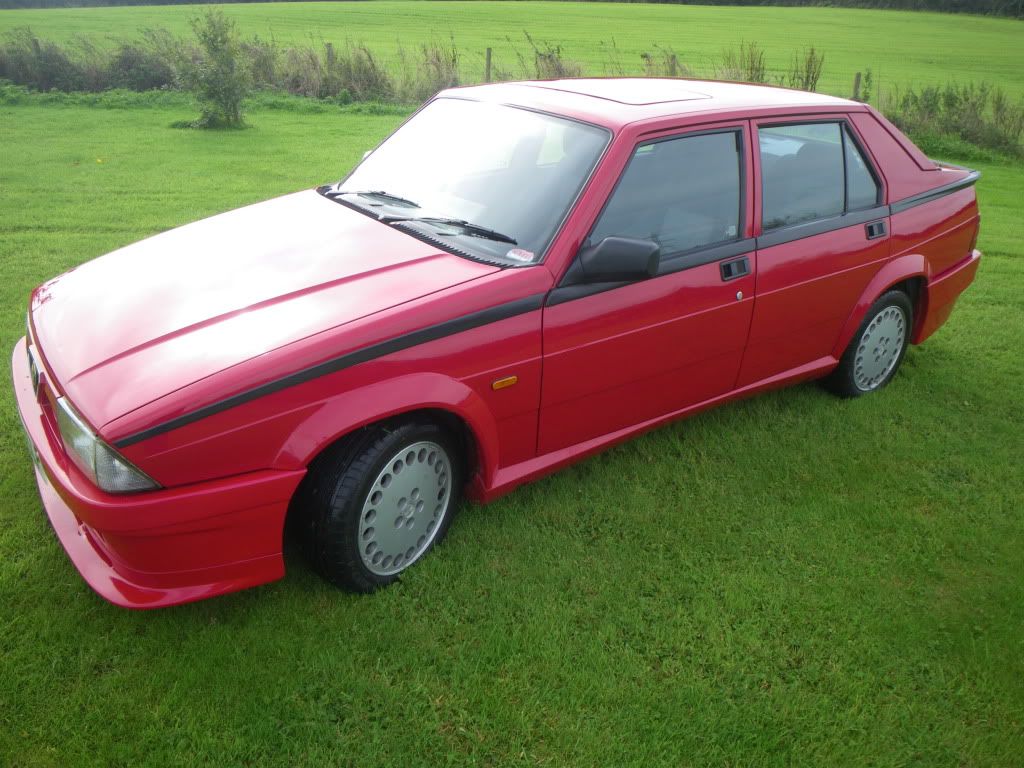
So all in all this is getting very involved and is now defo a mini resto! No idea how I will match the paint as I dont know what colour the guy resprayed it! Il try some alfa colours from spray cans and see if I can match.
So as a word of waring when buying cars you can polish a turd as a month ago if you remember it looked like this


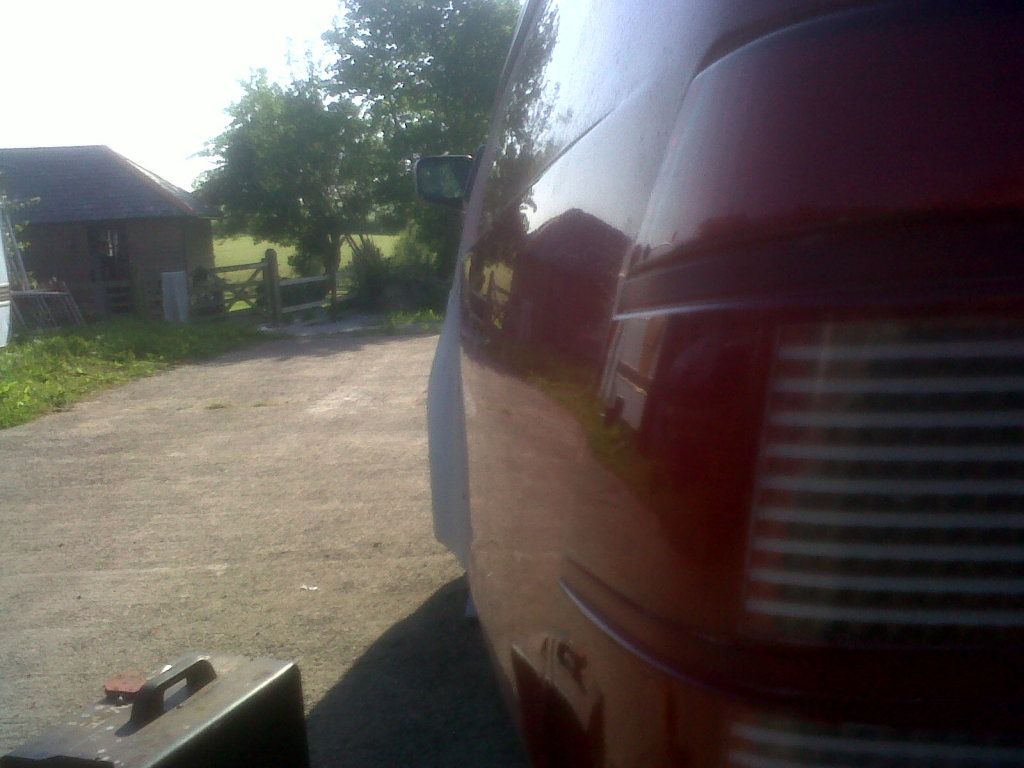
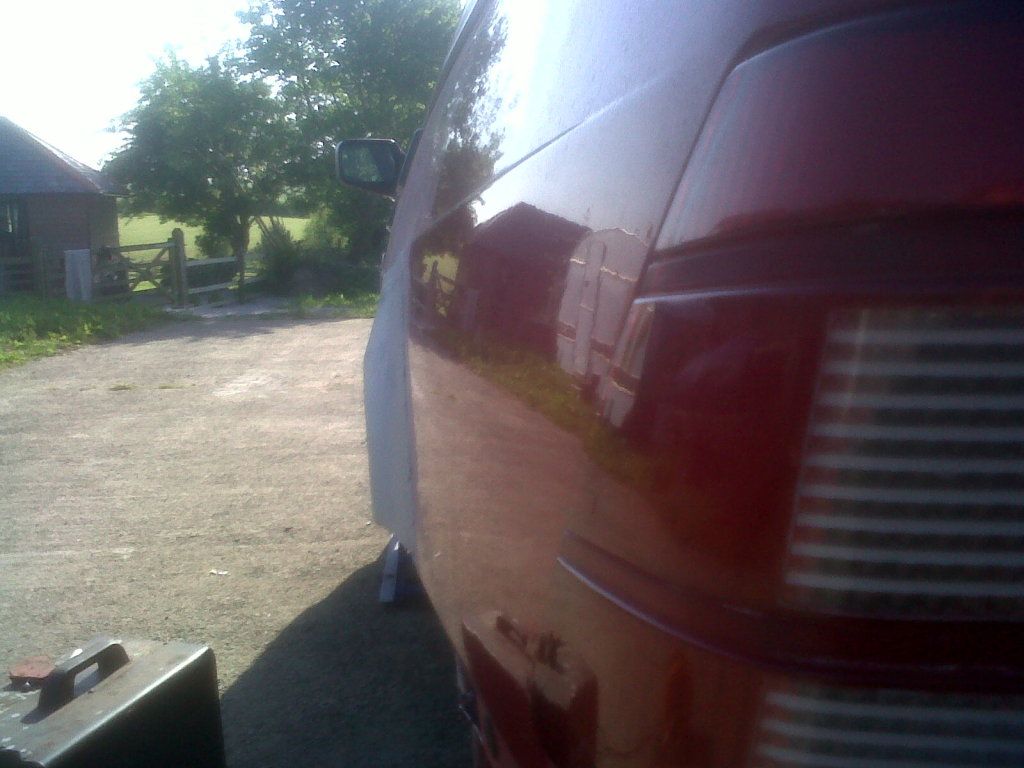

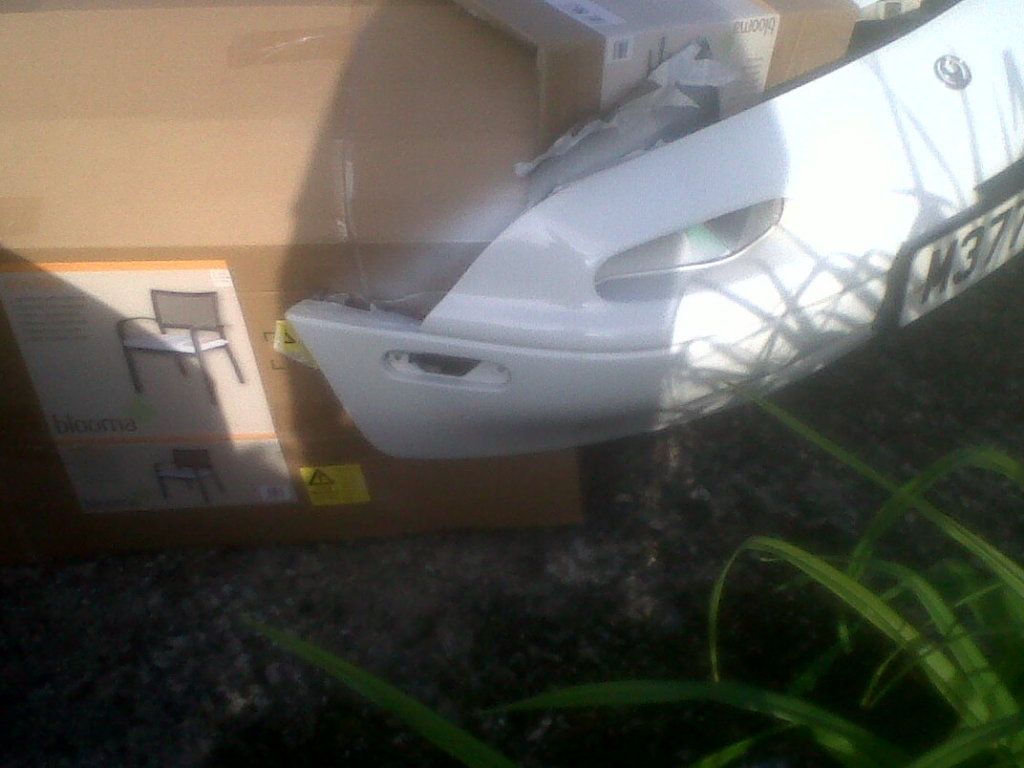