Excuse the past tense etc, its from over the last 3 months.
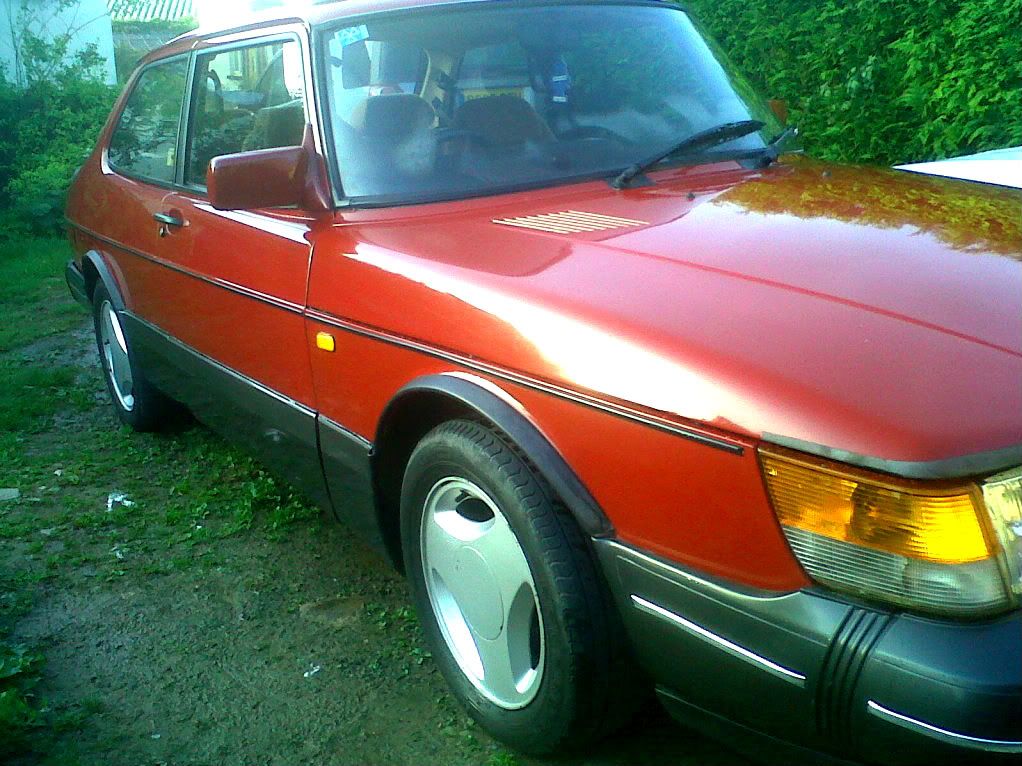
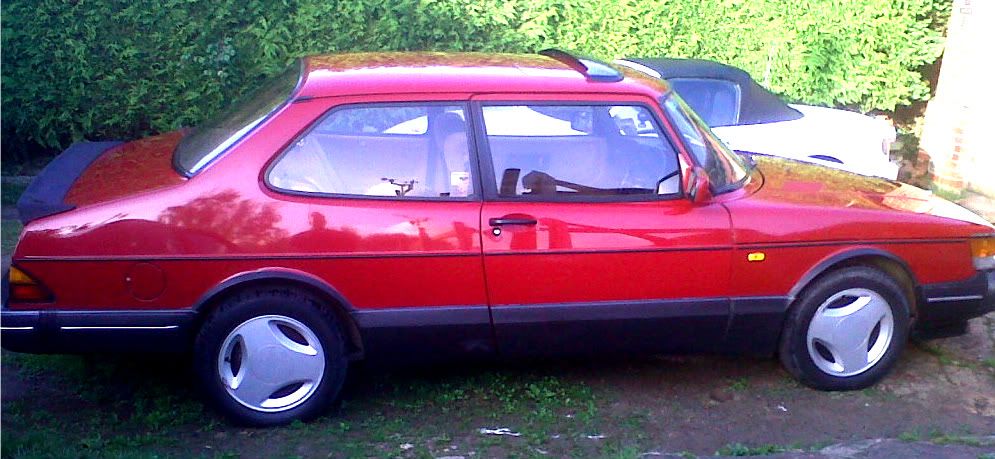
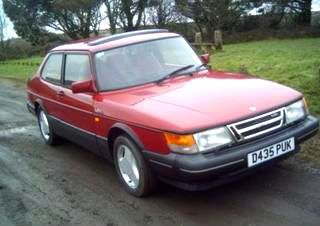
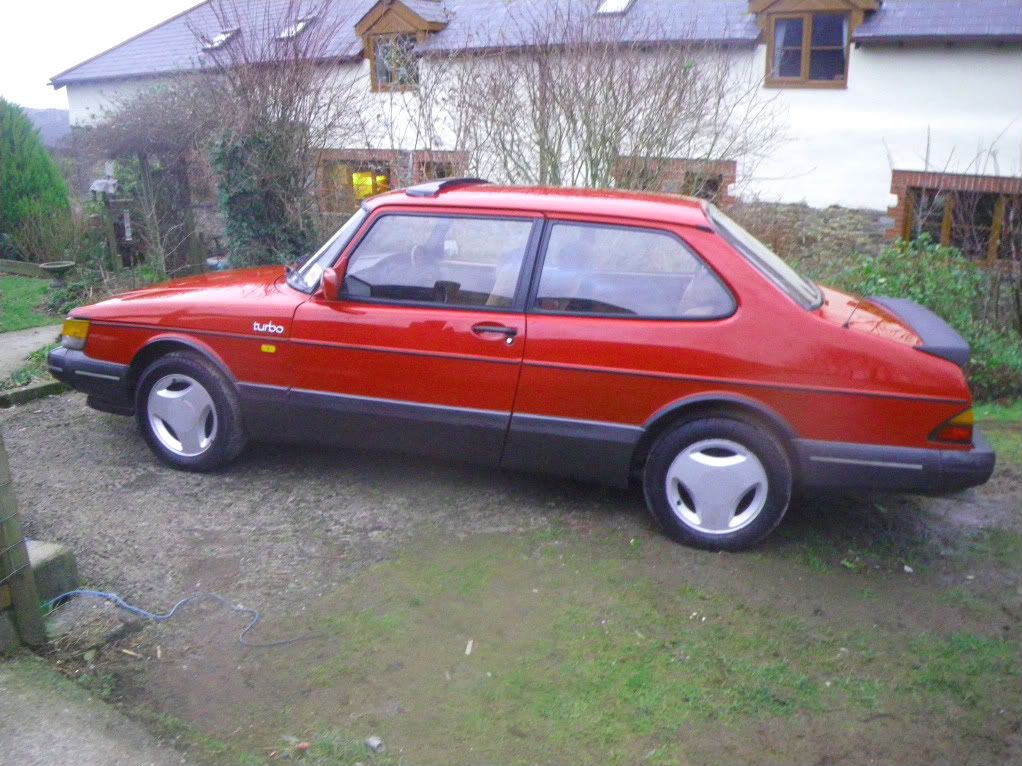
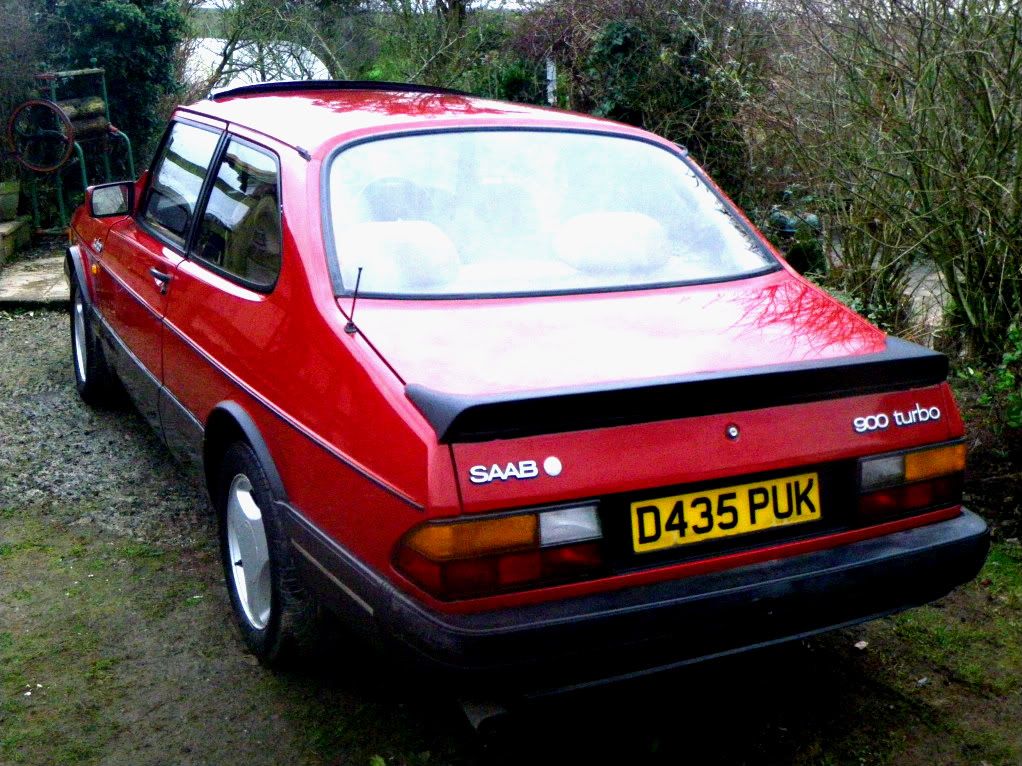
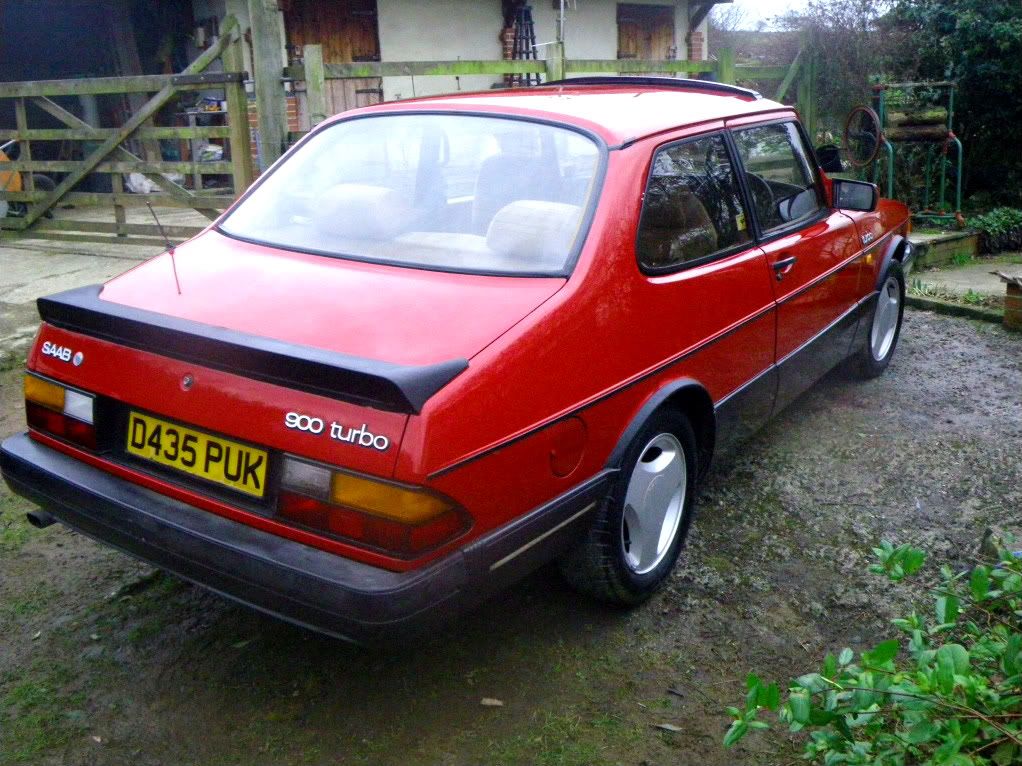
Its a 8V Turbo with an Aero kit from the factory and FSH.
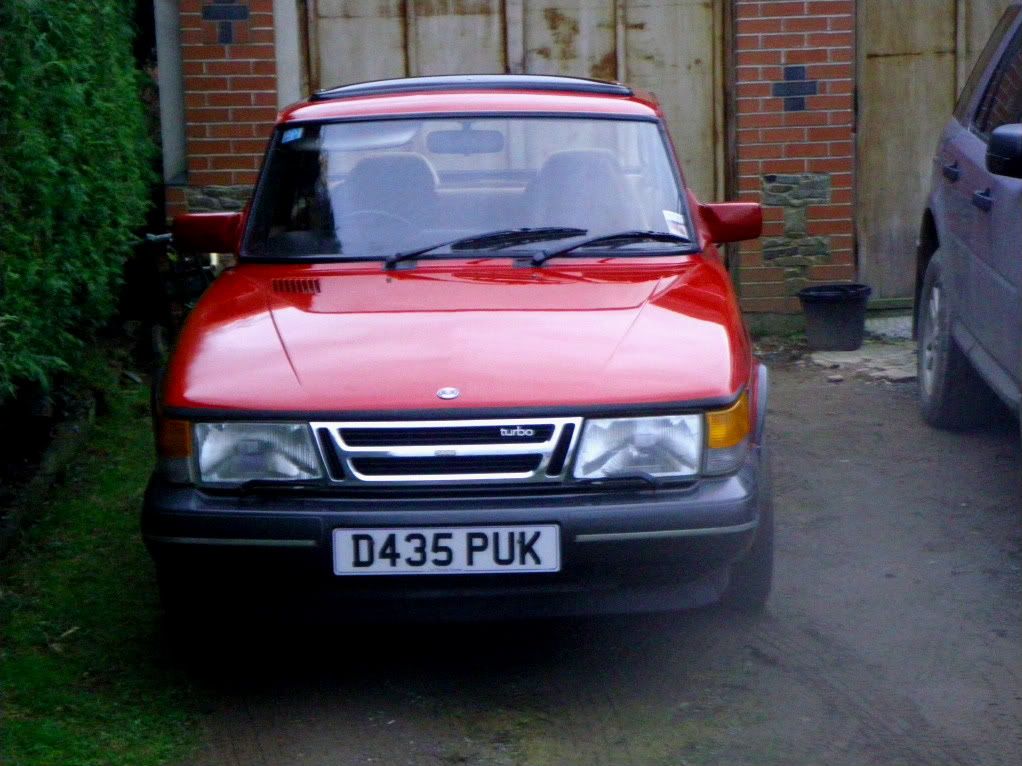
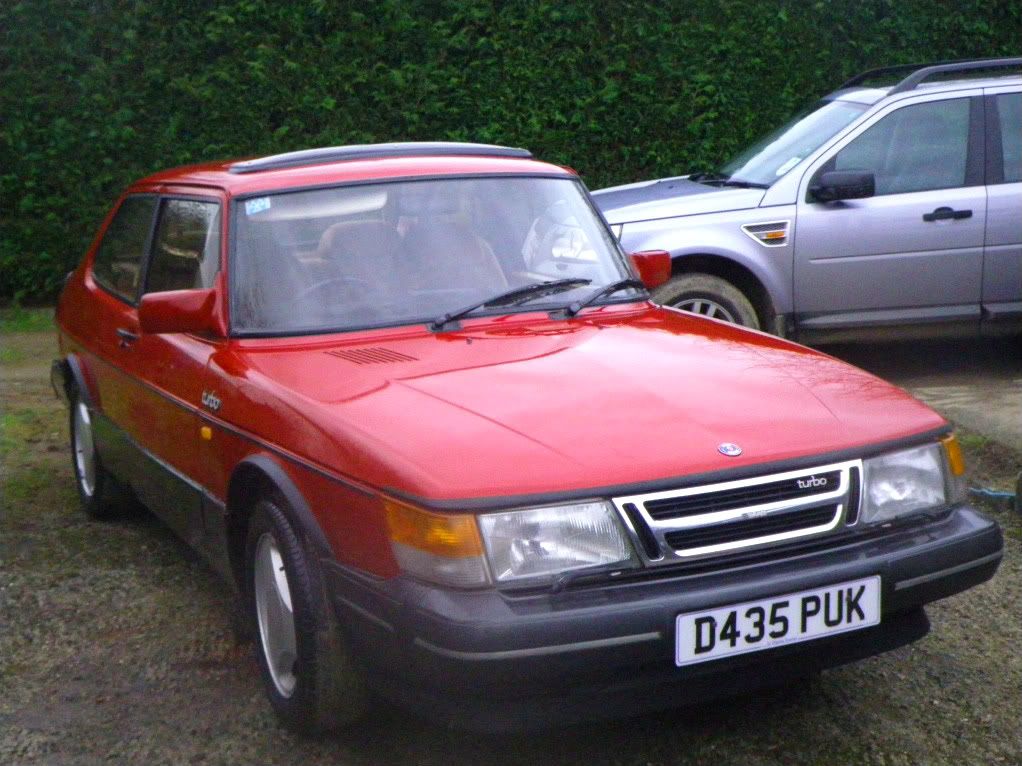
It's cherry red despite looking brown.
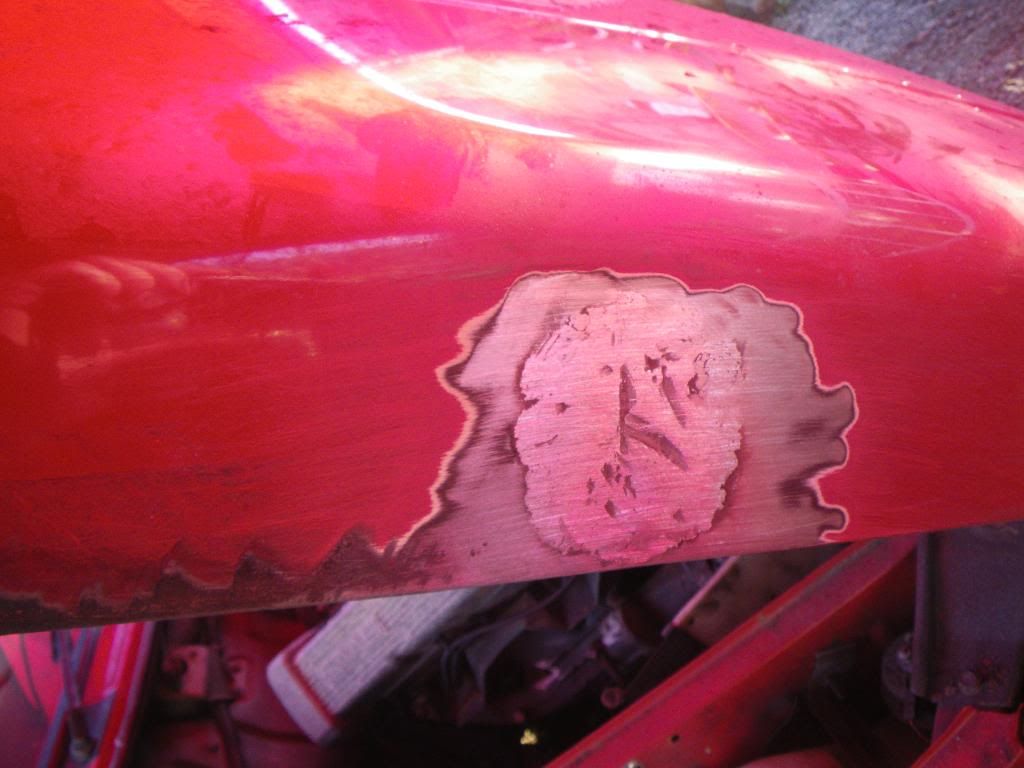
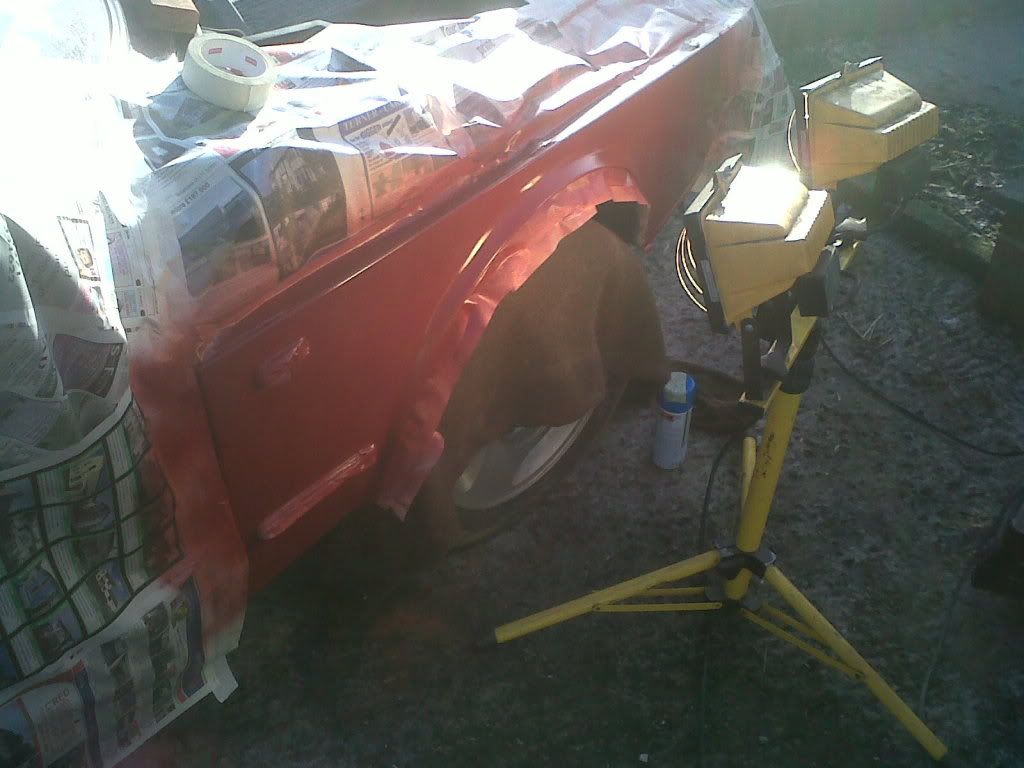
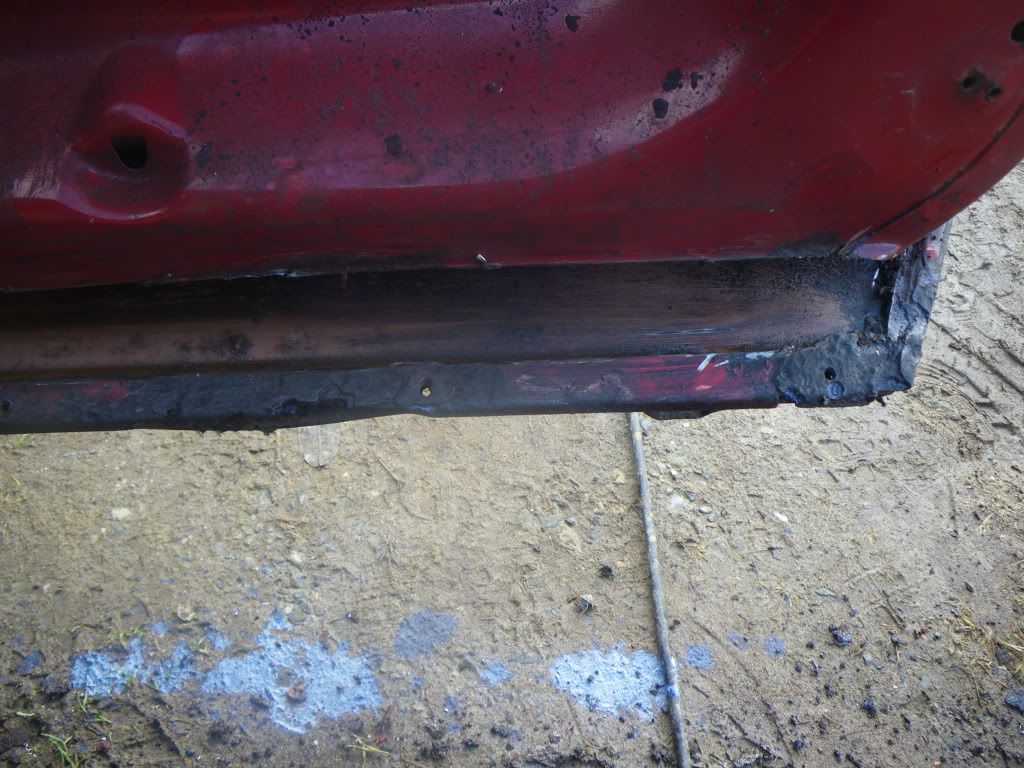
Started tinkering with the Saab on Sunday. First thing was to sort some bubbling on edge of bonnet both inside and out. The old "poke with a screw driver" showed all was not well
so got flap wheel and wire brush on it
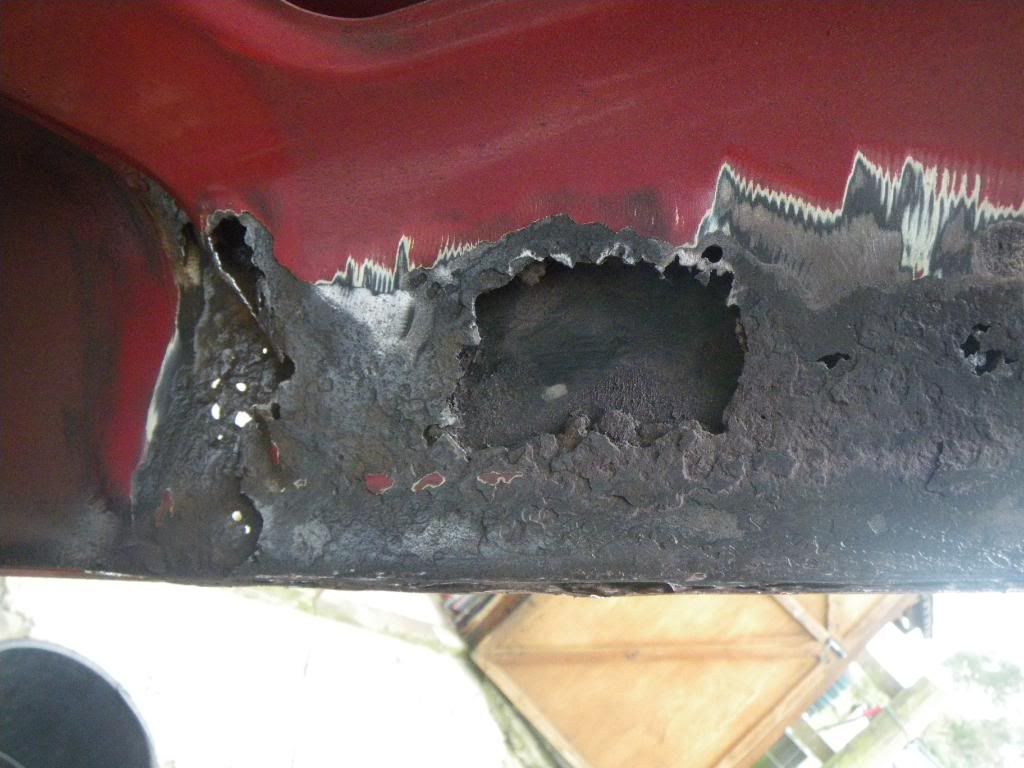
so no option than to cut it all out and put in new metal
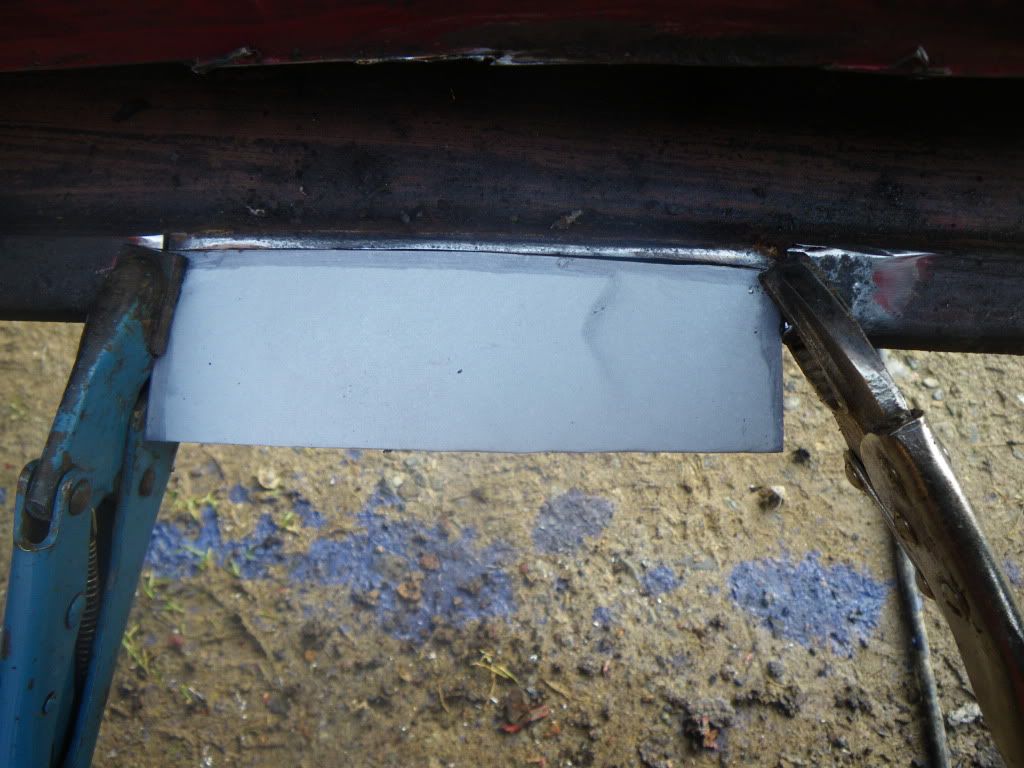
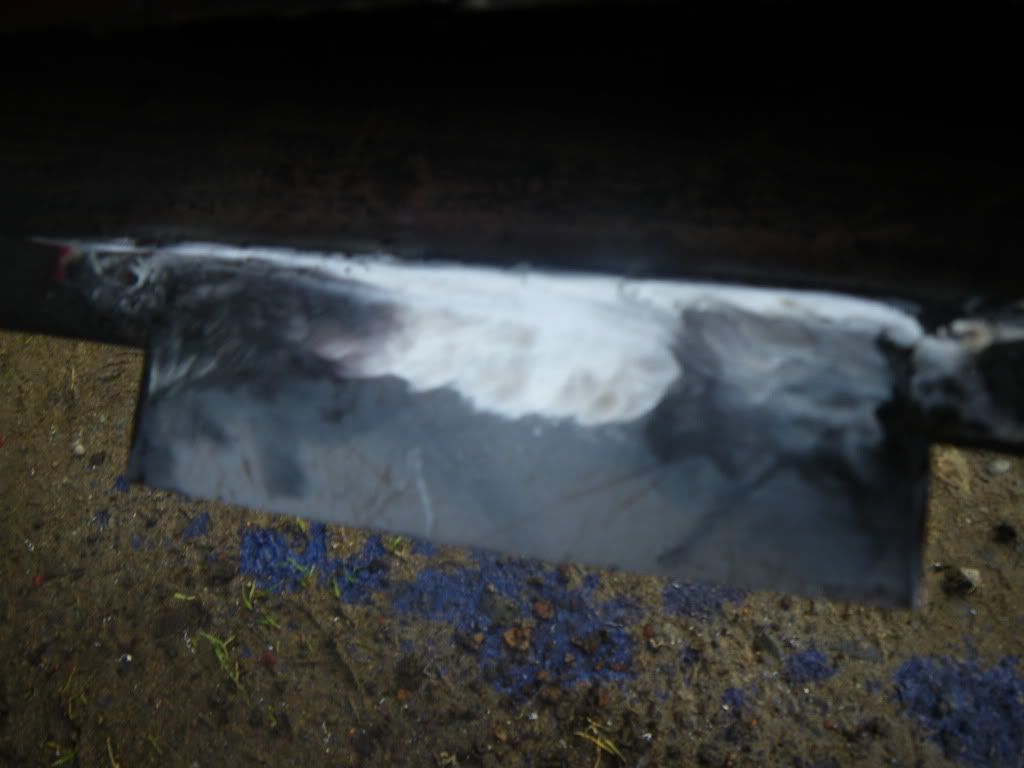
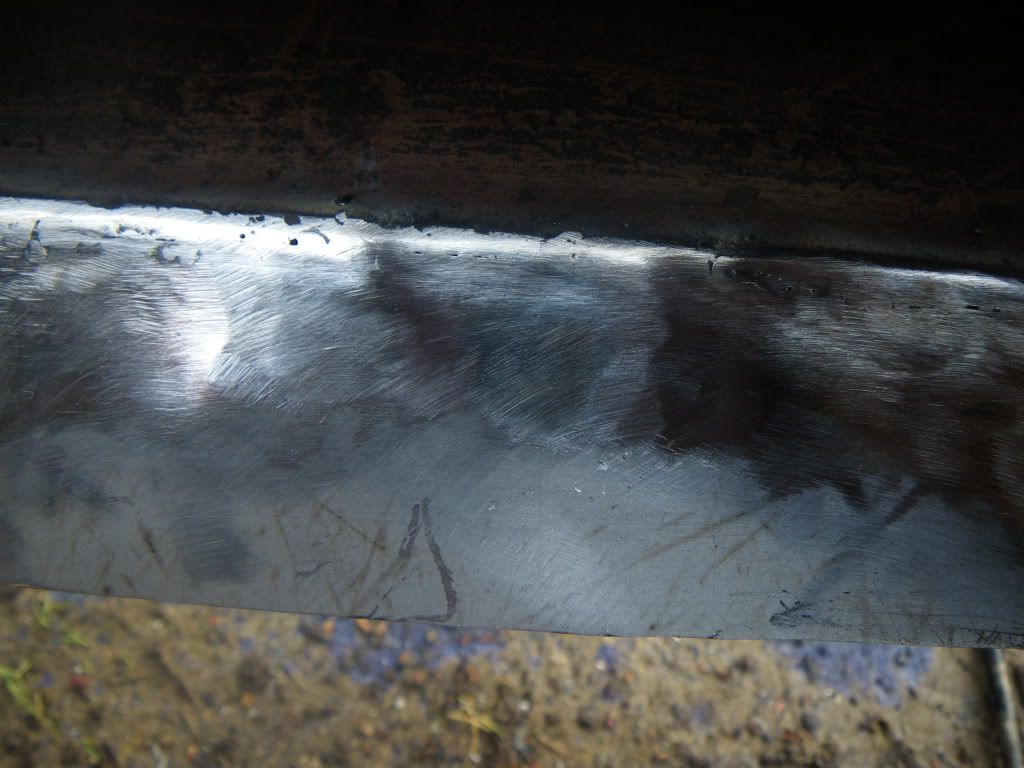
leaded the skin patch
then skim of filler ready to rub down later (covered in primer to protect in mean time) and got on with inner frame

all primed now ready for all the final tarting up. Got 2 arched and inside of door bottoms to do then metal work will be done fingers crossed.
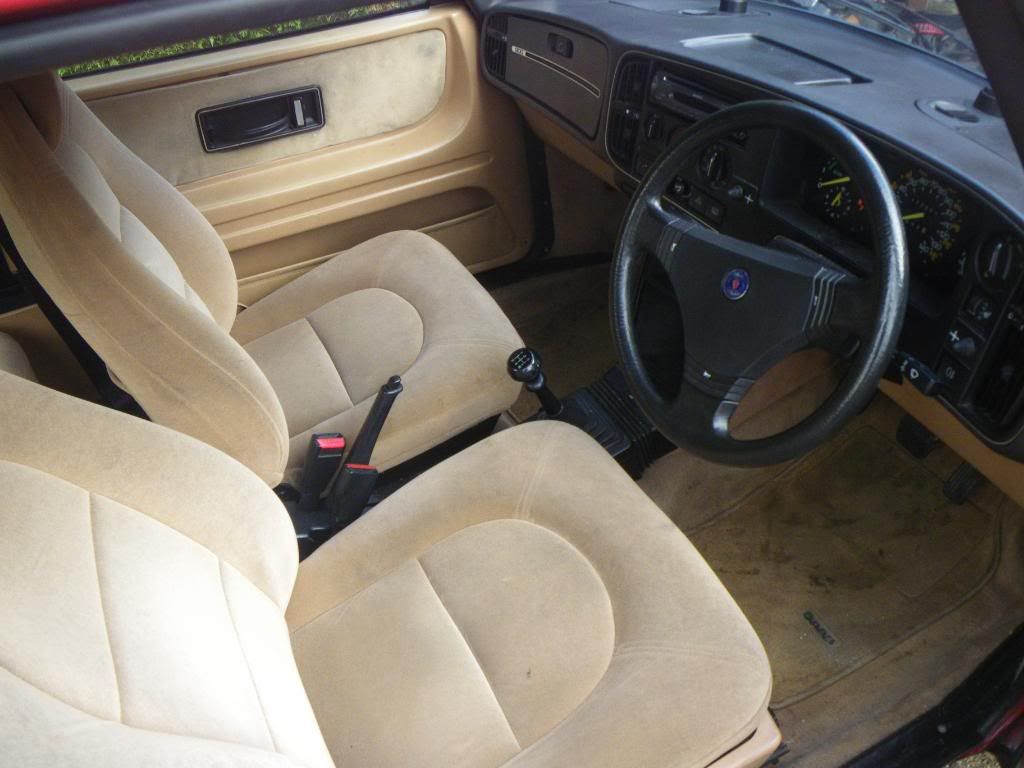
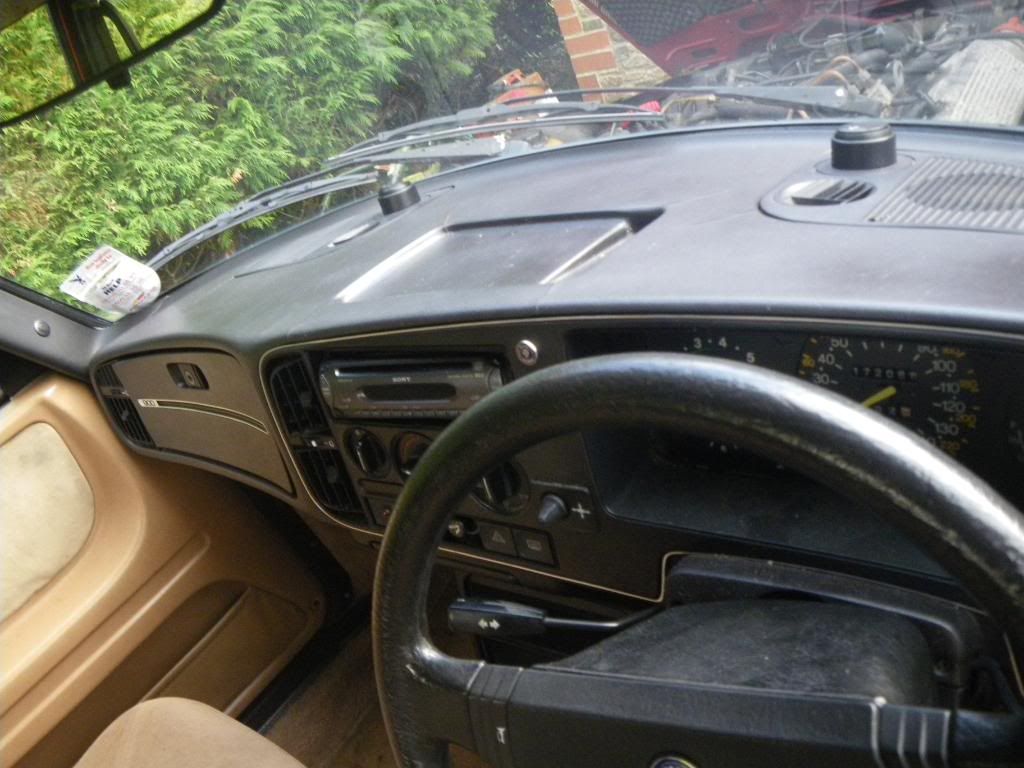
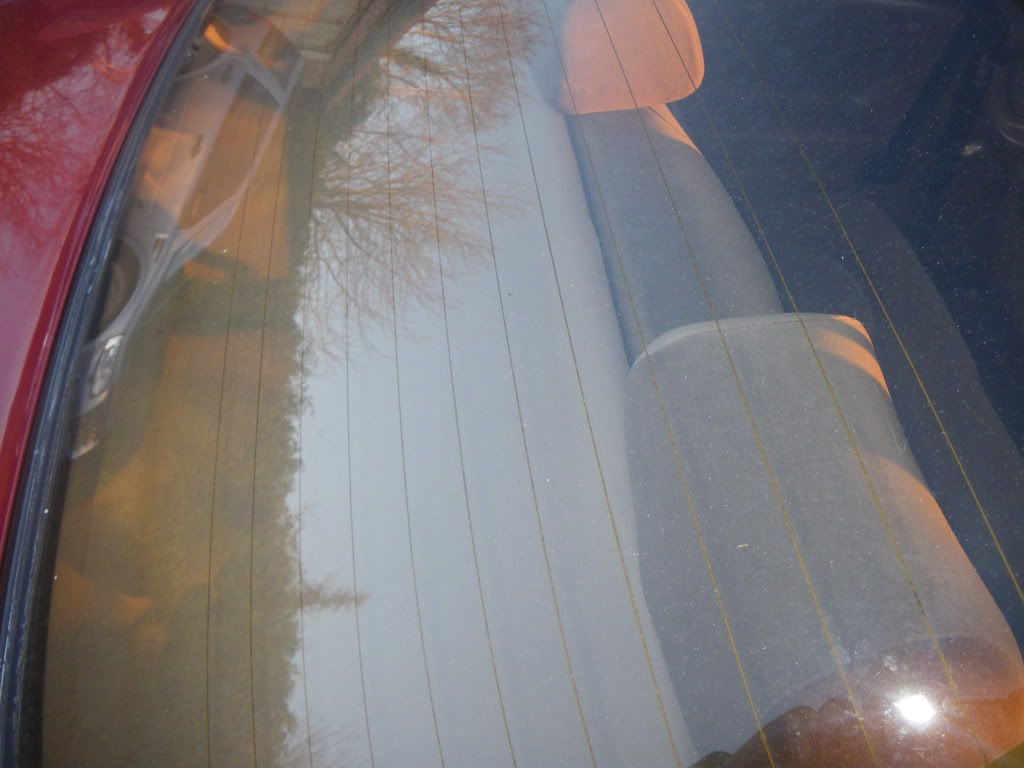
Then interior, got dash repair kit for cracks and new headliner kit on way. Seats are good tho
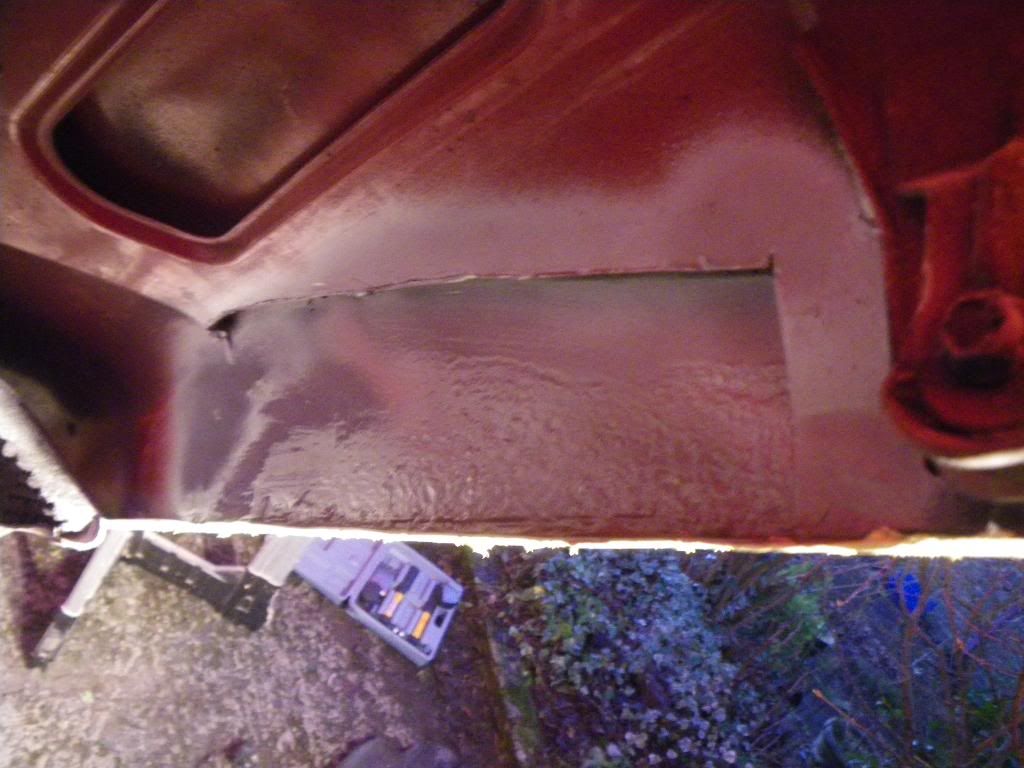
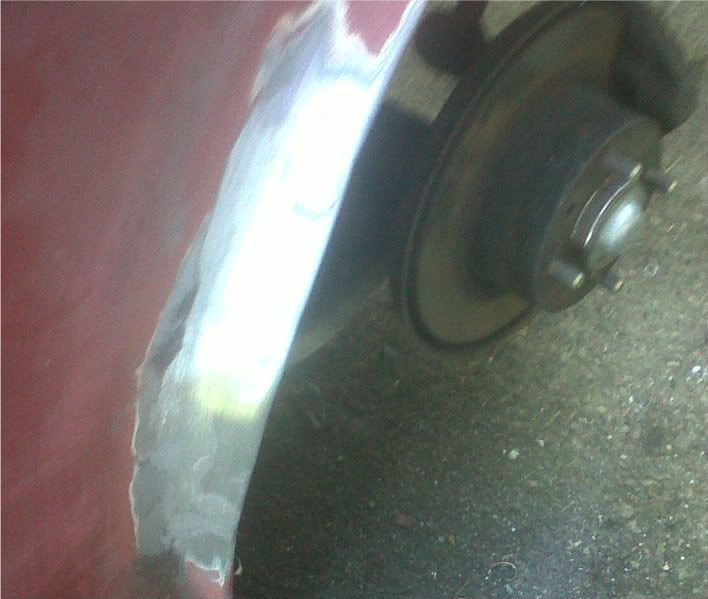
Did the rear passenger arh repair over last couple of days, had to cut out complete setion to get to good metal and also cut out a section of wheel well that also fell out when I discovered the fibreglass bodge repair.
I made up the sections using a hammer and dolly set to fold a return lip between arch and innner arch, and coated everything in weld thru high zinc. In the wheel well used seam sealer after then coated with more zinc, then normal primer then black paint, and then waxoyl.
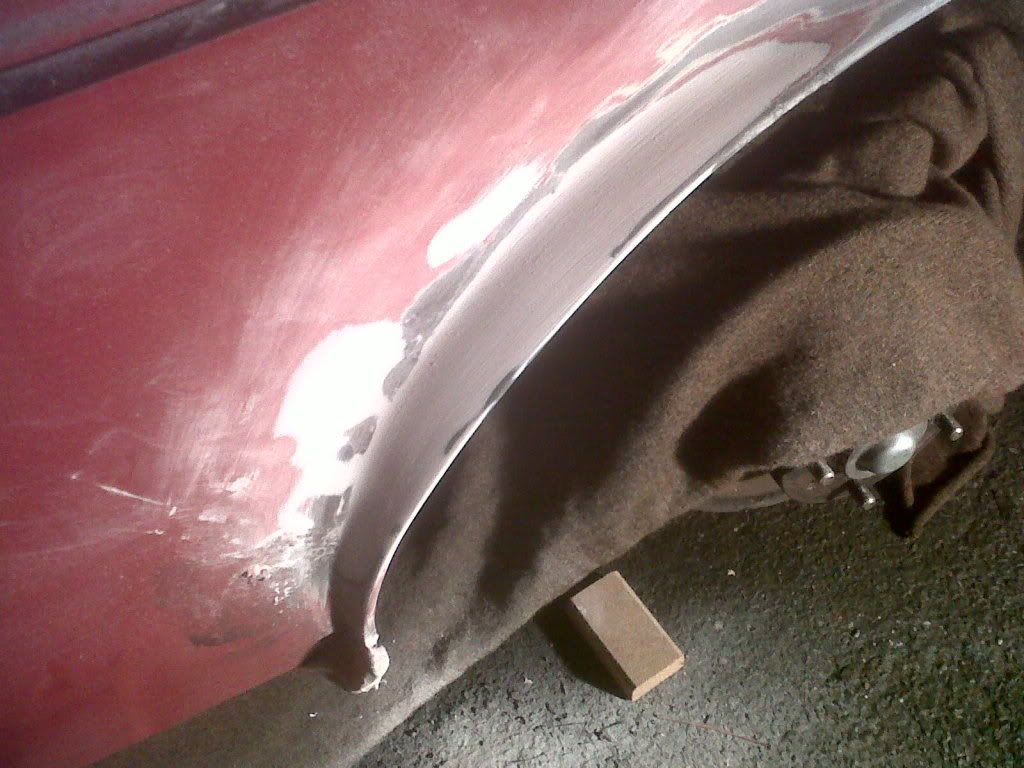
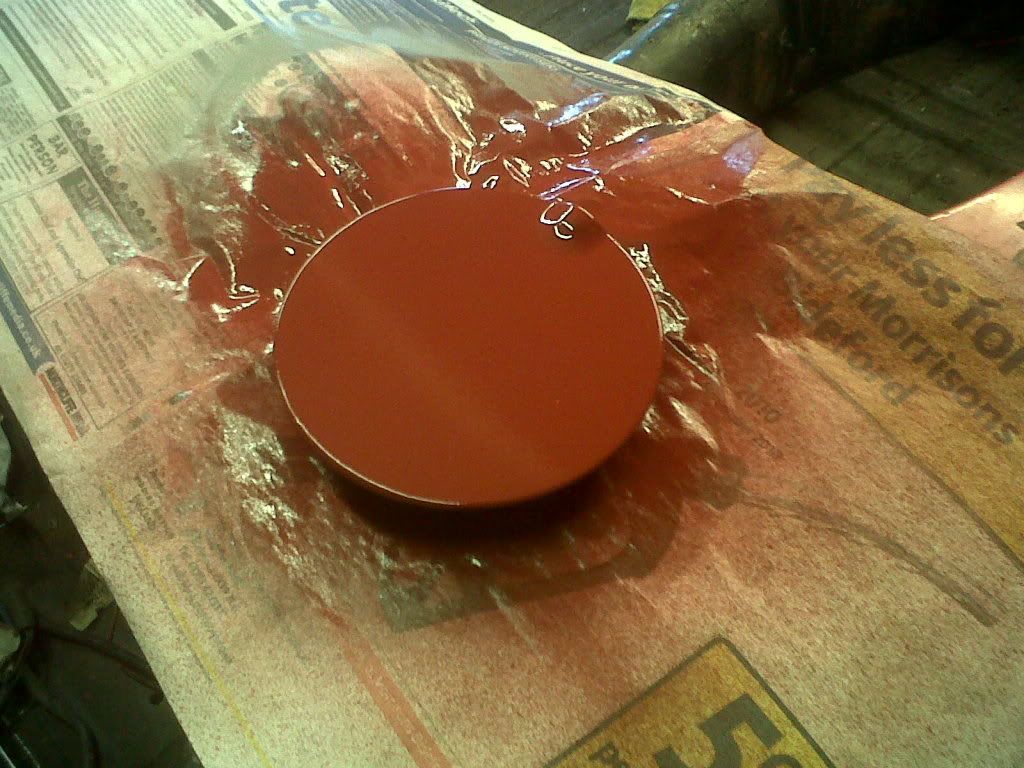
On the out wheel arch I have leaded the repair in ready for filler and sanding (prob get done one of the evenings or weekend.
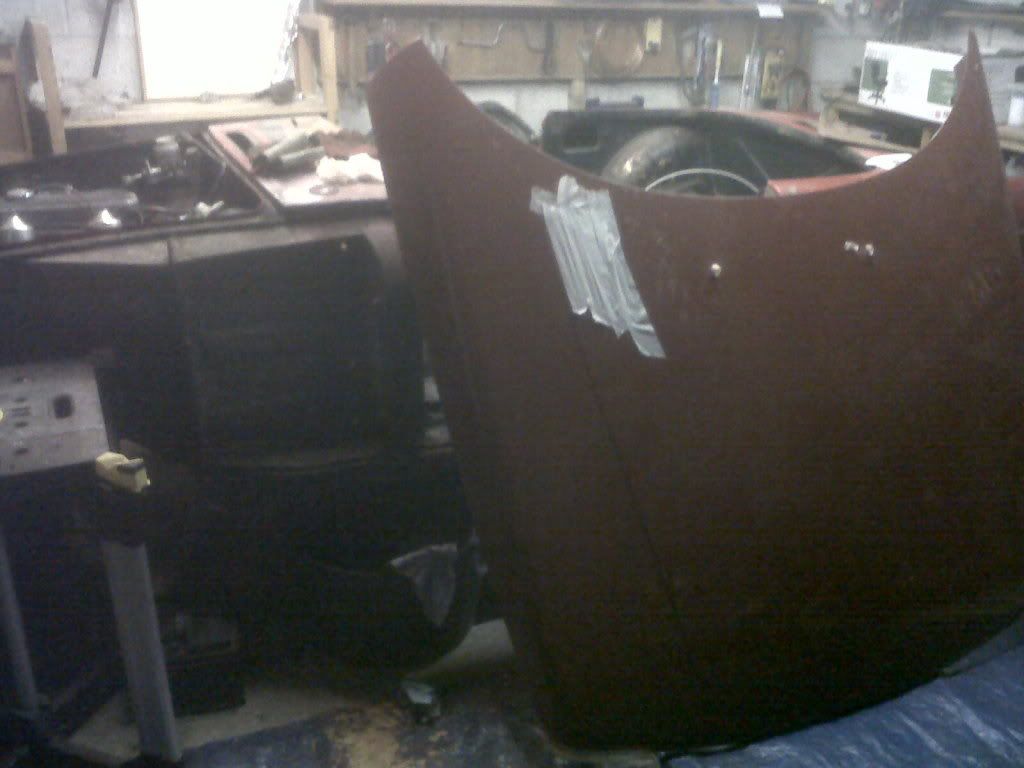
Looks like Ill be repair front wing as cant find one. Then its bottom of the doors and the metal should be done bar any nasty suprises. The bonnet is ready to fit as paint hardened for cutting in, along with wing mirrors.
Pic of arch in lead -
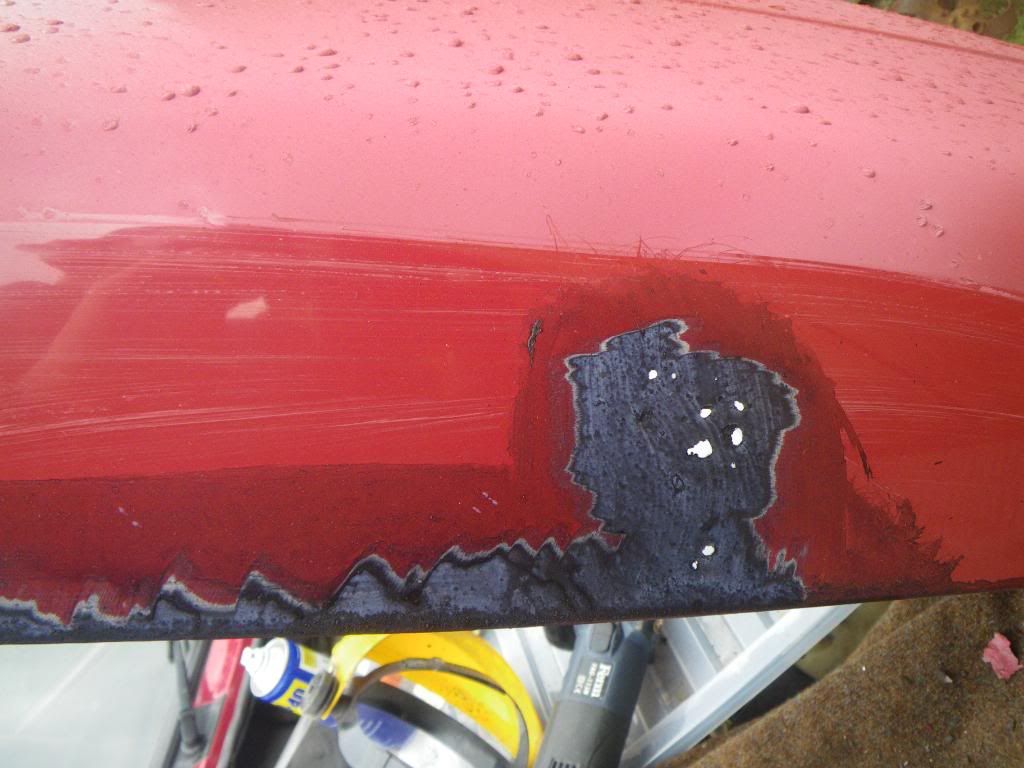
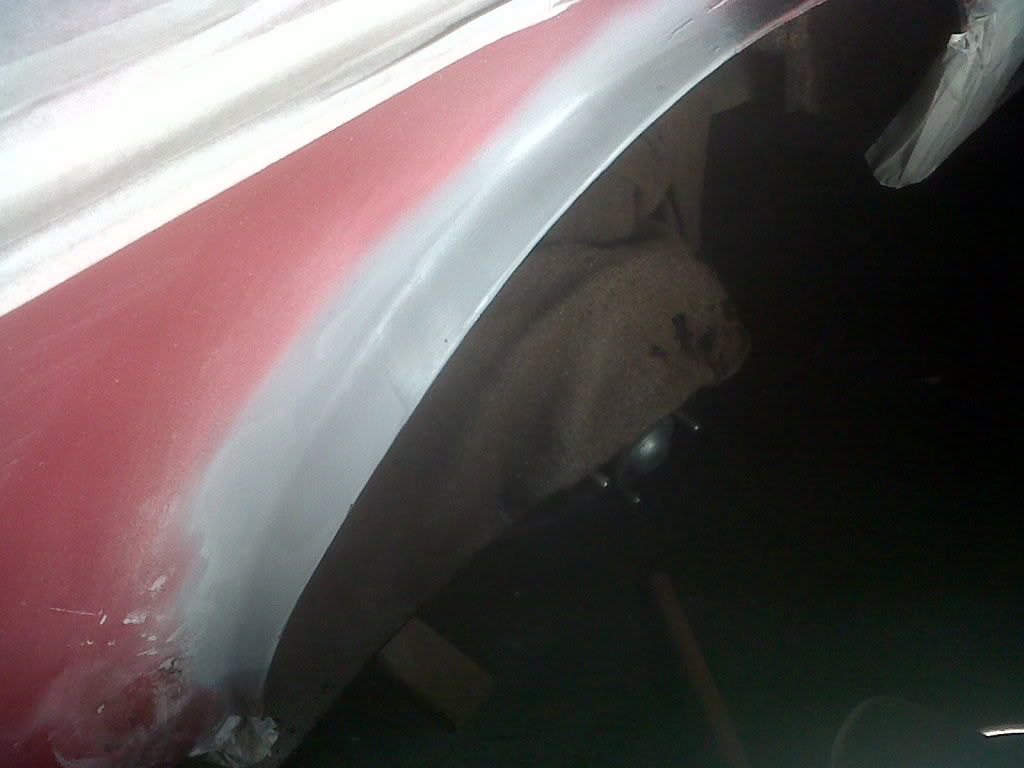
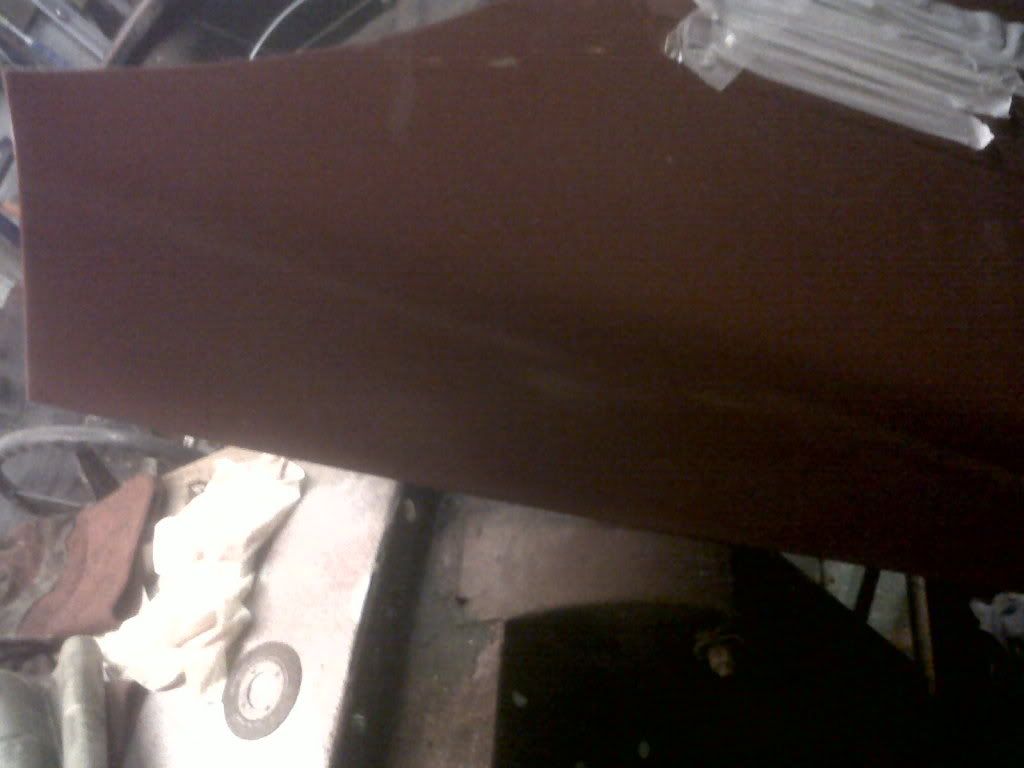
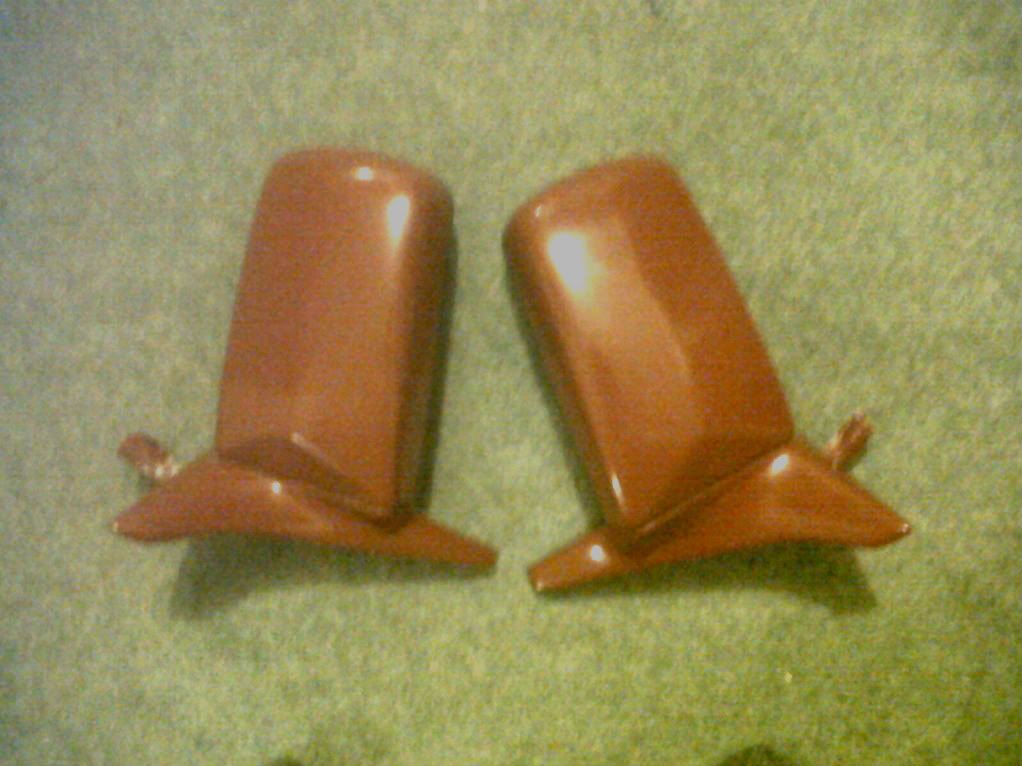
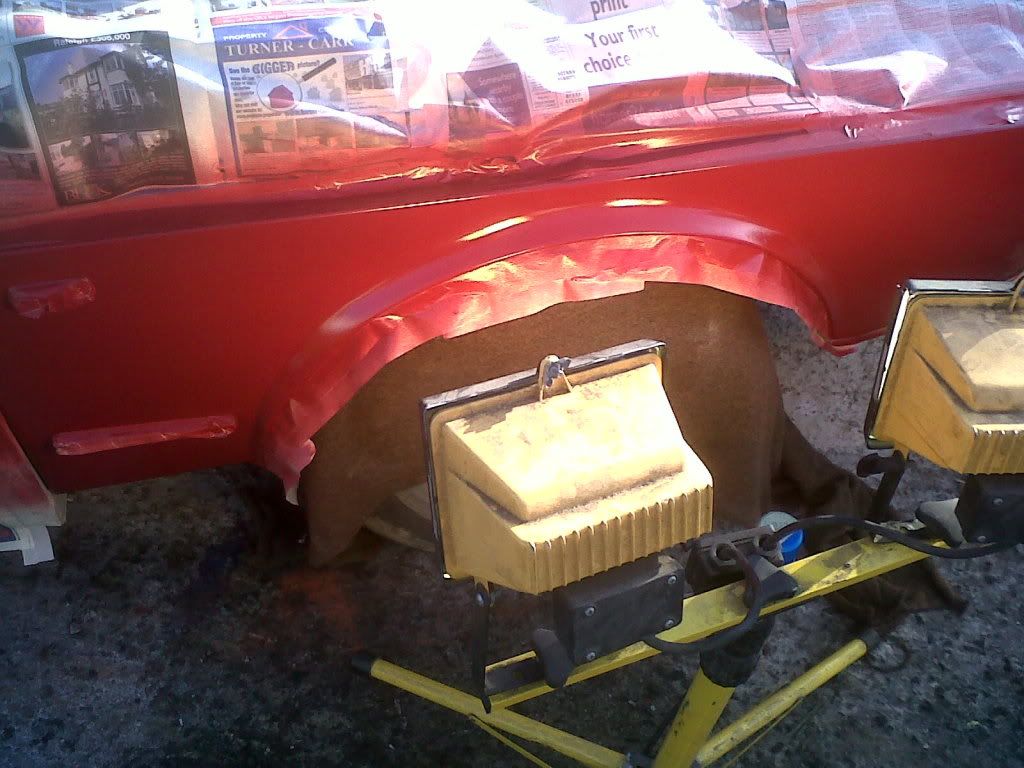
Got back tonight and did an hour, chubby cold out tho! Fillered, did first sand and the primed and added some spare red I had to protect it overnight and stop moisture absorbtion by filler and primer. After first sand seems pretty good. Add some pics of the bonnet (where I welded a repair on the outer skin) that is ready for flatting back. The colour match seems good but the can was rubbish and splattered so will need alot of flatting (need to start using my compressor and try out the gun I have). Flated the mirrors, would normally go futher but did not have a ton of paint on them, and they are a milions times better than the flaking pink items I had before lol!
The drivers arch is now due same treatment as rear, bit more to do there tho!(Excuse pics they are on crap camera phone).

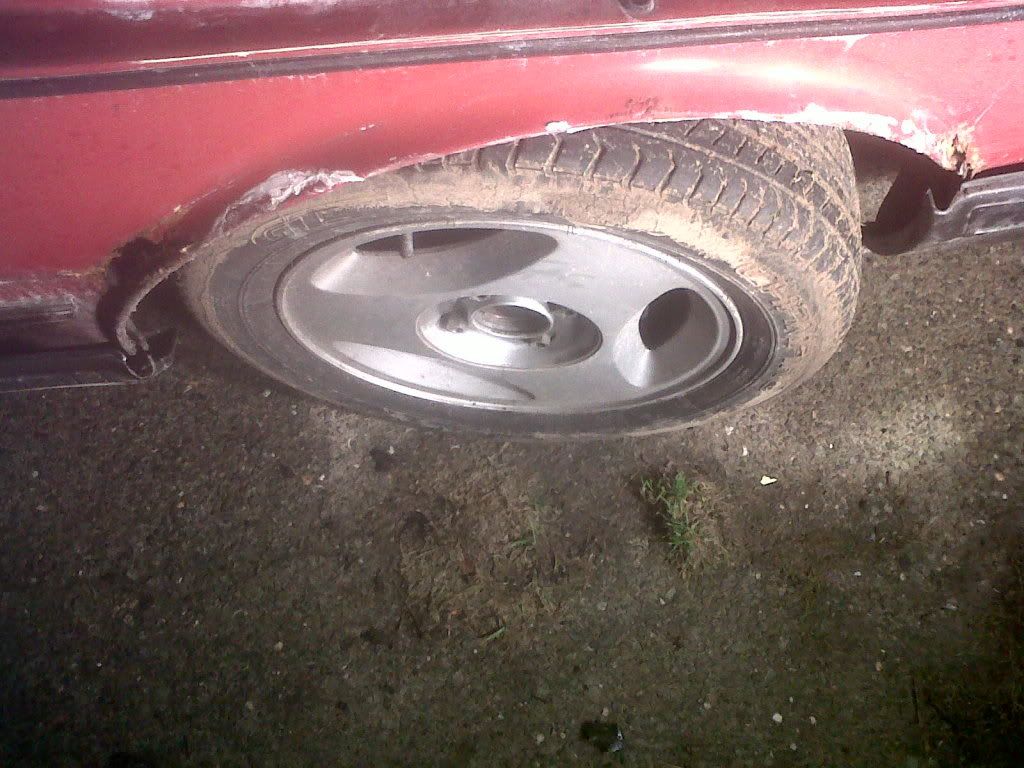
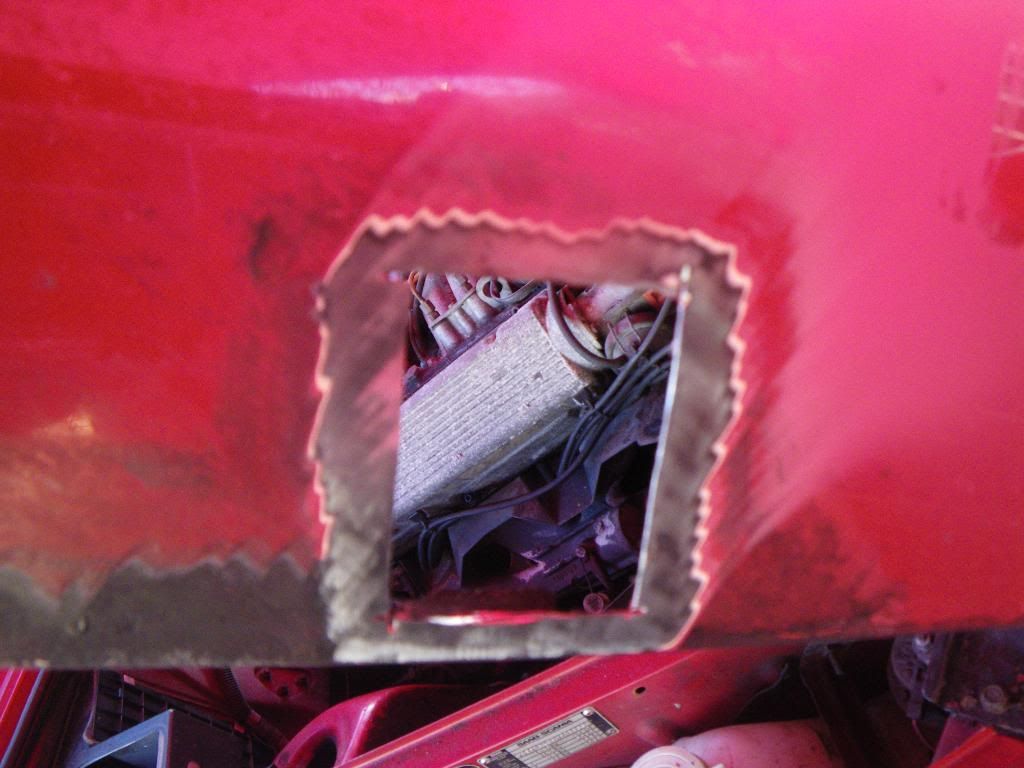
BTW this is what the front wing looked like when I cut out the rot

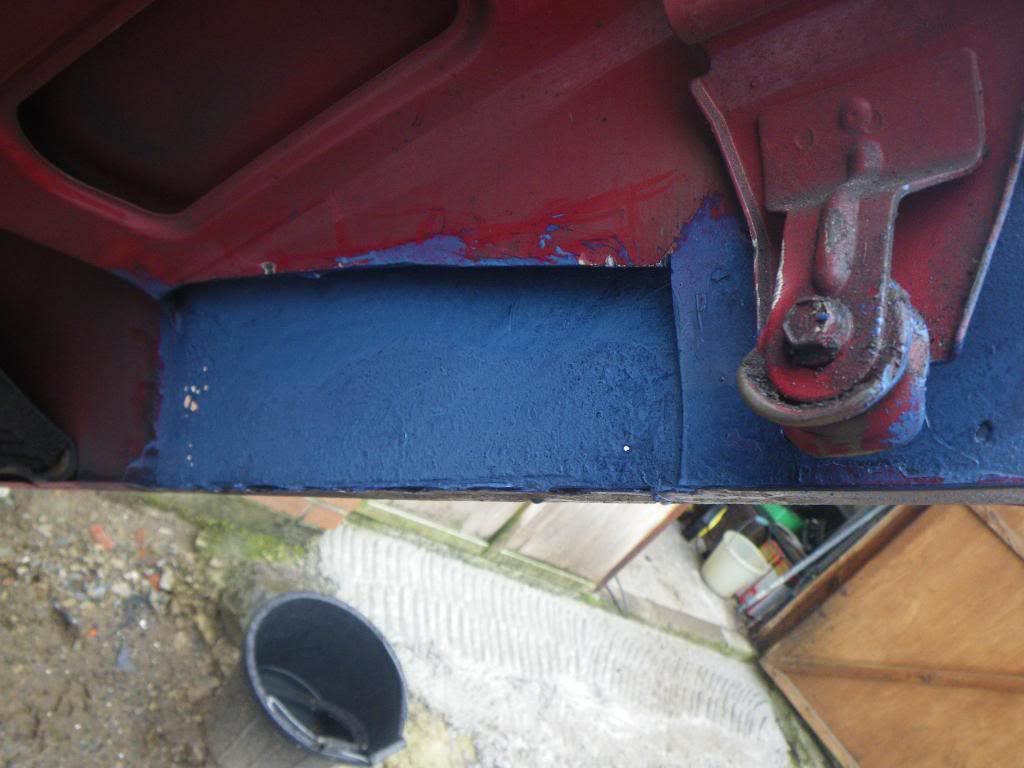
Cracked on with the front wing this weekend. Fab'd repair sections for font arch and inner arch, zinc etch primed, filler primed and normal prime, then flated with 240,400,600,800 and used the matched rattle cans I got (had rubbish nozzles on them that really made it splatter so loaded the paint and will cut back with 1200 grit after a week to harden).
Got the fresh painted wing mirrors on and painte dup the replacement petrol cap for my flappy one (it was grey)
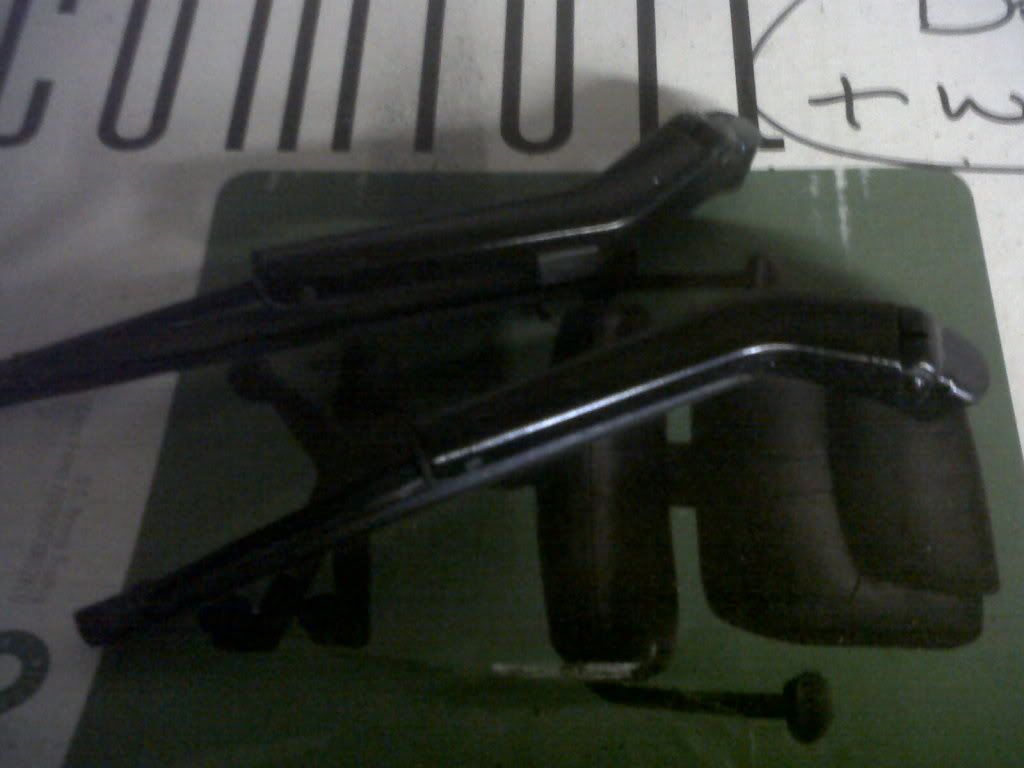
The rusty and flaking front headlamp wipers where bothering me so took em off , sanded down and sprayed with some enamel black
Fitted some kit back onto the rear wing paint thats hardend for a week , still to flat it back yet. plan is let the front wing harded then mop and polish the whole car after flatting the painted sections.
Flatted the paint (form the new arches put in and the patch on the bonnet)this weekend then compound polished and waxed, and put back the trim on with foam double sided tape. Weather wa snot great for giving her a proper detail clean but came up good. Now to sort the inside!
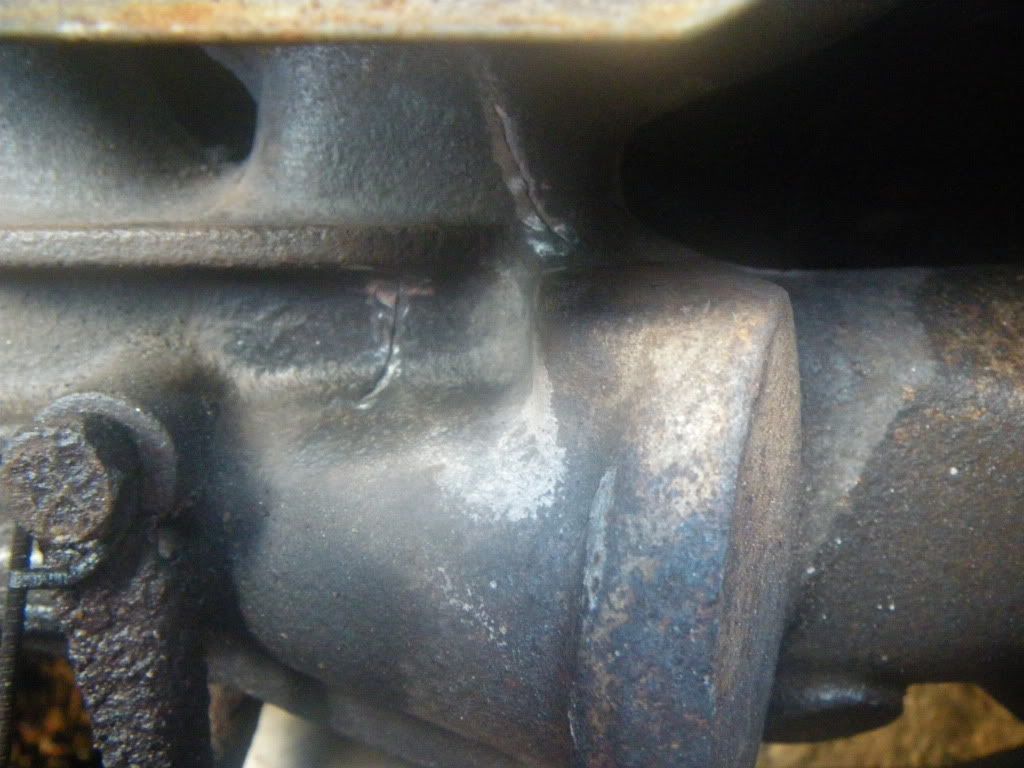
Got bit more done this Sat (unfortunately no playtime Sunday!) started with the cracks in manifold that I think are causing the lumpy idle, and blowing sound in engine bay.
Decided to try JB Weld as a stop gap til I get a manifold and the time to fit it. But if it worls, well you know what the say about temp fixes lol!
Ground down the areas and used dremmel to try and V the crack a bit and give the JB better grip.
Applied it with a lollypop stick and then a finger (rubber gloved of course) to smooth it in and push in tight to crack.

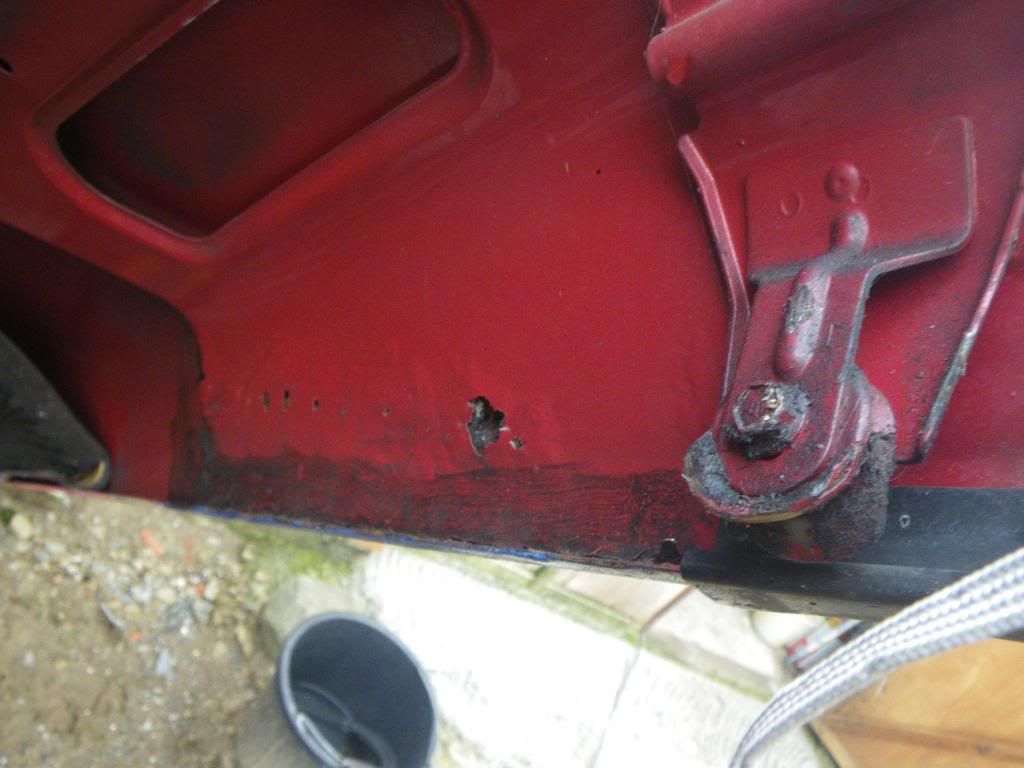
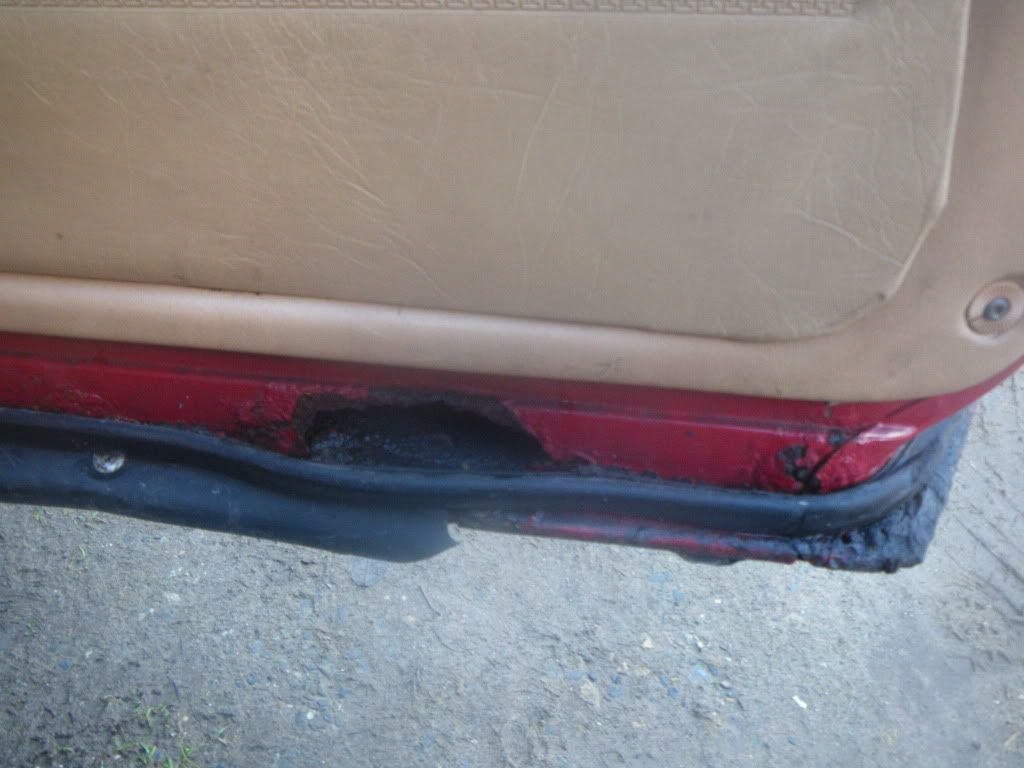
As it takes 16hrs at least to dry don't know the results yet, so cracked on with (fingers crossed) the last bit of rot to resolve, the driver door bottom, some big holes to sort
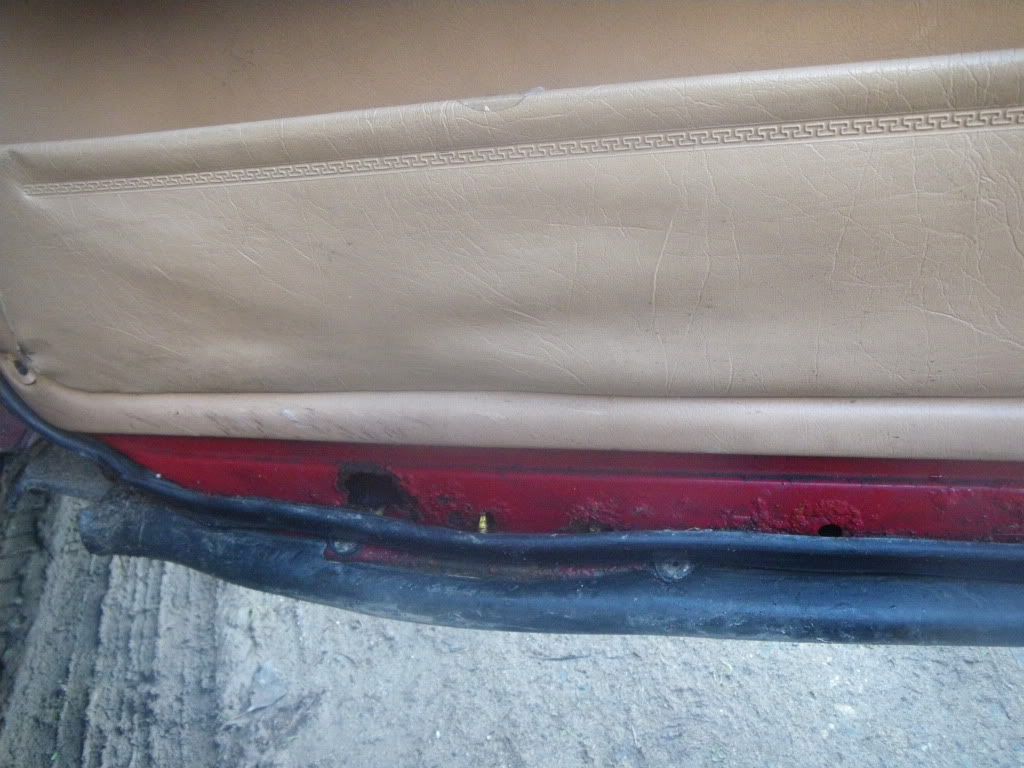
Stripped door only takes a second and saves any burning etc
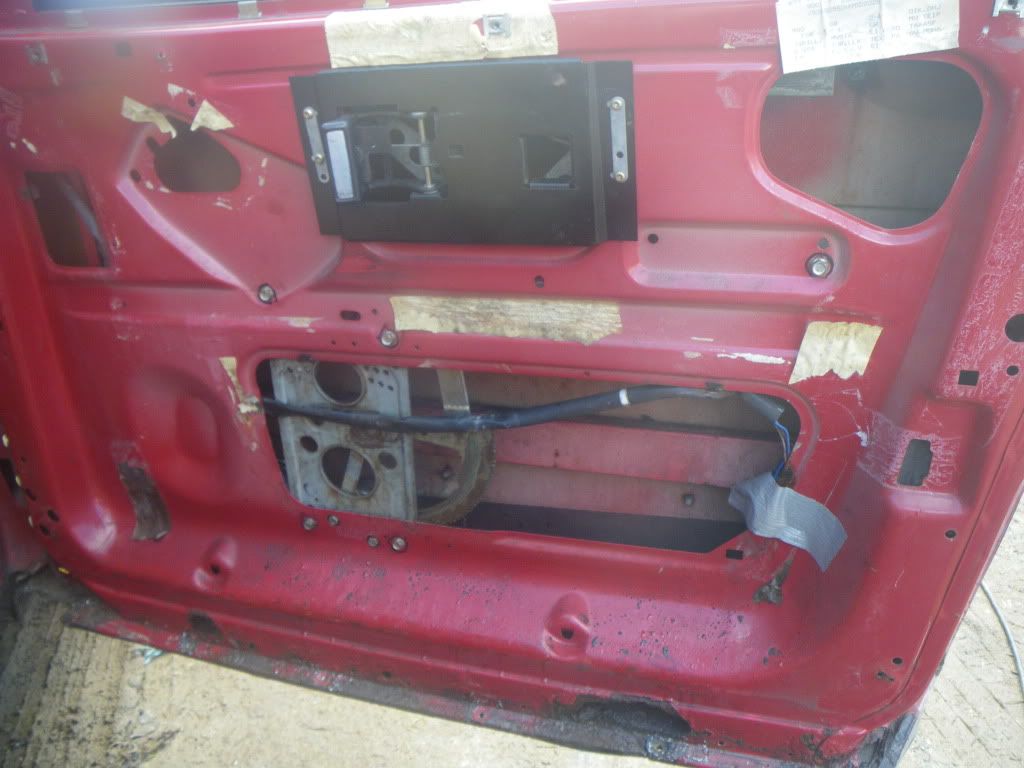
Got wire brush and flap wheel on to see how bad it was
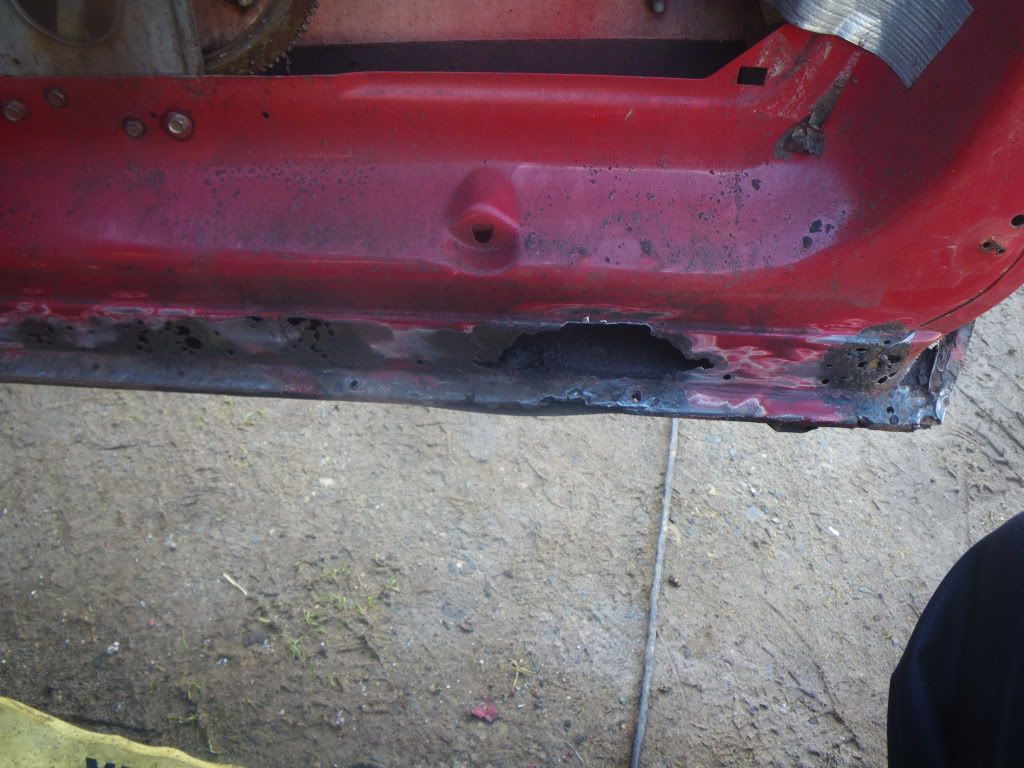
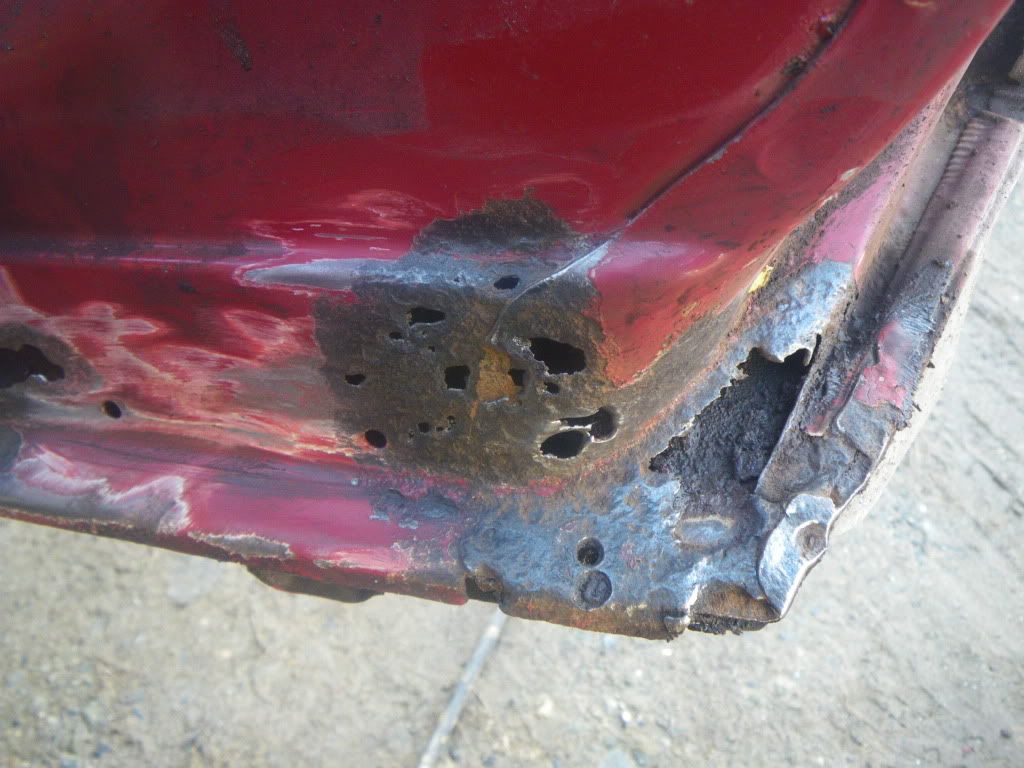
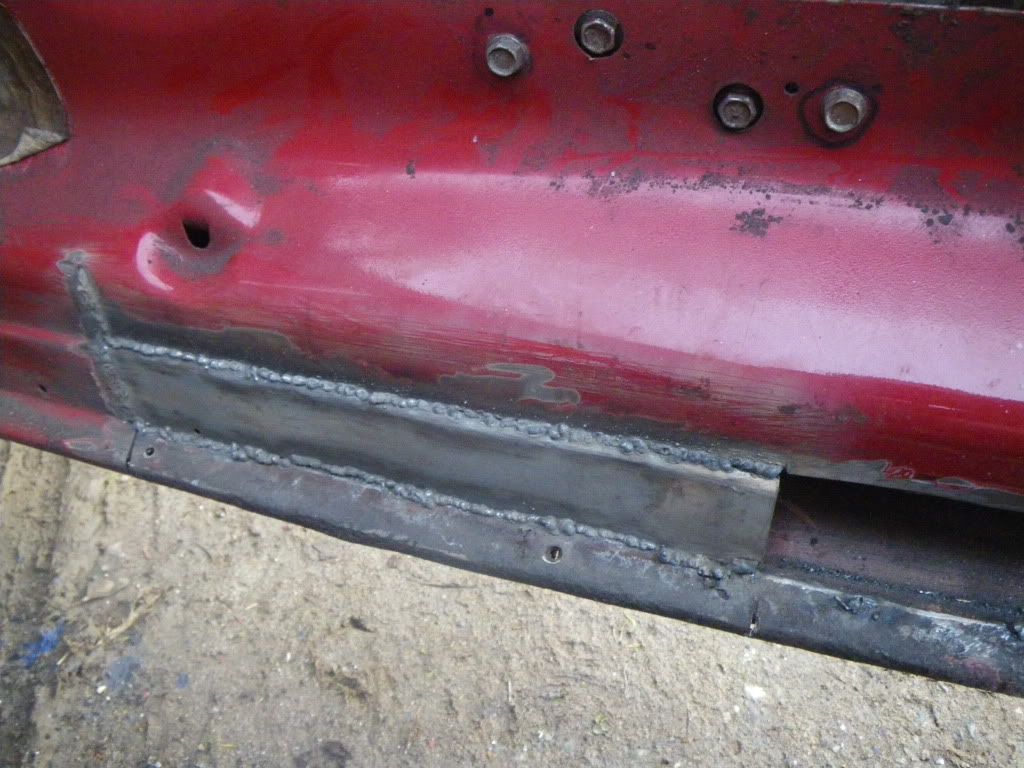
Bad, so only anwser was to cut entire strip out along bottom to good metal, only left few inches nearerst door that was good
Small section in the edge of door needed replacing so bit of zinc coated metal mole gripped inot place
Smal spots to hold then seamed between (been taking notes and advise from BMW Tony and taking my time), and after a flap wheel run over a near invisible join, pleased with that, cheers Tony! Not absolutely invisible as Tonys, so will keep practicing, plus I am using gassless which I hear is bit harder to be clean with.
don't know why I left it long with the idea Id hammer back the return edge, would have been much easier to form before hand, but all a learning curve eh!
But then , damn it, ran out of metal long enough for repair full length of door and shops 40 mins away with daylight getting short, only thing to do, hack into a rear panel from MGB, where I had replaced the entire panel with brand new, glad I kept it now! Flap wheel and coate din zinc it was great metal and good thickness. Good thing was it had a nice curved edge to match the door.
Again tack it and then seam inbetween, but rushed to much and over trimed at the far end so had to big a gap than I was happy with, so no choice other than trim the section I was happy with read to fill in the rest another day! Coated in rust proofer ready for finishing and grinding another day
Well little update.
Finished and painted the bootom of the door so nice and solid there again. Cleaned up the door card while I was at it and pleased to see the beige fabric came up lovely so a good sign for the rest of the interior. Headliner roll arrived so ready to tackle that.
But then a little issue arose, being a load of white steam from the front and lumpy idle.
My missus remindered me we get the top cover from AA on our bank acocunt so rather than diagnose it myself I called them lol! They came round and discovered a hole in the rad and it was the coolant causing the sick smelling smoke. Luckily I had not driven far and it had not overheated so avoided a big bill there! He also discovered the coil was shorting accross the points hence the idle.
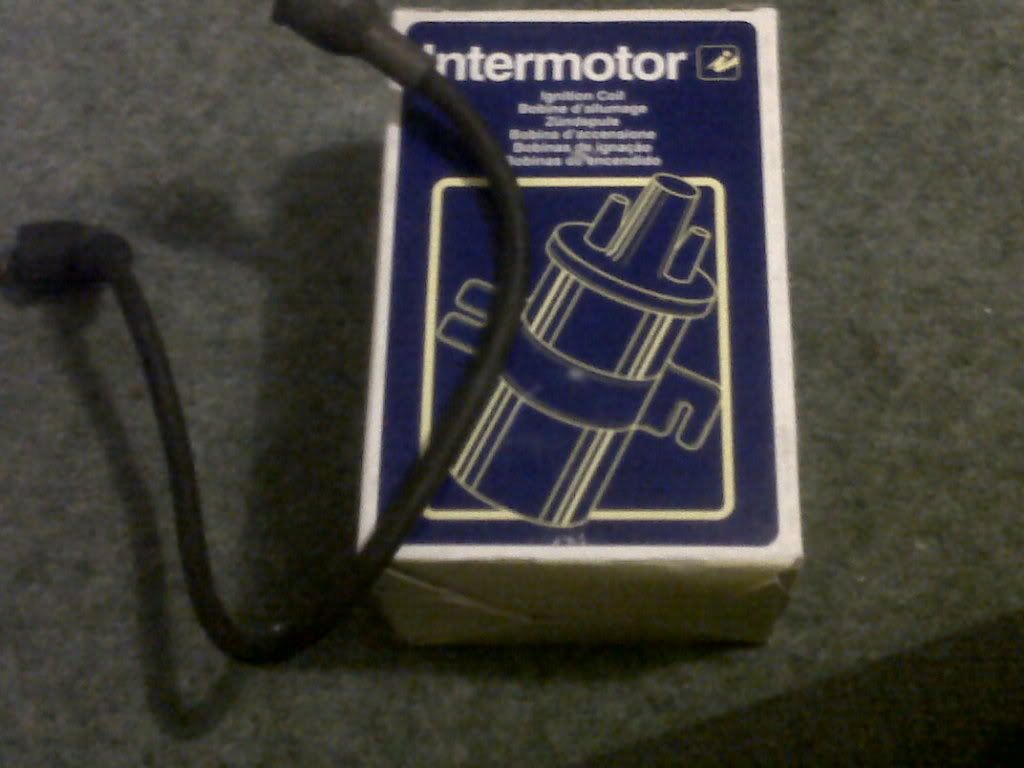
So a shopping spree was required (some needed some just wanted! lol) -
New Coil and lead -
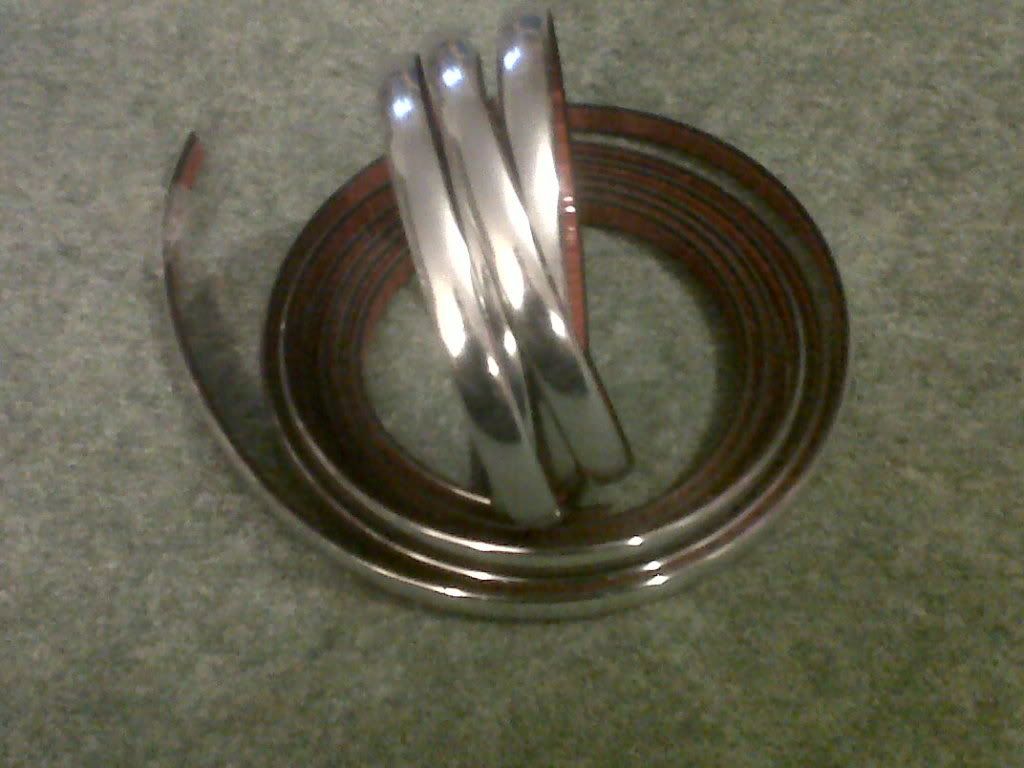
New chrome trim for bumpers -
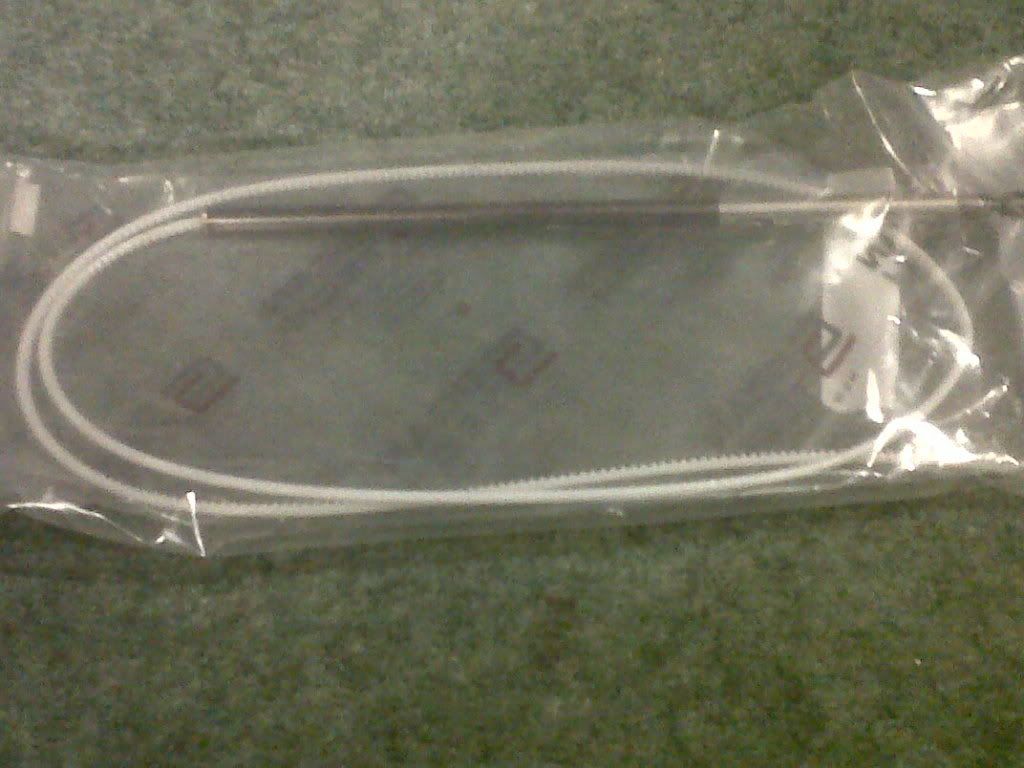
New mast for broken ariel -
New boot badge to match the front one -

New Rad - no pic as not arrived for weekend unfortunately!
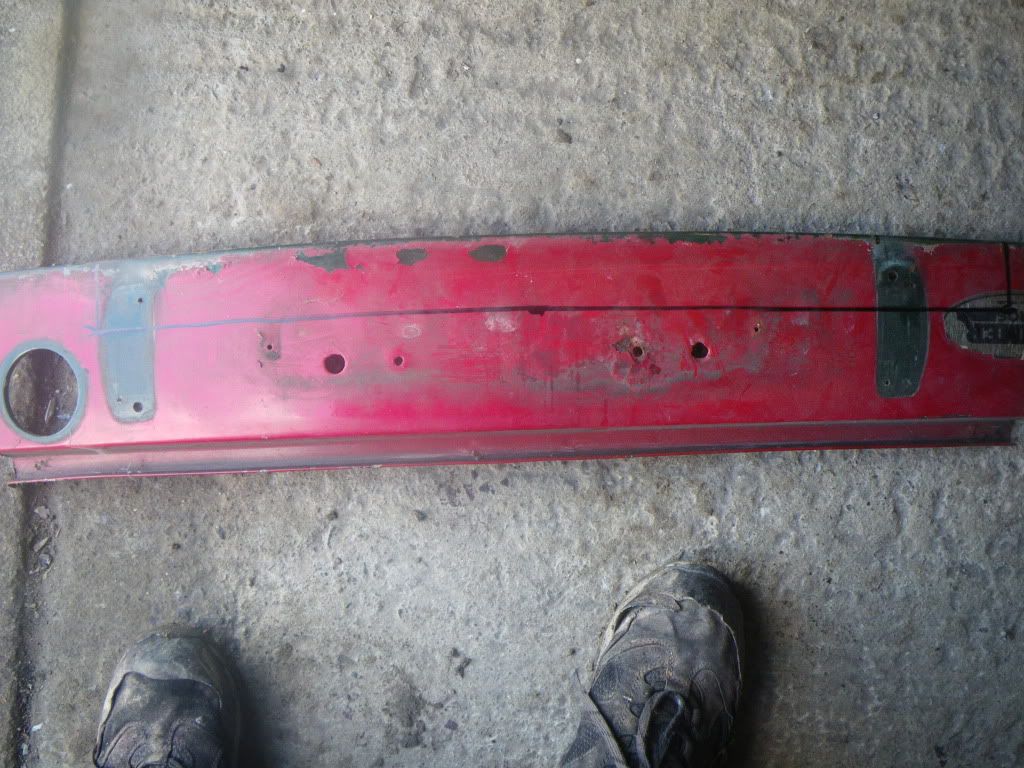
So lots to fit, but need to clean up the flaking laquer on the rear bumper first and re do as will let everything else down, any tips greatly recieved!
Should be a beaut when this is all done and healiner in (oh and have the dash repair kit to fill some cracks)
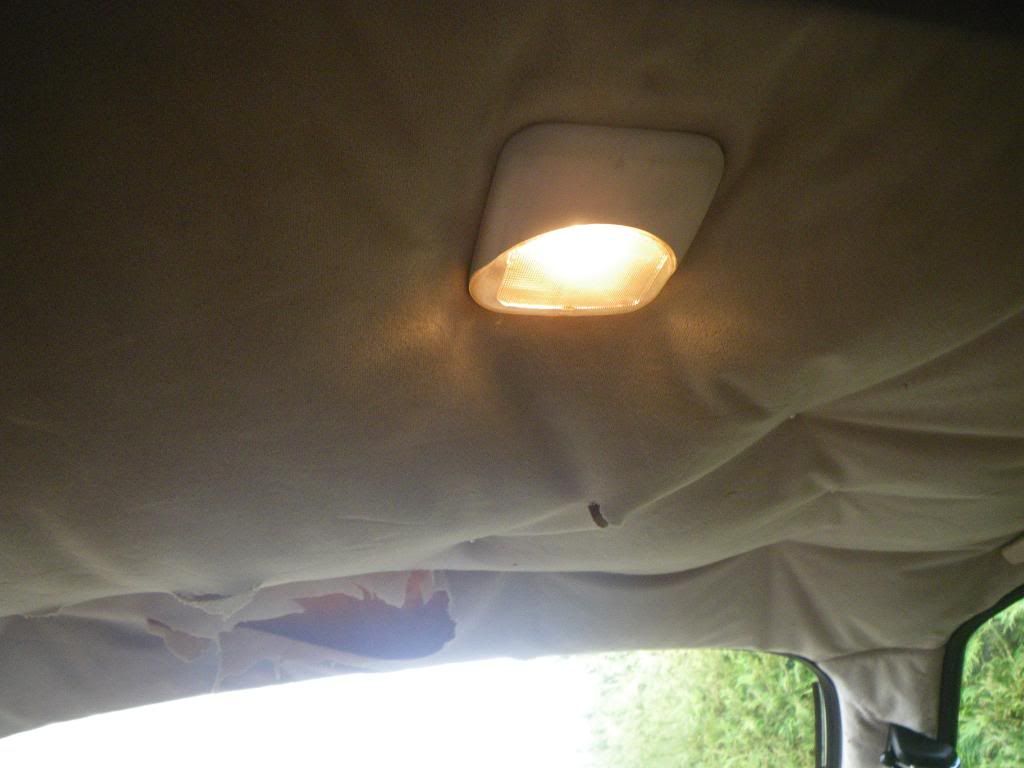
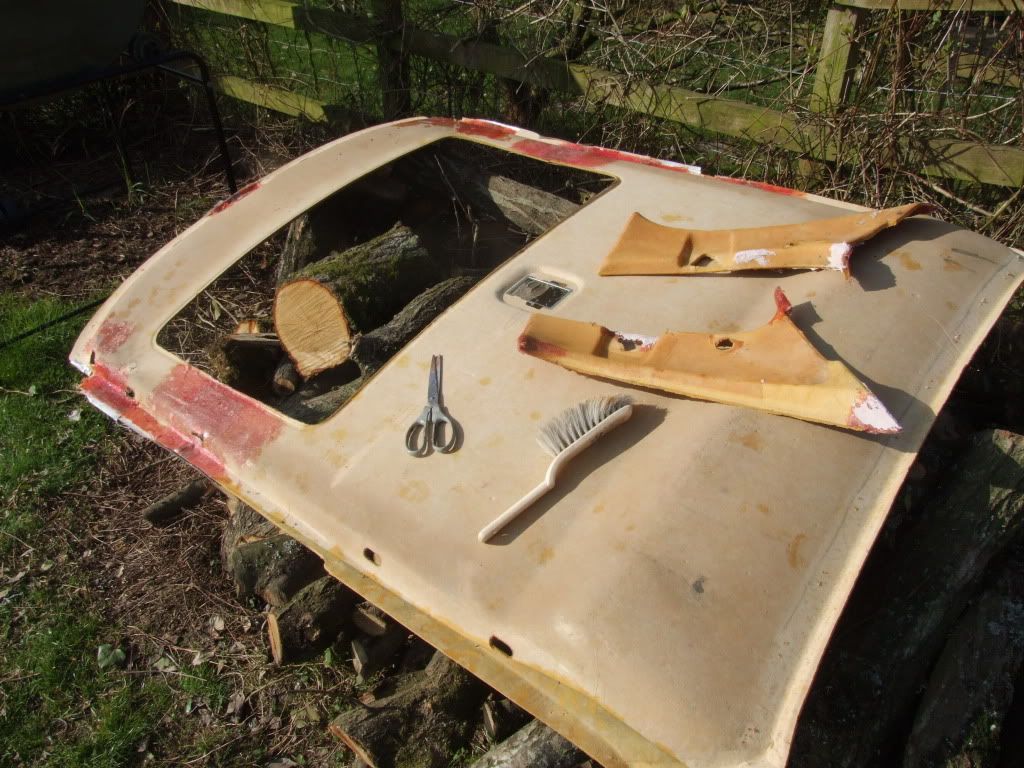
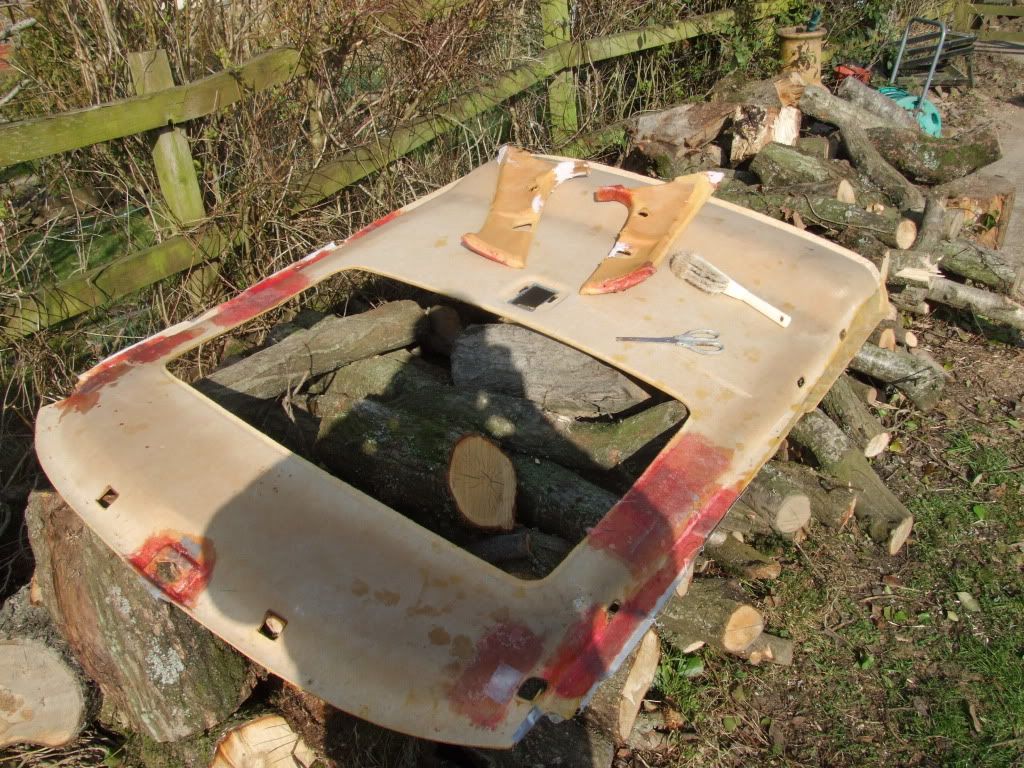
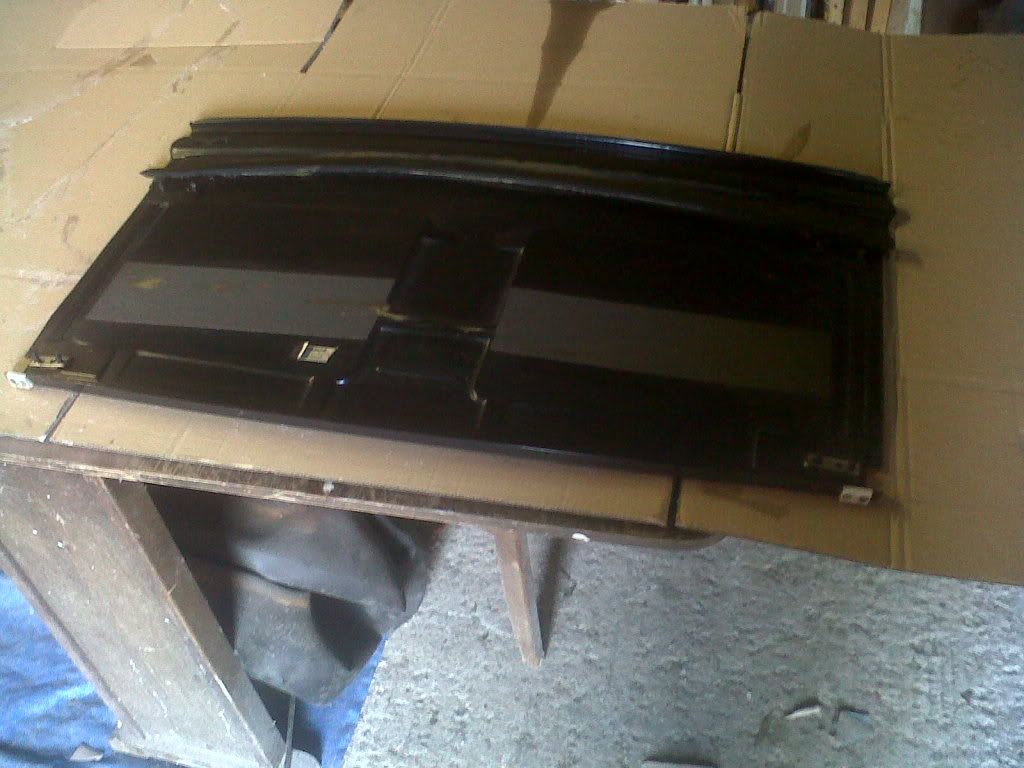
Well had the headliner material in the garage for a couple of weeks and now the welding was done it was time to stop wimping out and get on with it this weekend!
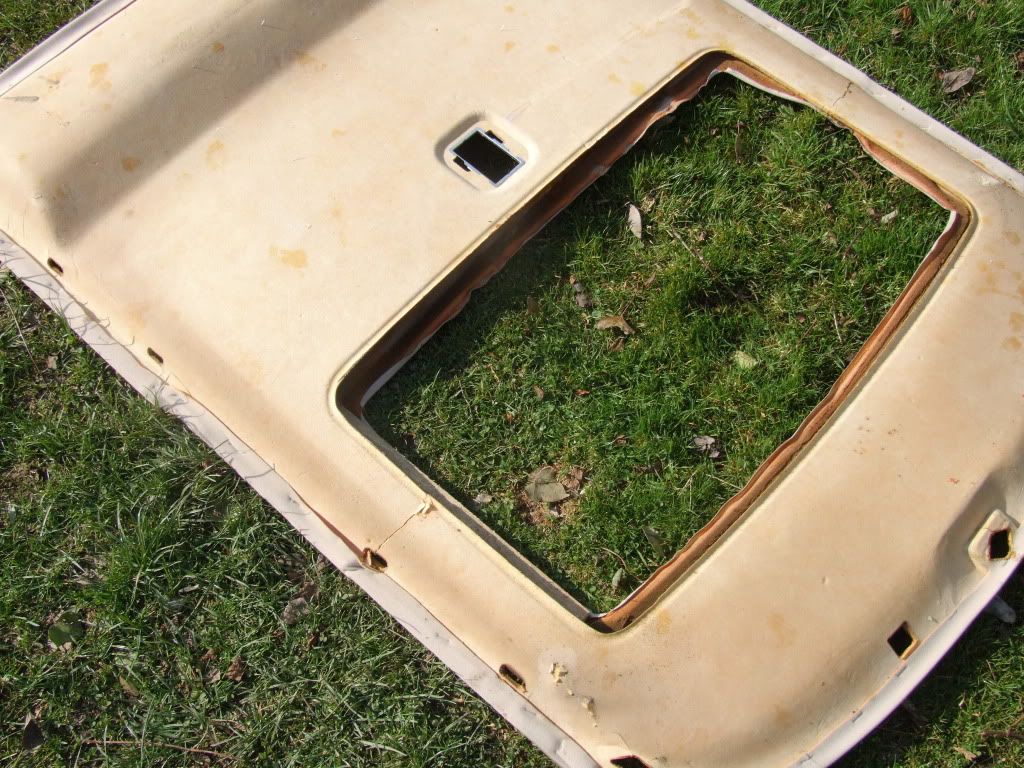
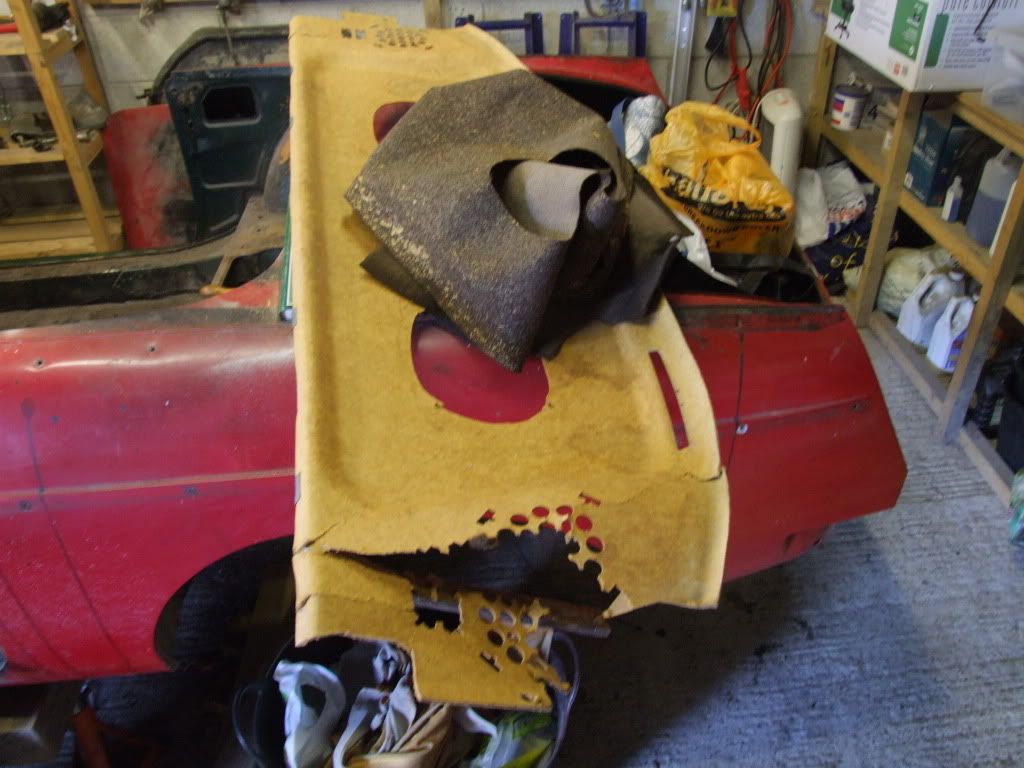
Started with this!
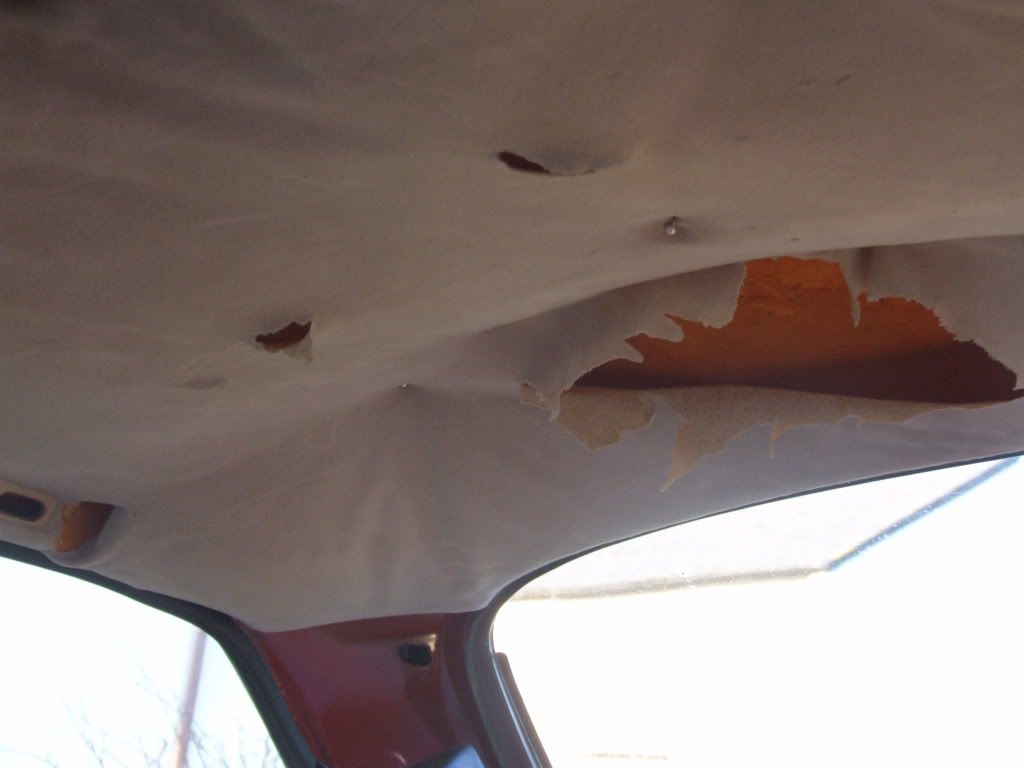
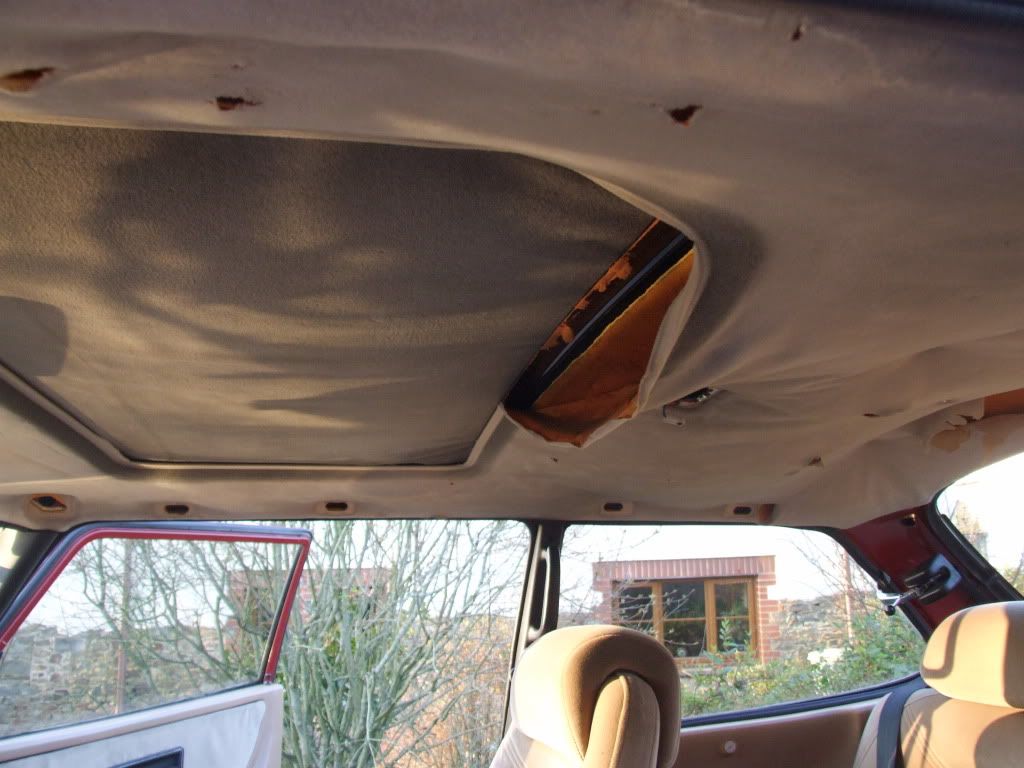
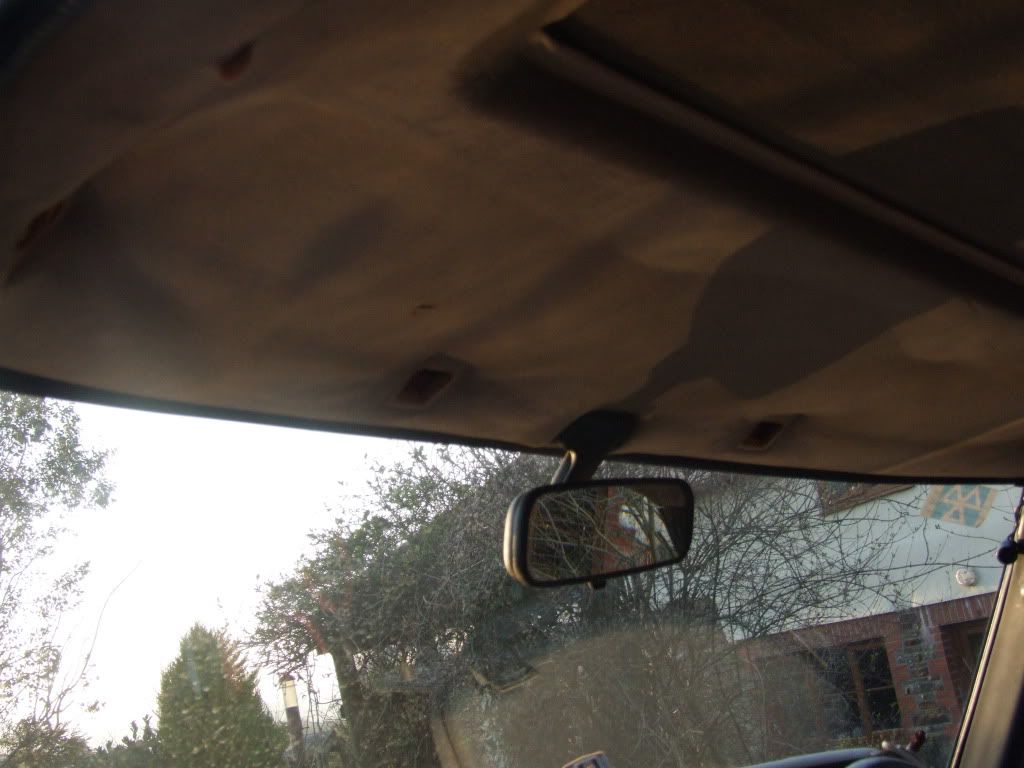
Sides where just as bad!
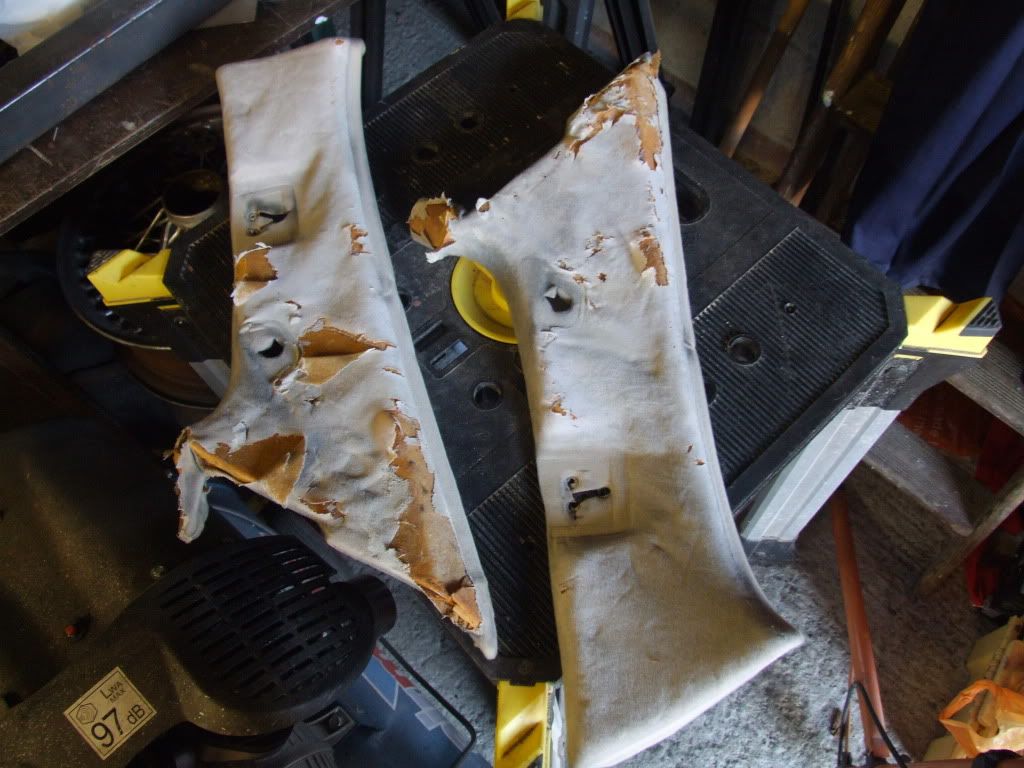
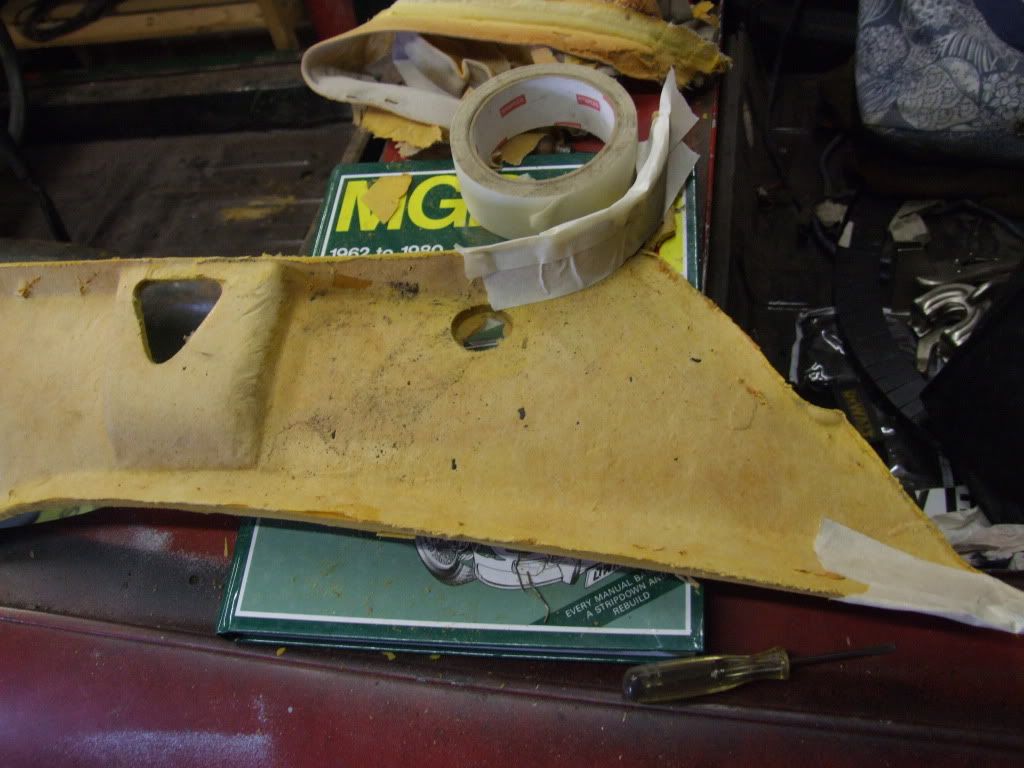
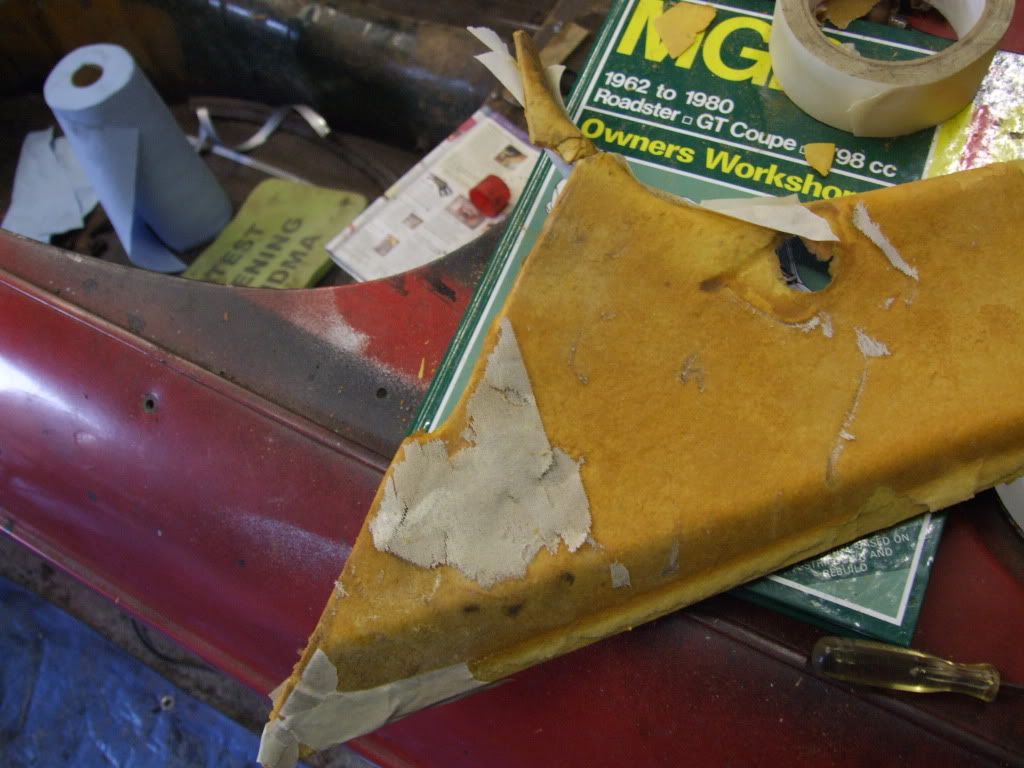
Being pressed card and donkeys old, as soon as I took them out and pulled away the fabric the corners just broke away!
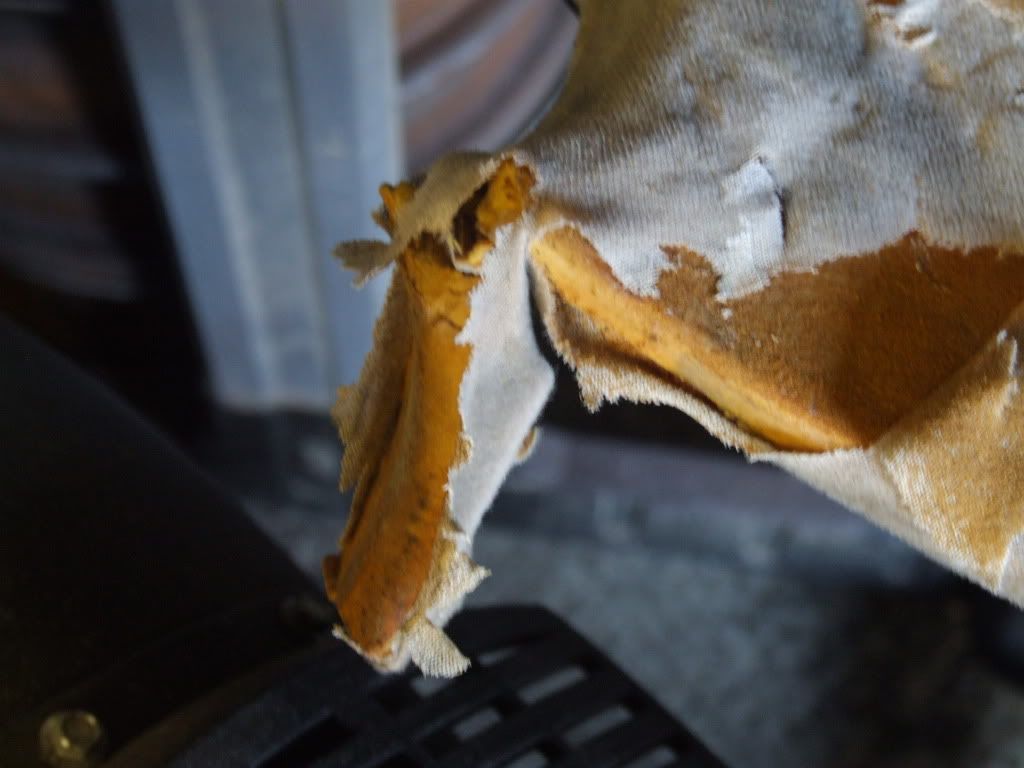
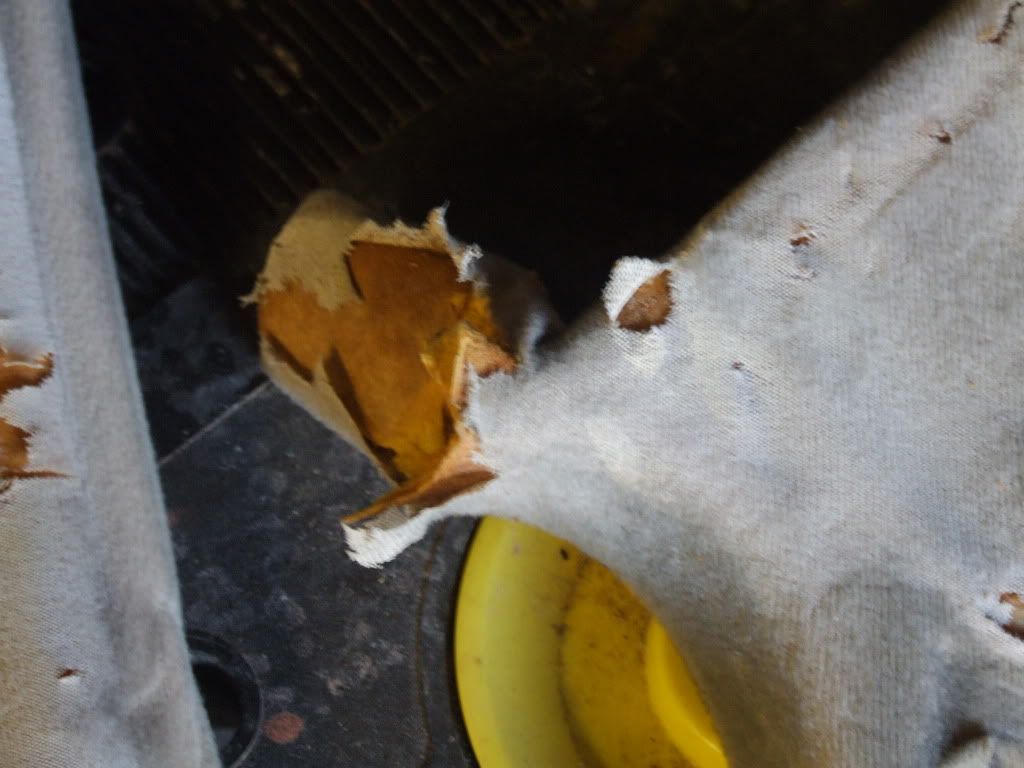
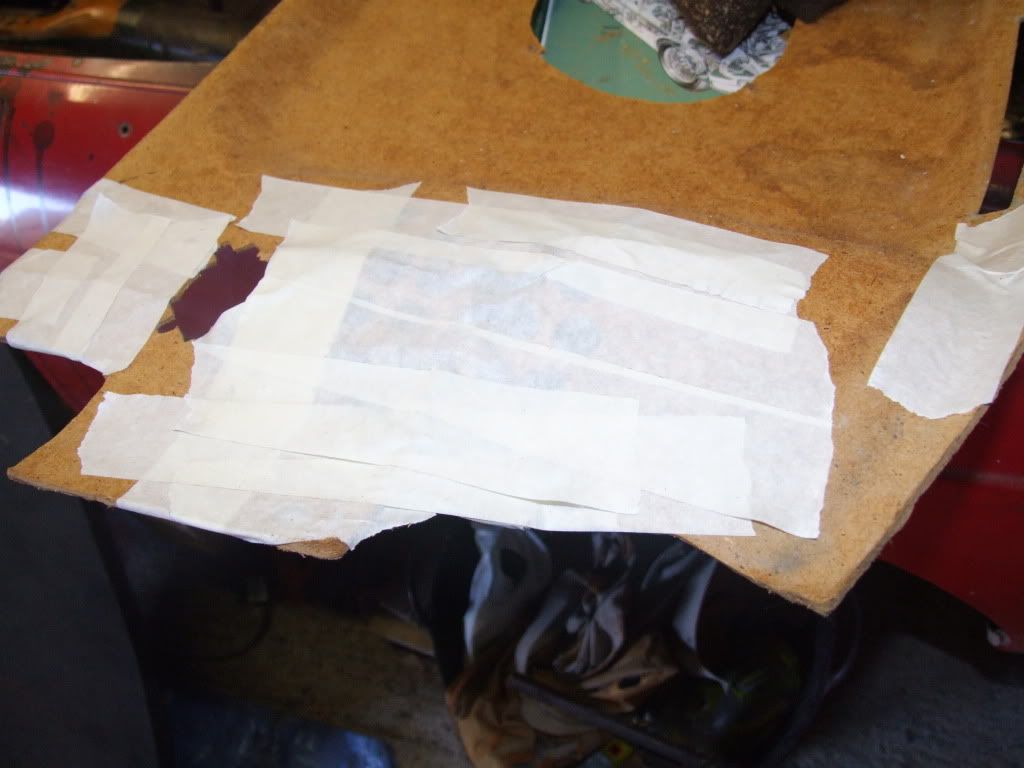
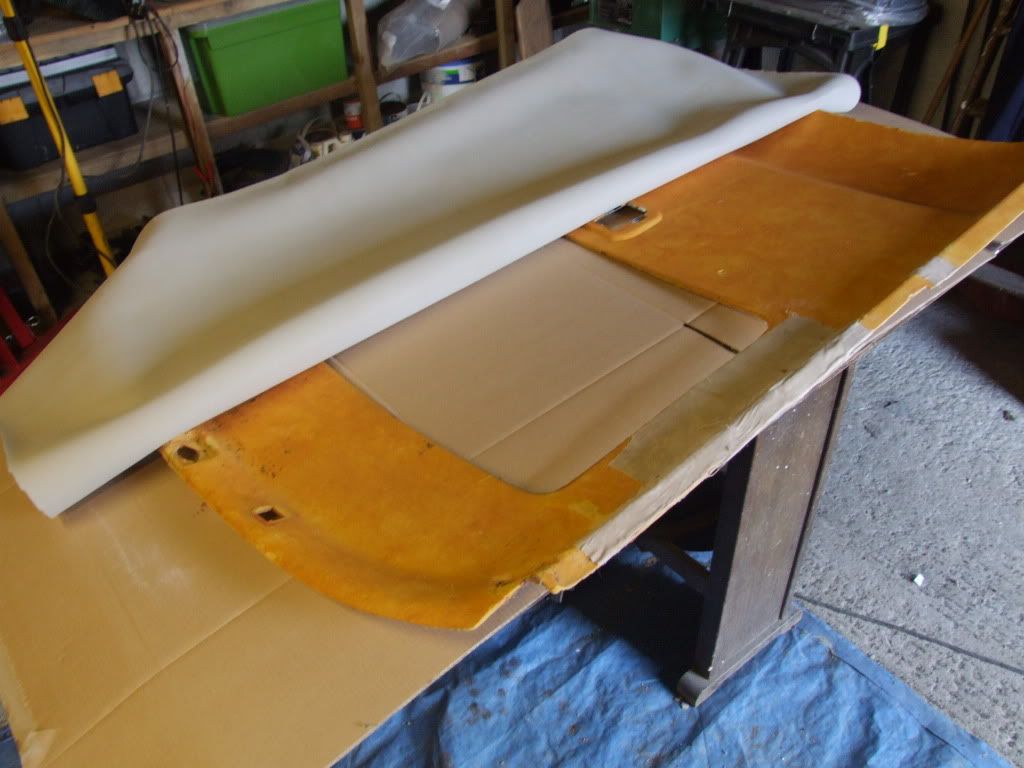
Used masking tape to intially to put the peices back together ready for a proper fix
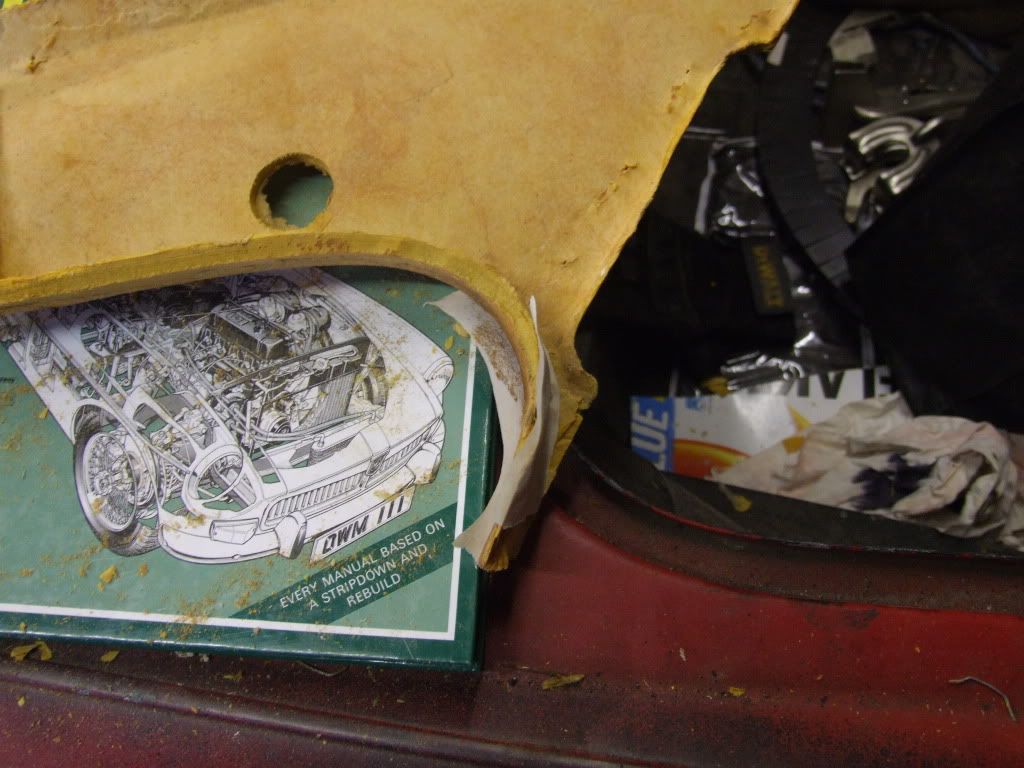
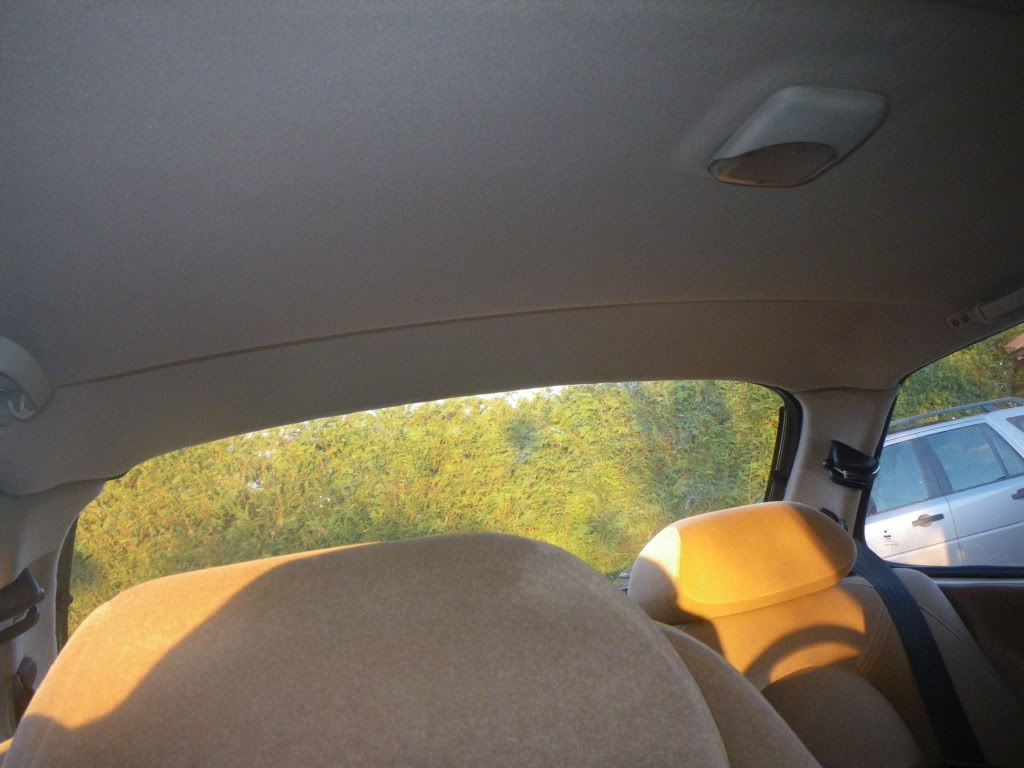
The headliner goes through a saloon boot fine as long as the seats are down and parcel shelf out, thats what I had read! Its true, but, bloody headrests caught the headliner as it came out and it snapped righ tin half by sunroof!
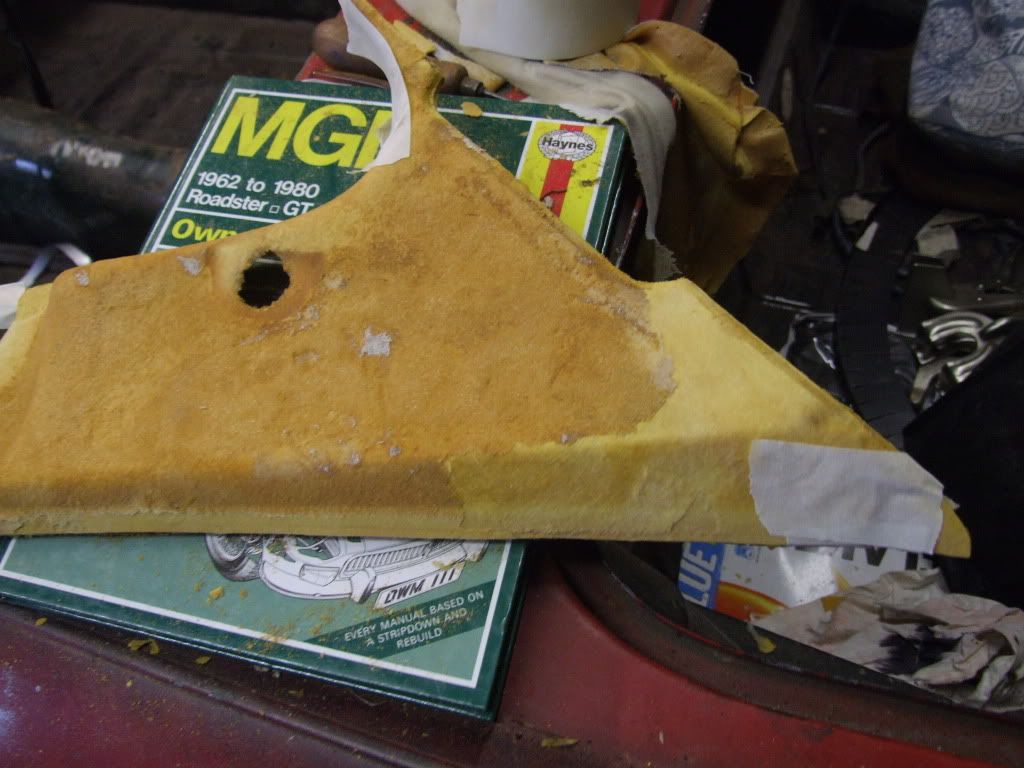
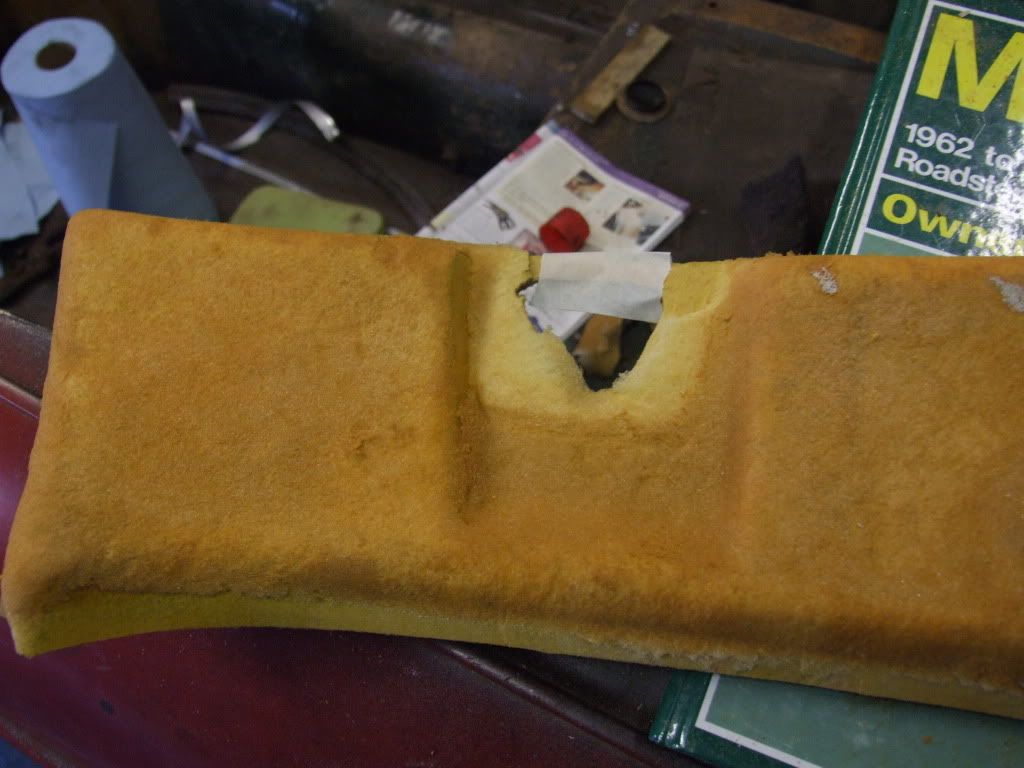
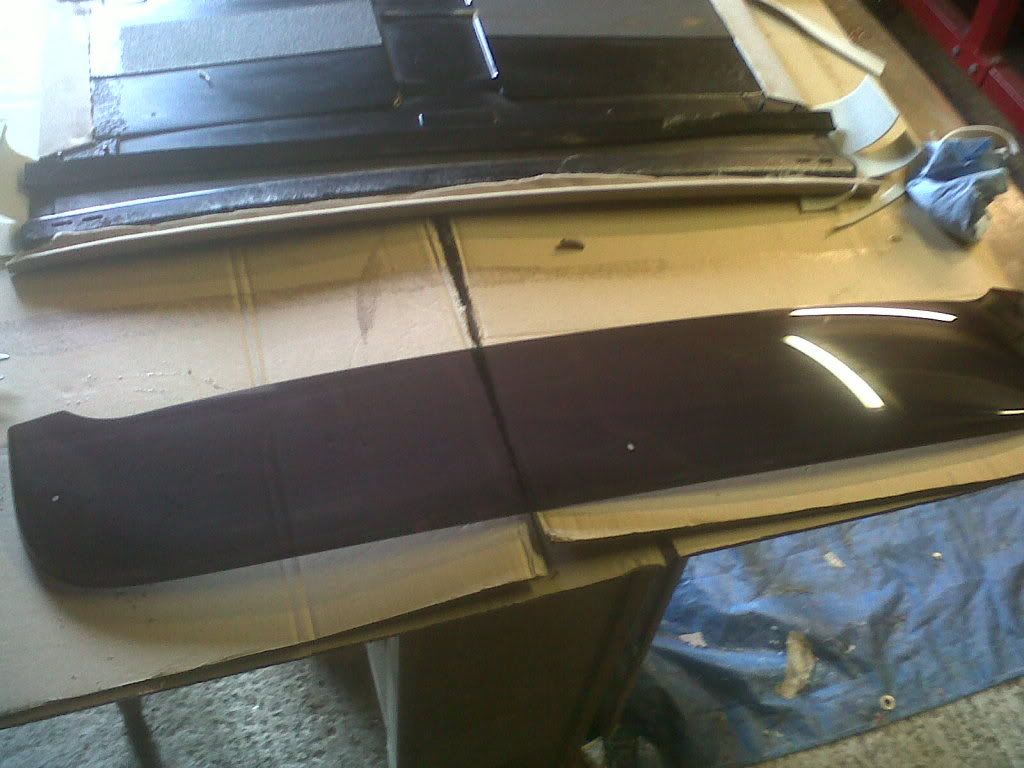
So time to fibreglass it all up (it's what I had to hand!)
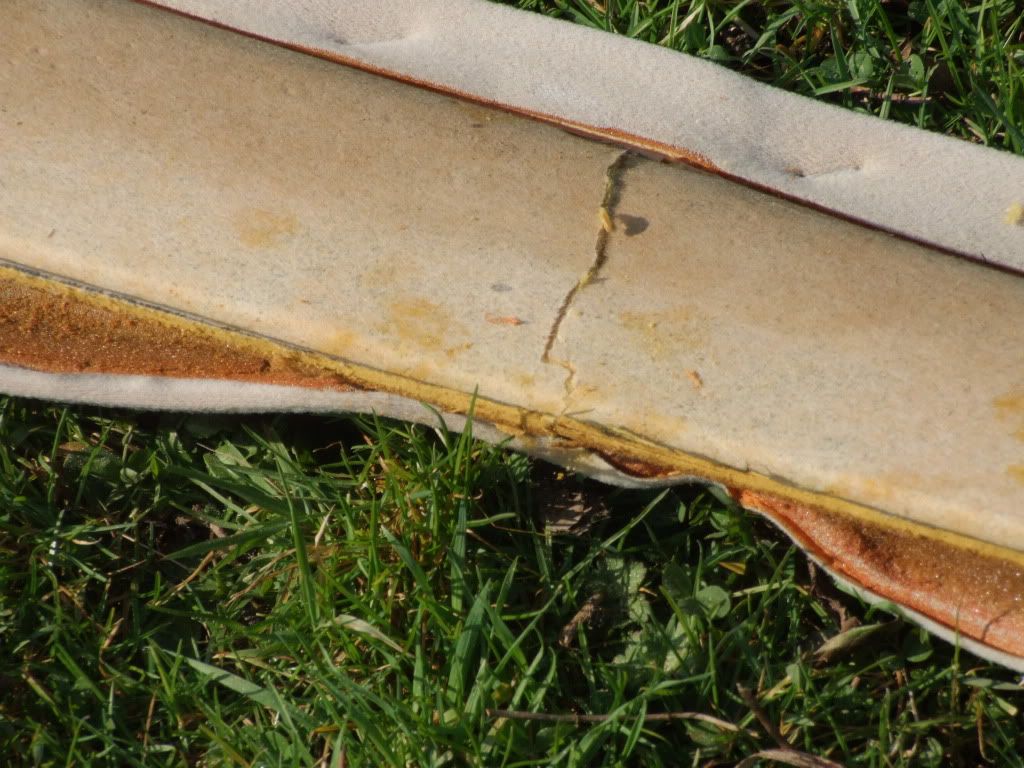
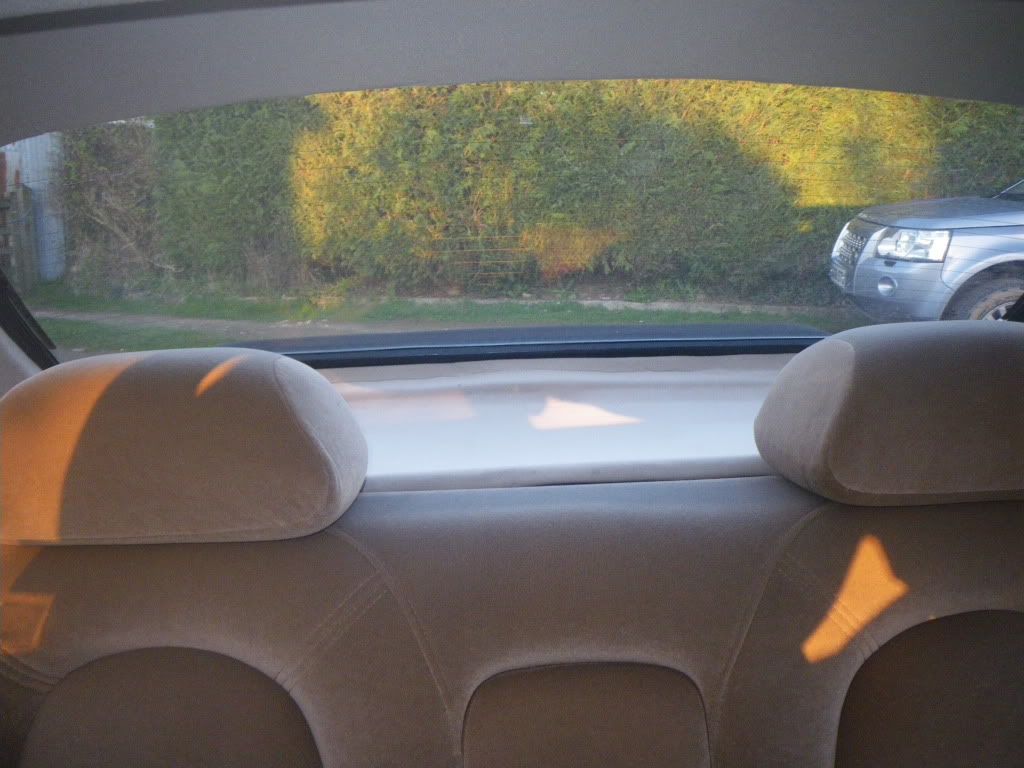
Rear shelf also needed attention ,it had broken at some point and a batton of wood put under. I stripped this out and again jigsawed it back together ready to fibreglass
So after getting the old foam off (just needed a stiff brush, I know others have marked thiers using scrapers, I found stiff brush did it fine!) it was time to get brave and start sticking! Did quarter at a time
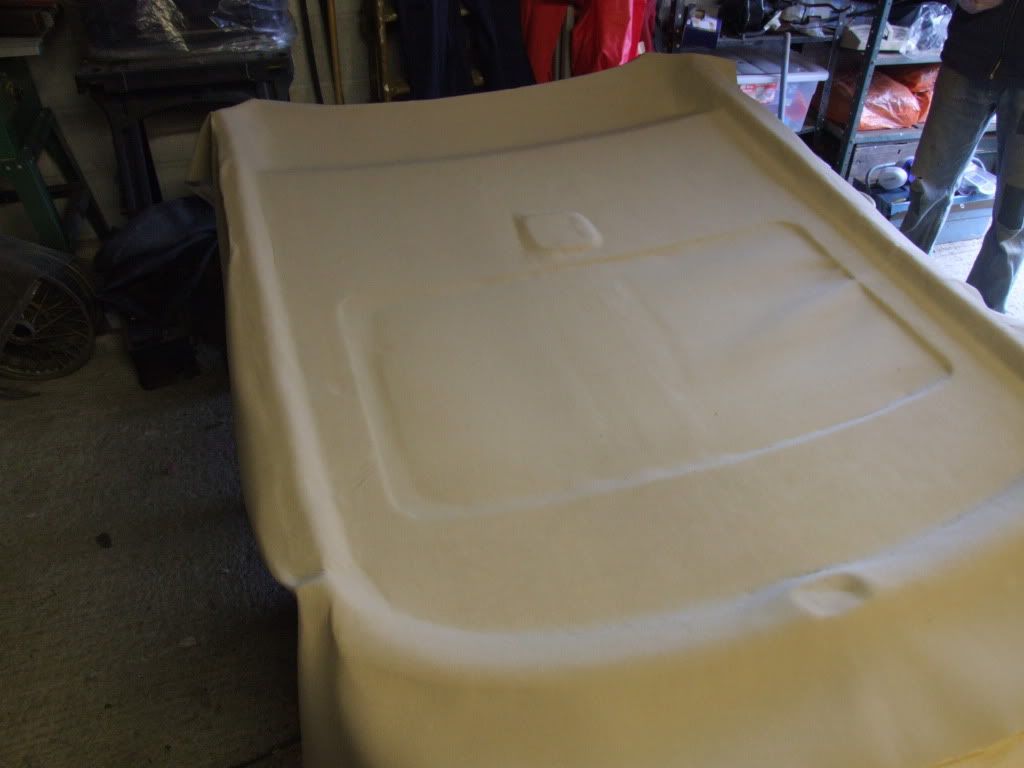
Only 2 wrinkles so happy with that overall! Needs turning now and edges stapled but ran out of time, but did cover the shelf and the sides also ready for staples etc and trimming
Need to find the time now to get the sunroof done and get it back in , praying for no more breakages!
Got on finishing the headliner and parcel shelf this weekend (much to the wife's pleasure lol!)
First needed to remove the sunroof and cover that as according to the guide I was using it needs to go back in before the healiner.
Came out pretty easy following the instructions. So then just needed to have the fabric glued on. You only glue the edge to fold over, not the whole thing -
Took the oportunity to remove the wind visor as easier to get everything out and gave me a chance to clean it underneath, years off dirt there!
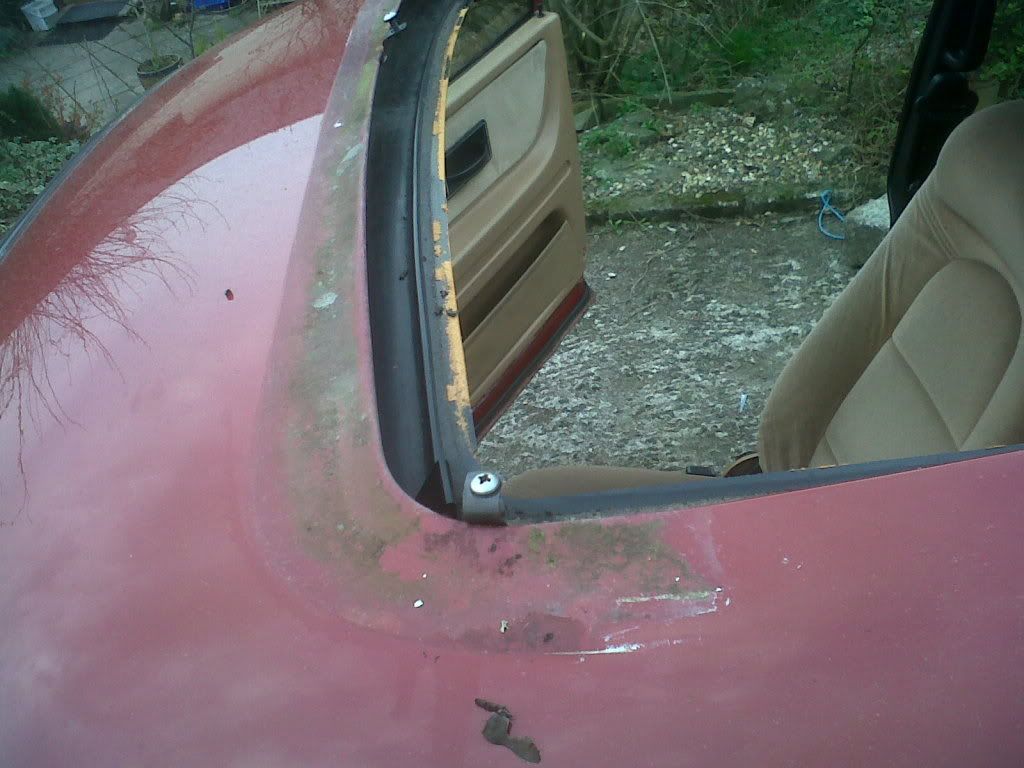
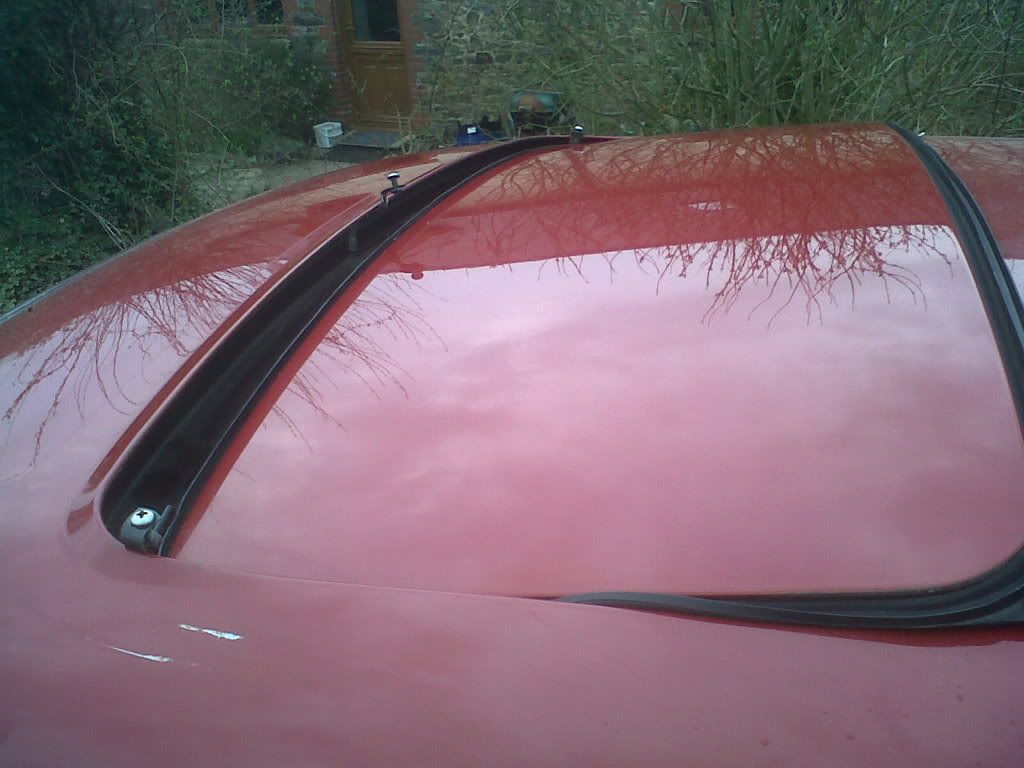
Cleaned off the deflector too good chance to get the underside clean
Before I started putting things backin decided to add this
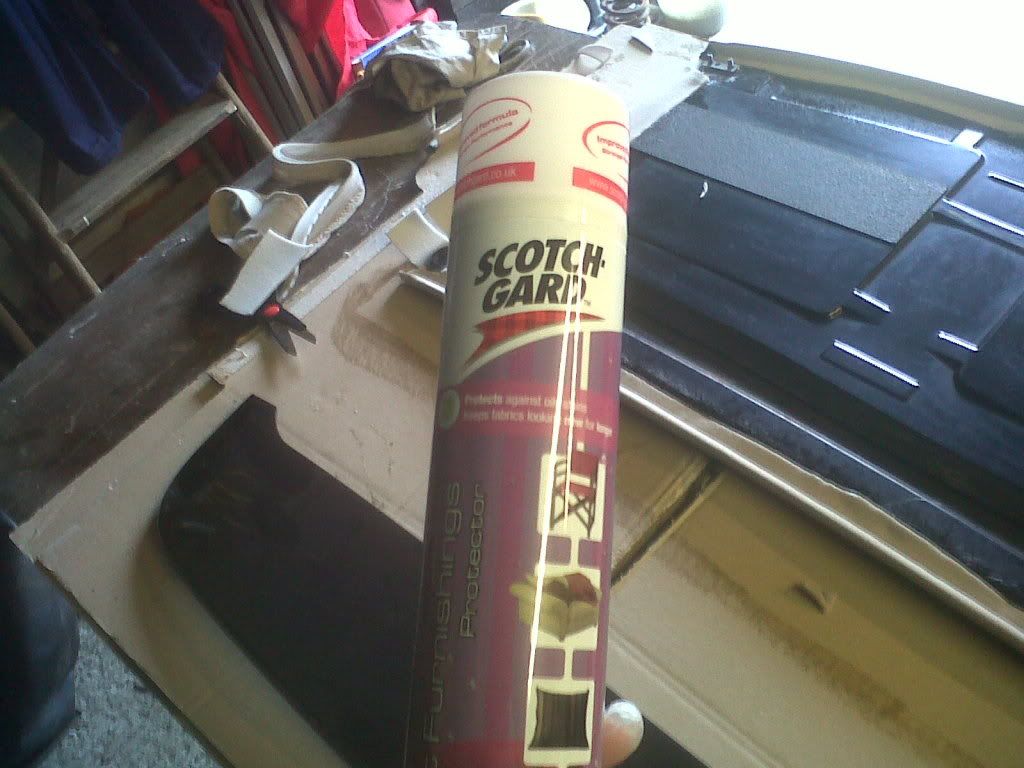
Figured it would help get any marks off that might occur putting stuff back in, especially round the greasy sunroof runners, added it to everything including parcel shelf and full liner.
Then put sunroof back in , again fairly simple. At first it would not go back all the wy when tested, but fix s one of the ruuner guides had slipped back during tightening of the nuts.
Time to put the headliner back in, very very nervously due to the break getting it out! It did bend a bit but thankfully held together and got better and better as I added the fittings back in.The sunroof whole is not cut til the headliner is in ad the material is gule over both the headliner edge and the sunroof frame. Adding the fittings back was the toughest part of the whole job (or it was just late and I was tired!), just a right pain trying not to cut back too much fabric but as the same time locating the screw holes all in cramped space!Put recovered rear shelf in too (left out the 6x9 for the mo as the don't have grilles and don't like the look.
That was enough for Sat so after a big bravery breakfast went out to cut open the headliner around the sunroof hole. You glue it back over the headliner and sunroof frame then add small clips over which the finsihing rubber trim is lightly tapped back over with a hammer.
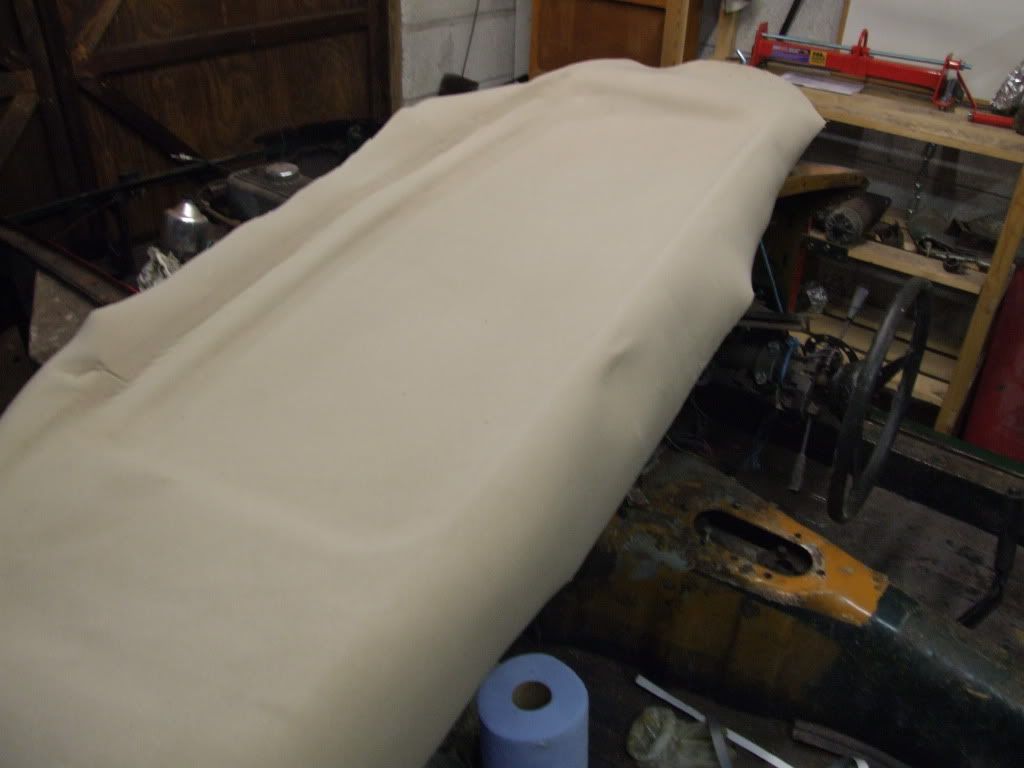
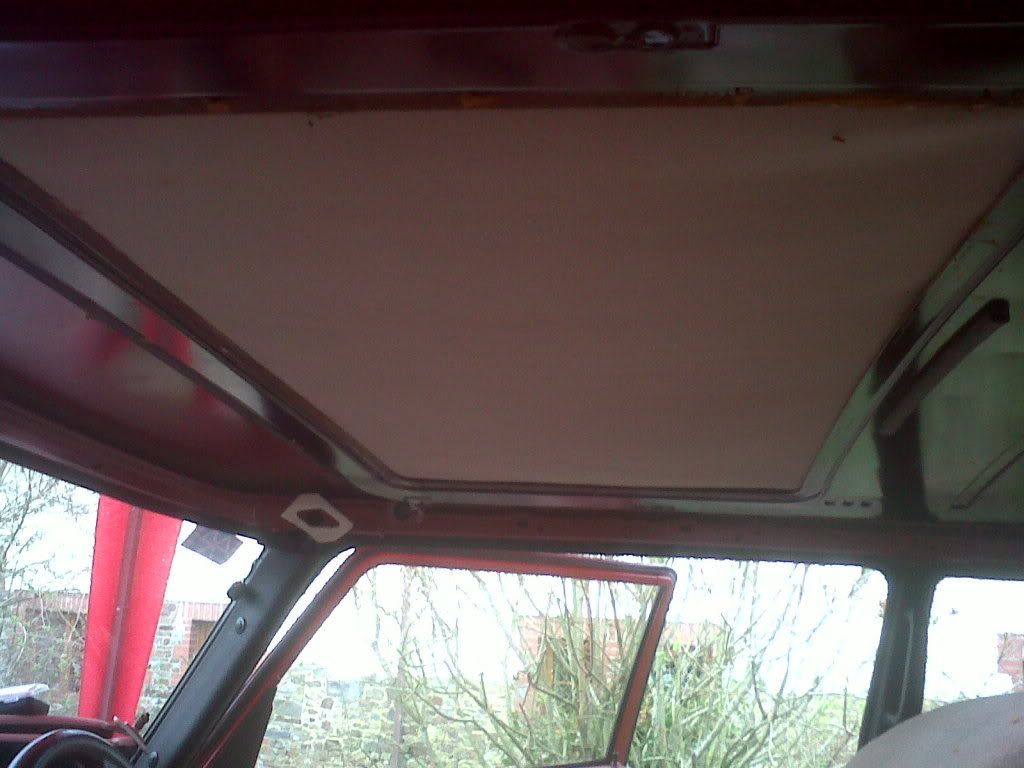
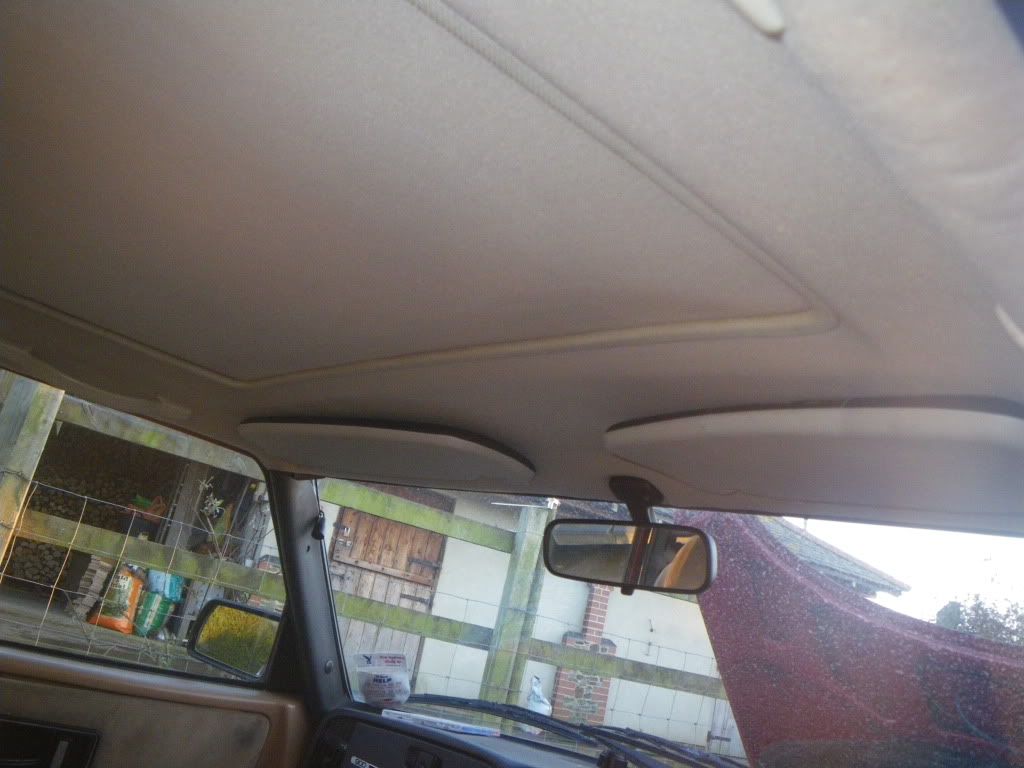
So started with this -
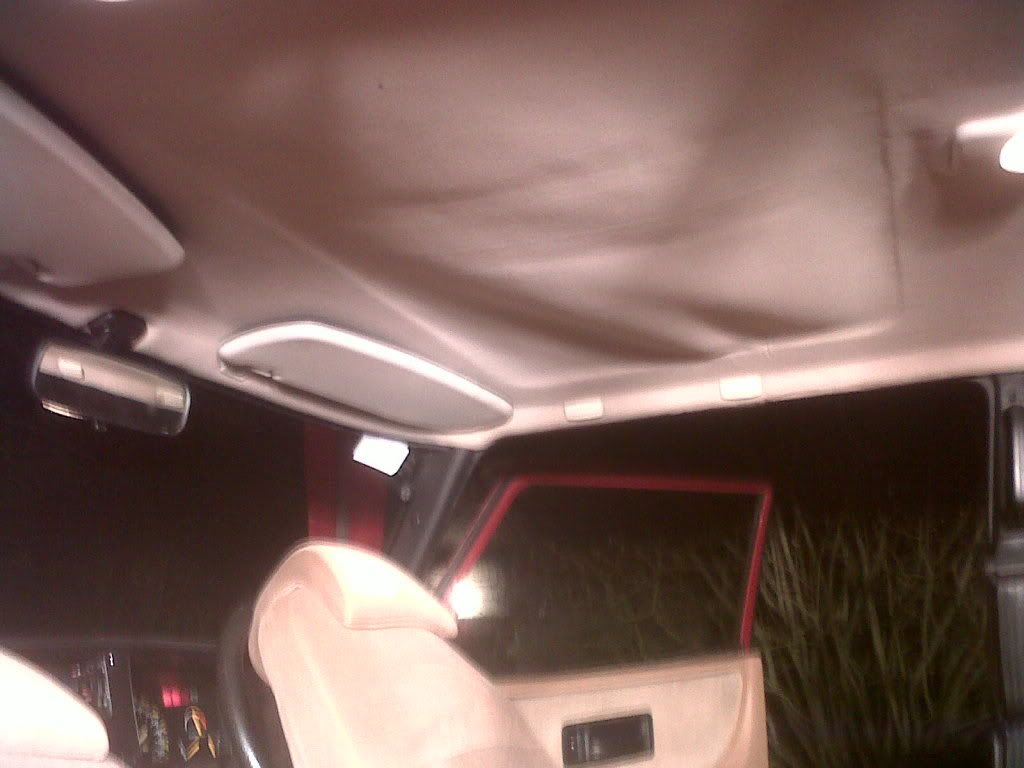
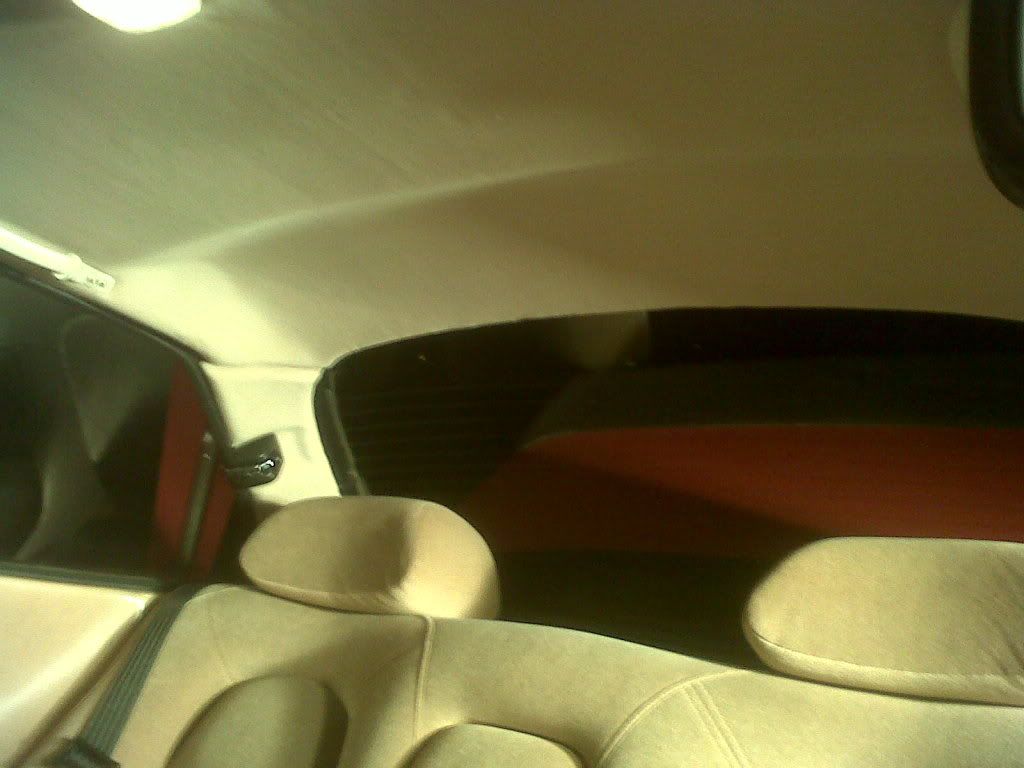
And finished with this (an only a few creases here and there lol!) My first time ever so not too ashamed, but next time will be mint lol!!
Next time to clean the interior all over as loads of old foam bits from headliner etc and use the dash crack reapir kit, intrested to see how that works out
Got the Saab back from MDC and he did the job! Got loads fo boost now, great wastegate noise and huge midrange torque!
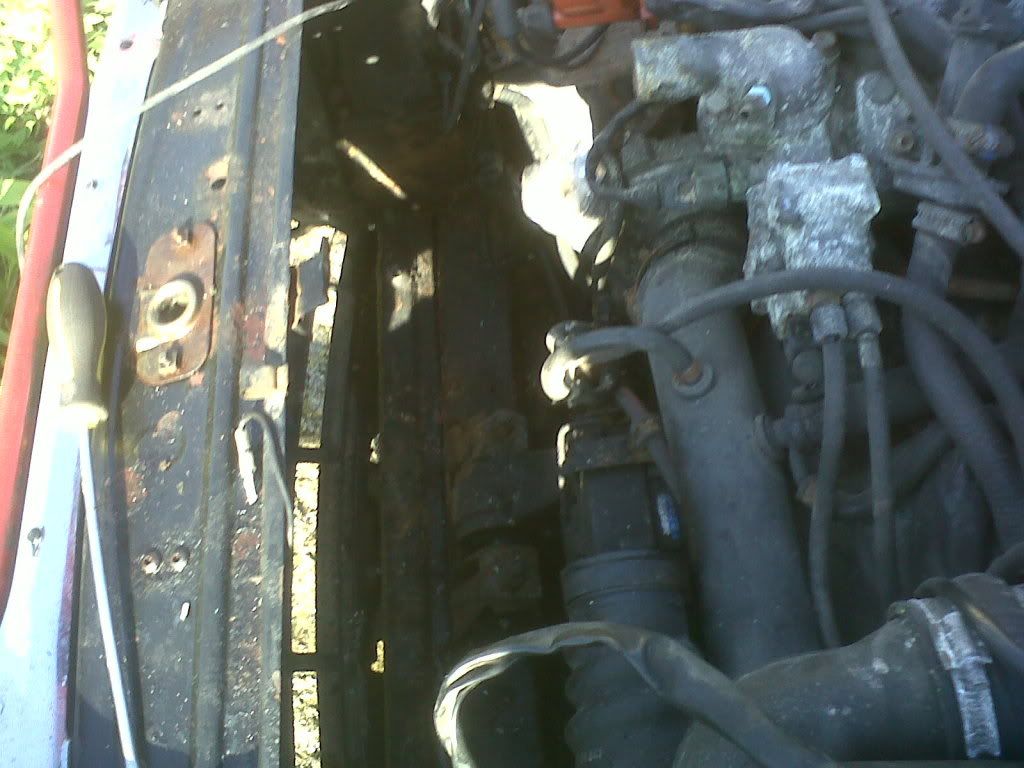
But a bad sweet smell and steam from egine indicated a dead rad so got on fleabay and sorted another.
Got the old one out (my first diy rad replacement) but required more pipes moving out the way than on the non turbo instructions I had seen online.
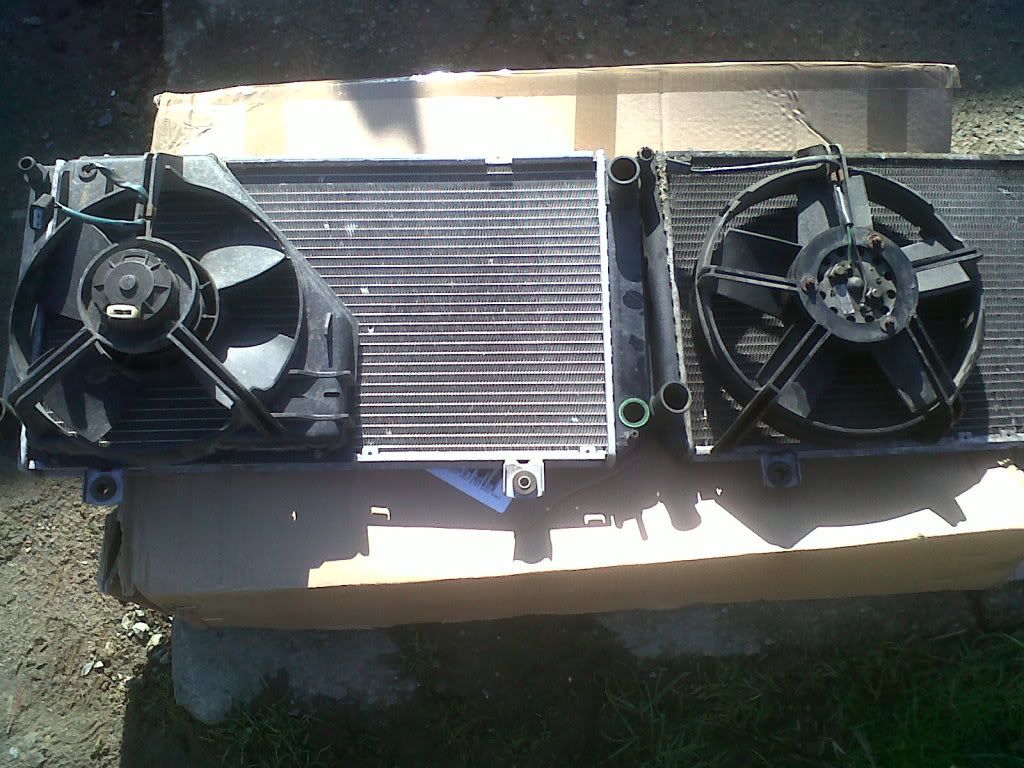
New on seemed to have a much deeper fan housing but less blades, so tohught best thing to do was to swap them over (new on left)
Swapped
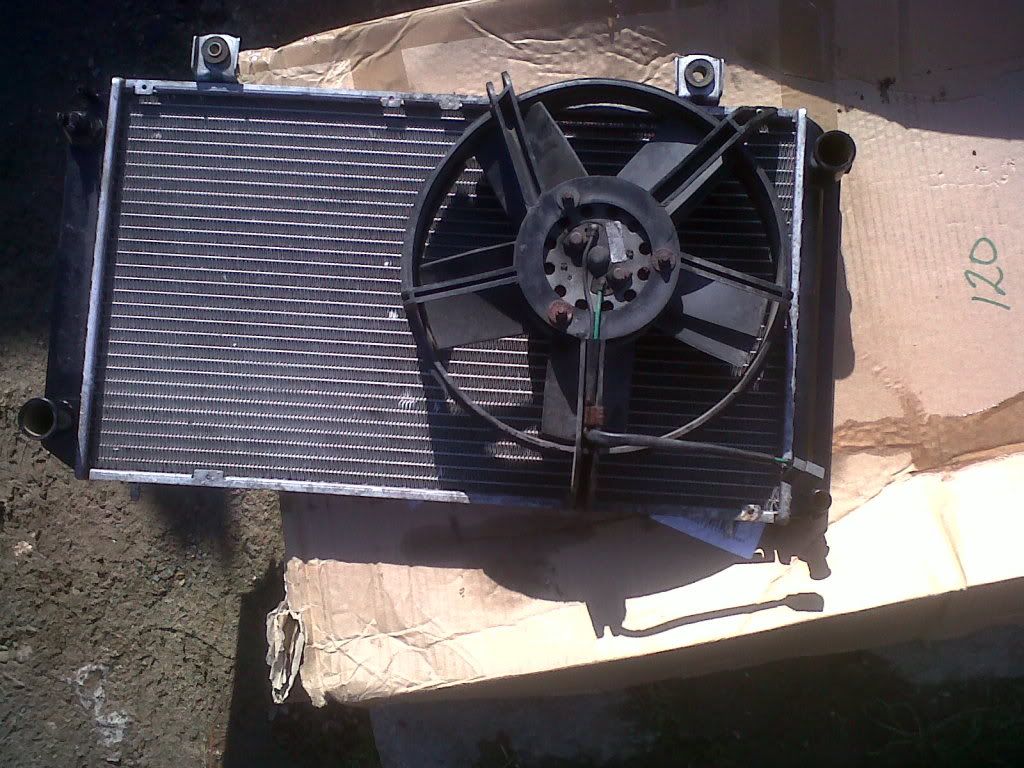
And plumbed back in
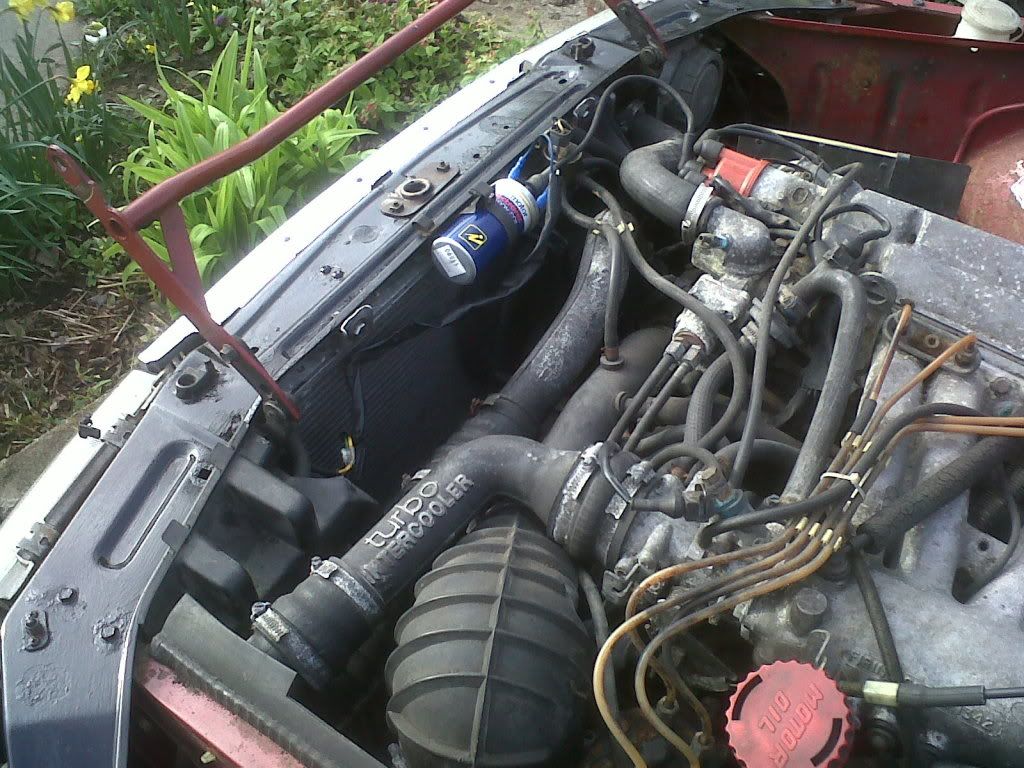
Note the new coil, replaced the dis cap,rotor arm all leads and new spark plugs at same time and there seemed to be a little misfire before.
Ran alot better but also had a slight hestiation could not work it out. Filled up with super unleaded rather than standard and seems to have cured it, should this be on leaded fuel??
THinking time may of come to sell, the 900 it wa san impulse buy, as always now she works fine and needs nothing I hanker for something different,
Anyway, added another car to the yard this week, a MK1 Mazda MX5 1.6! Saw it local cheap and could not resist. Turns out the power steering issue was a burst pipe which was £200 at Mazda. T Cut and wax and she is a beaut, loads of history and drives sweet as a nut, understand why people love em, that 1,6 and gearbox are so sweet a combo!!
£2 of fuel pipe and some clips fixed the power steering Lol! Works perfect! Pics to follow will start a new thread. The 75 is currently sulking due to lack of use and as always when you don't abuse them regularly something breaks!
She had poppped her rear spoiler light so another fix needed!
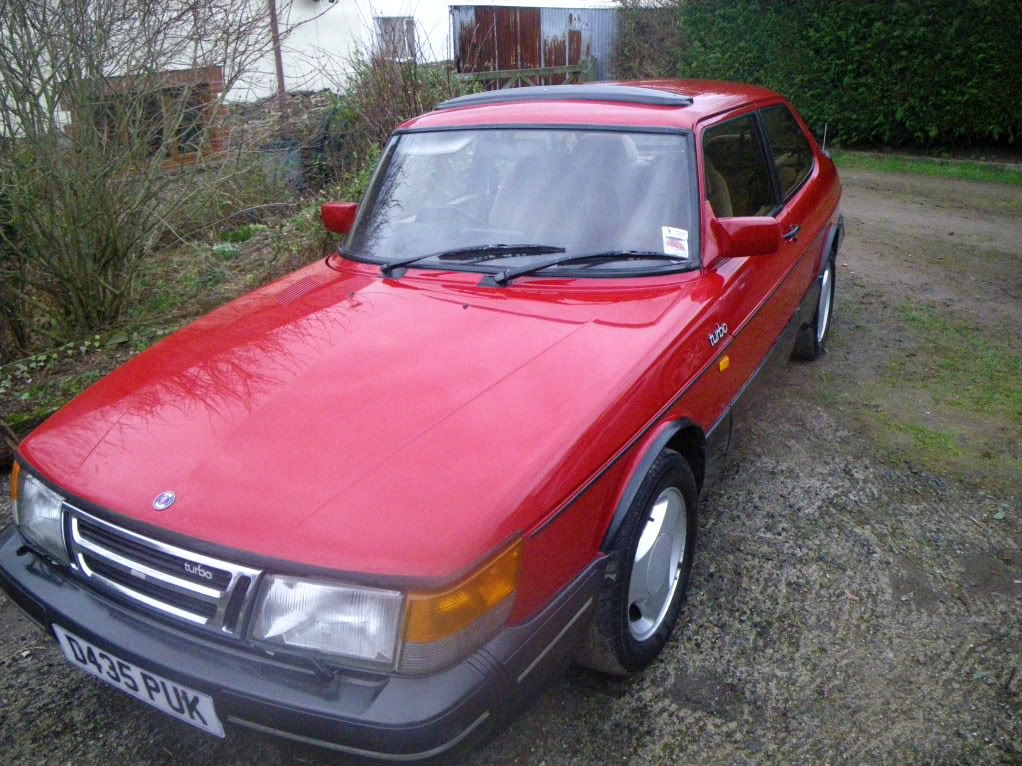
Few pics to show the new chrome and the painted top of rear bumper. You will notice no turbo badge on driver side of bonnet, got it just getting old sticky off will be putting back on in morning (crap quality pics I'm afraid as on my mobile) -